


Introduction#
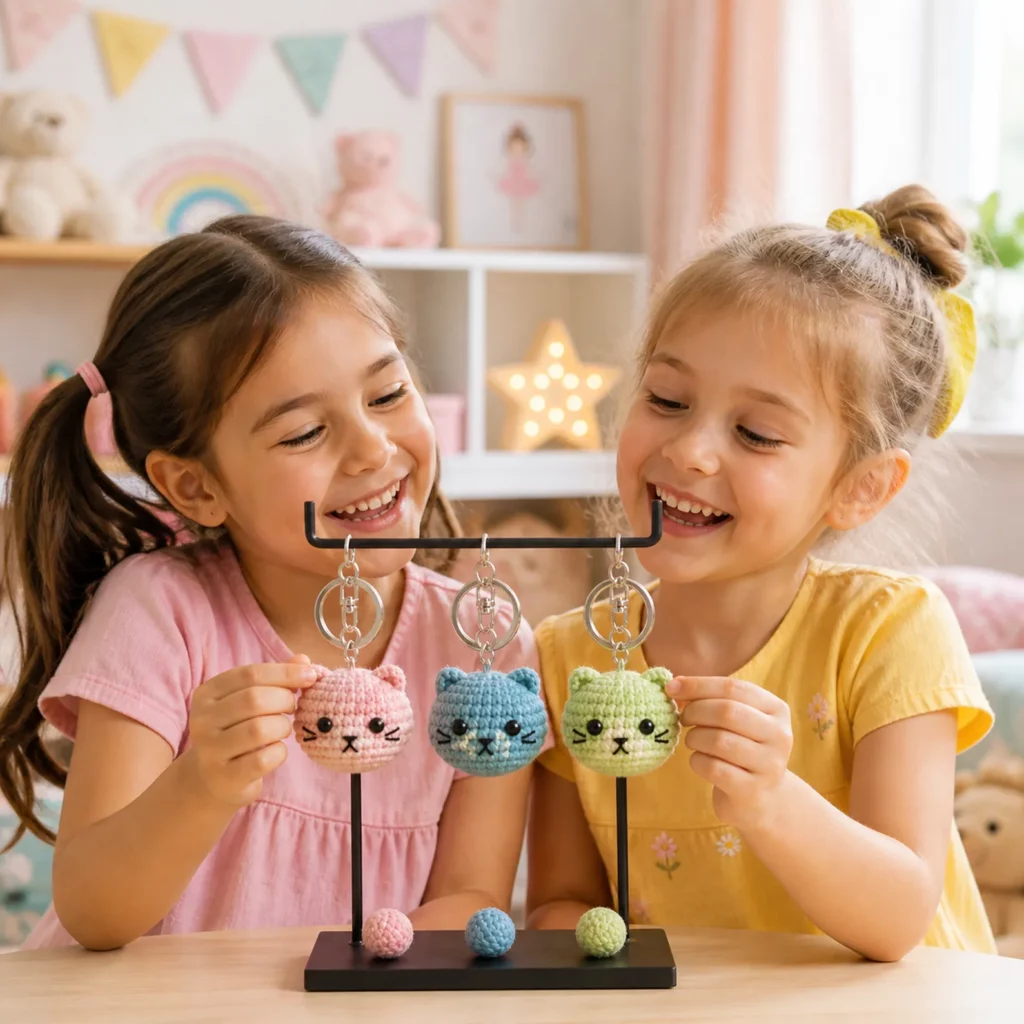
Small crochet projects are the best kind of satisfying: you can finish one quickly, use up scrap yarn, and end up with something you’ll actually carry around. A mini cat keychain checks every box—cute, practical, giftable, and surprisingly addictive to make (because once you finish one… you’ll want to make it in every color).
Explore more beginner amigurumi crochet patterns in our pattern library.
This crochet pattern shows you how to create a tiny, rounded cat head with simple features—little ears, sweet embroidered details, and a keyring attachment. The shape is classic amigurumi (increase, even rounds, decrease), and the construction is beginner-friendly because it’s mostly one piece plus small ears. You can customize colors for different cat “coats,” swap the face style from kawaii to minimal, and even make a matching set for friends.
If you’re searching for a free crochet pattern that feels quick but still looks polished, this is a perfect easy crochet pattern to add to your handmade gift list.
Detailed Description of the Crochet Pattern#
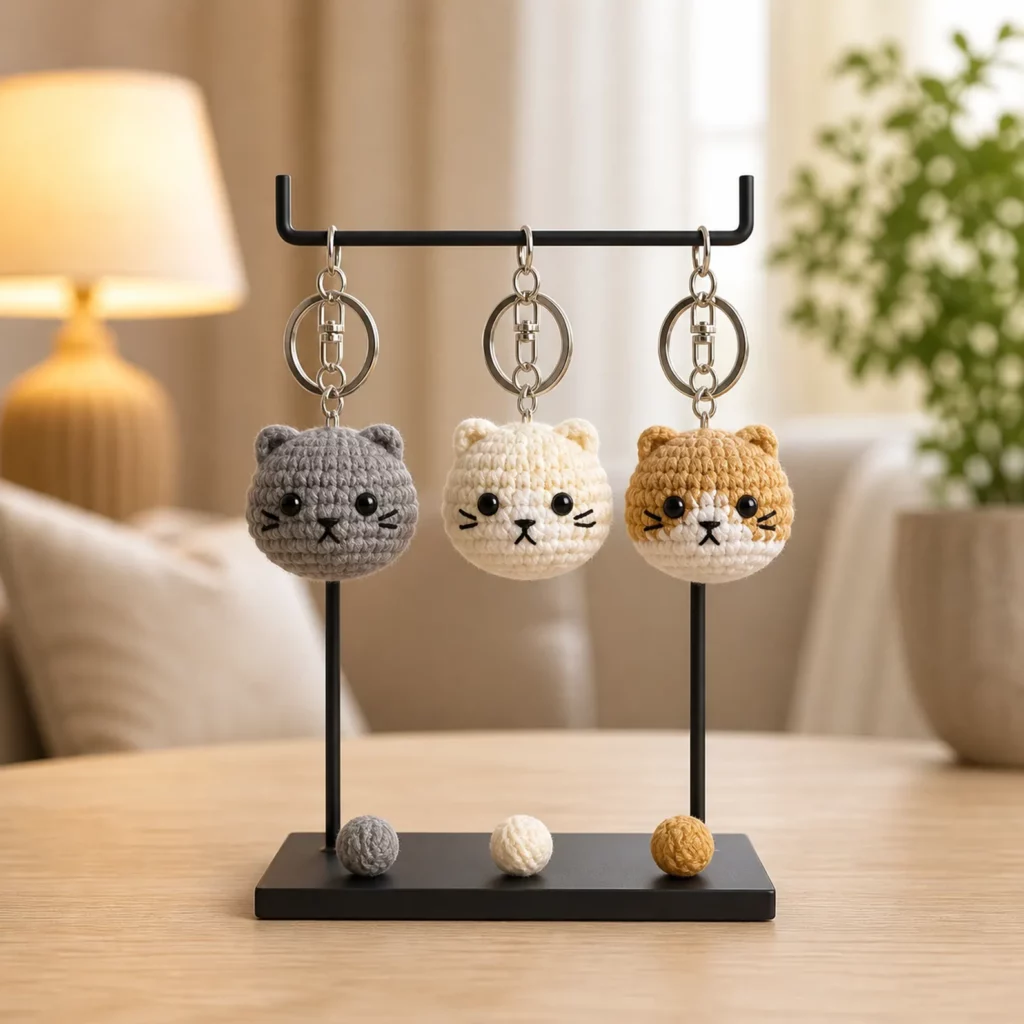
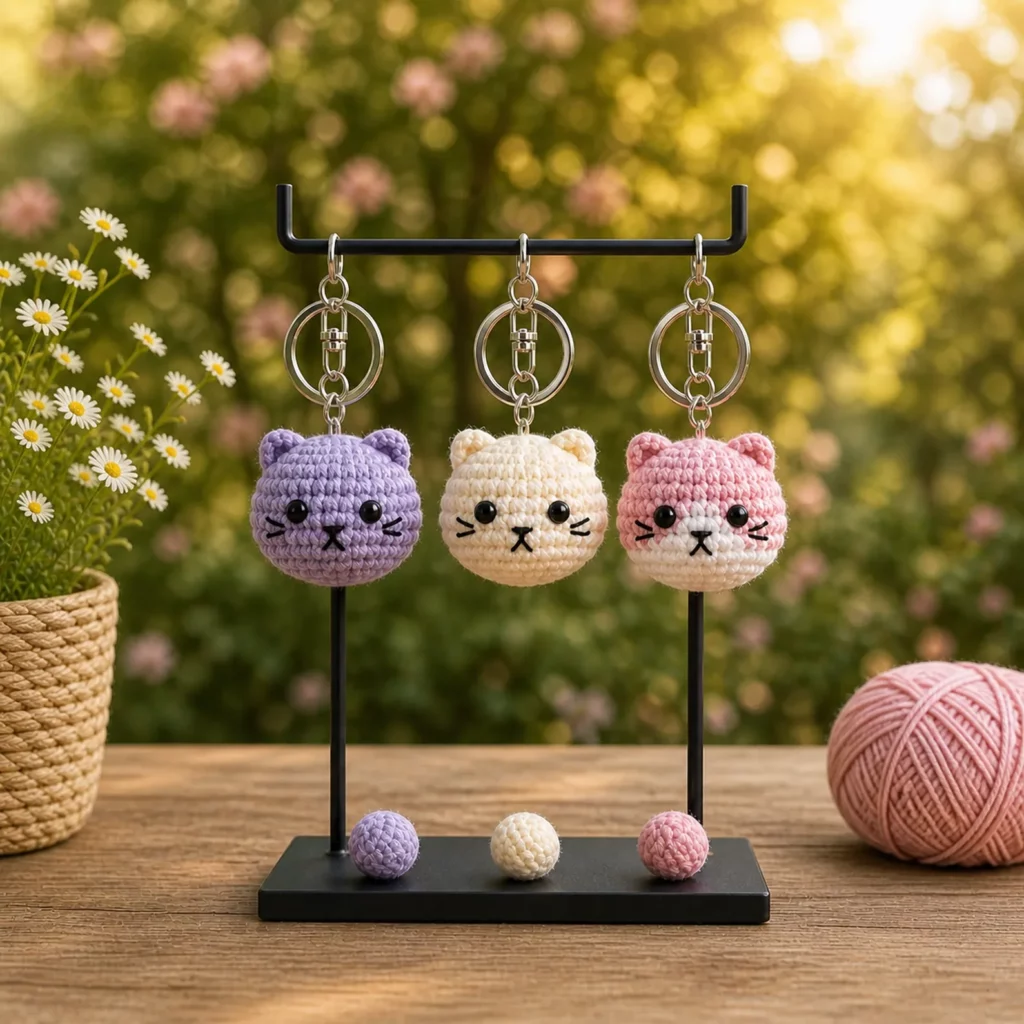
This project is a mini amigurumi cat head keychain. The finished piece is a small, firm sphere with two tiny triangular ears and an embroidered face. It’s designed to hang from a keyring using a short chain, lobster clasp, or jump ring.
What makes this design work
- Rounded, plush shape: A compact ball shape is sturdy and photographs well.
- Firm stuffing: Keeps the head from squishing flat in a bag.
- Simple ears: Small ear pieces create an unmistakable “cat” silhouette without complicated shaping.
- Minimal facial details: A few stitches make a huge difference, and you can keep it baby-safe by embroidering eyes instead of using safety eyes.
- Easy to mass-produce: Once you learn the rounds, you can make several in an evening.
Finished size (approx.)
- With DK/light worsted (#3) and a 2.75–3.25 mm hook: 1.75–2.25 in (4.5–5.5 cm) tall (not including keychain hardware).
- With worsted (#4) and a 3.5 mm hook: 2.25–2.75 in (5.5–7 cm) tall.
Size varies by yarn and tension, which is perfect for keychains—slightly bigger can become a bag charm, and slightly smaller makes a cute zipper pull.
Skill Level Explanation#
This is an easy amigurumi project with a few “confidence-building” skills.
Great for beginners who can:
- crochet single crochet in the round
- increase and decrease
- count stitches (or use a stitch marker)
- sew small pieces securely
If you’re new to amigurumi, this is a fantastic crochet for beginners project because the shape is forgiving and small mistakes are easy to hide with placement and embroidery.
Materials Needed#
Yarn
Choose smooth yarn for clear stitches (especially if you’re new).
Best yarn options:
- Cotton yarn (DK or worsted): crisp stitches, durable for keychains
- Acrylic DK/worsted: soft, affordable, easy to find
- Cotton-acrylic blend: a nice balance of structure + softness
Suggested colors (3 popular cat looks):
- Solid black (classic “void cat”)
- Pink/cream (cute pastel cat)
- Orange/white (ginger tabby vibe)
You’ll also want small amounts of:
- White or cream (for muzzle patch, optional)
- Pink (nose or blush, optional)
Hook
Use a hook small enough to create a tight fabric (no stuffing gaps):
- DK yarn: 2.75–3.25 mm
- Worsted: 3.0–3.5 mm
Notions
- Stitch marker (highly recommended)
- Yarn needle
- Scissors
- Polyester fiberfill stuffing
Keychain hardware
Choose one option:
- Keyring + jump ring
- Lobster clasp + short chain
- Swivel clasp (for bag charm style)
Optional embellishments
- 6–10 mm safety eyes (only if not for children under 3)
- Embroidery thread for whiskers, mouth, blush
- Tiny bell or charm (optional—skip if you want a clean minimal look)
Stitches & Techniques Explained#
Abbreviations (US terms)
- MR = magic ring
- sc = single crochet
- inc = increase (2 sc in one stitch)
- dec = invisible decrease
- sl st = slip stitch
- ch = chain
- st(s) = stitch(es)
- Rnd = round
Magic Ring (MR)
The magic ring makes the top of the head neat and closed. If you struggle with MR, you can chain 2 and place 6 sc in the second chain from hook—but MR looks tidier.
Invisible Decrease (dec)
Invisible decrease keeps the sphere smooth (ideal for faces).
How:
- Insert hook into front loop only of next stitch
- Insert hook into front loop only of following stitch
- Yarn over, pull through both loops
- Yarn over, pull through remaining loops
Clean color change (optional)
If you add a muzzle patch or two-tone face, switch colors on the last yarn-over of the stitch before the new color.
Embroidery basics for tiny faces
- Use a yarn needle and small, consistent stitches.
- Pull snug but not tight (so the fabric doesn’t pucker).
- Mark placement with pins or a water-soluble pen first.
Step-by-Step Instructions#
Pattern notes
- Worked in continuous rounds (do not join unless stated)
- Use a stitch marker in the first stitch of each round
- Stuff firmly as you go
- This pattern makes one cat head; repeat for multiple colors
Part 1: Cat Head (Main Color)
Rnd 1: MR, 6 sc (6)
Rnd 2: inc around (12)
Rnd 3: (sc, inc) around (18)
Rnd 4: (2 sc, inc) around (24)
Rnd 5: (3 sc, inc) around (30)
Rnd 6: (4 sc, inc) around (36)
Rnd 7–10: sc around (36) for 4 rounds
(These rounds create the “chubby” head height.)
Start decreasing:
Rnd 11: (4 sc, dec) around (30)
Rnd 12: (3 sc, dec) around (24)
Rnd 13: (2 sc, dec) around (18)
Stuff firmly now.
Tip: Keychains get squished—use more stuffing than you think, and shape into a smooth ball with your hands.
Rnd 14: (sc, dec) around (12)
Rnd 15: dec around (6)
Fasten off, weave tail through front loops of remaining stitches, pull tight to close. Weave in securely.
Part 2: Ears (Make 2)
Ears should be small and slightly stiff.
Rnd 1: MR, 4 sc (4)
Rnd 2: (sc, inc) twice (6)
Rnd 3: sc around (6)
Fasten off leaving a long tail for sewing. Do not stuff.
Ear shaping tip:
If you want a sharper triangle, flatten the ear and sew the bottom edge slightly angled when attaching.
Part 3: Optional Muzzle Patch (Makes It Extra Cute)
If you want a white/cream muzzle like a “mask” look:
Ch 5
Rnd 1 (oval): Starting in 2nd ch from hook: 3 sc, 3 sc in last ch. Working along other side: 2 sc, 2 sc in last ch. (10)
Rnd 2: inc, 2 sc, inc x3, 2 sc, inc x2 (16)
Fasten off leaving a tail.
Sew centered on the lower front of the head before adding the face embroidery.
Part 4: Face Details
You can do safety eyes or embroidered eyes.
Option A: Safety eyes (not for under 3)
- Place eyes between Rnd 8 and Rnd 9 (or 9 and 10), about 6–8 stitches apart depending on yarn size.
- Always test placement before locking backs.
Option B: Embroidered eyes (baby-safe + minimalist)
- Use black embroidery floss or thin yarn.
- Make small vertical stitches or tiny “U” shapes for a kawaii look.
Nose + mouth (classic cat)
- Nose: a small triangle or tiny horizontal stitch in pink/black
- Mouth: a short vertical stitch down from nose + two tiny curved stitches
Whiskers (optional)
- 2–3 short straight stitches on each side of the muzzle
- Keep them subtle so the face doesn’t look “busy” at keychain size
Part 5: Assembly
- Attach ears to the top of the head
- Place them about 6–8 stitches apart.
- Sew securely around the ear base with multiple passes.
- Add muzzle patch (optional)
- Center it slightly below eye level.
- Use small whip stitches around the edge.
- Embroider face
- Start with eyes, then nose, then mouth/whiskers.
- Take a step back and check symmetry before tying off.
Part 6: Add Keychain Attachment
You want the keychain to be sturdy and centered.
Method 1 (crocheted loop):
- Insert hook at the top center of the head
- Pull up a loop of yarn
- Ch 8–12 (depending on clasp size)
- Sl st back into the same point to form a loop
- Knot and weave ends inside
Attach jump ring/keyring through the loop.
Method 2 (metal eye pin or screw eye):
- Insert a small screw eye into the top center
- Add a dab of strong craft glue inside (optional)
- Attach jump ring + keyring
Pro durability tip: If you’re selling/gifting, use Method 1 with an internal knot plus extra weaving—soft yarn grips better than glue alone.
Common Mistakes and How to Avoid Them#
- Stuffing shows through stitches:
Use a smaller hook, tighten tension, and use invisible decreases. - Head looks lumpy:
Stuff in small pieces and “massage” the shape as you go. Overstuffing unevenly causes bumps. - Ears flop or curl:
Use cotton yarn, sew across a wider base, and add extra stitches around the ear base when attaching. - Face looks off-center:
Mark the center line first (a pin at the very top, another at the bottom), then measure eye spacing from that center. - Keychain loop rips out:
You need reinforcement: stitch into multiple stitches at the top, knot inside, and weave ends in different directions. - Whiskers look messy:
Use fewer stitches. On tiny faces, minimal detail looks cleaner.
Expert Tips for Better Results#
- Use cotton for crisp stitches: It holds shape and wears well as a keychain.
- Make the top sturdy: Add an extra round of sc around the loop attachment point (or sew the loop down with a few extra stitches).
- Choose a consistent face style: If making sets, keep eyes/nose placement the same so they look cohesive.
- Use a removable clasp: Lobster clasps are great because people can clip the charm onto bags or zippers.
- Add weight (optional): A tiny felt pouch with a few pellets inside can help it hang nicely—only if you fully secure it and it’s not for children.
- Seal knots inside: After tying off embroidery, run the tail through several stitches and back again for extra security.
Variations and Customization Ideas#
- Three cat colorways (easy set idea):
- Solid black with white whiskers (sleek minimalist)
- Pink with cream muzzle (cute pastel)
- Orange with a cream muzzle + a few embroidered “tabby stripes”
- Add tiny accessories:
- Micro bow (ch 18, wrap center, stitch on)
- Tiny scarf strip (ch 25, sc across, wrap and stitch)
- Small bell charm on the keyring (optional)
- Change the expression:
- Sleepy eyes (embroidered curved lines)
- Sparkle eyes (embroider a small highlight stitch)
- Grumpy cat (angled brows with a couple stitches)
- Turn it into a bag charm:
- Use thicker yarn and scale up to 3–4 inches
- Add a swivel clasp and short chain
- Make it a full mini cat:
- Crochet a small body and attach the head
- Add a curled tail (ch 15, sc back, it naturally curls)
Benefits of This Crochet Project#
- Quick, satisfying make (great for busy days)
- Excellent stash-buster for scrap yarn
- Perfect small gift for cat lovers
- Teaches core amigurumi skills (inc/dec, stuffing, simple assembly)
- Easy to customize into sets and collections
- Great product idea for craft fairs (lightweight, inexpensive materials)
Internal Linking Suggestions#
You may also like…
- Free Crochet Pattern: Mini Heart Keychain (Fast Scrap Project)
- Crochet Tutorial: Invisible Decrease for Amigurumi
- Crochet for Beginners: How to Embroider Cute Amigurumi Faces
- Best Yarn for Amigurumi (Cotton vs Acrylic)
- DIY Crochet: How to Attach Keychain Hardware Securely
- Free Crochet Pattern Roundup: Small Crochet Gifts Under 1 Hour
FAQ Section#
What yarn is best for a crochet keychain pattern?
Cotton yarn is the best option because it holds shape, shows clean stitches, and stands up to daily wear. Acrylic works too, but cotton stays crisper.
Is this an easy crochet pattern for beginners?
Yes. It uses basic amigurumi shaping (increase, even rounds, decrease) and simple sewing. It’s a great first plush/keychain project.
How do I make the cat head bigger or smaller?
Use thicker yarn and a larger hook to size up, or thinner yarn and a smaller hook to size down. You can also add one more increase round (to 42 sts) for a larger charm.
Can I use safety eyes for a keychain?
You can, but embroidered eyes are more durable for items that get knocked around in pockets and bags. If gifting to young children, always use embroidered eyes instead.
How do I keep the keychain loop from tearing out?
Attach the loop through multiple stitches at the top, knot securely inside, and weave ends in several directions. For extra strength, stitch the loop down with a few sewing stitches.
How long does it take to make one?
Most makers can finish one in 30–60 minutes once they know the rounds—perfect for making sets.
Conclusion#
Tiny cat head keychains are the kind of project that never gets old: quick to crochet, easy to personalize, and guaranteed to make people smile. This free crochet pattern keeps the construction simple while focusing on the details that matter—tight stitches, firm stuffing, neat embroidery, and a strong keychain attachment.
If you tell me what yarn weight you’re using (DK or worsted) and whether you prefer embroidered or safety eyes, I can suggest the best hook size and ideal eye spacing so your crochet pattern comes out perfectly every time.


