


Introduction#
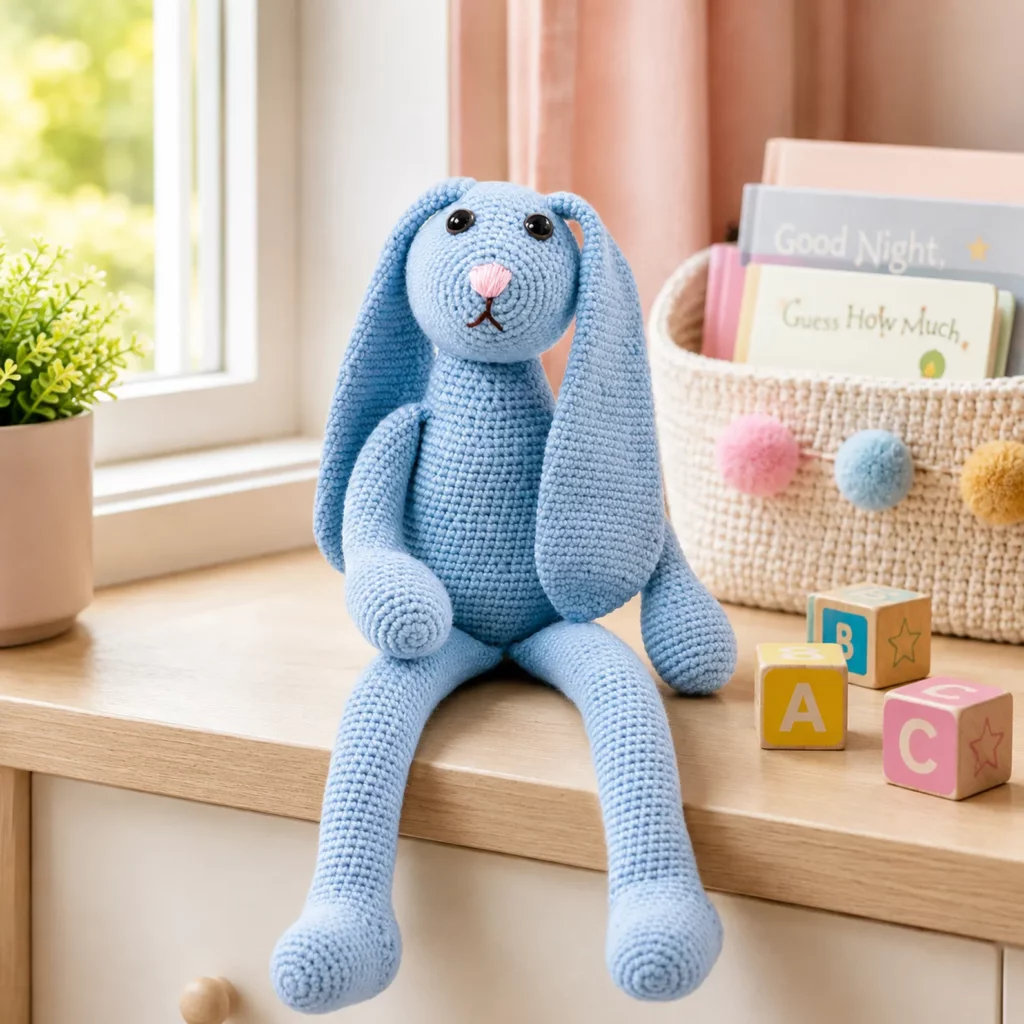
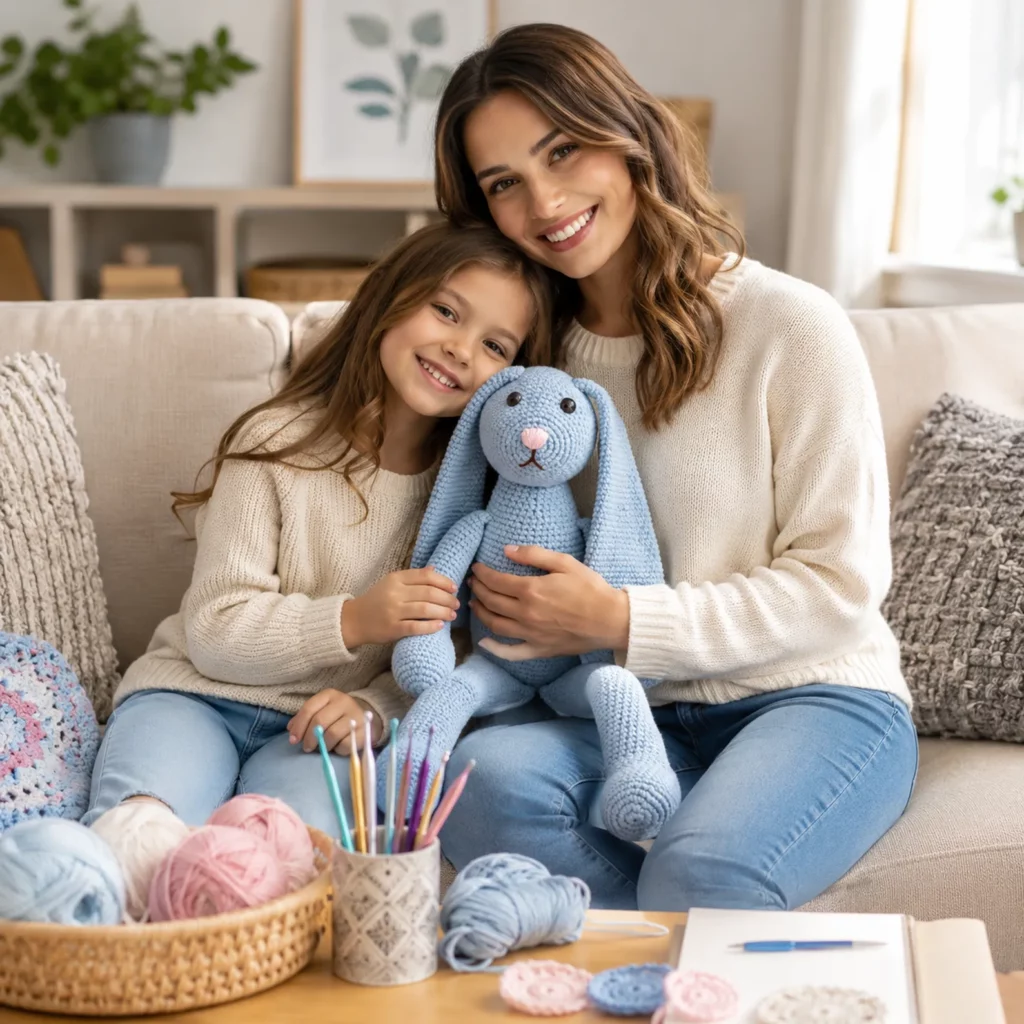
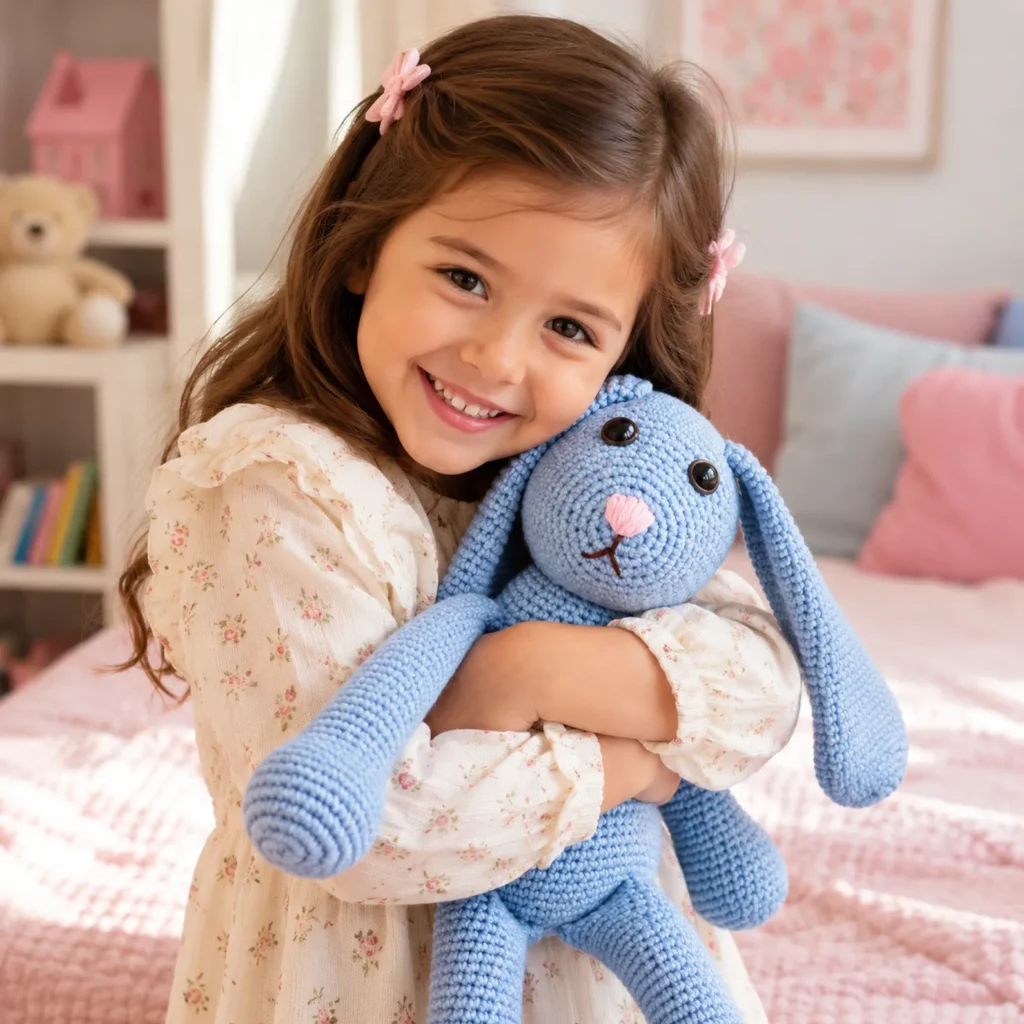
Few handmade projects are as heartwarming as a soft crochet bunny. This Long-Eared Crochet Bunny combines classic amigurumi techniques with an elegant minimalist design to create a lovable companion that’s perfect for children, nursery décor, and thoughtful handmade gifts.
Explore more beginner amigurumi crochet patterns in our pattern library.
Featuring oversized floppy ears, long dangling legs, embroidered facial details, and a sweet sitting pose, this bunny has a timeless appeal that never goes out of style. The simple shape allows beginners to enjoy the project while giving experienced crocheters plenty of opportunities to personalize colors and accessories.
Whether displayed on a nursery shelf, tucked into an Easter basket, or treasured as a bedtime companion, this adorable bunny is sure to become a favorite handmade keepsake.
Whether you’re searching for a free crochet pattern, an easy crochet pattern, a crochet tutorial, DIY crochet project, or crochet for beginners, this charming bunny is a rewarding project you’ll enjoy making again and again.
Detailed Description of the Crochet Pattern#
This crochet pattern creates a classic amigurumi bunny with a rounded head, elongated body, extra-long floppy ears, slender arms and legs, and embroidered facial features. The toy is worked primarily in continuous rounds using basic stitches, then assembled to create a soft, cuddly rabbit with plenty of personality.
The oversized ears give the bunny its signature look, while the long limbs allow it to sit naturally on shelves, chairs, or nursery furniture. The minimalist face adds timeless charm, making this toy suitable for babies, children, and collectors alike.
Its soft construction makes it perfect for cuddling, while the durable stitching ensures it can withstand everyday play.
Design Features
- Classic amigurumi bunny
- Long floppy ears
- Extra-long legs and arms
- Rounded head
- Soft embroidered nose
- Minimalist facial design
- Sitting pose
- Lightweight construction
Perfect for:
- Baby shower gifts
- Easter baskets
- Nursery decorations
- Children’s toys
- Handmade keepsakes
- Birthday presents
- Home décor
- Craft fairs
Skill Level Explanation#
Easy to Intermediate
This easy crochet pattern is ideal for:
- Confident beginners
- Intermediate crocheters
- Amigurumi enthusiasts
- Handmade gift makers
- Weekend crochet projects
Most pieces are crocheted separately using simple increases and decreases before being assembled.
Skills You’ll Learn
- Magic ring technique
- Working in continuous rounds
- Invisible decreases
- Stuffing evenly
- Sewing amigurumi pieces
- Embroidering facial features
- Symmetrical assembly
Materials Needed#
Yarn
Choose soft yarn suitable for stuffed toys, including:
- Cotton yarn
- Cotton blend
- Baby yarn
- Soft acrylic
- Plush yarn (optional)
Suggested Colors
Popular bunny color options include:
- Baby blue
- White
- Cream
- Gray
- Pink
- Beige
- Lavender
- Mint green
Customize the nose and embroidery with contrasting colors for added personality.
Crochet Hook
Recommended hook sizes:
- 2.5 mm
- 3 mm
- 3.5 mm
Use a smaller hook than normally recommended to create tight stitches that prevent stuffing from showing.
Additional Supplies
- Polyester fiberfill
- Safety eyes (optional)
- Embroidery floss
- Yarn needle
- Stitch markers
- Scissors
For babies under three years old, embroidered eyes are recommended instead of plastic safety eyes.
Stitches & Techniques Explained#
Magic Ring
Creates a tightly closed starting point for the head and body.
Single Crochet (sc)
Forms the dense fabric used throughout the bunny.
Increase (inc)
Adds stitches gradually to shape the rounded head and body.
Invisible Decrease (dec)
Produces smooth shaping without visible gaps.
Continuous Rounds
Most amigurumi pieces are worked in a spiral without joining rounds.
Embroidery
Simple embroidery creates the bunny’s nose and mouth, adding a sweet handmade expression.
Step-by-Step Instructions#
Crochet the Head
Begin with a magic ring and increase evenly until the desired head size is reached. Continue working even rounds before shaping with decreases and stuffing firmly.
Make the Body
Crochet the body from the bottom upward, gradually increasing and decreasing to create a gently rounded shape. Stuff evenly as you work.
Crochet the Ears
Create two long floppy ears using simple rows or rounds, depending on the construction. Light stuffing is optional if you prefer more structure.
Make the Arms and Legs
Crochet four long limbs with smooth shaping. Stuff lightly to maintain flexibility while allowing the bunny to sit naturally.
Assemble the Bunny
Attach the head securely to the body, then sew on the ears, arms, and legs. Ensure all pieces are symmetrical before fastening permanently.
Add the Face
Attach safety eyes or embroider the facial features. Stitch the nose and mouth carefully to give the bunny a gentle, friendly expression.
Finish the Toy
Check for loose ends, adjust the stuffing if needed, and gently shape the bunny before displaying or gifting.
Common Mistakes and How to Avoid Them#
Visible Stuffing
Use a smaller crochet hook to create tighter stitches.
Uneven Limbs
Count every round carefully so all arms and legs match in length.
Crooked Ears
Pin both ears in place before sewing them permanently.
Loose Assembly
Use strong matching yarn and sew each piece securely with multiple passes.
Lumpy Stuffing
Add small amounts of stuffing gradually rather than large handfuls.
Expert Tips for Better Results#
Stuff the head firmly so it maintains its round shape.
Use invisible decreases for smoother curves.
Pin every body part before sewing to ensure perfect placement.
Embroider the facial features after attaching the head to the body for better symmetry.
Add a small scarf, bow, dress, or sweater to personalize your bunny.
Consider using pastel yarns for a classic nursery-inspired look.
Variations and Customization Ideas#
Easter Bunny
Add a colorful bow and tiny carrot accessory.
Sleeping Bunny
Replace safety eyes with embroidered closed eyes.
Baby Bunny
Reduce the body size for a miniature version.
Plush Bunny
Use velvet or chenille yarn for an ultra-soft finish.
Dressed Bunny
Crochet removable sweaters, dresses, overalls, or scarves.
Holiday Bunny
Create seasonal versions with festive accessories.
Personalized Gift
Embroider a child’s name onto a tiny sweater.
Family Set
Make multiple bunnies in different sizes and colors.
Benefits of This Crochet Project#
This crochet bunny is a wonderful combination of simplicity and charm. The project uses basic amigurumi techniques, making it approachable for beginners while still offering enough detail to keep experienced crocheters engaged.
Its timeless design means it can be treasured for years as both a toy and a keepsake. Because the bunny is highly customizable, you can create unique versions for birthdays, holidays, baby showers, or nursery decorations.
The finished bunny is lightweight, portable, and perfectly sized for little hands, making it a meaningful handmade gift that will be loved for years.
Internal Linking Suggestions#
You may also like:
- Crochet Teddy Bear Pattern
- Easy Crochet Elephant Pattern
- Crochet Lamb Pattern
- Crochet Fox Amigurumi
- Crochet Baby Blanket Pattern
- Crochet Bunny Lovey Pattern
- Crochet Doll Pattern
- Beginner Amigurumi Tutorial
FAQ#
Is this bunny suitable for beginners?
Yes. Confident beginners who know basic amigurumi techniques can successfully complete this project.
What yarn works best?
Cotton and soft acrylic yarns are ideal because they provide excellent stitch definition and durability.
Can I use plush yarn?
Yes. Plush yarn creates an extra-soft bunny but may be slightly more challenging to work with.
Is this toy safe for babies?
If making it for babies or toddlers, use embroidered facial features instead of plastic safety eyes.
How large is the finished bunny?
The size depends on your yarn and hook choice, but most versions measure between 12 and 20 inches tall, including the ears.
Can I wash the finished bunny?
Yes. Most cotton and acrylic yarns can be hand washed and laid flat to dry, making the bunny easy to keep clean.
Conclusion#
This Long-Eared Crochet Bunny is a timeless amigurumi project that combines simple construction with irresistible charm. Its floppy ears, gentle expression, and cuddly design make it perfect for nurseries, baby gifts, Easter celebrations, or everyday play. Whether you’re looking for a free crochet pattern, an easy crochet pattern, or a relaxing DIY crochet project, this adorable bunny is sure to become one of your favorite handmade creations.


