


Introduction#
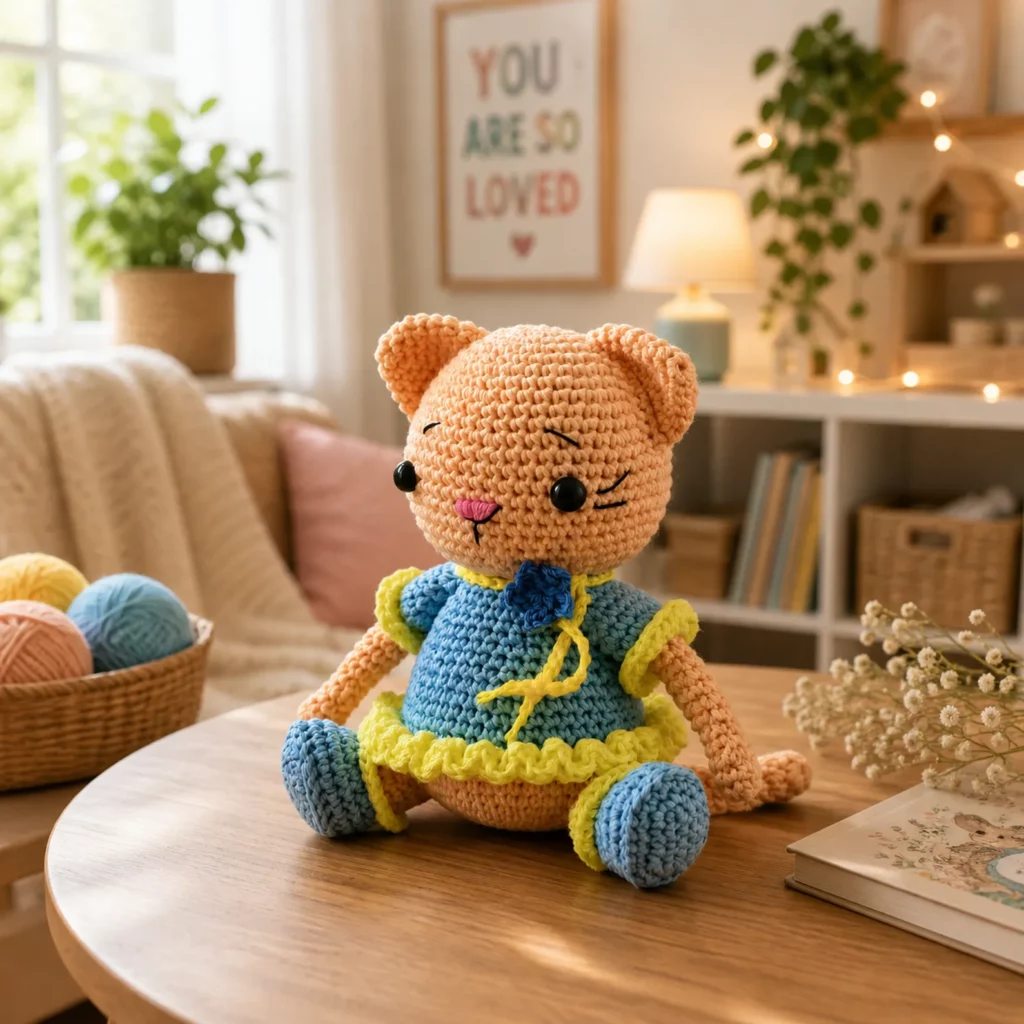
There’s a reason teddy bears never go out of style: they’re comforting, timeless, and instantly giftable. Add a little outfit—like a ruffle dress with bright trim and a tiny bow—and you’ve got a crochet project that feels extra special without being overwhelming to make. This teddy bear doll is the perfect “heirloom-style” amigurumi: soft enough to hug, cute enough to display, and detailed enough to look like something you’d find in a handmade boutique.
Explore more beginner amigurumi crochet patterns in our pattern library.
This crochet pattern is written as a complete, beginner-friendly crochet tutorial. You’ll learn how to shape a large round head, build a stable seated body, and add charming details like ears, embroidered lashes, a small snout, and a simple dress with ruffle edging. The design is also very customizable—swap dress colors, change the bow into a flower, or make the bear into a bunny, kitten, or puppy just by adjusting the ears and muzzle.
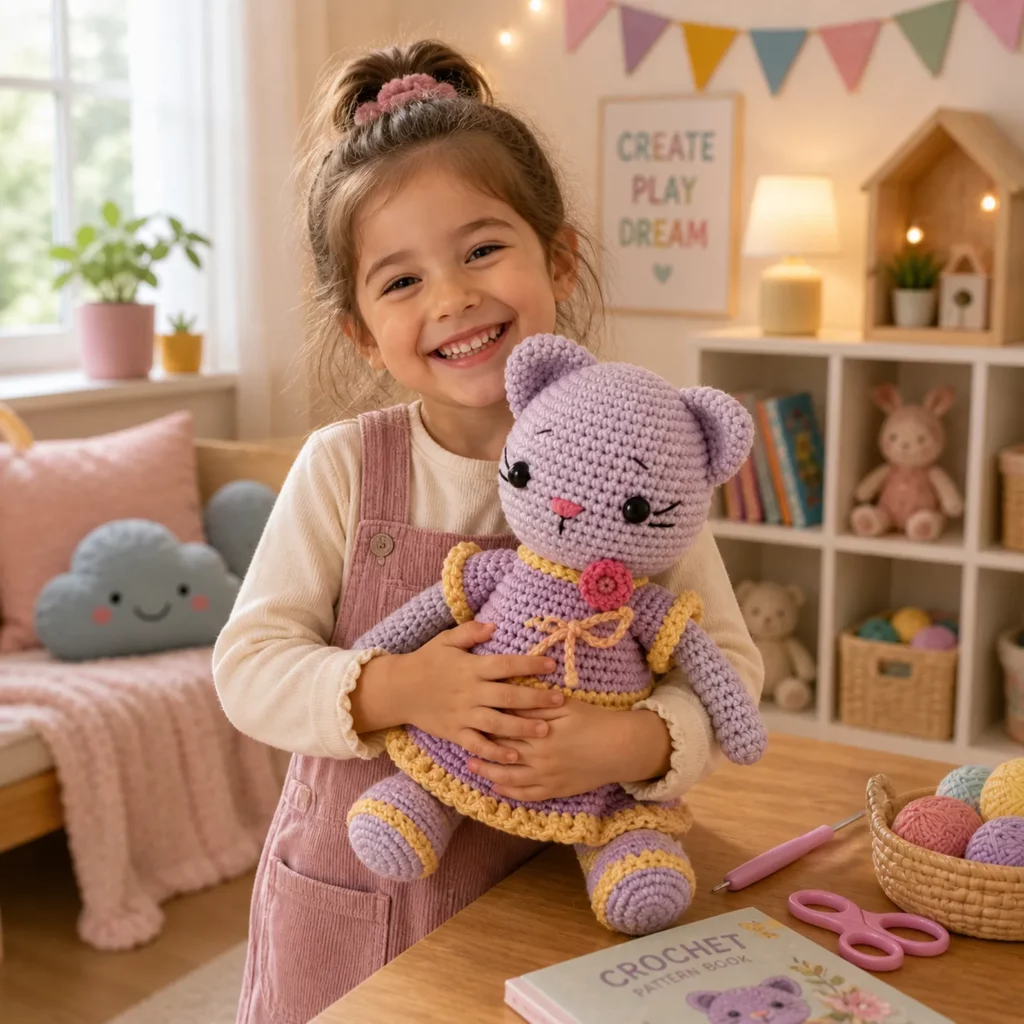
If you’re looking for a free crochet pattern that creates a truly “wow” gift (birthday, baby shower, holiday, or just because), this teddy bear doll is a wonderful choice.
Detailed Description of the Crochet Pattern#
This doll-style bear is made from classic amigurumi shapes, then dressed up with a simple outfit.
What you’ll crochet:
- Large teddy bear head (round and smooth, with cute embroidered eyelids)
- Small rounded ears attached high on the head
- Simple snout/nose area with embroidered details
- Plush body designed to sit (a wider base helps it stay upright)
- Arms and legs shaped as soft tubes with slightly rounded ends
- Dress with a contrast collar/neckline and a ruffled hem
- Optional shoes or booties to complete the look
- Optional bow + neck ties for extra personality
Construction style:
- Head and body are worked in continuous rounds of single crochet for a clean plush texture.
- Outfit pieces are crocheted separately (or directly onto the body) and then attached, which keeps finishing neat.
This is a great “confidence builder” project because it teaches the most important amigurumi skills—shaping, symmetry, and assembly—while still feeling fun and creative.
Skill Level Explanation#
This is an easy-to-intermediate crochet pattern.
Beginner-friendly parts:
- Single crochet in the round
- Increasing and invisible decreasing
- Basic stuffing and shaping
- Simple sewing of parts
Intermediate parts (still very doable):
- Clean placement of facial features
- Attaching outfit trim (ruffles) evenly
- Sewing multiple pieces neatly (dress, bow, ears)
If you’ve made a basic amigurumi ball or small plush before, you can absolutely make this bear. If you’re newer, go slowly and pin pieces before sewing—assembly is where the “professional look” happens.
Materials Needed#
Yarn
For a teddy bear doll, choose yarn that feels soft but still holds shape.
Recommended yarn weights:
- Worsted weight (#4) for a medium-to-large plush
- DK (#3) for a slightly smaller, more delicate doll
Great yarn choices:
- Soft acrylic (easy care, budget-friendly)
- Cotton or cotton-blend (crisp stitch definition)
- Wool blend (warm, classic plush feel)
Suggested colors:
- Bear: warm tan/light brown
- Dress: blue (main)
- Trim: lime green (ruffle + sleeve trim)
- Accent: yellow (neck ties)
- Bow: blue (or match trim)
- Nose/mouth: black + pink embroidery
Hook
Use a hook smaller than the yarn label suggests (amigurumi needs tight fabric):
- Worsted: 3.0–3.5 mm
- DK: 2.5–3.0 mm
Notions
- Fiberfill stuffing
- Stitch marker
- Yarn needle
- Scissors
- Safety eyes (optional): 10–14 mm depending on size
- Embroidery thread/yarn for eyelids, mouth, nose, and blush
- Optional: buttons (if adding decorative buttons to outfit)
- Optional: pipe cleaner/wire (display-only; not recommended for children’s toys)
Stitches & Techniques Explained#
Abbreviations (US terms)
- MR = magic ring
- sc = single crochet
- inc = increase (2 sc in one stitch)
- dec = invisible decrease (sc2tog through front loops)
- sl st = slip stitch
- ch = chain
- hdc = half double crochet
- dc = double crochet
- BLO/FLO = back loop only / front loop only
Invisible decrease
Invisible decreases keep your bear’s head smooth and rounded. They’re especially important on large pieces where shaping is obvious.
Neat color changes
For outfit color changes, change color on the last yarn-over of the previous stitch so the new stitch starts cleanly.
Ruffle trim
Ruffles happen when you add extra stitches (increases) into a round. A simple ruffle often uses:
- 2–3 stitches in each stitch around
- or shell groups like (dc, ch, dc) repeated
Step-by-Step Instructions#
Notes:
- Work in continuous rounds unless stated.
- Use a stitch marker in the first stitch of each round.
- Stuff firmly but don’t overstuff—overstuffing stretches stitches and can show stuffing.
Head (tan)
R1: MR 6 sc [6]
R2: inc x6 [12]
R3: (sc, inc) x6 [18]
R4: (2 sc, inc) x6 [24]
R5: (3 sc, inc) x6 [30]
R6: (4 sc, inc) x6 [36]
R7: (5 sc, inc) x6 [42]
R8: (6 sc, inc) x6 [48]
R9: (7 sc, inc) x6 [54]
R10–R14: sc around [54]
Eye placement:
Place safety eyes between R12–R13 about 10–12 stitches apart. (Adjust for your preferred expression.)
Begin shaping down:
R15: (7 sc, dec) x6 [48]
R16: (6 sc, dec) x6 [42]
R17: (5 sc, dec) x6 [36]
R18: (4 sc, dec) x6 [30]
Stuff firmly and shape into a smooth ball.
R19: (3 sc, dec) x6 [24]
R20: (2 sc, dec) x6 [18]
R21: (sc, dec) x6 [12]
R22: dec x6 [6]
Fasten off, close, weave in.
Ears (make 2, tan)
R1: MR 6 sc [6]
R2: inc x6 [12]
R3: (sc, inc) x6 [18]
R4: sc around [18]
Flatten and sew closed. Leave a tail.
Sew ears high on the head, slightly toward the sides.
Snout/Muzzle (tan)
R1: MR 6 sc [6]
R2: inc x6 [12]
R3: (sc, inc) x6 [18]
R4–R5: sc around [18]
Lightly stuff. Sew centered below eyes.
Embroider:
- Nose (small triangle or oval in black)
- Mouth line (simple vertical + small curve)
- Optional blush cheeks in pink
Optional eyelids/eyelashes:
- Stitch short curved lines above the eyes for a sleepy, sweet expression.
Body (tan)
R1: MR 6 sc [6]
R2: inc x6 [12]
R3: (sc, inc) x6 [18]
R4: (2 sc, inc) x6 [24]
R5: (3 sc, inc) x6 [30]
R6: (4 sc, inc) x6 [36]
R7–R10: sc around [36]
R11: (4 sc, dec) x6 [30]
R12–R13: sc around [30]
R14: (3 sc, dec) x6 [24]
R15: sc around [24]
Stuff firmly, especially the base so it sits.
R16: (2 sc, dec) x6 [18]
R17: (sc, dec) x6 [12]
R18: dec x6 [6]
Fasten off, leave tail to sew head onto body.
Sew head centered on body and reinforce with a second pass of stitching for stability.
Arms (make 2, tan)
R1: MR 6 sc [6]
R2: (sc, inc) x3 [9]
R3–R10: sc around [9]
Lightly stuff. Flatten and sew closed. Leave tail.
Attach arms slightly below head join.
Legs (make 2, tan)
R1: MR 6 sc [6]
R2: inc x6 [12]
R3: sc around [12]
R4: (2 sc, dec) x3 [9]
R5–R10: sc around [9]
Stuff firmly. Flatten and close. Leave tail.
Sew legs wide enough to support sitting.
Dress Outfit#
You can make the dress as a separate piece (slip it on) or crochet it directly onto the body.
Dress (blue)
Start at neckline (make a tube that fits around upper body).
Ch enough to fit around the body just under the head (snug, not tight). Join.
Work rounds of sc or hdc for a smooth dress texture:
- 3–5 rounds for the bodice
Increase slightly for skirt:
- Evenly increase 6 times around for 1–2 rounds to flare
Continue for skirt length:
- Work 6–10 rounds (depending on desired length)
Ruffle hem (lime green)
Join trim color at the bottom edge:
- Work 2–3 stitches in each stitch around (sc or dc for fuller ruffle).
Fasten off and weave ends.
Sleeve trim (lime green)
Create small ruffles at arm openings:
- Join green yarn and work a simple ruffle: (sc, sc, inc) around or 2 sc in each stitch for a fuller edge.
Neck ties (yellow)
Ch 35–55, sl st back down chain (optional) for thickness.
Attach at neckline and tie into a bow.
Optional bow (blue)
Ch 10, sc back across, work 5–6 rows.
Wrap center tightly with yarn and stitch onto neckline.
Common Mistakes and How to Avoid Them#
- Head looks lumpy: Stuff in small tufts and shape frequently. Large heads need patient stuffing.
- Bear won’t sit: Stuff the base firmly and attach legs slightly forward and wide.
- Eyes look uneven: Pin placement first. Count stitches from center line to match both sides.
- Dress rides up: Make the neckline slightly snug and add a few stitches around the waist to keep it stable.
- Ruffle is too wavy: Reduce increases (try 2 stitches in every other stitch instead of every stitch).
Expert Tips for Better Results#
- Use cotton or cotton-blend yarn for crisp stitch definition, especially on the dress ruffles.
- Embroider eyelids after eyes are placed for the sweetest expression.
- If making this for a child, consider embroidered eyes instead of safety eyes.
- Weave ends deep into the stuffing to prevent ends from popping out later.
- Add a tiny weight pouch in the base (poly pellets in fabric) if you want extra sitting stability.
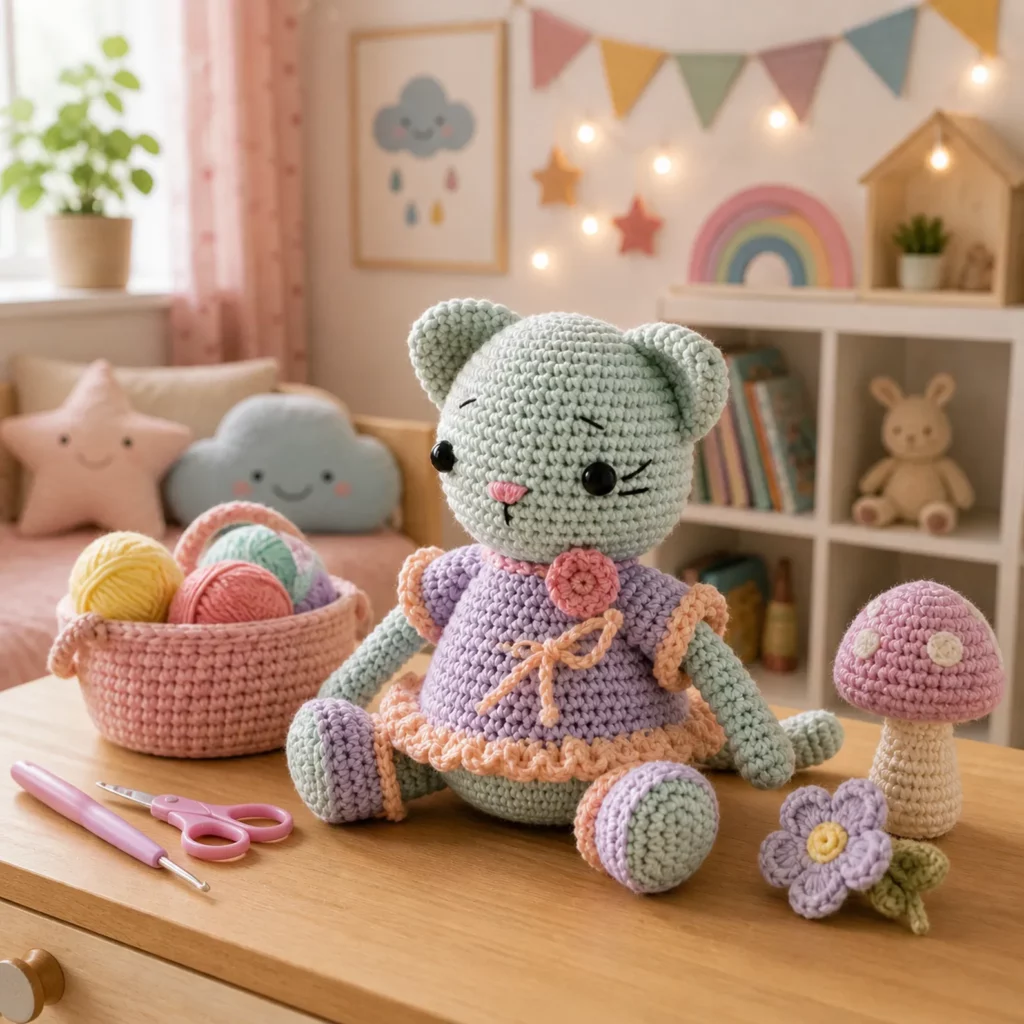
Variations and Customization Ideas#
- Change the dress into a tutu by adding an extra ruffle layer.
- Make pajamas: crochet a simple onesie instead of a dress.
- Add a tiny purse, heart, or flower accessory in the bear’s hands.
- Swap colors for seasonal themes: red/green for holidays, pastel for spring, warm orange/brown for autumn.
- Turn it into another animal by changing ears and adding a tail (bunny ears, kitty ears, puppy ears).
Benefits of This Crochet Project#
- Creates a gift-quality plush with outfit details
- Great for building amigurumi skills (shaping, assembly, accessories)
- Highly customizable for personal style and seasons
- Makes charming nursery décor and collectible-style toys
- Excellent blog topic: “crochet pattern” + “free crochet pattern” + “crochet for beginners” search intent stays strong year-round
Internal Linking Suggestions#
You may also like…
- Magic Ring Tutorial for Beginners
- Invisible Decrease Crochet Tutorial
- How to Sew Amigurumi Parts Neatly
- Easy Crochet Dress Patterns for Dolls
- Crochet Bow and Flower Appliqué Patterns
- Beginner Amigurumi Animal Patterns
FAQ Section#
Is this teddy bear crochet pattern beginner-friendly?
Yes. The body parts are simple single crochet shapes. The outfit and ruffles add detail but are still approachable.
What yarn works best for amigurumi dolls?
Worsted or DK yarn is ideal. Cotton gives crisp stitches; acrylic is soft and washable.
Can I make this without safety eyes?
Absolutely. Embroidered eyes are a great baby-safe option and still look adorable.
How do I make the bear bigger or smaller?
Keep the same stitch counts but change yarn weight and hook size. Bulkier yarn makes a larger bear; DK makes it smaller.
How do I keep the dress from slipping?
Make the neckline snug, or stitch the dress lightly to the body at the sides so it stays in place.
Can I sell finished bears made from this free crochet pattern?
Finished handmade items are typically okay to sell. If you publish your own version online, keep your photos and wording original.
Conclusion#
This teddy bear doll crochet pattern is the perfect blend of simple amigurumi shaping and charming outfit details. With a sweet face, a ruffle-trim dress, and a tiny bow, it’s a project that feels meaningful to make and truly special to gift.
If you want, tell me your yarn weight (DK or worsted) and the approximate height you want for the finished bear, and I can adjust eye size, dress length, and ruffle fullness so your teddy turns out exactly the way you imagine.


