


Introduction#
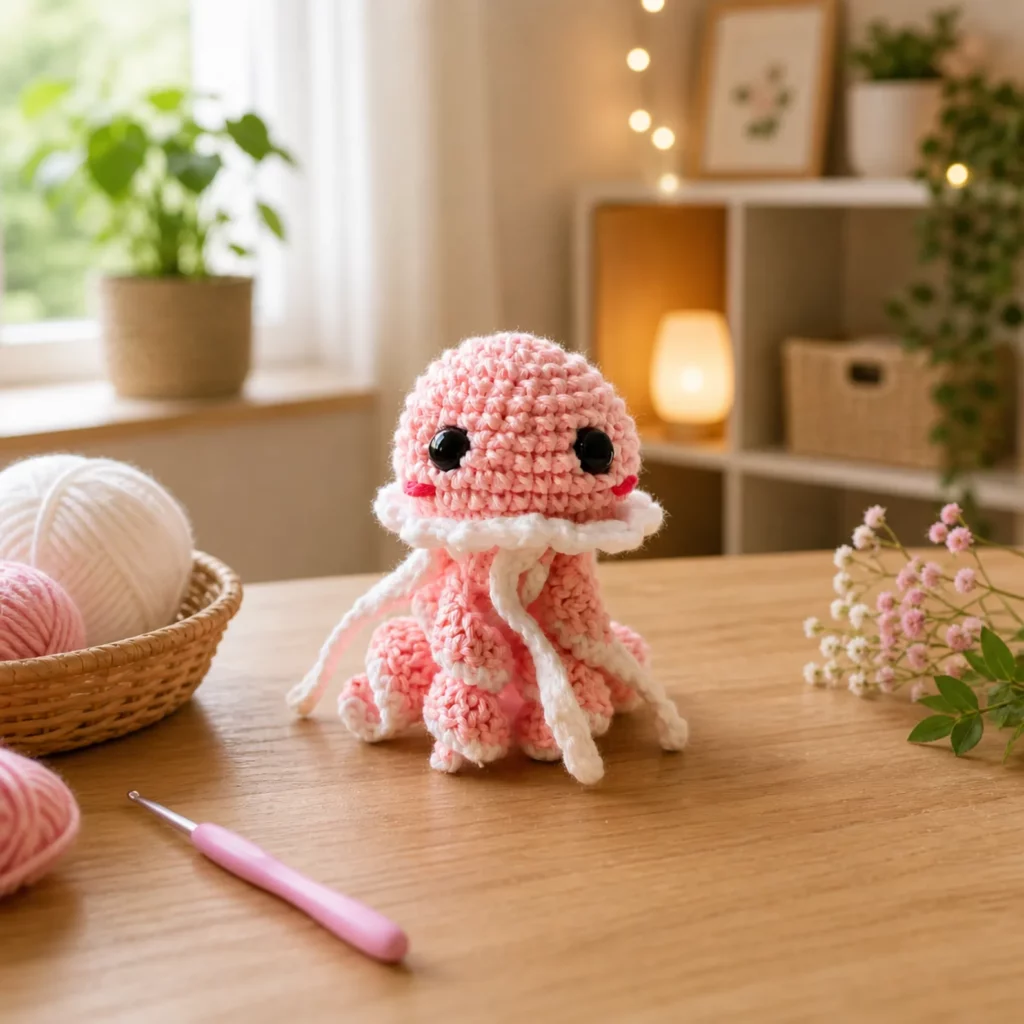
There’s something instantly calming about a jellyfish—soft, floaty, and just a little bit magical. Turn that vibe into yarn, and you get a crochet project that’s equal parts cozy plush and irresistible desk buddy. This crochet pattern is for a sweet jellyfish amigurumi with a rounded head, a delicate ruffle “collar,” and long tentacles that drape like ribbon. It’s the kind of make that works for baby gifts (with safety adjustments), ocean-themed nurseries, market prep, or simply giving yourself a tiny companion to keep near your hook and yarn.
Explore more beginner amigurumi crochet patterns in our pattern library.
What makes this project especially satisfying is how quickly it comes together. The body is a classic amigurumi sphere shape, the ruffle adds instant charm, and the tentacles are repetitive (in the best way). If you’ve been searching for a free crochet pattern that looks polished without being complicated, this one hits the sweet spot. You’ll learn shaping, clean finishing, and simple assembly—plus how to customize size, curliness, and facial expression.
Detailed Description of the Crochet Pattern#
This jellyfish is built with a few simple components that create a high-impact result:
- Rounded head/body worked in tight single crochet rounds for a smooth plush finish
- Safety eyes or embroidered eyes placed low on the face for a cute, chibi look
- Optional blush cheeks for extra personality
- Ruffle collar around the “neck” made with a shell-like increase round that flares outward
- Multiple tentacles that hang from the underside—some can be curlier, some straighter, depending on stitch choice
- Optional frill underlayer for an extra “fancy jelly” style
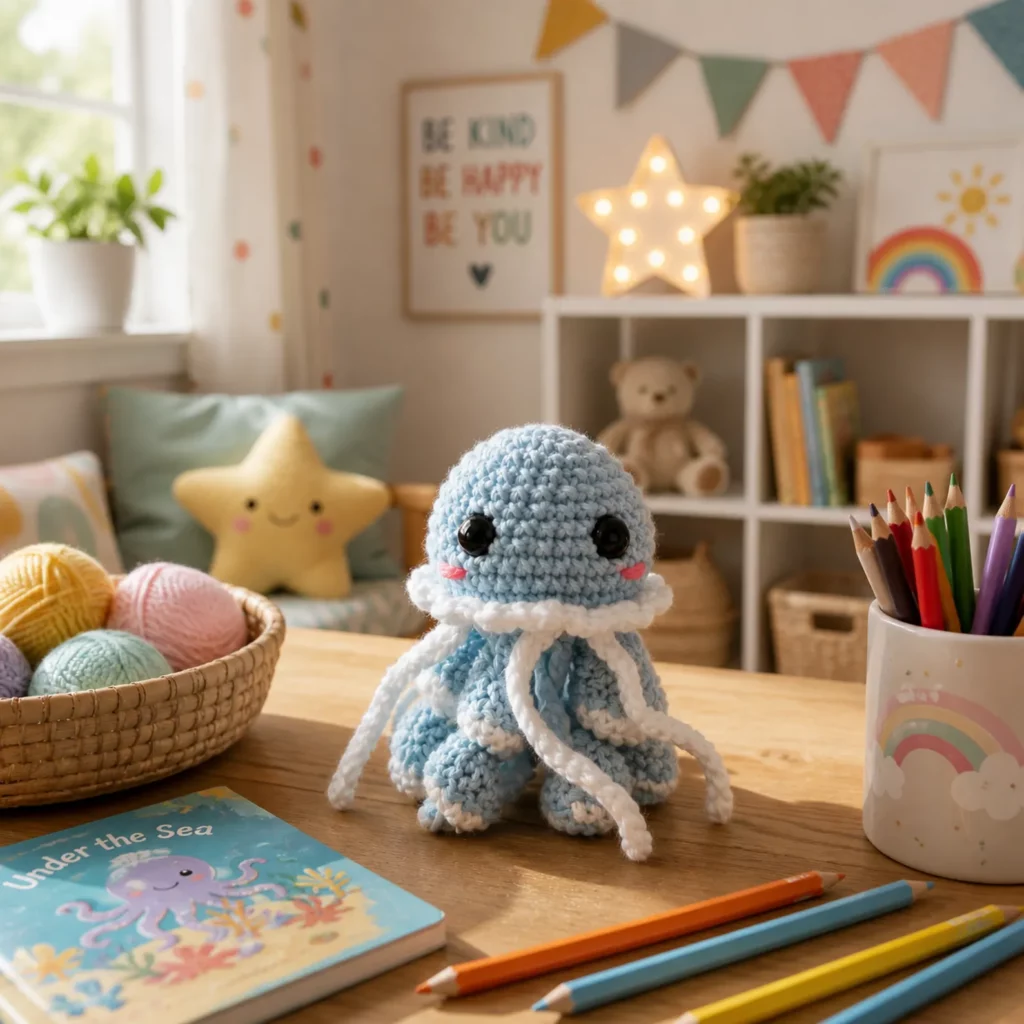
The overall silhouette is simple, but the ruffle and tentacles give it movement and softness. It’s a great DIY crochet project for using up partial skeins in pastel colors.
Skill Level Explanation#
This is an easy crochet pattern with beginner-friendly techniques. You’ll be comfortable if you can:
- work in continuous rounds
- single crochet, increase, and invisible decrease
- count stitches (a stitch marker helps a lot)
- do basic sewing and weaving in ends
- optionally: crochet simple ruffles and curls
If you’re brand new to amigurumi, you can still do this project—just take it slowly, count each round, and stuff as you go.
Materials Needed#
Yarn
Choose yarn that feels soft and shows stitches clearly.
Recommended options:
- Worsted weight (#4) for a medium plush
- DK weight (#3) for a slightly smaller, more delicate plush
- Cotton or acrylic both work (cotton = crisp definition, acrylic = extra soft)
Suggested colors:
- Pink (main body)
- White (ruffle collar and/or tentacle tips)
- Optional accent for cheeks (pink embroidery floss)
Hook
Use a smaller hook than the yarn label recommends for tight amigurumi fabric:
- Worsted: 3.0–3.5 mm
- DK: 2.5–3.0 mm
Notions
- Stitch marker
- Yarn needle
- Scissors
- Fiberfill stuffing
- Safety eyes (optional): 8–10 mm for worsted, 6–8 mm for DK
- Embroidery thread/yarn for mouth and blush
- Optional: fabric glue (tiny dab inside only, for extra-secure knots)
Stitches & Techniques Explained#
Abbreviations (US terms)
- MR = magic ring
- sc = single crochet
- inc = increase (2 sc in same stitch)
- dec = invisible decrease (sc2tog through front loops)
- sl st = slip stitch
- ch = chain
- hdc = half double crochet
- dc = double crochet
Invisible decrease
This keeps shaping smooth and reduces gaps:
- Insert hook into the front loop of next stitch, then front loop of following stitch, yarn over and pull through, yarn over and pull through two.
Curlier tentacles
Tentacles curl when the stitch count increases quickly along a strip. Two easy ways:
- Work multiple stitches into each chain (like 2–3 dc per chain)
- Or work a chain, then (inc) repeatedly in a row to force curling
Ruffle collar basics
Ruffles happen when you add more stitches than the round “needs.” Shells (like 5 dc in one stitch) are a classic way to create that flared edge.
Step-by-Step Instructions#
Notes:
- Work in continuous rounds unless stated
- Use a stitch marker in the first stitch of each round
- Stuff firmly but gently (avoid stretching stitches)
Jellyfish Head/Body (main color)
Round 1: MR, 6 sc [6]
Round 2: inc x6 [12]
Round 3: (sc, inc) x6 [18]
Round 4: (2 sc, inc) x6 [24]
Round 5: (3 sc, inc) x6 [30]
Round 6: (4 sc, inc) x6 [36]
Round 7: (5 sc, inc) x6 [42]
Round 8–Round 12: sc around [42]
Place eyes and begin stuffing:
- Place safety eyes between Round 9 and Round 10, about 7–9 stitches apart (adjust for the cutest face).
- Begin stuffing the head/body so it stays round.
Start decreasing:
Round 13: (5 sc, dec) x6 [36]
Round 14: (4 sc, dec) x6 [30]
Round 15: (3 sc, dec) x6 [24]
Round 16: (2 sc, dec) x6 [18]
Stuff more firmly—shape into a smooth dome.
Now create the underside opening (don’t close fully):
Round 17: (sc, dec) x6 [12]
Round 18: sc around [12]
Fasten off with a long tail if you want to sew a small inner base later, or keep working to attach tentacles directly.
Tip: If you want a wider bottom opening for more tentacles, stop decreasing at 18 or 24 stitches instead of 12.
Optional Mouth and Cheeks
- Mouth: embroider a small curved smile with black yarn/floss
- Cheeks: tiny pink stitches or light blush circles under each eye
Ruffle Collar (contrast color, usually white)
Join contrast yarn around the “neck” area of the jellyfish. A good placement is one round below where the eyes sit low—visually, it creates a cute collar line.
Work into one round of stitches around the body (for example, Round 11 or 12).
Ruffle round (shell ruffle):
- sl st in next st, (ch 2, 4 dc) in next st, sl st in next st
Repeat around.
This creates repeating shells with anchor slip stitches between them. If you want a fuller ruffle, use 5 dc in the shell instead of 4.
Tentacles (make 6–10)
You can mix tentacle styles for extra movement.
Curly Tentacle Style (very curly)
Ch 26 (adjust length).
In 2nd ch from hook: work 2 sc.
Then work 2 sc in each chain across.
Fasten off leaving a tail.
This creates a tight spiral curl.
Ribbon Tentacle Style (wavy and soft)
Ch 30.
In 3rd ch from hook: dc across (one dc per chain).
Now work 2 dc in each stitch across that row (or along the chain if preferred).
Fasten off.
This makes a looser, ribbon-like curl.
Make a mix:
- 3–4 curly tentacles
- 3–6 ribbon tentacles
Adjust based on how full you want the jellyfish.
Attach Tentacles
Attach tentacles evenly around the underside opening.
Two strong attachment methods:
- Sew-on: Use yarn needle to stitch each tentacle base securely to the underside stitches.
- Crochet-on: sc around the underside opening and catch the tentacle base under the stitch as you go.
If you have a 12-stitch underside opening:
- Attach 6 tentacles by placing one every 2 stitches.
If you have 18–24 stitches:
- You can attach 8–12 tentacles more evenly.
Optional Inner Base Circle (neater underside)
If you want the underside to look very finished, crochet a small circle and sew it in, trapping tentacle ends inside.
Inner base circle:
- MR 6 sc
- inc around [12]
- (sc, inc) around [18]
Stop when it matches your underside opening.
Sew into place after tentacles are attached.
Common Mistakes and How to Avoid Them#
- Stuffing shows through: go down a hook size and keep tension snug.
- Body looks lumpy: stuff with tiny tufts and shape frequently with your hands.
- Ruffle flips oddly: try fewer dc per shell, or add an anchor sl st between every shell.
- Tentacles unravel at the end: weave ends back through several stitches; for slippery yarn, make an extra knot inside.
- Eyes look “off”: place eyes with pins first, step back, then commit. One stitch difference changes expression a lot.
Expert Tips for Better Results#
- Add a tiny bit more stuffing near the face so the eyes sit on a gentle curve (cuter profile).
- Use embroidery floss for the smile—it looks cleaner than thick yarn.
- Mix tentacle lengths (some short, some long) for a natural jellyfish look.
- If your tentacles twist too tightly, reduce increases (use 2 stitches in every other chain instead of every chain).
- Want a “squishier” plush? Use softer yarn and slightly looser stuffing, but keep stitches tight.
Variations and Customization Ideas#
- Tiny keychain jellyfish: use DK yarn or even sport weight and add a hanging loop on top.
- Baby-safe jellyfish: embroider eyes instead of safety eyes; avoid small buttons/beads.
- Rainbow tentacles: use multiple colors for tentacles while keeping the body one color.
- Fancy jellyfish: add a second ruffle layer under the first with a larger shell count.
- Sleepy face: embroider curved “closed eyes” instead of using safety eyes.
- Big plush version: use bulky yarn and a larger hook (still tight), keep the same stitch counts for a bigger toy.
Benefits of This Crochet Project#
- Quick, satisfying amigurumi that looks high-value
- Great beginner practice for shaping and assembly
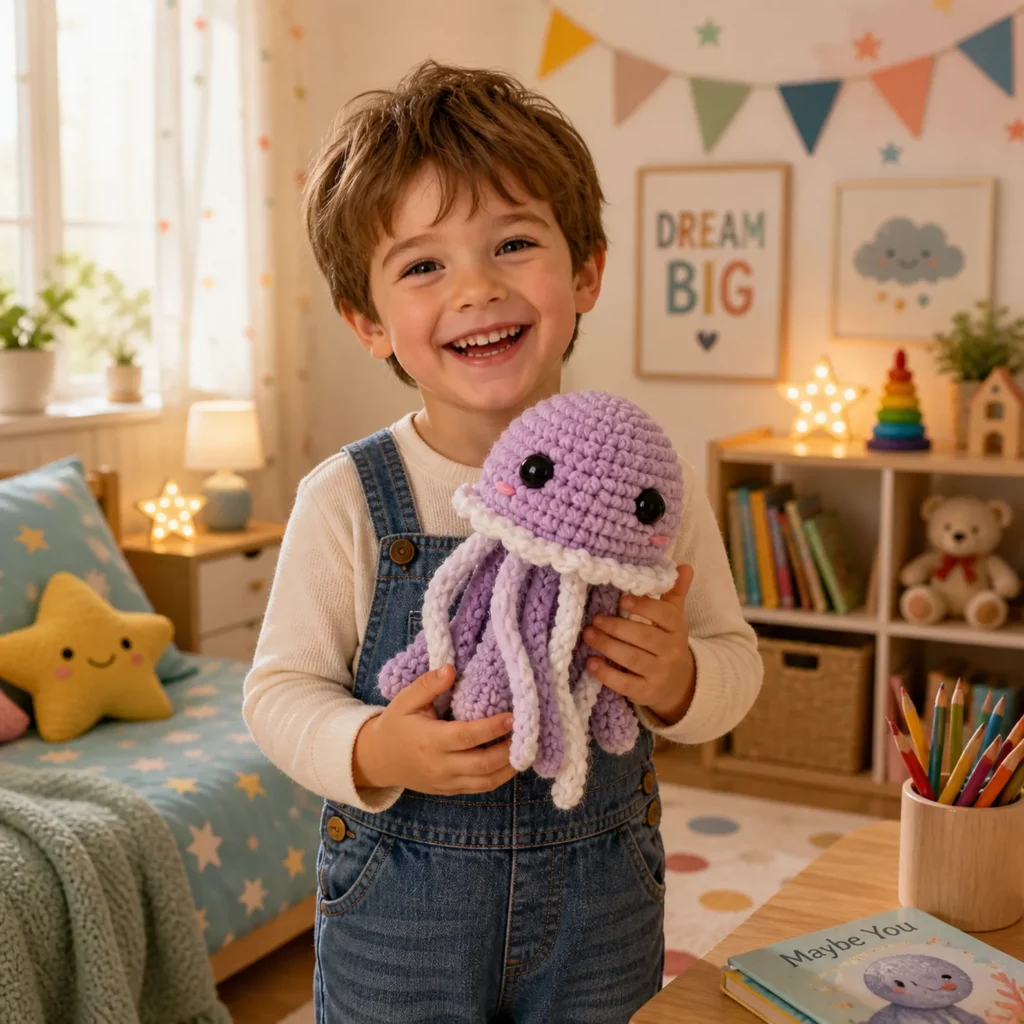
- Perfect gift idea for ocean lovers, kids, and nurseries
- Easy stash-buster project with small amounts of yarn
- Customizable colors and tentacle styles
- Strong search intent topic: “jellyfish crochet pattern,” “amigurumi crochet,” and “crochet for beginners”
Internal Linking Suggestions#
You may also like…
- Magic Ring Crochet Tutorial
- Invisible Decrease for Amigurumi
- How to Stuff Amigurumi Smoothly
- Easy Crochet Sea Creatures (whale, octopus, turtle)
- Crochet Appliqué Flowers and Ruffles
- Beginner Amigurumi Patterns
FAQ Section#
Is this crochet pattern suitable for beginners?
Yes. It uses simple rounds, basic shaping, and easy assembly. Tentacles and ruffle are repetitive and beginner-friendly.
What yarn is best for a jellyfish amigurumi?
Worsted or DK yarn works best. Cotton gives crisp stitches, acrylic gives extra softness.
Can I make this without safety eyes?
Absolutely. Embroidered eyes are a great choice, especially for baby-safe gifts.
How do I make the tentacles curl more or less?
More curl: increase more often (2–3 stitches in each chain). Less curl: reduce increases (2 stitches in every other chain).
How do I change the size of the jellyfish?
Use thicker yarn and a larger hook for bigger plush, or thinner yarn and a smaller hook for a mini version—keep stitch counts the same.
How many tentacles should I add?
For a small underside opening, 6–8 looks balanced. For a wider opening, 10–14 creates a fuller, fluffier jellyfish.
Conclusion#
This jellyfish amigurumi is the perfect blend of simple and special: a smooth rounded body, a sweet face, a frilly collar, and tentacles that drape beautifully. It’s an easy crochet pattern you’ll want to repeat in different colors because each version looks like a brand-new character.
If you tell me what yarn weight you’re using (DK or worsted) and how tall you want your jellyfish, I can adjust the tentacle counts and lengths so your finished plush matches your exact vision.


