


Introduction#
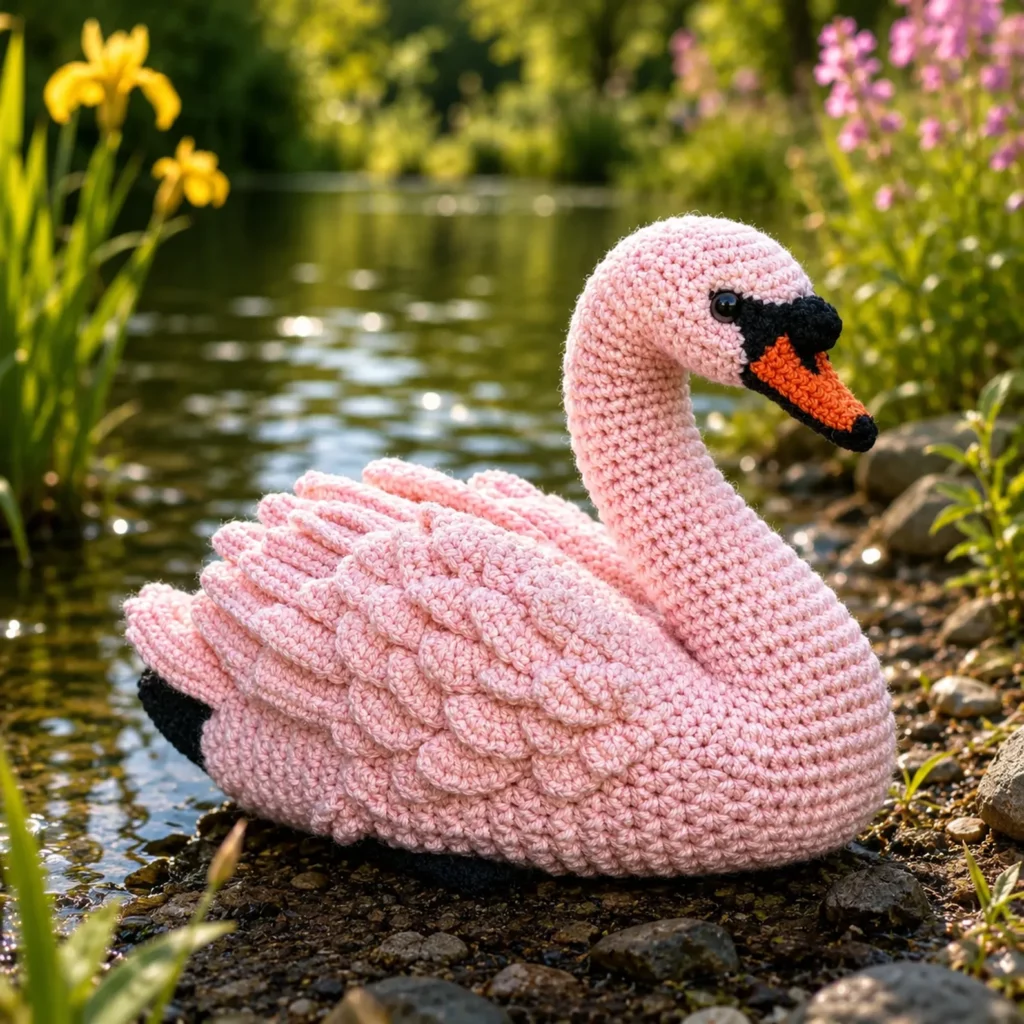
If you’re looking for a crochet project that feels elegant and “wow” without being complicated stitch-wise, a swan amigurumi is such a perfect choice. Swans have a naturally graceful shape, and that translates beautifully into crochet: a smooth round body, a long curved neck, and layered wings that look like real feathers when you add texture.
Explore more beginner amigurumi crochet patterns in our pattern library.
This crochet pattern is written as a detailed crochet tutorial so you can follow it confidently even if you’re newer to shaped plushies. You’ll learn how to build a sturdy body that sits nicely, how to make a neck that holds its curve, how to create that signature swan wing layering, and how to finish with a clean two-tone beak and eye placement that makes the whole plush come alive.
Detailed Description of the Crochet Pattern#
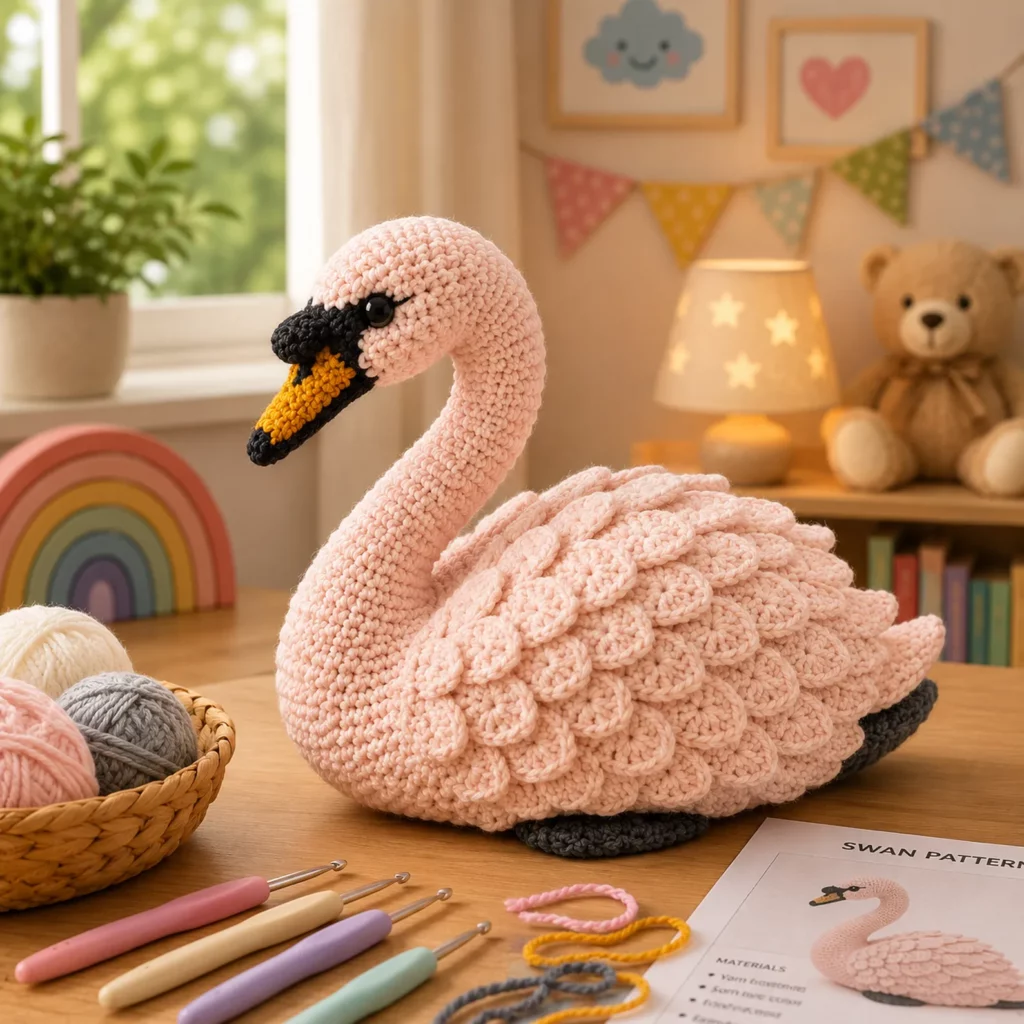
This amigurumi swan is designed as a sitting or floating-style plush with a low, rounded body and a long, elegant neck. The wings are the star detail: they’re made as layered feather pieces that overlap along the back, giving the swan a realistic texture without needing complicated lace stitches.
Parts you’ll make
- Body (white): a wide oval shape that forms the base and “float” silhouette
- Neck (white): a long tube with gentle shaping so it curves upward
- Head (white): small rounded head attached to the neck
- Beak (orange + black): two-tone beak with a black mask area at the base
- Wings (white): layered feather panels stacked along the sides/back
- Tail tip (black optional): a small black accent at the back for contrast
- Base support (optional): a small weight pouch to help it sit steady
How it’s assembled
- Crochet body first and stuff firmly
- Crochet neck and head, attach securely
- Crochet wings as separate feather panels and sew in layers
- Add beak and final facial details
- Shape the neck with stitches or optional reinforcement so it holds the curve
Skill Level Explanation#
Skill Level: Confident Beginner to Intermediate Beginner
You’ll do great if you already know
- Magic ring
- Single crochet (sc)
- Increasing and decreasing
- Working in continuous rounds
- Basic sewing and assembly
Newer skills you’ll practice
- Shaping a long neck and keeping it stable
- Layered wing assembly (pinning and sewing in sections)
- Clean color changes for beak details
- Balancing stuffing so the body looks smooth and sits flat
This is an easy crochet pattern in stitches, but the finishing details make it look advanced.
Materials Needed#
Yarn
Smooth yarn gives the cleanest swan look, especially for the white body.
Recommended yarn weights
- Worsted (Category 4) for a medium plush
- DK (Category 3) for a smaller swan with finer wing layers
Colors
- A: White (body, wings, neck, head)
- B: Orange (beak)
- C: Black (beak mask, optional tail tip)
Yarn tips
- Cotton gives crisp stitch definition and holds shape well
- Acrylic is softer and plushier
- If using bright white, keep your hands clean while working to avoid smudges
Hook
Use a smaller hook than the yarn label suggests for tight amigurumi fabric.
- DK: 2.75–3.25 mm
- Worsted: 3.0–4.0 mm
Notions
- Stitch marker
- Yarn needle
- Scissors
- Fiberfill stuffing
- Safety eyes (8–12 mm) or embroidery thread for eyes
- Optional: pipe cleaner or floral wire for neck support (not for children)
- Optional: poly pellets in a fabric pouch for weight in base
Safety Note
If making for babies or toddlers, embroider eyes and do not use wire.
Stitches & Techniques Explained#
Common Abbreviations
- MR = magic ring
- sc = single crochet
- inc = increase (2 sc in one stitch)
- dec = decrease (invisible decrease recommended)
- sl st = slip stitch
- ch = chain
- dc = double crochet
- ( ) = repeat
- = stitch count
Invisible Decrease
Insert hook into the front loop of the next stitch, then into the front loop of the following stitch, yarn over and pull through, yarn over and pull through two. This keeps the white fabric smooth and professional.
Wing Feather Texture
The wing look comes from layering. Each feather panel has a simple scalloped edge so it reads like feathers.
Easy feather scallop edge
- (sl st, skip 1, 3 dc in next stitch, skip 1) repeat along the edge
This creates little feather bumps without complex stitches.
Neck Stability Options
Option A: No wire, stitch shaping
- Stuff lightly
- Add a few hidden anchor stitches from neck to body to hold the curve
Option B: Light reinforcement
- Insert a pipe cleaner into the neck before closing
- This keeps a graceful curve for display
Step-by-Step Instructions#
Finished Size
With worsted yarn and a 3.5 mm hook, expect around 8–12 inches (20–30 cm) long depending on body width and neck height.
Notes Before You Start
- Work in continuous rounds unless stated
- Use stitch markers
- Stuff firmly but avoid stretching stitches
- Pin pieces before sewing for symmetry
Color Key
- A = White
- B = Orange
- C = Black
Body (Color A)#
The body is worked as an oval in rounds to create a “floating” swan base.
Ch 14
Round 1: sc in 2nd ch from hook, sc in next 11, 3 sc in last ch, sc back along underside (12), 2 sc in last stitch [28]
Round 2: inc, sc 11, inc x3, sc 11, inc x2 [36]
Round 3: (sc, inc), sc 11, (sc, inc) x3, sc 11, (sc, inc) x2 [44]
Round 4: sc around [44]
Round 5: (4 sc, inc) repeat around [52]
Rounds 6–10: sc around [52]
This creates a wide base.
Shape upward
Round 11: (5 sc, dec) around [45]
Round 12: sc around [45]
Round 13: (4 sc, dec) around [36]
Round 14: sc around [36]
Round 15: (3 sc, dec) around [30]
Round 16: sc around [30]
Stuff firmly. Add a small weight pouch at the bottom if you want extra stability.
Neck opening area
Round 17: (2 sc, dec) around [24]
Round 18: sc around [24]
Round 19: (sc, dec) around [16]
Round 20: sc around [16]
Fasten off leaving a long tail. Do not close fully. This opening is where the neck attaches.
Neck (Color A)#
Round 1: 6 sc in MR [6]
Round 2: (sc, inc) around [9]
Round 3: sc around [9]
Round 4: (2 sc, inc) around [12]
Rounds 5–24: sc around [12]
Create gentle curve shaping
Round 25: (3 sc, inc) around [15]
Rounds 26–28: sc around [15]
Round 29: (3 sc, dec) around [12]
Rounds 30–34: sc around [12]
Fasten off with a long tail. Stuff lightly. If using reinforcement, insert pipe cleaner now.
Head (Color A)#
Round 1: 6 sc in MR [6]
Round 2: inc around [12]
Round 3: (sc, inc) around [18]
Round 4: (2 sc, inc) around [24]
Rounds 5–7: sc around [24]
Eye placement
- Place eyes between Rounds 6–7
- Keep them slightly forward for a gentle expression
Round 8: (2 sc, dec) around [18]
Round 9: (sc, dec) around [12]
Stuff lightly.
Round 10: dec around [6]
Fasten off and close.
Sew head to top of neck securely. Add a little extra stuffing at the join if needed.
Beak (Colors B + C)#
Start with Color B (orange)
Round 1: 4 sc in MR [4]
Round 2: (sc, inc) around [6]
Round 3: sc around [6]
Round 4: (2 sc, inc) around [8]
Round 5: sc around [8]
Switch to Color C (black)
Round 6: sc around [8]
Round 7: sc around [8]
Fasten off with a long tail.
Flatten base slightly and sew to the front of the head. Stitch the top edge tighter than the bottom to give a slight downward curve.
Optional black mask patch
If you want a cleaner “mask” look at the base of the beak, crochet a small black oval and sew it behind the beak base.
Wings (Make 2–3 Feather Layers per Side, Color A)#
These wings look best as layered panels. You can make 2 layers per side for a simpler look or 3 for a fuller feathered look.
Feather panel (make 4–6 total)
Ch 14
Row 1: sc in 2nd ch and across (13), ch 1, turn
Row 2: sc across (13), ch 1, turn
Row 3: sc2tog, sc 9, sc2tog (11), ch 1, turn
Row 4: sc across (11), ch 1, turn
Row 5: sc2tog, sc 7, sc2tog (9), ch 1, turn
Row 6: sc across (9)
Fasten off.
Feather scallop edge
Attach yarn along the long outer edge and work
- (sl st, skip 1, 3 dc in next stitch, skip 1) repeat
Fasten off with a sewing tail.
Layering method
- Smallest feather panel goes on top
- Medium feather panel goes under it
- Largest feather panel goes at the bottom
Sew panels together slightly overlapping, then sew the wing set onto the body side/back.
Tail Accent (Optional, Color C)#
If you want a dark tip at the back, make a small black wedge.
Ch 8
Row 1: sc in 2nd ch and across (7), ch 1, turn
Row 2: sc2tog, sc 3, sc2tog (5)
Fasten off and sew at the back base.
Assembly#
Attach neck to body
- Pin neck opening to body opening
- Sew securely all the way around
- Angle the neck forward slightly for a graceful posture
- Add hidden anchor stitches from neck into body to hold curve
Attach wings
- Pin layered wings along both sides/back of body
- Make sure they sit evenly
- Sew firmly along the top edges, leaving feather scallops free
Final balance check
- Set the swan on a flat surface
- If it tips, add more stuffing at the base or add a small weight pouch
- If the neck droops, add a few anchor stitches from neck to body or use a pipe cleaner inside
Common Mistakes and How to Avoid Them#
Body looks lumpy
- Use small stuffing pieces
- Stuff gradually
- Smooth with your hands as you go
Wings look uneven
- Make sure each panel has the same row count
- Pin layers before sewing
- Keep overlap consistent
Neck flops
- Stuff lightly but evenly
- Use anchor stitches
- Add reinforcement if needed
Beak looks crooked
- Mark face center with pins
- Tack beak with a few stitches, check, then sew fully
White yarn looks messy
- Weave ends neatly inside
- Avoid dragging yarn across dark colors
- Keep hands clean while working
Expert Tips for Better Results#
- Use invisible decreases everywhere for a cleaner white finish
- Add a tiny white embroidery highlight stitch on the eye for a lifelike sparkle
- If you want extra feather realism, make one additional tiny feather panel and sew it near the wing top
- Lightly steam-shape the wings flat after sewing for crisp feather layers
- For display, a weight pouch in the base makes a big difference in stability
Variations and Customization Ideas#
- Make a baby swan (cygnet) by using light gray yarn instead of white
- Add a small crown for a “princess swan” nursery theme
- Make it a couple by creating one swan with a slightly longer neck
- Use chenille yarn for a super plush “pillow swan” look (use a smaller hook and keep the fabric dense)
- Create a mini version for keychains by using DK yarn and tiny wings
Benefits of This Crochet Project#
- Elegant, display-worthy amigurumi with simple stitches
- Teaches shaping, layering, and assembly skills
- Customizable posture and neck curve
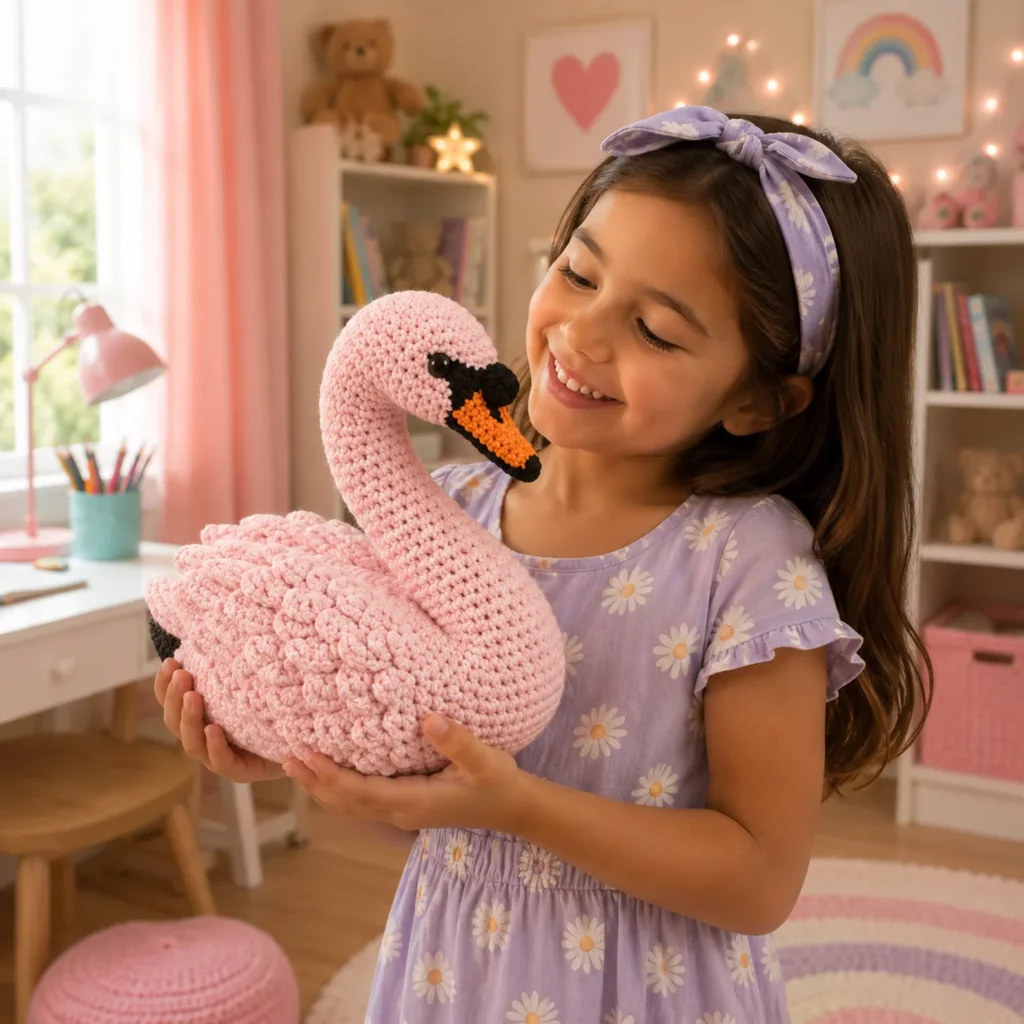
- Great gift for weddings, nurseries, and bird lovers
- Uses mostly one color, making it calm and repetitive to crochet
- High visual impact without complicated techniques
Internal Linking Suggestions#
- Invisible Decrease Tutorial for Amigurumi
- How to Sew Amigurumi Parts Neatly
- How to Add Weight to Amigurumi for Standing Plushies
- Easy Crochet Feather Edging Tutorial
- Beginner Crochet Bird Patterns Collection
FAQ#
Is this crochet pattern suitable for beginners?
Yes for confident beginners. The stitches are basic, but the wing layering and neck shaping require patience and careful assembly.
What yarn works best for a crochet swan?
Smooth cotton or acrylic in DK or worsted weight. Cotton gives crisp definition, acrylic gives softness.
How do I make the swan neck hold its shape without wire?
Stuff lightly and add hidden anchor stitches from the neck into the body to hold the curve. A weight pouch also helps balance.
Can I make it baby-safe?
Yes. Use embroidered eyes and avoid wire reinforcement. Sew wings and beak very securely.
How many wing layers should I make?
Two layers per side looks simple and neat. Three layers per side gives a fuller feathered look.
How do I make it bigger or smaller?
Change yarn weight and hook size. Keep the same stitch counts and the swan will scale naturally.
Conclusion#
A crochet swan is one of the most beautiful amigurumi makes because the shape is naturally elegant and the feather layering makes it look detailed without complicated stitches. With a firm body, a neatly curved neck, and overlapping wing feathers, you’ll end up with a plush that looks polished, giftable, and truly special.
If you tell me your yarn weight and hook size, I can suggest the best safety-eye size and how many extra neck rounds to add if you want a taller, more dramatic swan.


