


Introduction#
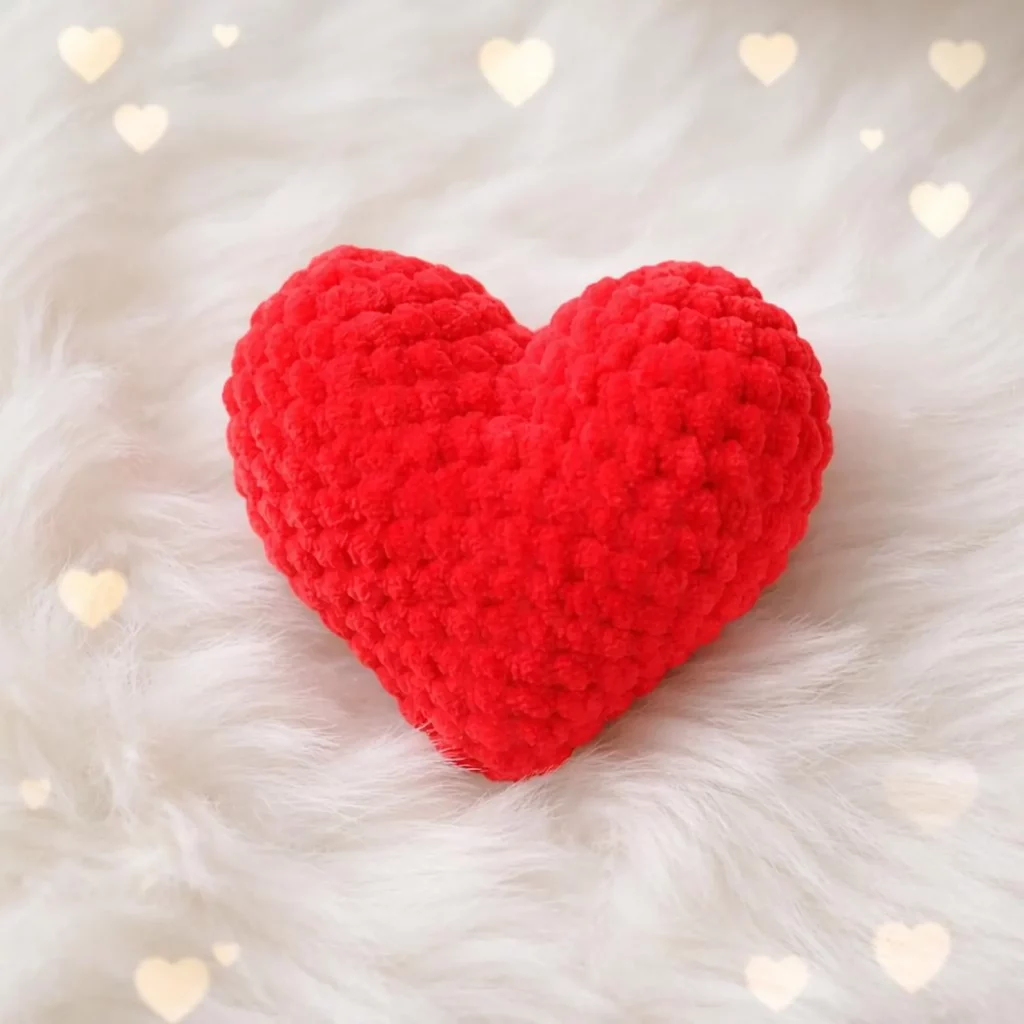
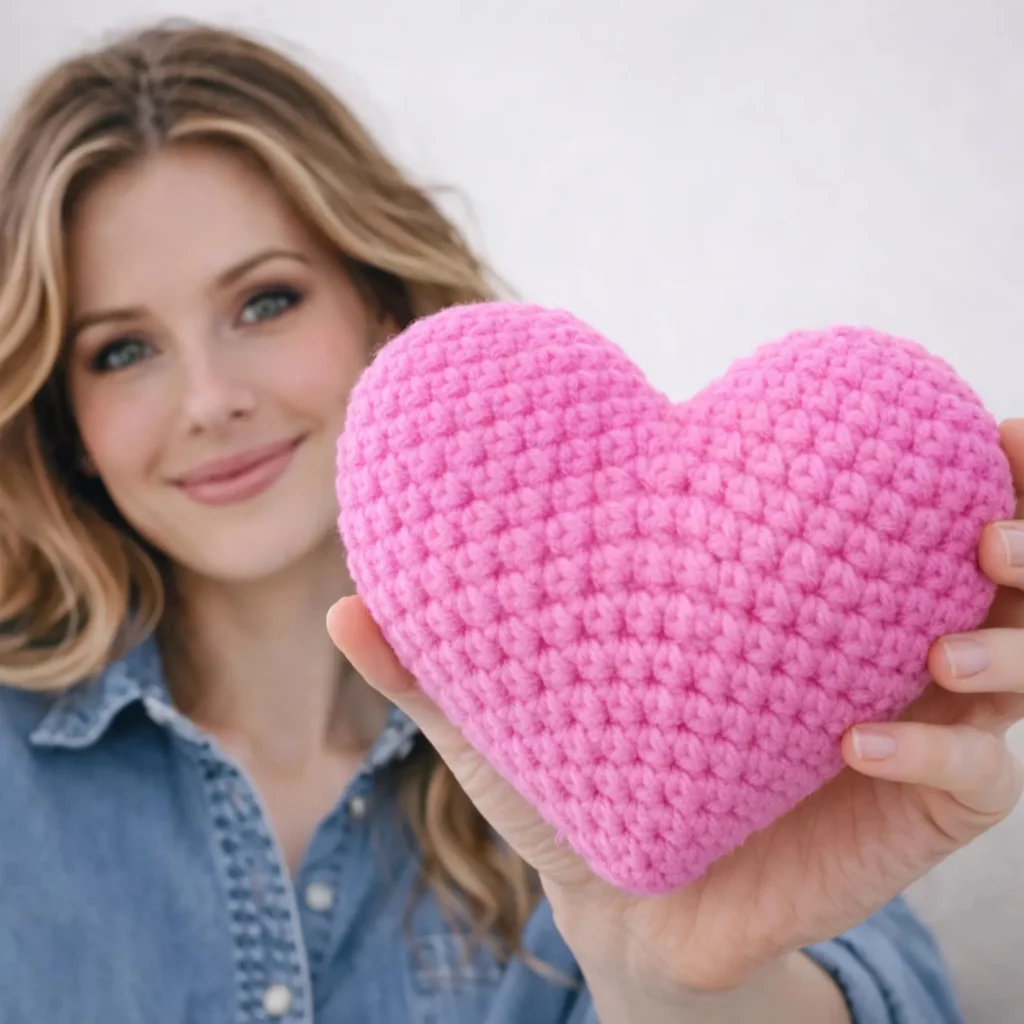
A crochet heart is one of those timeless projects that works for literally everything: quick gifts, baby shower add-ons, Valentine’s Day decor, wedding favors, “thinking of you” care packages, keychains, and even cute throw pillows when you scale it up. And when you make it with plush chenille yarn, it becomes even better—soft, squishy, and irresistibly huggable.
Explore more beginner amigurumi crochet patterns in our pattern library.
This crochet pattern is designed to help you make a plush heart that looks smooth and full (not lumpy), with a crisp heart shape that still feels rounded and cozy. The construction is beginner-friendly: you crochet two top bumps, join them, then work down into a single body and shape the point with decreases. I’ll also share practical tips for crocheting with plush yarn, because it can be hard to see stitches—once you know a few tricks, it becomes one of the most relaxing yarns to use.
Below you’ll find a complete free crochet pattern plus a detailed crochet tutorial-style walkthrough, mistake fixes, customization ideas, and FAQs—all written to be truly helpful (not thin content).
Detailed Description of the Crochet Pattern#
This plush heart is a soft 3D amigurumi-style shape made in one piece:
- Two rounded lobes at the top (worked as small spheres)
- A smooth joined body (worked in continuous rounds)
- A tapered point at the bottom using gradual decreases
- Dense, squishy texture that looks polished in plush yarn
- Clean silhouette that works for tiny hearts (keychains) or big hearts (pillows)
Because it’s mostly single crochet, this is an ideal easy crochet pattern for beginners. It’s also a great “repeat project” once you make one—hearts are addictive.
Skill Level Explanation#
This is an easy crochet pattern.
You’ll practice:
- Crocheting in continuous rounds
- Increasing and decreasing
- Joining two pieces together
- Stuffing and shaping evenly
- Weaving in ends neatly
If you’re new to amigurumi, this project is a gentle introduction. If you’re experienced, it’s a relaxing make with a high-quality result.
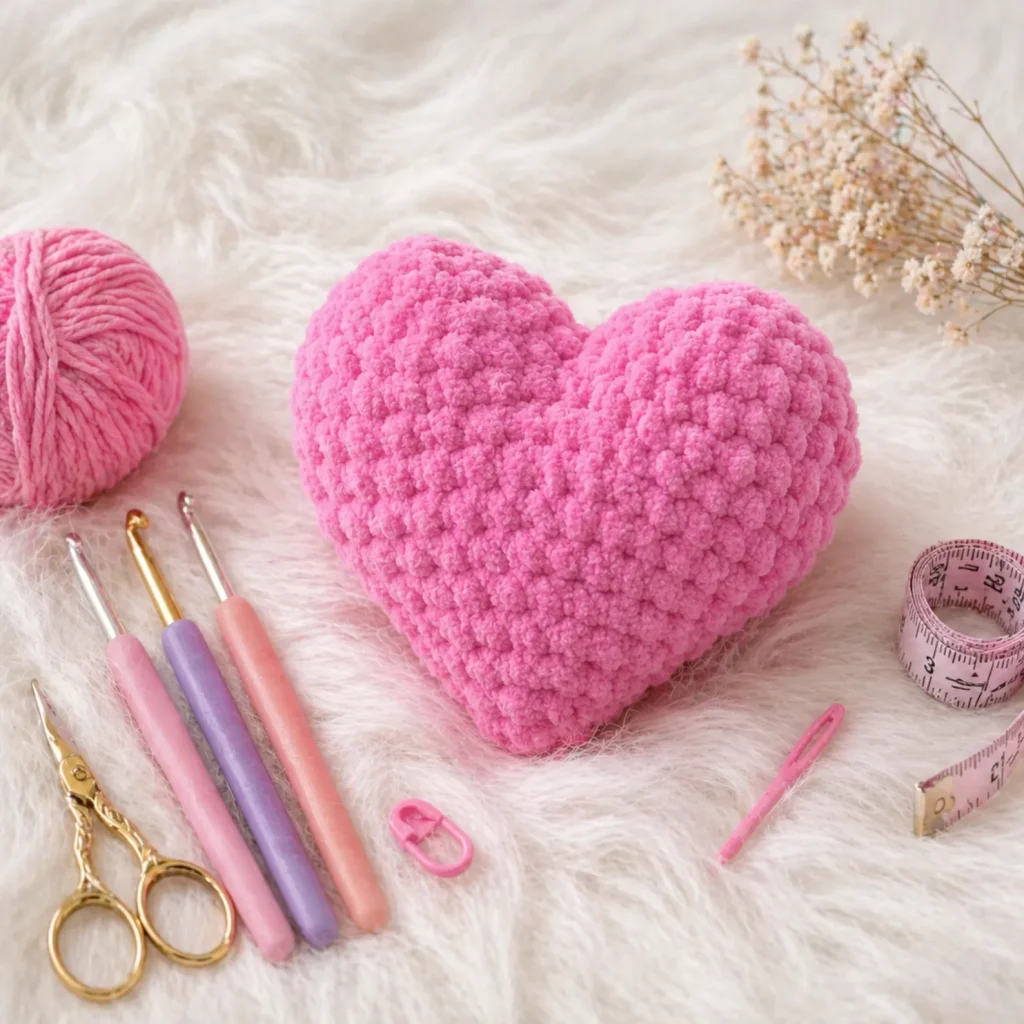
Materials Needed#
Yarn
For the super soft look, use super bulky (#6) chenille/blanket yarn.
Good yarn choices:
- Chenille/blanket yarn (#6) for a plush heart
- Bulky (#5) yarn for a slightly firmer heart
- Worsted (#4) for a smaller heart with more stitch definition (great for garlands)
Color ideas:
- Classic red for a romantic look
- Pink, white, or pastel for baby gifts
- Ombre yarn for a “fancy” look with no color changes
- Neutral cream/beige for modern home decor
Hook
Choose a hook that creates a dense fabric (stuffing shouldn’t show):
- Plush yarn (#6): 6.0–7.0 mm (start at 6.5 mm)
- Bulky (#5): 5.5–6.5 mm
- Worsted (#4): 3.0–4.0 mm
Notions
- Fiberfill stuffing
- Stitch marker (highly recommended, especially for plush yarn)
- Yarn needle
- Scissors
- Optional: poly pellets in a fabric pouch (for a weighted heart)
- Optional: ribbon (for hanging), keyring, or gift tag
Stitches & Techniques Explained#
Abbreviations (US terms)
- MR = magic ring
- sc = single crochet
- inc = increase (2 sc in same stitch)
- dec = invisible decrease (sc2tog through front loops)
- sl st = slip stitch
- ch = chain
- ( ) = repeat
- = stitch count
Plush yarn tips (the ones that actually help)
- Count by touch: feel each stitch “V” rather than trying to see it.
- Use extra markers: place a second marker halfway around long rounds.
- Slow down on decreases: plush yarn hides decreases beautifully, but it also makes them easy to miss.
- Stuff in tiny tufts: big chunks of stuffing make lumps more obvious in rounded shapes.
Invisible decrease
Insert hook into the front loop of the next stitch, then front loop of the following stitch, yarn over and pull through, yarn over and pull through two. This keeps the surface smooth.
Step-by-Step Instructions#
Notes:
- Work in continuous rounds unless stated.
- Use a stitch marker for the first stitch of each round.
- Stuff as you go, especially on plush yarn projects.
This pattern makes a medium plush heart with plush yarn. To make it bigger, add extra increase rounds and extra even rounds (explained in the customization section).
Top Lobes (make 2)
Round 1: MR, 6 sc [6]
Round 2: inc x6 [12]
Round 3: (sc, inc) x6 [18]
Round 4: (2 sc, inc) x6 [24]
Round 5–Round 6: sc around [24]
Fasten off the first lobe.
Do not fasten off the second lobe—keep it on your hook, because you’ll join them.
Join the Lobes
With the second lobe still on your hook:
- Ch 2 (this forms the inner dip at the top of the heart).
- Join to the first lobe with a sc into any stitch on the first lobe.
Now you’ll work around both lobes as one piece:
Work sc around the first lobe (24 sc), then sc into the 2 chain stitches, then sc around the second lobe (24 sc), then sc into the other side of the 2 chain stitches.
You should end with 52 stitches total in the joined round:
- 24 + 2 + 24 + 2 = 52
Place your stitch marker in the first stitch of the next round.
Round after joining: sc around [52]
Shape the Heart Body
Now we gradually taper from the wide top into a point. The goal is smooth shaping, not a sharp sudden decrease.
Next round: (11 sc, dec) x4 [48]
Next round: sc around [48]
Next round: (10 sc, dec) x4 [44]
Next round: sc around [44]
Next round: (9 sc, dec) x4 [40]
Next round: sc around [40]
Start stuffing now. Focus on filling the top lobes first, then the sides.
Next round: (8 sc, dec) x4 [36]
Next round: sc around [36]
Next round: (7 sc, dec) x4 [32]
Next round: sc around [32]
Add more stuffing. Shape the heart with your hands to keep the lobes rounded and the sides smooth.
Next round: (6 sc, dec) x4 [28]
Next round: sc around [28]
Next round: (5 sc, dec) x4 [24]
Next round: sc around [24]
At this stage, the heart should look clearly heart-shaped with a nice curve at the top.
Form the Point
Now we taper more quickly, but still smoothly.
Next round: (4 sc, dec) x4 [20]
Stuff more, shaping the bottom into a gentle point.
Next round: sc around [20]
Next round: (3 sc, dec) x4 [16]
Next round: (2 sc, dec) x4 [12]
Stuff the last bit firmly—this helps the point look crisp.
Next round: (sc, dec) x4 [8]
Next round: dec x4 [4]
Fasten off, close the hole, weave in ends.
Common Mistakes and How to Avoid Them#
My heart looks more like an oval than a heart
- The “dip” at the top needs definition. Make sure you join with a ch 2 between lobes.
- Also, don’t skip the first few decrease rounds—gradual shaping is what creates the heart silhouette.
The top lobes look uneven
- Count the rounds carefully on both lobes.
- Stuff each lobe evenly before the body narrows.
My heart is lumpy
- Stuff in small tufts, not big chunks.
- After stuffing, gently roll the heart between your hands to smooth.
I can see stuffing through stitches
- Use a smaller hook.
- Tighten your tension slightly.
- Plush yarn especially needs a dense fabric.
The point is rounded instead of pointy
- Add a little extra stuffing right before you finish, then pinch the bottom slightly while you close.
- You can also sew a tiny “pinch stitch” at the bottom point: insert needle from front to back and tighten to shape.
Expert Tips for Better Results#
- Use a stitch marker every 10–12 stitches on the bigger rounds—this prevents losing count with plush yarn.
- For a gift-quality heart, weave in ends deep inside the heart and leave longer tails (chenille can loosen).
- Want a super neat shape? Add a tiny hidden stitch at the top center dip: stitch downward 2–3 stitches to deepen the cleft.
- Make it weighted: put poly pellets in a fabric pouch and place it in the bottom before final stuffing (great as a desk buddy).
- If you’re making many hearts, weigh your stuffing by feel—consistent firmness makes sets look professional.
Variations and Customization Ideas#
Mini heart keychain
- Use worsted yarn and a smaller hook (3.0 mm).
- Keep the same stitch counts for a smaller heart.
- Add a hanging loop: ch 12, sl st back into the heart, weave in.
Big heart pillow
- Use thicker yarn or add rounds:
- Add one more increase round to each lobe (go up to 30 stitches per lobe)
- Add 2–4 extra even rounds after joining to make it taller
- Add more stuffing for a firm pillow feel.
Two-tone heart
- Use one color for the lobes and another for the body.
- Change colors right after joining, or halfway down for a “dipped” color effect.
Heart with a message tag
- Crochet a tiny rectangle tag and stitch it on with “LOVE” or initials embroidered.
Scented heart sachet
- Replace some stuffing with dried lavender in a small pouch (do not put loose lavender directly in crochet unless fully lined).
Benefits of This Crochet Project#
- Quick, satisfying, and beginner-friendly
- Perfect for gifts, decor, and craft fairs
- Works in any yarn size (mini to jumbo)
- Great stash-buster project
- Easy to personalize with colors, tags, and add-ons
- A high-value crochet tutorial idea for blog posts and social content
Internal Linking Suggestions#
If you’re building a crochet blog, link this post to:
- How to Crochet a Magic Ring
- Invisible Decrease Tutorial for Amigurumi
- How to Crochet with Chenille/Blanket Yarn
- Beginner Crochet Gift Ideas
- How to Make Crochet Keychains
- How to Stuff Amigurumi Without Lumps
FAQ Section#
Is this a good crochet pattern for beginners?
Yes. It uses basic stitches and teaches joining and shaping in a simple way.
What yarn is best for a plush crochet heart?
Super bulky chenille/blanket yarn gives the softest heart. Cotton or acrylic works for smaller, more defined hearts.
How do I make the heart bigger?
Use thicker yarn, a larger hook, and/or add extra increase rounds on the lobes plus extra even rounds after joining.
Can I make this without a magic ring?
Yes. Ch 2, then work your first-round stitches into the second chain from the hook.
How do I add a hanging loop?
Before closing, attach yarn at the top dip, ch 12–20 (depending on length), sl st back into the same spot, and weave in ends securely.
Can I wash a plush crochet heart?
Usually yes, depending on yarn. Chenille yarn often does best with gentle washing and air drying. Follow your yarn label.
Conclusion#
A plush crochet heart is one of the easiest ways to create something that feels handmade and meaningful—without needing an advanced skill set. The shape is classic, the texture is cozy, and the project is endlessly customizable. Make one as a quick gift, make a set as decor, or scale it up into a soft heart pillow.
If you tell me what yarn weight you’re using (plush, bulky, or worsted) and the size you want (keychain, palm-sized, or pillow), I can adjust the stitch counts and round plan so your heart comes out exactly right.


