


Introduction#
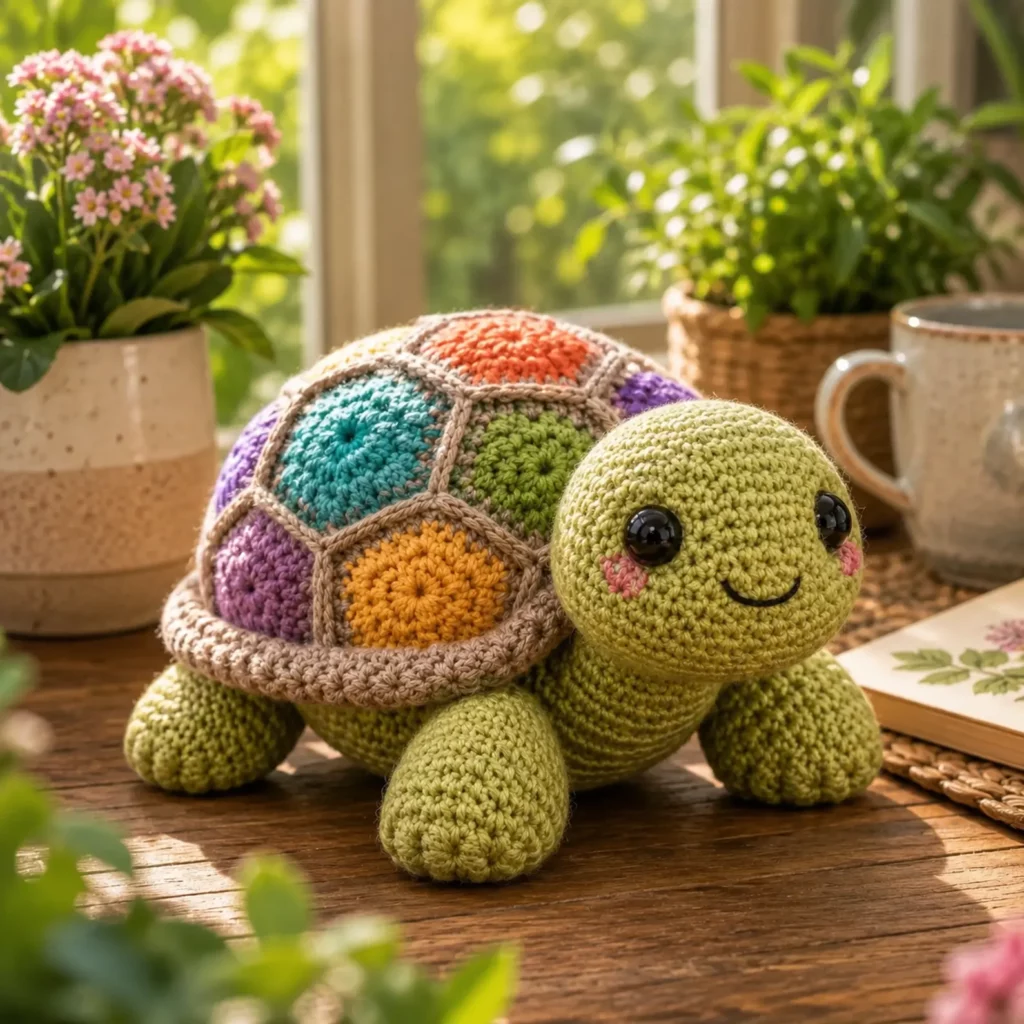
If you’re craving a crochet pattern that’s adorable, giftable, and genuinely fun to make, a patchwork turtle amigurumi is a perfect project. You get all the cozy charm of a classic stuffed turtle—round head, squishy body, chubby feet—plus the extra “wow” of a colorful, quilt-like shell. It looks detailed and artistic, but it’s built from simple pieces you can crochet in a relaxing rhythm.
Explore more beginner amigurumi crochet patterns in our pattern library.
This crochet tutorial is written to feel approachable even if you’re newer to amigurumi. You’ll learn how to shape a smooth head and body, how to make sturdy legs that sit nicely, and how to create a patchwork shell using small motif panels (granny-style hexagons) framed in a neutral border. The result is a turtle that looks like a keepsake: cute enough for kids, pretty enough for décor, and sturdy enough for lots of hugs.
You can go full stash-buster by using leftover yarn for the shell motifs, or keep it modern by choosing a tight color palette. Either way, this is an easy crochet pattern with a high “finished object” payoff.
Detailed Description of the Crochet Pattern#
This turtle amigurumi is made from a soft body base and a separate patchwork shell that’s sewn on top. The design has a calm, friendly face (big eyes, tiny smile, optional blush), and the proportions are rounded and cuddly rather than super realistic.
What you’ll make
Head (tan or beige)
Body base (tan or beige)
4 legs (tan or beige)
Tail (tan or beige)
Shell (brown border with colorful motif centers)
Optional underside belly panel (a slightly lighter beige)
Face details (safety eyes or embroidered eyes, small smile, blush)
Shell construction style
The shell is made from multiple small hexagon “granny motif” panels joined together, then edged with a neat border so it sits smoothly on the body. This is the secret to the patchwork look: each hexagon has a different center color, but the border unifies the whole shell.
Overall shape
Low, rounded body that sits on the table
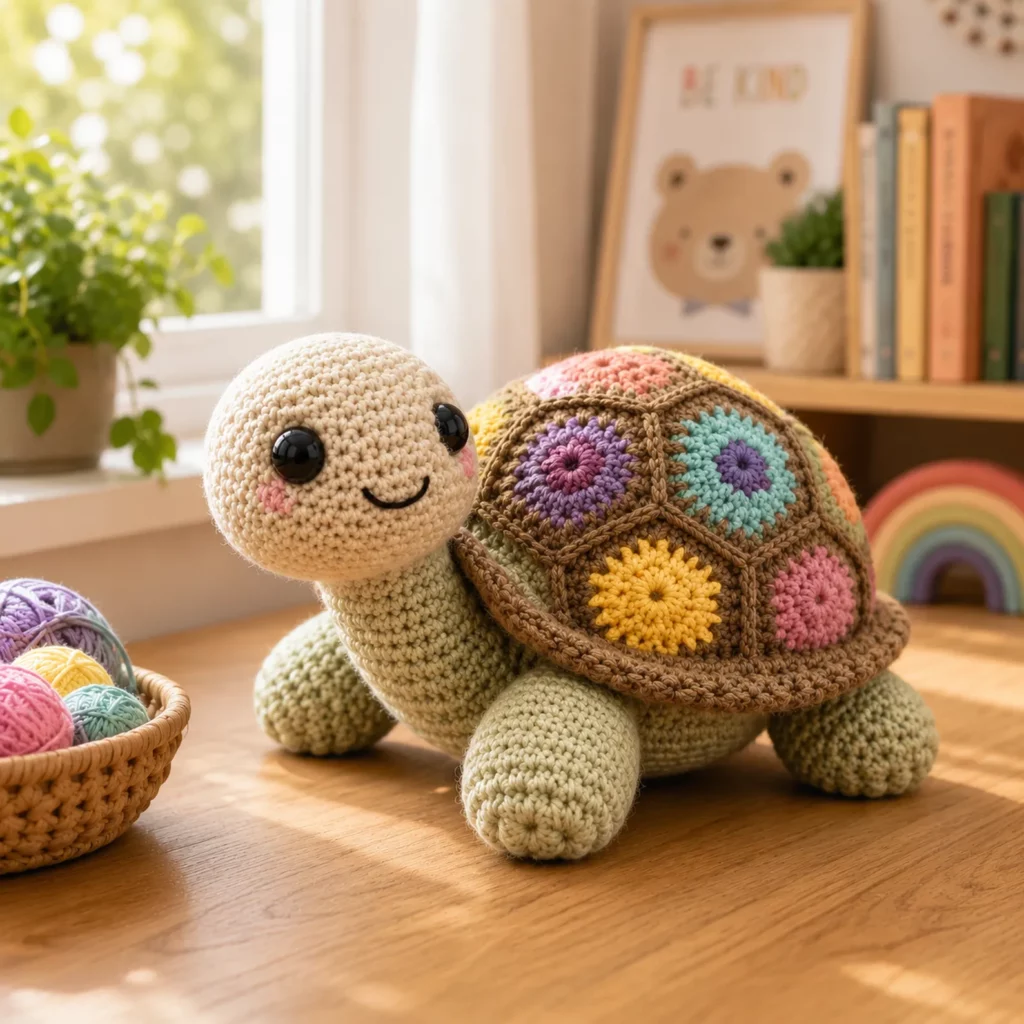
Head slightly oversized for extra cuteness
Legs are stubby and plush
Shell is domed and slightly wider than the body for a true turtle silhouette
Skill Level Explanation#
Skill Level: Confident Beginner
You’ll do great if you already know
Magic ring
Single crochet (sc)
Increase (inc) and decrease (dec)
Working in continuous rounds
Simple joining and sewing
You’ll also practice
Invisible decrease for smooth shaping
Joining motifs neatly
Even stuffing so the turtle stays rounded
Balanced assembly so it sits nicely
This is crochet for beginners friendly because the stitches are simple. The “fancy” look comes from color play and neat finishing.
Materials Needed#
Yarn
Worsted weight (Category 4) is a great choice for a medium plush turtle
DK weight (Category 3) works for a smaller turtle with finer detail
Colors
Main body color: tan or beige
Shell border color: medium to dark brown
Motif center colors: any mix of greens, yellows, blues, oranges (great stash buster)
Optional belly color: lighter beige or cream
Yarn tips
Cotton gives crisp stitches and a clean shell outline
Acrylic gives a softer plush feel
For the shell motifs, using the same yarn weight across all colors keeps the hexagons even
Hook
Use a smaller hook than the yarn label suggests so stuffing won’t show through
Worsted: 3.0–4.0 mm
DK: 2.75–3.25 mm
Notions
Stitch marker
Tapestry needle
Scissors
Fiberfill stuffing
Safety eyes (10–14 mm depending on size) or embroidery thread
Optional blush powder or pastel chalk
Optional: small piece of felt for eye backing
Optional: poly pellets in a sewn pouch (adds weight so turtle sits extra stable)
Stitches & Techniques Explained#
Abbreviations
MR = magic ring
sc = single crochet
inc = increase (2 sc in one stitch)
dec = decrease (invisible decrease recommended)
sl st = slip stitch
ch = chain
dc = double crochet
sp = space
( ) repeat
[ ] stitch count
Invisible decrease
Insert hook into front loop of next stitch, then front loop of following stitch, yarn over and pull through, yarn over and pull through two. This keeps the face smooth.
Motif joining options
Whip stitch join: flat and strong
Slip stitch join: slightly raised, decorative
Single crochet join: sturdy and adds a framed look
For the patchwork shell, a flat join usually looks the cleanest, then a border round hides the seams.
Stuffing rules for a cute turtle
Head: firm, smooth, no lumps
Body: firm at base so it sits, slightly softer near top so shell can curve
Legs: lightly stuffed so they’re chubby, not stiff
Step-by-Step Instructions#
Finished size
With worsted yarn and a 3.5 mm hook, expect about 7–10 inches (18–25 cm) long depending on shell size and stuffing.
Notes before starting
Work in continuous rounds unless stated
Use a stitch marker
Read through shell steps before choosing colors so the motif count makes sense
Head (Main body color)
Round 1: 6 sc in MR [6]
Round 2: inc around [12]
Round 3: (sc, inc) around [18]
Round 4: (2 sc, inc) around [24]
Round 5: (3 sc, inc) around [30]
Round 6: (4 sc, inc) around [36]
Rounds 7–10: sc around [36]
Eye placement
Place eyes between Rounds 8–9, about 7–9 stitches apart. Closer spacing looks extra cute.
Round 11: (4 sc, dec) around [30]
Round 12: sc around [30]
Round 13: (3 sc, dec) around [24]
Round 14: (2 sc, dec) around [18]
Stuff firmly and shape the cheeks.
Round 15: (sc, dec) around [12]
Round 16: dec around [6]
Fasten off and close, leave a long tail for sewing.
Optional smile
Embroider a tiny curved smile under the eyes with black thread.
Body Base (Main body color)
This creates the plush “turtle body” under the shell.
Round 1: 6 sc in MR [6]
Round 2: inc around [12]
Round 3: (sc, inc) around [18]
Round 4: (2 sc, inc) around [24]
Round 5: (3 sc, inc) around [30]
Round 6: (4 sc, inc) around [36]
Round 7: (5 sc, inc) around [42]
Round 8: (6 sc, inc) around [48]
Rounds 9–14: sc around [48]
Round 15: (6 sc, dec) around [42]
Round 16: sc around [42]
Round 17: (5 sc, dec) around [36]
Round 18: sc around [36]
Round 19: (4 sc, dec) around [30]
Round 20: sc around [30]
Stuff the body firmly. Add a small weight pouch at the very bottom if desired.
Round 21: (3 sc, dec) around [24]
Round 22: (2 sc, dec) around [18]
Round 23: (sc, dec) around [12]
Round 24: dec around [6]
Fasten off and close.
Legs (Make 4, Main body color)
Round 1: 6 sc in MR [6]
Round 2: inc around [12]
Round 3: (sc, inc) around [18]
Rounds 4–6: sc around [18]
Round 7: (4 sc, dec) around [15]
Rounds 8–9: sc around [15]
Stuff lightly. Flatten opening and sc across to close, or sew closed. Leave a tail.
Leg placement tip
Two front legs sit slightly forward, two back legs slightly back. Angle them outward a bit for a stable stance.
Tail (Main body color)
Round 1: 4 sc in MR [4]
Round 2: (sc, inc) around [6]
Rounds 3–5: sc around [6]
Fasten off with a tail. Stuff lightly or leave unstuffed. Flatten and sew to the back.
Patchwork Shell Motifs (Make 7 total)
A classic turtle shell layout uses 1 center hexagon surrounded by 6 hexagons.
Motif structure
Center color changes are optional. Keep the final round consistent in the border color so all hexagons match.
Hexagon Round 1 (center color)
MR, ch 3 (counts as dc), 11 dc in ring, join (12 dc)
Hexagon Round 2 (accent color)
Ch 3, (dc in next dc, 2 dc in next dc) repeat around, join (18 dc)
Hexagon Round 3 (shell border color, forms hex shape)
Ch 3, (dc in next 2, 2 dc in next) repeat around, join (24 dc)
Hexagon Round 4 (shell border color, create corners)
Ch 3, (dc in next 3, 2 dc in next) repeat around, join (30 dc)
Now shape into hex corners by working corner clusters into every 5th stitch
In each corner stitch: (2 dc, ch 1, 2 dc)
Between corners: dc in each stitch
Join and fasten off.
If you prefer a true granny-hex look
Use dc clusters separated by chain spaces and corners made with (3 dc, ch 2, 3 dc). Both styles work, but the “corner cluster” version creates a tighter shell.
Join the Shell
Layout
Place 1 hexagon in the center
Arrange the other 6 around it like a flower
Join method
Whip stitch through outer loops for a flatter seam
Or slip stitch join if you like a raised outline
After joining, add a clean border round around the outer edge in shell border color
Work sc evenly around, adding extra sc at corners so it lies smooth.
Optional shell rim
Work one more round in sc BLO to create a slight ridge, giving the shell a domed look.
Attach Shell to Body
Pin the shell on top of the body. It should sit centered with a small overhang on all sides.
Sew shell down
Use small whip stitches around the shell edge
Do not pull too tight, you want the shell to keep a gentle curve
If needed, add a little stuffing under the shell before finishing the seam to create a fuller dome
Assembly
Attach head
Sew head to the front of the body, slightly raised so it looks alert. Use extra stitches under the chin area for strength.
Attach legs
Pin legs first. Make sure the turtle sits evenly. Sew securely.
Attach tail
Sew tail to the back center.
Final face details
Add blush cheeks under the eyes
Add a tiny embroidered mouth if desired
Optional: tiny eyebrow stitches for extra expression
Common Mistakes and How to Avoid Them#
Shell looks wavy
Make sure all hexagons are the same size
Block motifs lightly before joining
Use a consistent joining tension
Turtle tips forward or backward
Stuff the base firmly
Add a small weight pouch
Reposition legs slightly forward to counterbalance the head
Stuffing shows through stitches
Use a smaller hook
Keep tension even
Do not overstuff, especially around the head
Head looks crooked
Mark the center front of the body with a stitch marker
Pin head in place and check from multiple angles before sewing
Motif colors look messy
Use one consistent border color to unify the patchwork
Limit motif colors to 4–6 shades for a cohesive palette
Expert Tips for Better Results#
Use cotton for the shell border so seams look crisp and defined
Weave in ends after each motif, patchwork creates many ends quickly
Add a second border round to the shell if you want a thicker outline
If you want a more “real turtle” look, use green motifs and a slightly darker body color
For the smoothest face, use invisible decreases and keep stuffing firm but not stretched
Variations and Customization Ideas#
Baby turtle version
Use DK yarn, fewer increase rounds in the body, and only 4–5 motifs for a smaller shell.
Memory turtle
Use leftover yarn from other projects for the motif centers.
Seasonal turtles
Spring: pastel motifs
Autumn: mustard, rust, olive
Holiday: red, green, cream motifs
Add a removable shell
Attach shell with buttons or snaps so kids can “dress” the turtle.
Add a name tag
Sew a small felt or leather label to the shell border.
Benefits of This Crochet Project#
Great stash buster because the shell motifs use small yarn amounts
Beginner-friendly stitches with a high-end finished look
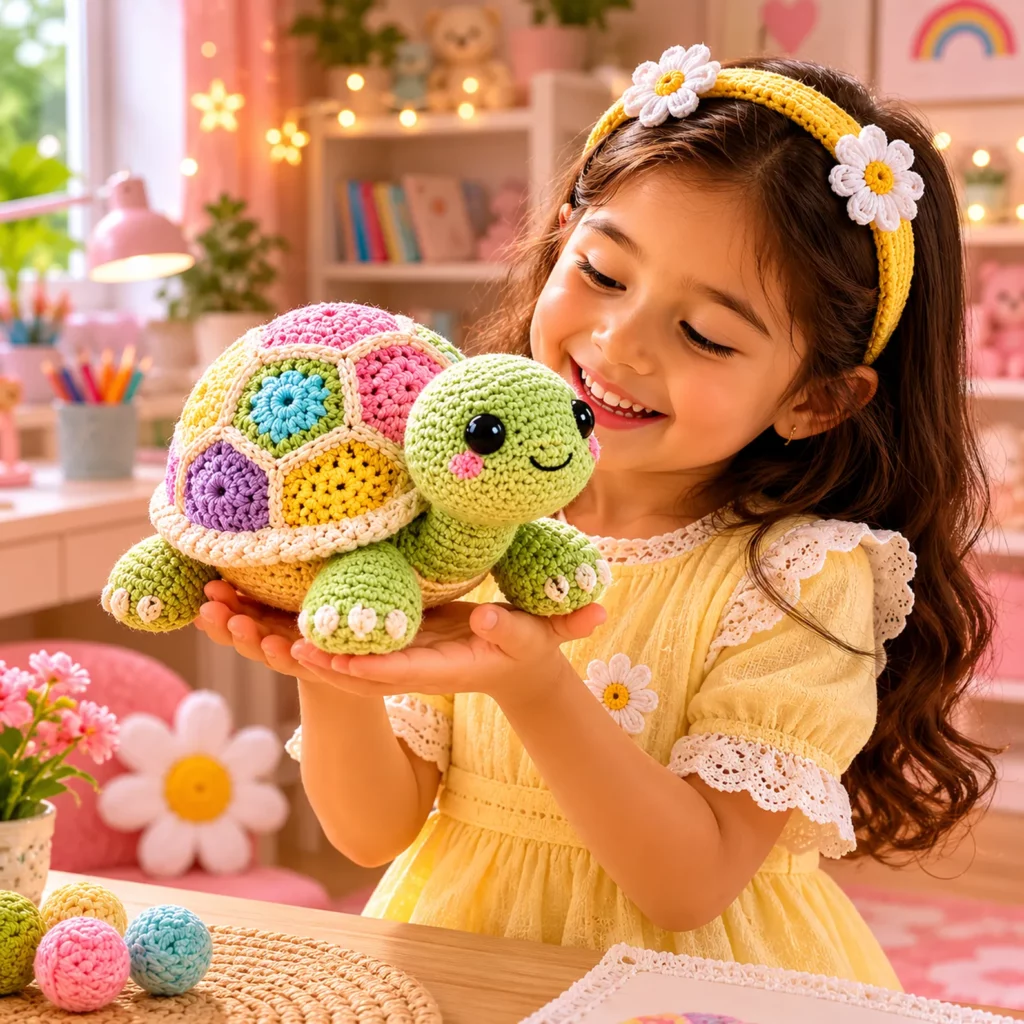
Perfect gift for babies, kids, and turtle lovers
Works as nursery décor, desk buddy, or cuddle plush
Motif method makes it easy to pause and resume without losing your place
Teaches both amigurumi shaping and motif joining in one project
Internal Linking Suggestions#
How to Crochet a Magic Ring for Beginners
Invisible Decrease Tutorial for Smooth Amigurumi
How to Join Crochet Motifs Neatly
Best Yarn for Amigurumi and Plush Toys
Easy Granny Hexagon Patterns You Can Use Anywhere
Beginner Crochet Animal Patterns Collection
FAQ Section#
Is this crochet pattern suitable for beginners?
Yes. The stitches are basic, and the shell motifs are repetitive. The main skill is joining motifs neatly, which is very doable with careful pinning.
How many hexagons do I need for the shell?
A classic patchwork turtle shell uses 7 hexagons: one in the center and six around it.
What yarn is best for a crochet turtle?
Cotton or a cotton blend gives crisp stitches and a tidy shell. Acrylic is softer and great for cuddle plushies, but it can be stretchier.
Can I make it baby-safe?
Yes. Embroider the eyes instead of using safety eyes, and stitch all parts firmly. Avoid any loose decorative elements.
How do I make the turtle bigger or smaller?
Change yarn weight and hook size, or add/remove increase rounds in the body and head. You can also add a border round to the hexagons for a larger shell.
How do I keep the turtle from tipping?
Stuff the base firmly, position the legs slightly forward, and add a small weight pouch in the bottom if needed.
Conclusion#
A patchwork turtle amigurumi is one of the sweetest crochet pattern projects you can make because it combines classic plush shaping with colorful motif artistry. The body stays simple and beginner-friendly, while the granny-hex shell gives it a unique handmade signature that looks impressive in any color palette.
If you want, tell me your yarn weight (DK or worsted) and the size of your hexagon after one motif is finished, and I can help you adjust the body stitch counts so the shell fits perfectly with the proportions you like.


