


Introduction#
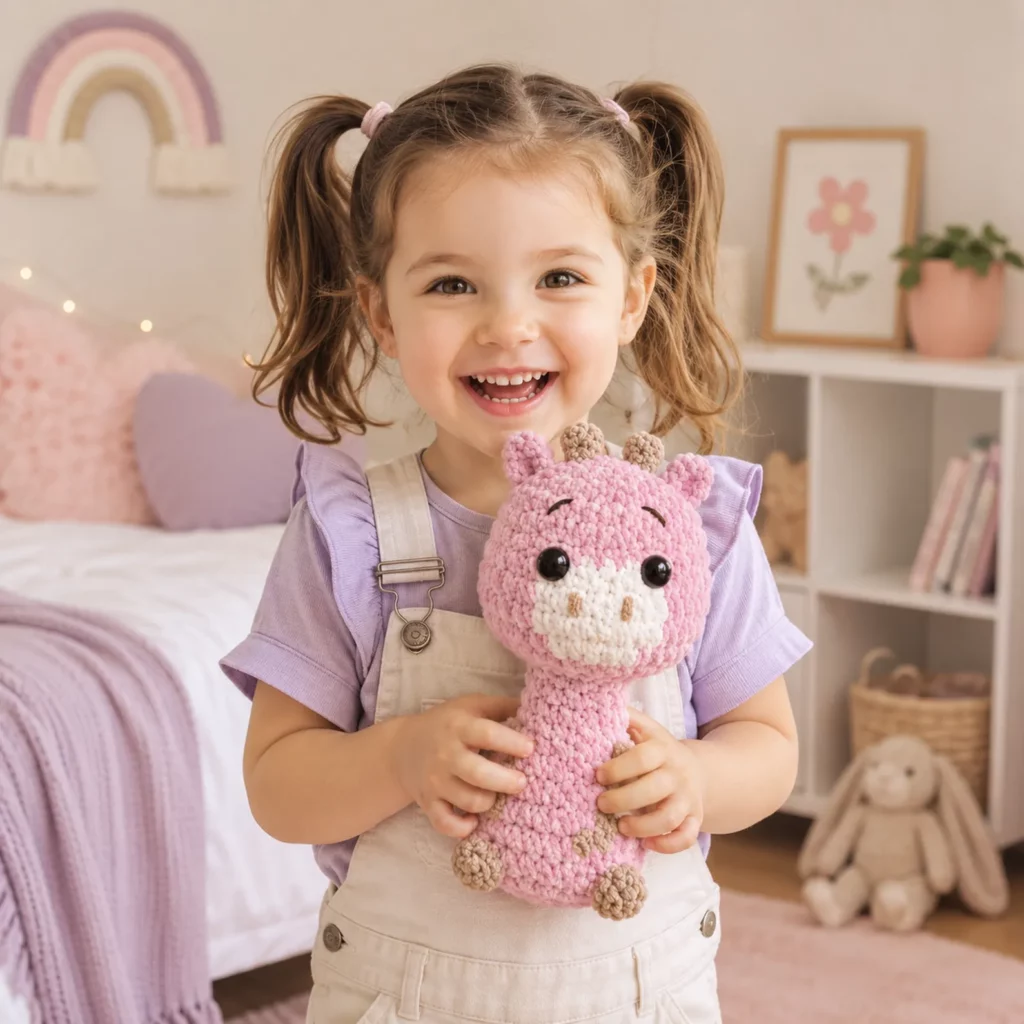
Tiny amigurumi animals are the ultimate “one more round” project—quick, satisfying, and irresistibly giftable. This mini giraffe plush is especially lovable because it has that perfect chibi shape: a big round head, a small upright body, and tiny details that instantly read “giraffe” without needing complicated parts. The little horns (ossicones), rounded ears, and simple spots make it cute in a way that works for nurseries, desk décor, keychains (with modifications), and handmade gifts.
Explore more beginner amigurumi crochet patterns in our pattern library.
This crochet pattern is designed to be beginner-friendly while still teaching you the skills that make amigurumi look polished: tight stitches, smooth decreases, clean color placement for the muzzle, and small attachments that sit neatly. If you’ve been wanting a soft plush you can finish in a weekend (or even an afternoon), this one fits the bill.
Below you’ll find a detailed, educational crochet tutorial style guide: materials, stitch explanations, step-by-step instructions, assembly, and pro tips to make your giraffe sturdy, smooth, and adorable.
Detailed Description of the Crochet Pattern#
This is a compact amigurumi giraffe made from simple shapes that are quick to crochet and easy to assemble. The design focuses on a rounded head with a contrasting muzzle panel, a slightly tapered body that lets the giraffe sit upright, tiny arms, and small feet bumps (or sewn-on hooves) for a grounded look. The giraffe details are what give it personality: two small horns on top, two ears on the sides, embroidered eyebrows (optional), and scattered spots on the body.
Construction overview
Head: crocheted in continuous rounds, shaped with increases and invisible decreases for a smooth sphere
Muzzle: a small oval/circle panel sewn onto the face (or worked as a color-change section if you prefer)
Body: a small capsule/pear shape that’s slightly wider at the bottom for stability
Arms: tiny tubes, lightly stuffed or left unstuffed for softer drape
Leg/foot bumps: crocheted nubs or small circles sewn on (simple and cute)
Ears: small ovals folded and sewn
Horns (ossicones): tiny bobbles/tubes sewn onto the top of the head
Spots: crocheted appliqué circles or embroidered/surface-crocheted patches
The overall look is soft, rounded, and minimal—perfect for crochet for beginners who want a plush that looks “finished” without complex shaping.
Skill Level Explanation#
Skill Level: Confident Beginner
You’ll do great if you already know
Single crochet (sc)
Increase (inc) and decrease (dec)
Working in continuous rounds (spiral)
Basic sewing/assembly with a yarn needle
Simple embroidery (optional)
Newer skills you’ll learn (or practice)
Invisible decrease for a smoother finish
Even stuffing (so the head stays round, not lumpy)
Small-part attachment (ears/horns placement)
Adding spots neatly (appliqué or surface embroidery)
If this is one of your first amigurumi projects, the key is tight stitches and consistent counting. The shapes are simple, and the parts are small, so you get lots of practice without feeling overwhelmed.
Materials Needed#
Yarn
This crochet pattern looks best in a soft, smooth yarn that shows stitch definition. Plush/chenille yarn can work too, but it’s harder to see stitches and can be trickier for beginners.
Suggested yarn weights
DK (Category 3) for a small, detailed giraffe
Worsted (Category 4) for a slightly larger plush (faster and very beginner-friendly)
Chunky/bulky for an extra cuddly version (advanced beginners and up)
Colors
A: Giraffe body color (yellow, butter, or golden)
B: Muzzle color (cream/white)
C: Spot + horns color (tan/brown)
Optional: a tiny bit of black for embroidery
Yarn choice tips
Cotton gives crisp stitches and a very clean face
Acrylic is soft, squishy, and widely available
Try to keep all colors the same yarn weight for consistent proportions
Hook
Use a hook one size smaller than the yarn label suggests to keep stitches tight (so stuffing doesn’t show).
DK: 2.75–3.25 mm
Worsted: 3.25–4.0 mm
If you can see stuffing through the fabric, go down a hook size.
Notions
Stitch marker
Yarn needle
Scissors
Fiberfill stuffing
Safety eyes (6–10 mm depending on yarn weight and head size)
Black embroidery floss or thin black yarn (for brows/nostrils/mouth)
Optional: blush or pastel chalk for cheeks
Safety note
If making for babies/toddlers, embroider eyes instead of using safety eyes and sew all parts very securely.
Stitches & Techniques Explained#
Common Abbreviations
MR = magic ring
sc = single crochet
inc = increase (2 sc in same stitch)
dec = decrease (sc 2 together)
inv dec = invisible decrease
sl st = slip stitch
ch = chain
BLO = back loop only
FLO = front loop only
( ) = repeat
[ ] = stitch count
Invisible Decrease (recommended)
Insert hook into the front loop of the next stitch, then into the front loop of the following stitch, yarn over and pull through both front loops, yarn over and complete the sc. This keeps decreases neat and less bumpy.
Tight stitches for amigurumi
Amigurumi should feel firm, not floppy. Keep your tension snug and use a smaller hook than usual. If your stitches look “open,” the plush will show stuffing and lose shape.
Spot options
Appliqué spots: crochet tiny circles and sew them on (clean and cute)
Surface embroidery: stitch spots with yarn directly onto the body (fewer pieces, faster)
Surface slip stitch: outline spots with slip stitches on the surface (more defined)
Step-by-Step Instructions#
Finished Size
With DK yarn and a 3.0 mm hook: about 4–6 inches (10–15 cm) tall
With worsted yarn and a 3.5–4.0 mm hook: about 6–8 inches (15–20 cm) tall
Size varies with tension and stuffing.
Notes Before You Start
Work in continuous rounds unless stated
Use a stitch marker to track rounds
Stuff firmly, especially the head and lower body
Count stitches at the end of each round (this prevents lopsided shapes)
Color Key
A = Yellow/giraffe body
B = Cream/white muzzle
C = Brown/tan spots + horns
Black = embroidery details
Head (Color A)
Round 1: 6 sc in MR [6]
Round 2: inc around [12]
Round 3: (sc, inc) around [18]
Round 4: (2 sc, inc) around [24]
Round 5: (3 sc, inc) around [30]
Round 6: (4 sc, inc) around [36]
Rounds 7–11: sc around [36]
Place safety eyes between Rounds 9–10, about 7–8 stitches apart (adjust for your preferred expression).
Round 12: (4 sc, inv dec) around [30]
Round 13: (3 sc, inv dec) around [24]
Round 14: (2 sc, inv dec) around [18]
Stuff firmly, shaping into a smooth ball.
Round 15: (sc, inv dec) around [12]
Round 16: inv dec around [6]
Fasten off and close. Weave in end.
Muzzle (Color B)
Make a small oval-ish panel that sits centered beneath the eyes.
Option A (simple circle muzzle)
Round 1: 6 sc in MR [6]
Round 2: inc around [12]
Round 3: (sc, inc) around [18]
Fasten off leaving a long tail. Lightly stuff the muzzle by placing a pinch of fiberfill behind it as you sew (optional).
Option B (oval muzzle, slightly wider)
Ch 6
Round 1: sc in 2nd ch from hook, sc in next 3 ch, 3 sc in last ch; turn to work underside, sc in next 3 ch, 2 sc in last ch [12]
Round 2: inc, sc 3, inc x3 (around curve), sc 3, inc x2 (around curve) [18]
Fasten off with tail.
Sew muzzle centered under the eyes. Keep it slightly rounded by adding a tiny bit of stuffing if you want a puffy snout.
Embroider nostrils (optional)
With brown or black floss, add two tiny vertical stitches on the muzzle.
Ears (Make 2, Color A)
Round 1: 6 sc in MR [6]
Round 2: (sc, inc) around [9]
Round 3: sc around [9]
Flatten and sc across the top to close (about 4 sc).
Fasten off with a long tail.
Horns (Ossicones) (Make 2, Color C)
Round 1: 4 sc in MR [4]
Round 2: sc around [4]
Round 3: sc around [4]
Fasten off with a tail. Lightly stuff if desired (usually not needed for tiny horns).
Tip: If you want a slightly taller horn, add one more round at [4].
Body (Color A)
Round 1: 6 sc in MR [6]
Round 2: inc around [12]
Round 3: (sc, inc) around [18]
Round 4: (2 sc, inc) around [24]
Rounds 5–8: sc around [24]
Round 9: (2 sc, inv dec) around [18]
Rounds 10–12: sc around [18]
Stuff firmly, shaping the bottom slightly flat so it sits.
Round 13: (sc, inv dec) around [12]
Round 14: inv dec around [6]
Fasten off with a long tail for sewing to the head.
If you prefer a one-piece doll style, you can leave the top open and sew head on later (recommended for easier assembly).
Arms (Make 2, Color A)
Round 1: 6 sc in MR [6]
Round 2: sc around [6]
Round 3: (sc, inv dec) around [4]
Rounds 4–7: sc around [4]
Lightly stuff the hand end only (optional). Flatten the top and sew shut with a few stitches. Fasten off with a tail.
Feet/Hoof Nubs (Make 2–4, Color C)
Simple nub (easy and cute)
Round 1: 6 sc in MR [6]
Round 2: sc around [6]
Fasten off with tail. Sew two nubs to the front-bottom of the body (and optionally two to the back-bottom) to create “little feet.”
Alternative: embroider hooves
If you want fewer sewn pieces, embroider small oval patches near the bottom instead.
Spots (Color C)
Option A (appliqué spots, neatest)
Make 4–8 small circles in different sizes.
Small spot: 5 sc in MR, sl st to join, fasten off.
Medium spot: 6 sc in MR, inc around [12], fasten off.
Sew spots randomly on body and/or head.
Option B (embroidered spots, fastest)
Use brown yarn or floss and stitch small filled ovals directly onto the body. Keep them spaced and varied so they look natural.
Assembly
Sew head to body centered and firmly. Add extra stitches around the neck for strength.
Sew ears to the sides of the head, slightly below the horn line.
Sew horns on top of the head, centered and evenly spaced.
Sew arms to the sides of the body just below the head join.
Sew feet nubs to the bottom front (and back if using four).
Add facial embroidery: brows, nostrils, and a tiny smile if desired. Add blush for extra cuteness.
Face placement tip
Pin everything first. Even moving an ear or eye by one stitch changes the expression, so it’s worth testing before you sew.
Common Mistakes and How to Avoid Them#
Stuffing shows through stitches
Cause: hook too large or loose tension
Fix: go down a hook size and keep stitches snug, especially on the head
Head looks lumpy
Cause: uneven stuffing or stuffing too late
Fix: stuff in small amounts as you go and “massage” the head into shape before closing
Amigurumi is lopsided
Cause: missed stitch counts or drifting rounds
Fix: use a stitch marker and count at the end of every round (especially increases and decreases)
Muzzle looks crooked
Cause: sewn on without anchoring points
Fix: pin muzzle in place, sew with small even stitches, and check symmetry from the front often
Pieces fall off or feel weak
Cause: minimal sewing or short tails
Fix: leave long tails, sew through multiple stitches, and knot/weave ends securely inside the plush
Spots look messy
Cause: uneven circle sizes or thick sewing
Fix: make fewer spots, vary sizes intentionally, and stitch them down with hidden whip stitches
Expert Tips for Better Results#
Use invisible decreases for the cleanest shaping, especially on the head.
Add the muzzle before attaching the head to the body—your hands have more room to work and you can center it better.
If you’re using chenille yarn, simplify: skip appliqué spots and embroider them instead, because sewing pieces onto chenille can get bulky.
For a super smooth head, stuff firmly, then roll it gently between your palms to distribute the stuffing evenly.
To make it extra gift-worthy, add a tiny scarf or bow using a simple chain strip and a knot.
If you want the plush to sit well, flatten the base slightly while stuffing and add two feet nubs at the front-bottom edge for balance.
Variations and Customization Ideas#
Keychain giraffe
Use fingering yarn and a 2.0–2.5 mm hook, or keep DK but make a smaller head/body by stopping increases earlier. Add a small loop at the top with chains and attach a keyring.
Baby-safe version
Embroider eyes with black floss, skip safety eyes, and stitch all parts extra securely. Keep embellishments minimal.
Tall-neck giraffe style
Add a small neck tube between head and body: start with MR 6, work up to 12, then work 8–12 rounds of 12 sc for a longer neck, then attach head on top and body below.
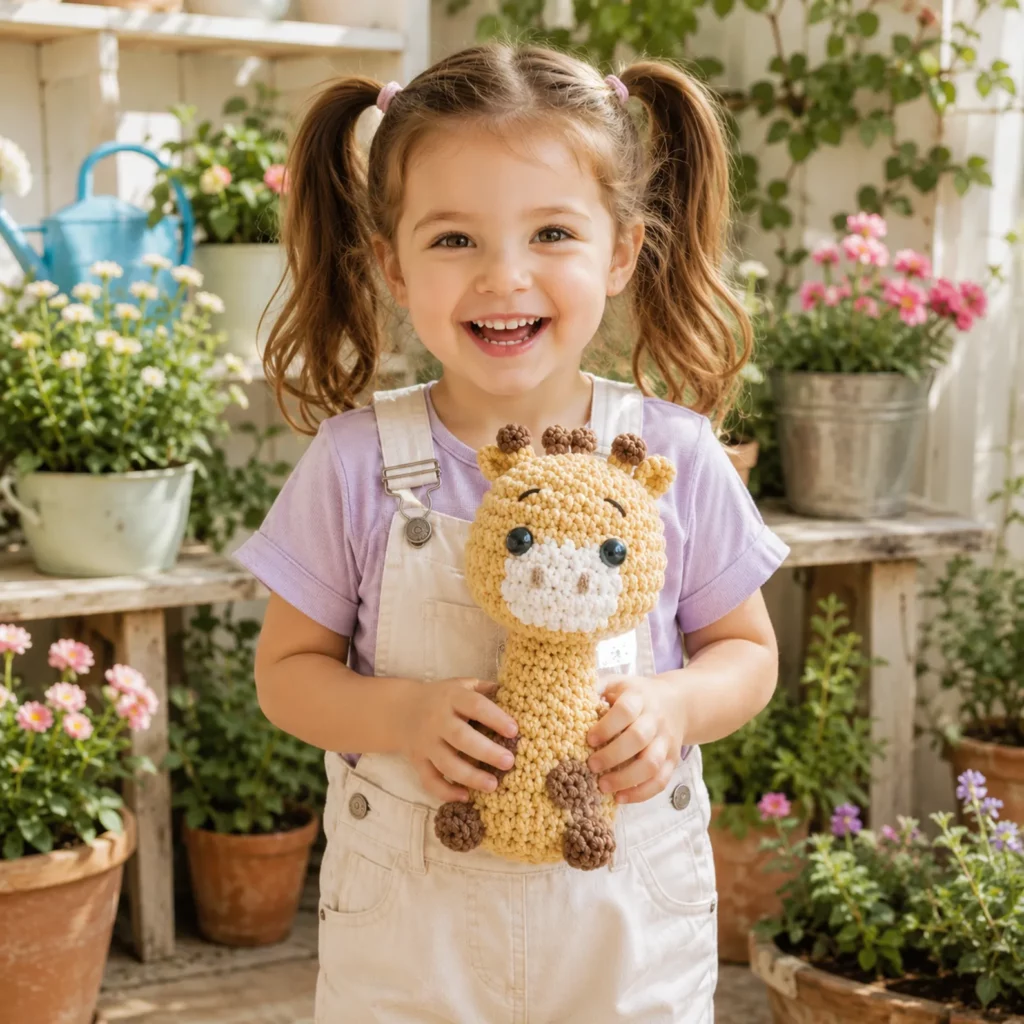
Different colorways
Pastel giraffe: pale yellow body, blush spots, cream muzzle
Modern neutral: beige body, cocoa spots, ivory muzzle
Safari set: match with an elephant, lion, or zebra in the same yarn family
Extra details
Add a tiny tail: chain 6–10, sl st back, sew to back of body
Add a tiny mane: short yarn fringe down the back of the head/neck
Add sleepy eyes: embroider curved closed eyes with lashes instead of safety eyes
Benefits of This Crochet Project#
Small and fast: perfect for quick gifts and craft fairs
Beginner-friendly shaping: teaches the core amigurumi skills you’ll reuse constantly
Stash-busting: uses small amounts of yarn for spots and details
Highly customizable: change colors and details to make your own giraffe character
Adorable décor: looks great on shelves, desks, nurseries, and gift baskets
Internal Linking Suggestions#
How to Crochet a Magic Ring (Beginner Tutorial)
Invisible Decrease for Amigurumi (Smooth Shaping Guide)
Best Yarn for Amigurumi (Cotton vs Acrylic vs Chenille)
How to Attach Safety Eyes Securely
Beginner Guide to Stuffing Amigurumi Evenly
Easy Crochet Animal Patterns for Beginners (Collection Post)
FAQ#
Is this crochet pattern suitable for beginners?
Yes. If you can single crochet in the round and count stitches, you can make this giraffe. The shapes are simple, and the details are small and manageable.
What yarn works best for a mini giraffe amigurumi?
Smooth cotton or acrylic in DK or worsted weight works best for clean stitches. Plush yarn is softer but harder to see and sew.
What size safety eyes should I use?
For DK yarn, 6–10 mm usually looks balanced. For worsted, 8–12 mm is common. Always test with pins or by holding the eyes in place before locking backs.
How do I make it baby-safe?
Embroider eyes instead of using safety eyes, avoid beads, and sew all parts very securely. Keep spots embroidered rather than sewn-on pieces if you want fewer attachments.
Why is my amigurumi leaning or not sitting upright?
Usually the base isn’t flat or the stuffing is uneven. Stuff the body firmly, flatten the bottom slightly, and consider adding front foot nubs for balance.
How do I keep my stitches from looking gappy?
Use a smaller hook, keep tension snug, and avoid pulling loops too tall. Tight, even stitches are the foundation of good amigurumi.
Can I make it bigger or smaller?
Yes. Use thicker yarn and a larger hook (while keeping stitches tight) to scale up, or thinner yarn and a smaller hook to scale down. Eye size should scale with the head.
Conclusion#
This mini giraffe is a cozy, cheerful crochet pattern that’s simple to build but full of personality. With a smooth round head, sweet little horns and ears, and easy spots, it’s the kind of amigurumi you’ll want to make more than once—especially because it’s so easy to customize into different colorways and themes.
If you tell me your yarn weight (DK, worsted, or plush) and the size you want (mini desk plush or cuddly larger version), I can suggest the best hook size, eye size, and spot count to match your finished proportions.


