


Introduction#
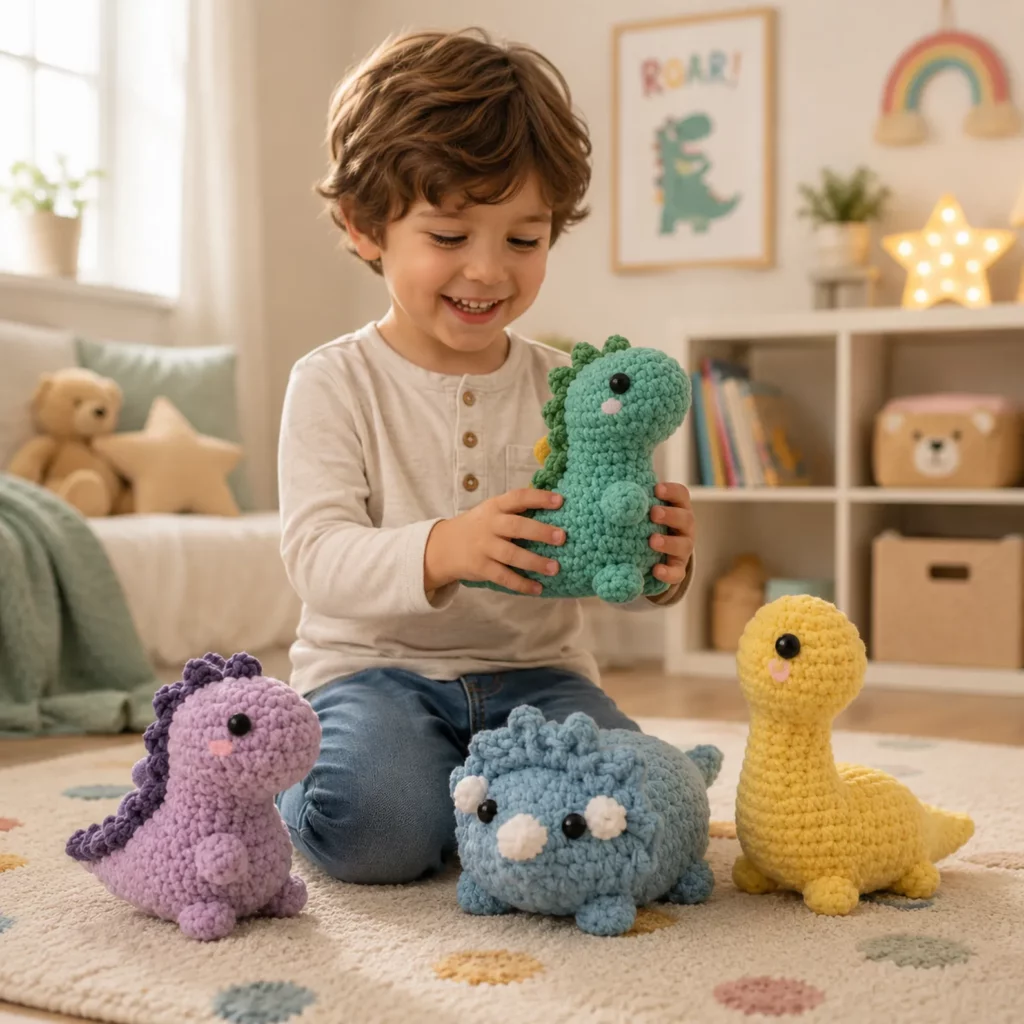
If you love amigurumi that’s cute, quick, and instantly recognizable, mini dinosaurs are one of the most satisfying projects you can make. They’re small enough to finish in a weekend, simple enough for confident beginners, and customizable enough to turn into a whole collection—different colors, different spikes, different personalities.
Explore more beginner amigurumi crochet patterns in our pattern library.
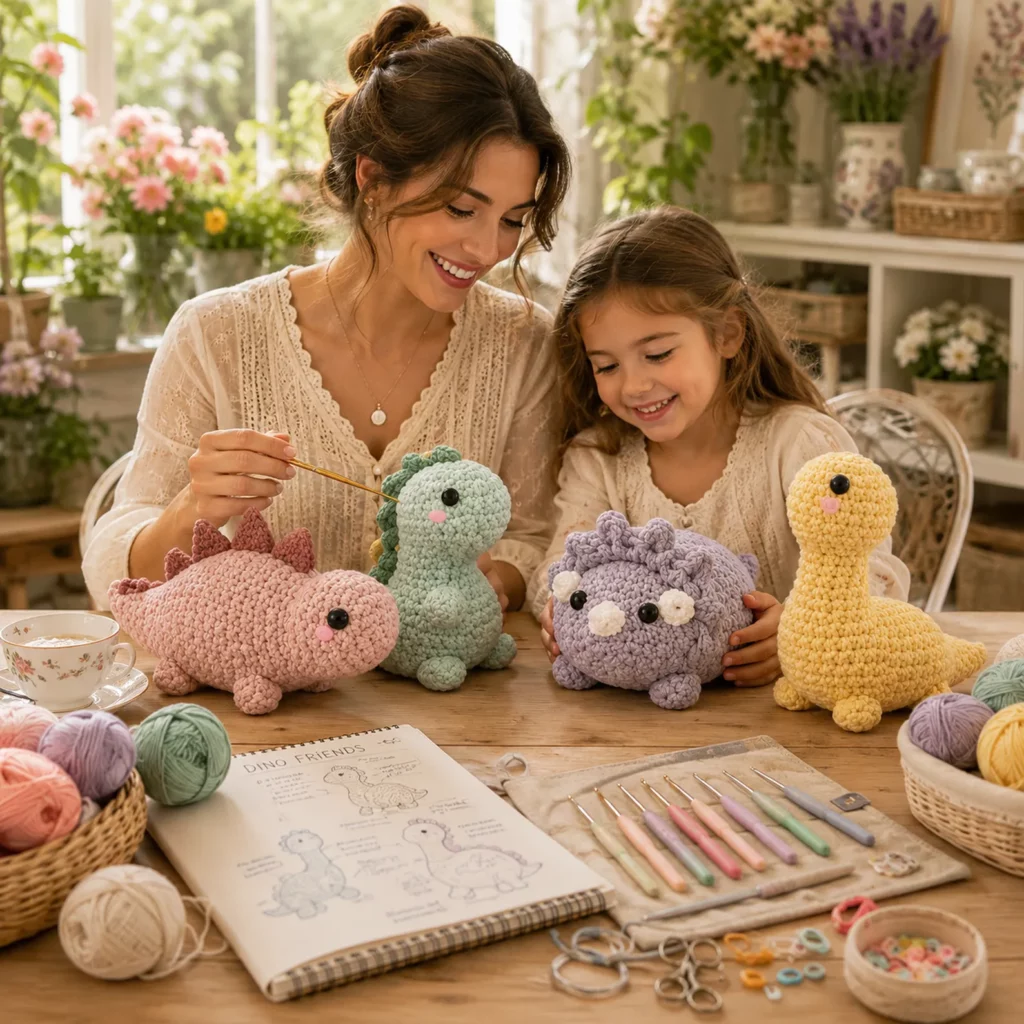
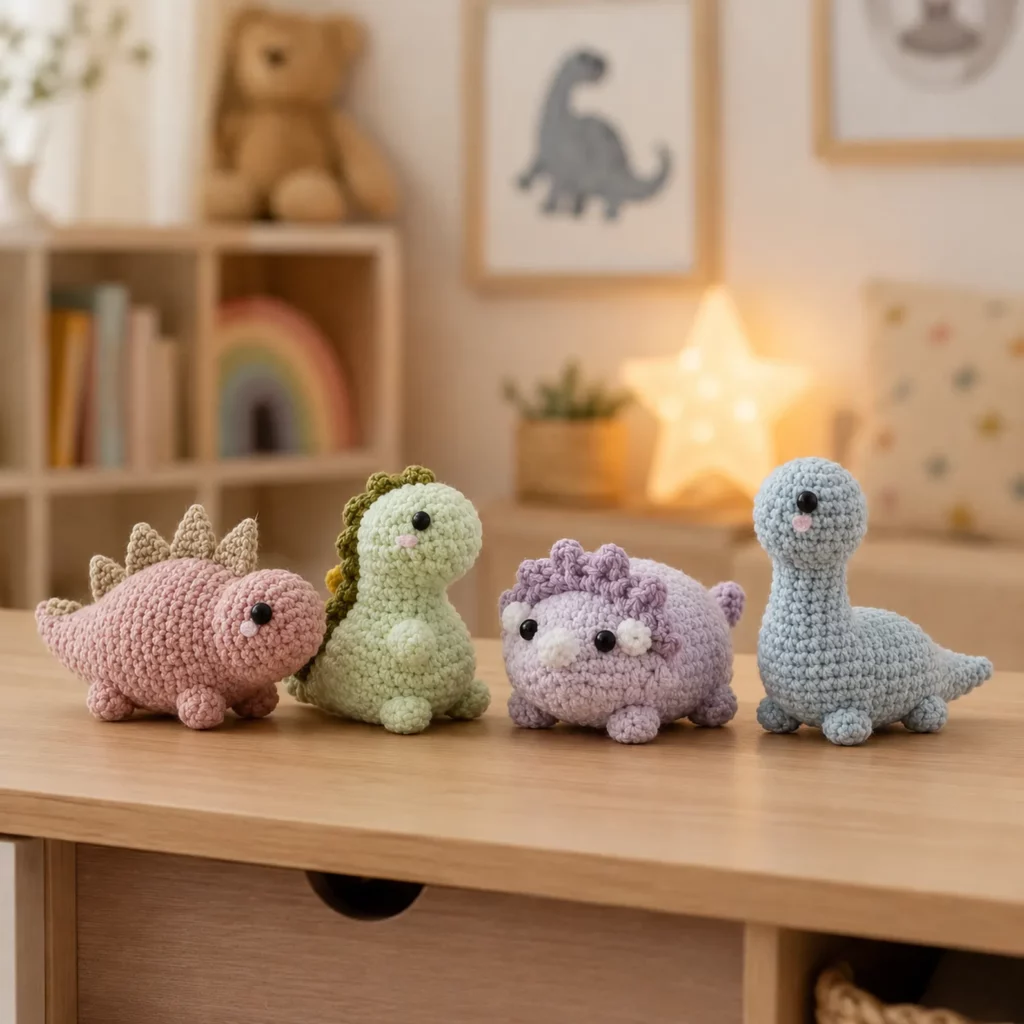
This crochet pattern is designed as a “mix-and-match” dinosaur set. You’ll learn one beginner-friendly base body, then you’ll add a few easy details to create four distinct dinos: a spiky stegosaurus-style buddy, a sweet baby dino with back plates, a chunky triceratops-like plush with tiny horns, and a long-neck brontosaurus-style cutie.
Below you’ll find a detailed, crochet tutorial style guide with everything you need: materials, stitch explanations, a full step-by-step pattern, assembly tips, and variations to help your dinos look neat, sturdy, and gift-worthy.
Detailed Description of the Crochet Pattern#
This is a mini amigurumi dinosaur bundle built from the same core shapes:
- A rounded body (worked in continuous rounds)
- A small head or neck/head combo (depending on the dino style)
- Four tiny feet nubs (simple circles or mini tubes)
- Optional details: spikes/plates along the back, horns, facial accents, and a tiny tail tip
The best part is how approachable the construction feels. Instead of making lots of separate pieces, most versions rely on a single body piece plus a few quick add-ons. That keeps assembly easy and makes the set perfect for craft fairs, gifts, and “stash-busting.”
You can also switch yarn types easily. Smooth yarn gives crisp stitches and clean shaping. Plush/chenille yarn creates a super cuddly look (but you’ll want to simplify details like small spikes).
Skill Level Explanation#
Skill Level: Confident Beginner
You’ll do great if you already know:
- Single crochet (sc)
- Increase (inc) and decrease (dec)
- Working in continuous rounds (spiral)
- Sewing small parts with a yarn needle
Newer skills you’ll learn (or practice):
- Invisible decrease (for smoother shaping)
- Clean placement of small details (spikes, horns, cheeks)
- Consistent stuffing so the plush sits nicely
- Simple color changes (optional)
If you’ve made one basic amigurumi ball or animal before, this is a perfect next project because it reinforces all the core skills without complicated shaping.
Materials Needed#
Yarn#
Choose yarn that matches your goal: crisp detail or extra plush.
Recommended yarn weights:
- DK (Category 3) for smaller, more detailed dinos
- Worsted (Category 4) for a slightly larger plush (easy to handle)
- Plush/chenille yarn for an ultra-soft look (advanced beginners)
Fiber suggestions:
- Cotton for crisp stitches and neat details
- Acrylic for softness and affordability
- Plush yarn for a cuddly “squishy” finish (harder to see stitches)
Color ideas for a 4-dino set:
- Red + green spikes (stego vibe)
- White + green plates (baby dino vibe)
- Blue + cream horns/face accents (triceratops vibe)
- Yellow (or pastel) long-neck (bronto vibe)
Hook#
Use a hook smaller than the yarn label suggests so stitches are tight:
- DK: 2.75–3.25 mm
- Worsted: 3.25–4.0 mm
- Plush yarn: follow label, but consider sizing down if you see gaps
Notions#
- Stitch marker
- Yarn needle
- Scissors
- Fiberfill stuffing
- Safety eyes (6–10 mm depending on size) or embroidery floss for eyes
- Optional: blush/pastel chalk for cheeks
Safety note: If making for babies/toddlers, embroider eyes instead of using safety eyes and sew all parts very securely.
Stitches & Techniques Explained#
Common Abbreviations#
- MR = magic ring
- sc = single crochet
- inc = increase (2 sc in same stitch)
- dec = decrease (sc 2 together)
- inv dec = invisible decrease
- sl st = slip stitch
- ch = chain
- ( ) = repeat
- = stitch count
Invisible Decrease (Recommended)#
Insert hook into front loop of next stitch, then front loop of following stitch, yarn over and pull through both loops, yarn over and finish sc. This keeps the decreases smoother and less bumpy.
Stuffing Tips (Tiny Plush Edition)#
- Stuff the head firmly so it holds shape
- Stuff the body firmly at the base so it sits
- Use small pinches of fiberfill, not one big clump
- “Massage” the plush into shape before closing
Step-by-Step Instructions#
Finished Size#
With DK yarn and a 3.0 mm hook: about 3–5 inches (8–13 cm) tall depending on variation
With worsted yarn and a 3.5–4.0 mm hook: about 4–7 inches (10–18 cm)
Notes Before You Start#
- Work in continuous rounds unless stated
- Use a stitch marker to track rounds
- Count stitches at the end of each round (tiny plushies go lopsided fast if you miss a count)
- For the cleanest look, attach details after stuffing and before final shaping is locked in
Color Key (example)#
- A = Main body color
- B = Accent color (spikes/plates/horns)
- C = Face accent (optional)
Base Body (works for all dinos)
Round 1: 6 sc in MR [6]
Round 2: inc around [12]
Round 3: (sc, inc) around [18]
Round 4: (2 sc, inc) around [24]
Round 5: (3 sc, inc) around [30]
Rounds 6–10: sc around [30]
Round 11: (3 sc, inv dec) around [24]
Round 12: sc around [24]
Round 13: (2 sc, inv dec) around [18]
Start stuffing firmly, shaping the bottom slightly flatter.
Round 14: sc around [18]
Round 15: (sc, inv dec) around [12]
Round 16: inv dec around [6]
Fasten off, close hole, weave in end.
This creates a compact oval body that can be used as a “chunky dino” base. For a longer body (like a long-neck), add 2–4 extra rounds at [30] before decreasing.
Feet (make 4, Color A)
Option A (fastest foot nubs):
Round 1: 6 sc in MR [6]
Round 2: sc around [6]
Fasten off with a tail for sewing.
Sew two feet near the front bottom and two near the back bottom. Space them evenly so the plush stands or sits without tipping.
Tail (optional, Color A)
Round 1: 4 sc in MR [4]
Round 2: sc around [4]
Round 3: (sc, inc) around [6]
Round 4: sc around [6]
Fasten off with tail. Lightly stuff or leave unstuffed. Sew to the back of the body.
If you want a flatter tail (more “cartoon”), crochet it as a small oval and sew it flat.
Head Options
You have two ways to handle the head depending on the dino style.
Option 1: Simple Head Ball (for stego/trike style)
Round 1: 6 sc in MR [6]
Round 2: inc around [12]
Round 3: (sc, inc) around [18]
Round 4: (2 sc, inc) around [24]
Rounds 5–6: sc around [24]
Place safety eyes between rounds 5–6, about 5–6 stitches apart.
Round 7: (2 sc, inv dec) around [18]
Stuff firmly.
Round 8: (sc, inv dec) around [12]
Round 9: inv dec around [6]
Fasten off with long tail for sewing.
Sew head to the front-top of the body.
Option 2: Long Neck + Head (for bronto style)
Neck (Color A):
Round 1: 6 sc in MR [6]
Rounds 2–7: sc around [6] (add more rounds for longer neck)
Lightly stuff.
Head top (continue from neck):
Round 8: (sc, inc) around [9]
Round 9: (2 sc, inc) around [12]
Round 10: (3 sc, inc) around [15]
Rounds 11–12: sc around [15]
Place eyes around Round 11.
Round 13: (3 sc, inv dec) around [12]
Stuff head.
Round 14: (2 sc, inv dec) around [9]
Round 15: (sc, inv dec) around [6]
Fasten off and close.
Sew neck base to the body front.
Dino Variations#
Use the same base body and feet, then add these details.
Variation 1: Spiky Stegosaurus Style#
Spikes/plates (make 6–10, Color B):
Ch 4
Row 1: sc in 2nd ch, hdc, dc (creates a small triangle)
Fasten off with a sewing tail.
Sew plates down the spine from head to tail. Keep spacing consistent for a neat silhouette.
Optional cheek blush: add a tiny pink dot stitch or blush under the eye.
Variation 2: Baby Dino With Back Plates#
Plates (mini bumps, Color B):
Round 1: 4 sc in MR [4]
Round 2: (sc, inc) around [6]
Fasten off with tail.
Make 5–7 and sew along the back. This gives a softer, rounded “baby dino” look than sharp triangles.
Variation 3: Triceratops Style#
Horns (make 3, Color B):
Round 1: 3 sc in MR [3]
Round 2: sc around [3]
Fasten off with tail.
Sew two horns above the eyes and one small horn centered on the nose area.
Frill (optional, Color A or B):
Ch 10
Row 1: sc in 2nd ch from hook, sc across [9]
Row 2: ch 1, turn, inc, sc 7, inc [11]
Fasten off with tail and sew behind head like a tiny collar.
Variation 4: Long-Neck Brontosaurus Style#
Use the long neck + head option. Keep the body a little longer by adding extra rounds before decreasing.
Optional tail tip (Color B):
Make a tiny nub (Round 1: 4 sc in MR, Round 2: sc around), sew to tail end.
Assembly#
- Sew head/neck to body (centered and secure)
- Sew feet to the bottom so the dino sits flat
- Add tail (optional, but adorable)
- Attach spikes/plates/horns depending on variation
- Embroider details: tiny smile, blush, or nostrils if desired
- Weave in ends securely inside the plush
Placement tip: Pin pieces first. On tiny amigurumi, moving an eye or horn by one stitch changes the personality a lot.
Common Mistakes and How to Avoid Them#
Stitches look gappy
Cause: hook too large or tension too loose
Fix: go down a hook size and keep stitches snug
Dino won’t sit upright
Cause: base not stuffed firmly or feet placed unevenly
Fix: stuff the lower body firmly and reposition feet closer to the front/back edges
Head wobbles
Cause: weak sewing join
Fix: stitch around the neck area multiple times and knot securely inside
Spikes look uneven
Cause: inconsistent size or spacing
Fix: make all spikes first, line them up, then sew in one continuous pass
Plush looks lopsided
Cause: missed stitch counts or drifting rounds
Fix: use a stitch marker and count each round, especially decrease rounds
Expert Tips for Better Results#
- Use invisible decreases on the head for smoother shaping
- Add a tiny bit of stuffing behind appliqué details (like a snout) to make them pop
- For plush yarn, simplify: fewer tiny pieces, more embroidered details
- If you want “extra cute,” place eyes slightly lower and wider apart
- Reinforce feet and tail with extra stitches so they don’t twist over time
- Make the set cohesive by using the same eye size and the same “cheek blush” placement on all dinos
Variations and Customization Ideas#
- Make a keychain dino: use thinner yarn, skip stuffing feet, add a loop on top
- Make baby-safe dinos: embroider eyes and skip small add-ons that could be pulled off
- Create a color theme: pastel set, “primary” set, or modern neutrals
- Add accessories: tiny scarf, party hat, or mini backpack (great for gifts)
- Turn it into a “dino family”: scale up one dino by using thicker yarn, keep the rest mini
Benefits of This Crochet Project#
- Fast, satisfying makes (great for markets and gifts)
- One base crochet pattern creates multiple characters
- Uses small yarn amounts (stash-friendly)
- Teaches core amigurumi skills without complicated shaping
- Perfect for nursery décor, desk buddies, or party favors
Internal Linking Suggestions#
- How to Crochet a Magic Ring (Beginner Tutorial)
- Invisible Decrease Tutorial for Amigurumi
- Best Yarn for Amigurumi (Cotton vs Acrylic vs Plush)
- How to Stuff Amigurumi Evenly
- Easy Crochet Animal Patterns for Beginners
- How to Attach Safety Eyes Securely
FAQ#
Is this crochet pattern beginner-friendly?
Yes. The base shapes are simple and repetitive. The only “extra” is sewing on details like spikes or horns, which is very manageable.
What yarn works best for mini dinosaur amigurumi?
Smooth DK or worsted cotton/acrylic gives the cleanest stitches. Plush yarn makes them extra cuddly but hides stitch definition and can be harder to sew.
What size safety eyes should I use?
For DK minis, 6–8 mm often looks balanced. For worsted, 8–10 mm is common. Always test placement before locking them in.
How do I make them baby-safe?
Embroider eyes, avoid beads, and stitch all details extremely securely. Consider embroidered spots/spikes instead of separate pieces.
Can I make these dinos bigger?
Yes. Use thicker yarn and a larger hook (while keeping stitches tight). Or add extra rounds to the body/neck for a taller plush.
Why do my spikes look messy?
Usually spacing and tension. Make all spikes first, keep them the same size, and sew them down evenly with a consistent angle.
How many dinos can I make from one skein?
It depends on yarn weight and skein size, but minis typically use small amounts. You can often make multiple dinos from a few skeins, especially if details use scraps.
Conclusion#
This mini dinosaur bundle is the kind of crochet pattern you’ll keep coming back to—quick to finish, endlessly customizable, and impossibly cute as a set. Once you’ve crocheted the base body, you can turn it into almost any dino you want just by changing the spikes, horns, and neck style.
If you tell me your yarn weight (DK, worsted, or plush) and what size you want (tiny keychain vs medium plush), I can adjust the stitch counts and recommend the best eye size so your dinos come out perfectly proportional.


