


Introduction#
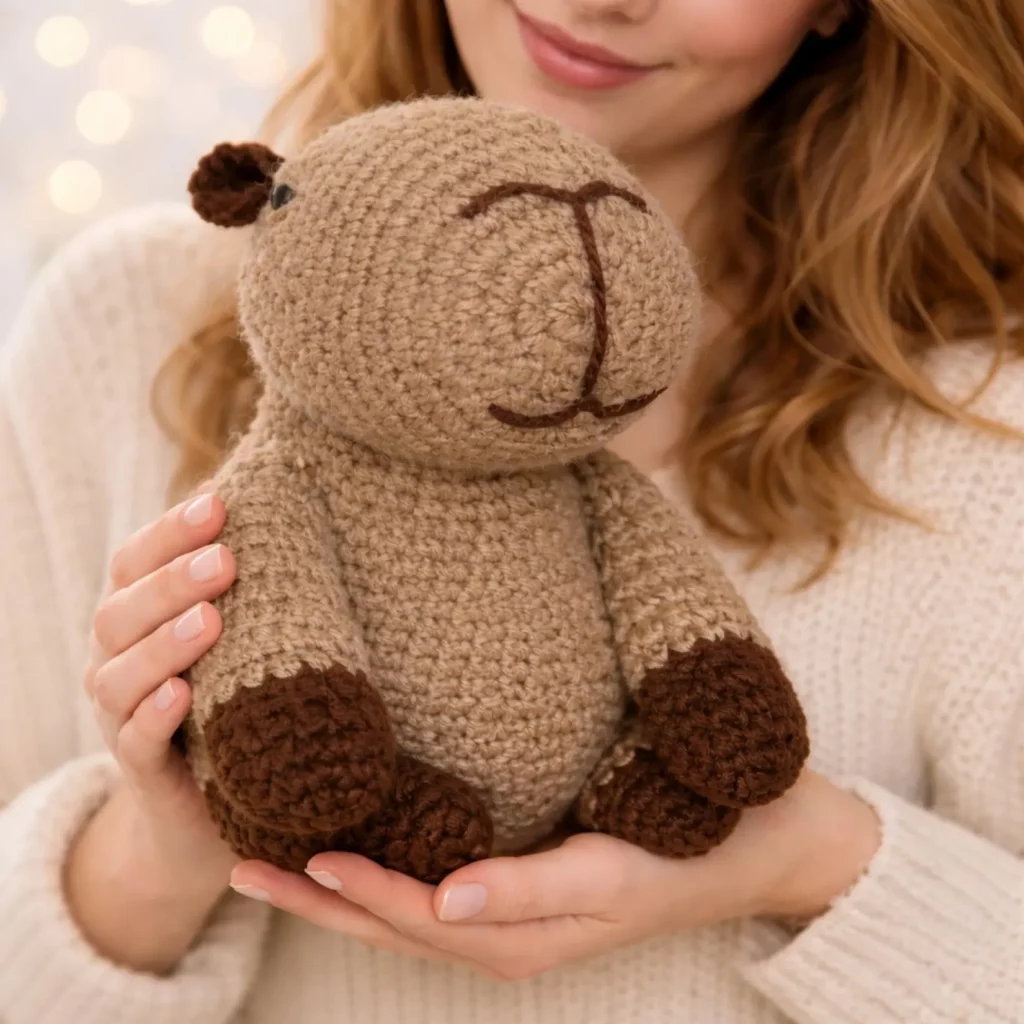
Some crochet projects are “cute,” and then there are projects that instantly feel like a keepsake. A small teddy bear amigurumi is in that second category—especially when it has a big rounded snout, tiny ears, and contrast paws that make it look like a classic plush toy. This is the kind of crochet pattern you can gift for a baby shower, add to a nursery shelf, tuck into a care package, or keep on your desk as a cozy little companion.
Explore more beginner amigurumi crochet patterns in our pattern library.
What makes this teddy bear extra approachable is that it’s built from simple, familiar shapes: a round head, a smooth body, tube arms and legs, and a snout piece that gets sewn on and embroidered for that “teddy” face. Even if you’re new to amigurumi, you’ll learn the most useful skills along the way—working in continuous rounds, shaping with increases and invisible decreases, neat assembly, and simple embroidery that adds a ton of personality.
This article is written like a true crochet tutorial, with practical tips for stitch counting, symmetry, stuffing, and finishing. You’ll find a complete free crochet pattern plus customization ideas so you can make your bear in different colors, sizes, and styles.
Detailed Description of the Crochet Pattern#
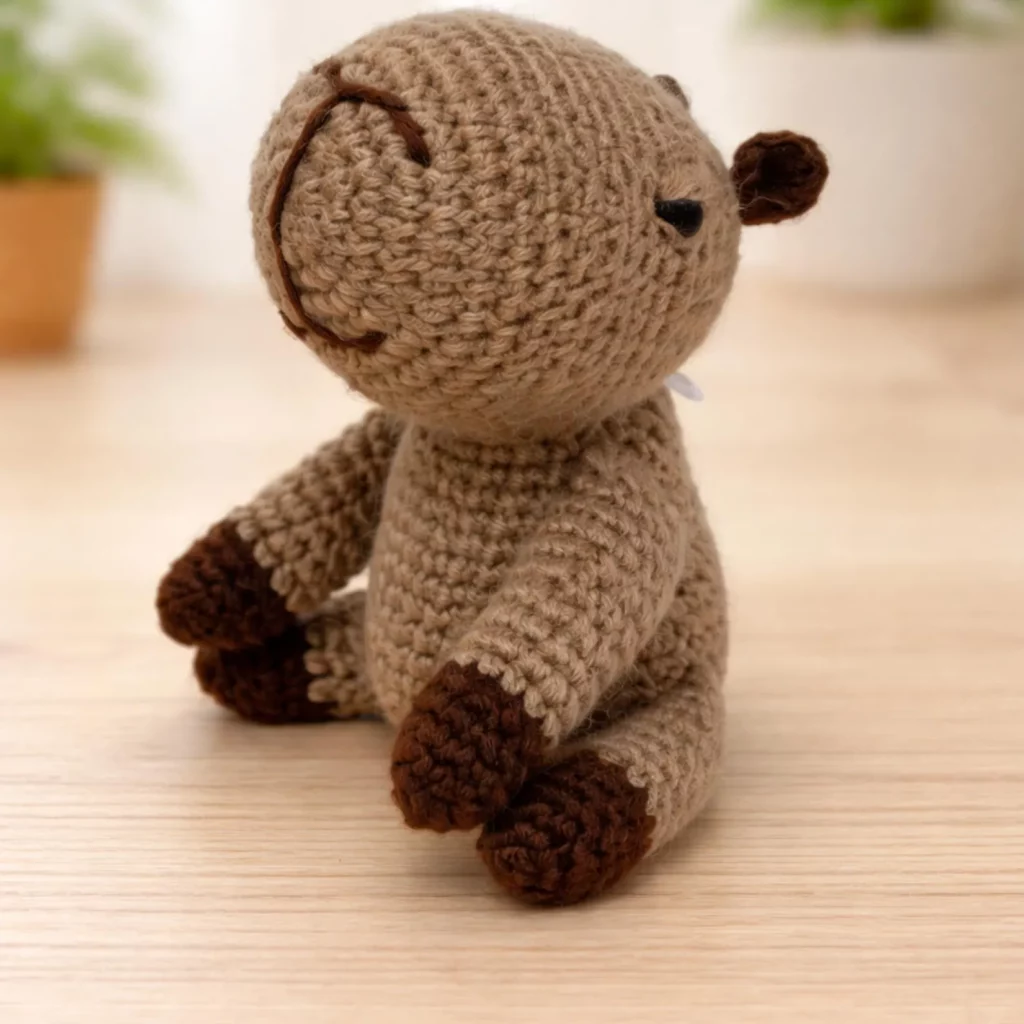
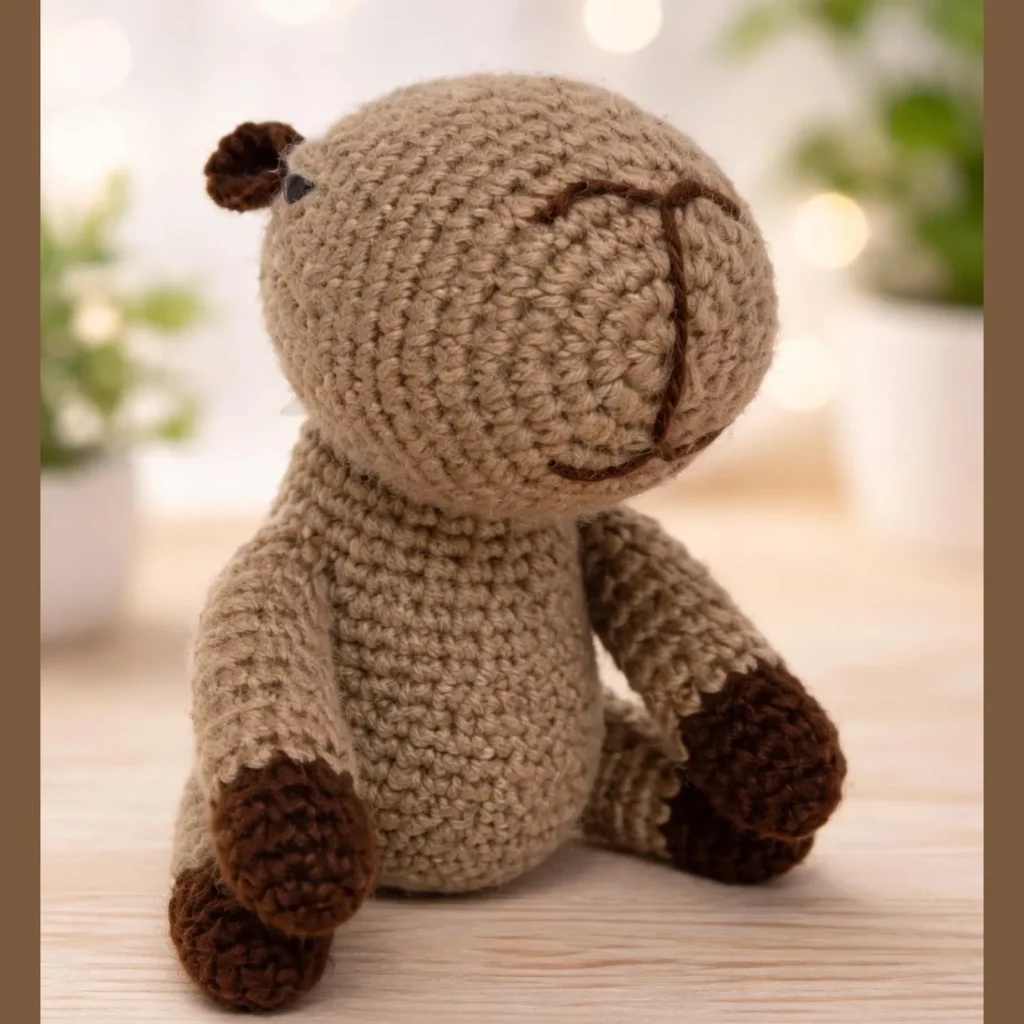
This amigurumi teddy bear has a soft, traditional look with a few key features that make it instantly recognizable:
- Rounded head with a gently protruding snout for a classic teddy profile
- Small rounded ears placed high on the head for a sweet expression
- Contrast snout outline created with simple embroidery
- Contrast paws/feet (darker color) for that “teddy paws” look
- Simple seated body that looks cute sitting on a shelf
- Minimalist face (small eyes + embroidered mouth) that works beautifully with or without safety eyes
The construction is straightforward: head and body are separate for easier shaping, then arms, legs, ears, and snout are sewn on. This method gives you control over the final look—especially face placement—so your bear turns out symmetrical and polished.
Skill Level Explanation#
This is an easy-to-intermediate crochet pattern.
You’ll be comfortable if you can:
- single crochet in the round
- increase and invisible decrease
- count stitches and use a stitch marker
- sew pieces together neatly
- embroider a simple nose/mouth line
If you’re a beginner, this is still very doable. The shaping is classic and forgiving, and the face details are intentionally simple so you don’t get stuck on tiny fiddly parts.
Materials Needed#
Yarn
A smooth yarn with good stitch definition makes amigurumi look clean and helps you see your stitches.
Recommended yarn weight:
- Worsted weight (#4) (most common for toys)
- DK (#3) (for a slightly smaller bear)
Color palette:
- Main color (MC): tan/light brown
- Contrast color (CC): dark brown for paws + snout outline
- Optional: small amount of cream for a lighter snout if you want extra contrast
Fiber tips:
- Acrylic is affordable and easy-care
- Cotton/cotton blend gives crisp stitches
- Avoid very fuzzy yarn for your first bear—fuzz hides stitch definition and makes sewing harder
Hook
Use a hook smaller than the yarn label recommends for a tight fabric:
- Worsted: 3.0–3.5 mm
- DK: 2.75–3.25 mm
Notions
- Fiberfill stuffing
- Stitch marker
- Yarn needle
- Scissors
- Pins (very helpful for placing the snout and limbs evenly)
- Safety eyes: 8–12 mm (optional)
- Optional: embroidery floss for cleaner facial details
Stitches & Techniques Explained#
Abbreviations (US terms)
- MR = magic ring
- sc = single crochet
- inc = increase (2 sc in same stitch)
- dec = invisible decrease (sc2tog through front loops)
- sl st = slip stitch
- ch = chain
- ( ) = repeat
- = stitch count
Techniques that make your teddy look “store-bought”
Invisible decreases
They keep shaping smooth (especially around the head).
Stuff in small tufts
Big chunks of stuffing create lumps. Use small pieces and shape as you go.
Pin before sewing
This is the secret to symmetry. Pin snout, ears, arms, and legs first—then sew.
Embroider last
Do face embroidery after the snout is attached so you can center the nose and smile cleanly.
Step-by-Step Instructions#
Notes:
- Work in continuous rounds unless stated.
- Use a stitch marker for the first stitch of each round.
- Stuff firmly but do not stretch stitches.
Head (MC)
R1: MR, 6 sc [6]
R2: inc x6 [12]
R3: (sc, inc) x6 [18]
R4: (2 sc, inc) x6 [24]
R5: (3 sc, inc) x6 [30]
R6: (4 sc, inc) x6 [36]
R7: (5 sc, inc) x6 [42]
R8: (6 sc, inc) x6 [48]
R9–R13: sc around [48]
Place safety eyes (optional) between R11–R12, about 10–12 stitches apart. If you’re embroidering eyes, skip this.
Begin closing:
R14: (6 sc, dec) x6 [42]
R15: (5 sc, dec) x6 [36]
R16: (4 sc, dec) x6 [30]
Stuff firmly and shape.
R17: (3 sc, dec) x6 [24]
R18: (2 sc, dec) x6 [18]
R19: (sc, dec) x6 [12]
R20: dec x6 [6]
Fasten off, weave in.
Snout (MC, or cream if using)
This is a rounded oval that gives the teddy face.
R1: MR, 6 sc [6]
R2: inc x6 [12]
R3: (sc, inc) x6 [18]
R4: (2 sc, inc) x6 [24]
R5: sc around [24]
R6: (2 sc, dec) x6 [18]
Lightly stuff. Fasten off leaving a long tail.
Body (MC)
R1: MR, 6 sc [6]
R2: inc x6 [12]
R3: (sc, inc) x6 [18]
R4: (2 sc, inc) x6 [24]
R5: (3 sc, inc) x6 [30]
R6: (4 sc, inc) x6 [36]
R7–R11: sc around [36]
Slight taper for a teddy shape:
R12: (4 sc, dec) x6 [30]
R13–R14: sc around [30]
Stuff firmly (especially the bottom so it sits).
R15: (3 sc, dec) x6 [24]
R16: (2 sc, dec) x6 [18]
Fasten off leaving a long tail for attaching head.
Arms (make 2)
Start in CC for paws, then switch to MC.
R1 (CC): MR, 6 sc [6]
R2: (sc, inc) x3 [9]
R3: sc around [9]
Change to MC.
R4–R9: sc around [9]
Lightly stuff paw end only.
Flatten top and close with 4–5 sc across. Leave tail for sewing.
Legs (make 2)
Start in CC for feet, then switch to MC.
R1 (CC): MR, 6 sc [6]
R2: inc x6 [12]
R3: (sc, inc) x6 [18]
R4: sc around [18]
Change to MC.
R5–R9: sc around [18]
Stuff firmly.
Fasten off with tail.
Tip: For a seated teddy look, position legs forward during assembly.
Ears (make 2, MC)
R1: MR, 6 sc [6]
R2: (sc, inc) x3 [9]
R3: sc around [9]
Flatten and close with 4–5 sc across. Leave tail.
Tail (optional, MC)
R1: MR, 5 sc [5]
R2: inc x5 [10]
R3: sc around [10]
Fasten off, lightly stuff, sew to back.
Assembly#
Take your time here—assembly is what makes amigurumi look professional.
Attach snout
- Pin snout centered on the lower front of the head.
- Sew around the edge with small stitches.
- Don’t pull too tight or the snout will pucker.
Embroider face (CC)
- Outline the snout with a simple curved stitch line if desired (optional but cute).
- Stitch a small nose at the snout center (tiny triangle or oval).
- Add a short mouth line under the nose.
If you skipped safety eyes, embroider small eyes (dots or gentle arcs) above the snout.
Attach head to body
- Pin head centered on top of body.
- Sew securely with whip stitches all around.
- Reinforce the join with extra stitches—this is the stress point.
Attach legs
- Pin legs on the lower front sides of the body for a seated pose.
- Sew firmly.
Attach arms
- Sew arms to the upper sides, angled slightly forward.
Attach ears
- Pin ears symmetrically near the top sides of the head.
- Sew securely.
- Check from the front before finishing to ensure they match.
Tail
Sew tail to the back, centered.
Common Mistakes and How to Avoid Them#
- Lumpy head: Stuff in small tufts and shape continuously, especially during decrease rounds.
- Snout looks crooked: Pin first, measure from the eye line, then sew slowly.
- Uneven ears: Sew one ear partially, then pin the second and compare before finishing.
- Loose limbs: Use tighter stitches and make a second pass around limb joins for durability.
- Gaps showing stuffing: Use a smaller hook and keep tension consistent.
Expert Tips for Better Results#
- Use invisible decreases everywhere for a smooth finish.
- Mark the “front center” of the head and body with a stitch marker so your face and limbs line up.
- If you want the bear to sit perfectly, add a small weighted pouch (poly pellets inside fabric) at the bottom of the body.
- For cleaner embroidery, use embroidery floss instead of yarn—lines look sharper.
- Weave ends deep inside the body and head to prevent them popping out later.
Variations and Customization Ideas#
- Make it a baby bear: Use cream snout + cream paw pads for a softer look.
- Add a scarf: A tiny chain scarf makes it gift-ready.
- Sleepy face: Embroider curved closed eyes for a cozy look.
- Jumbo teddy: Use plush yarn and a bigger hook; keep stitch counts the same for a larger bear.
- Add patches: Sew a small heart patch on the belly or foot for extra charm.
- Different animals: With small tweaks to ears and snout, this base can become a puppy or lamb.
Benefits of This Crochet Project#
- Beginner-friendly amigurumi with classic shaping
- Minimal pieces, maximum cuteness
- Great gift project for babies, birthdays, and holidays
- Easy to customize colors and expressions
- Looks polished and “high value” when finished
- A perfect pattern for making multiples (fast and repeatable)
Internal Linking Suggestions#
If you’re building a crochet blog, link this post to:
- How to Crochet a Magic Ring
- Invisible Decrease Tutorial for Amigurumi
- How to Stuff Amigurumi Without Lumps
- How to Sew Amigurumi Parts Neatly
- Best Yarn for Crochet Toys
- Beginner Amigurumi Patterns You Can Finish in a Weekend
FAQ Section#
Is this a good crochet pattern for beginners?
Yes. It uses basic stitches and simple shapes. The main learning points are stuffing and assembly.
Can I make this without safety eyes?
Absolutely. Embroidered eyes work great and are often preferred for child-safe toys.
What yarn is best for a small teddy bear amigurumi?
Worsted acrylic or cotton blends are ideal for clean stitches and sturdy shape.
How do I make the snout look more defined?
Lightly stuff it and sew with even tension. You can also outline it with embroidery for extra definition.
How do I resize the teddy bear?
Change yarn weight and hook size. Plush yarn makes a bigger teddy without changing stitch counts.
Can I wash the finished teddy?
If you use washable yarn, gentle washing is usually fine. Air dry to maintain shape and protect embroidery.
Conclusion#
A little teddy bear amigurumi is one of those timeless crochet patterns you’ll keep coming back to—simple, sweet, and endlessly giftable. Once you’ve made one, you can easily experiment with different colors, faces, and accessories to create a whole collection.
If you tell me the yarn weight you’re using and how tall you want your teddy to be, I can adjust the stitch counts (or suggest where to add rounds) so your finished bear matches your exact size goal.


