


Introduction#
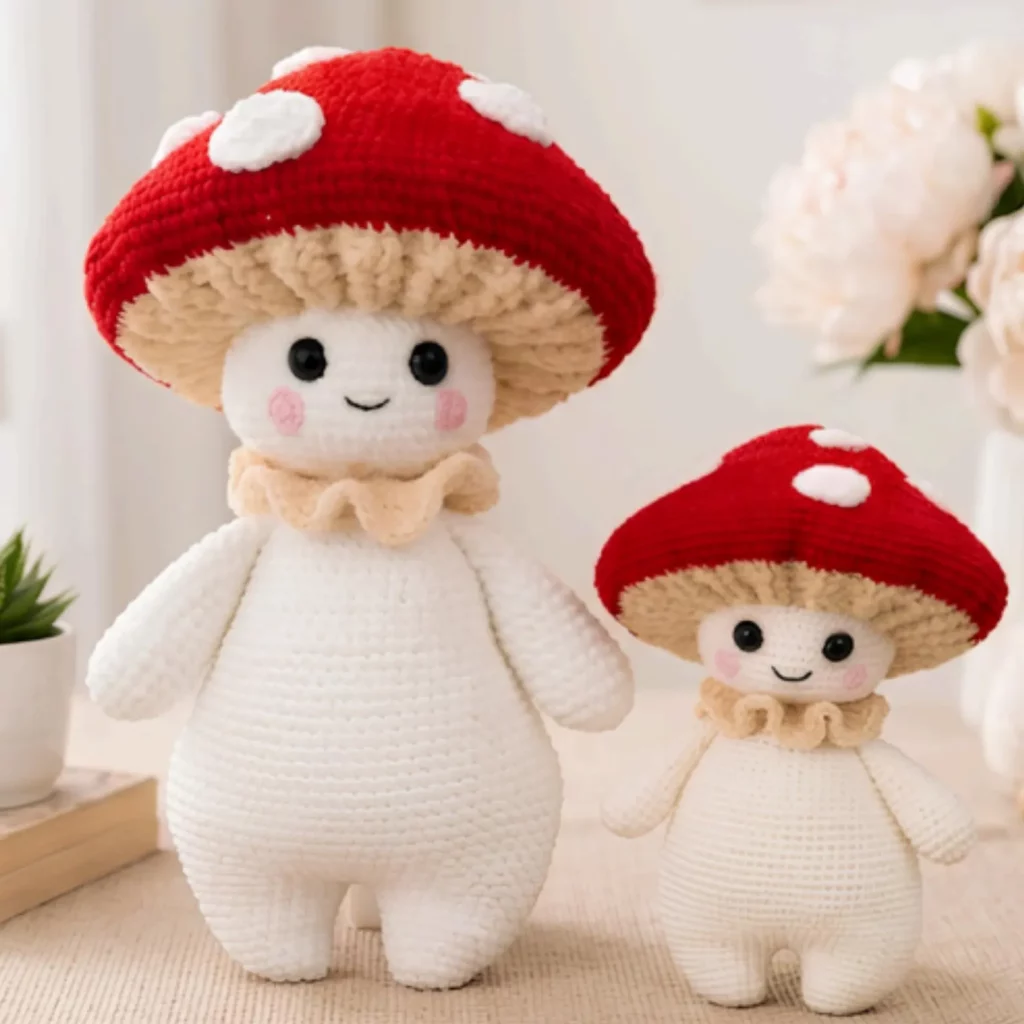
If you’re craving a crochet project that’s equal parts cozy and whimsical, a mushroom doll is one of the most satisfying makes you can put on your hook. It has that “instant charm” factor—big cute cap, soft rounded body, tiny arms, and a sweet little face—yet it’s built from beginner-friendly shapes you can crochet while relaxing.
Explore more beginner amigurumi crochet patterns in our pattern library.
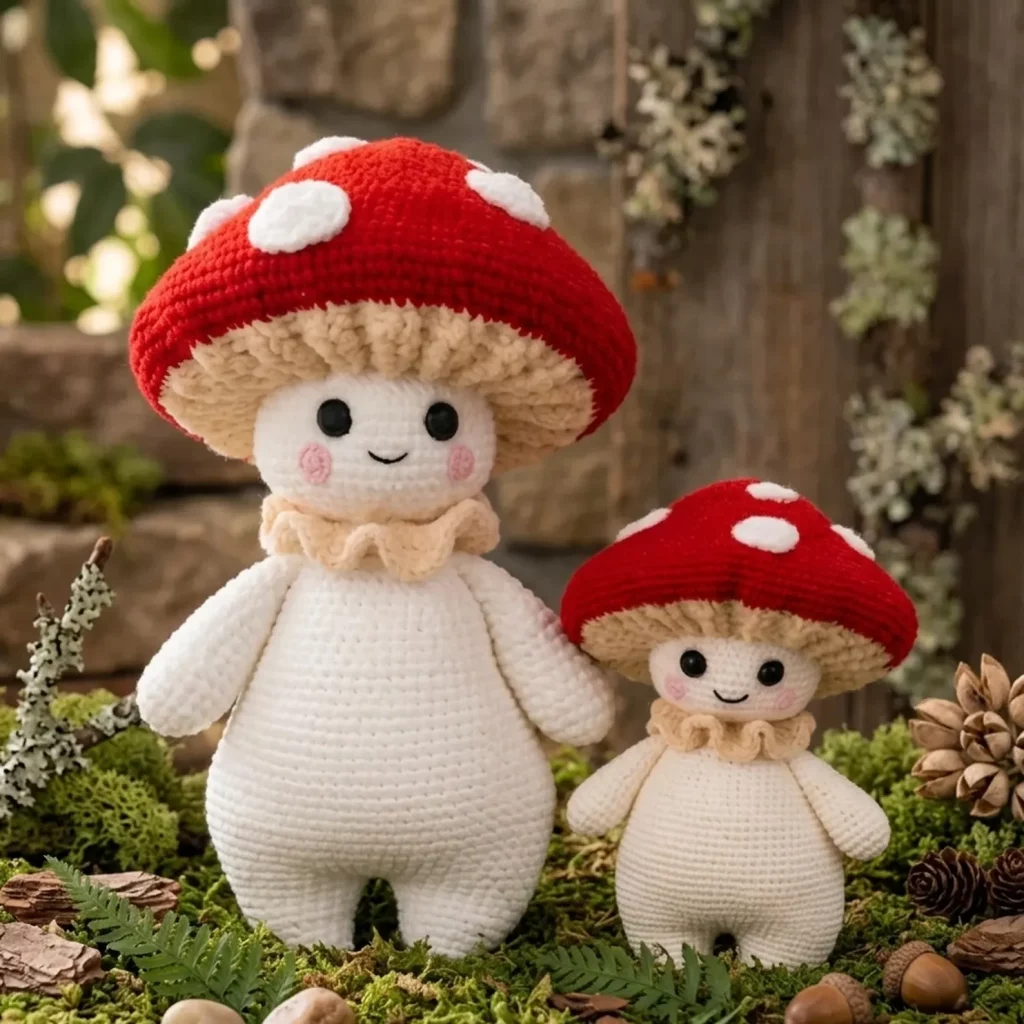
This crochet pattern walks you through making an adorable mushroom doll with a rounded plush body, a classic red cap with white spots, and a soft ruffle collar that makes it look extra gift-ready. The design is also easy to scale: you can make a smaller “mini” companion or a larger statement plush just by changing yarn weight and hook size.
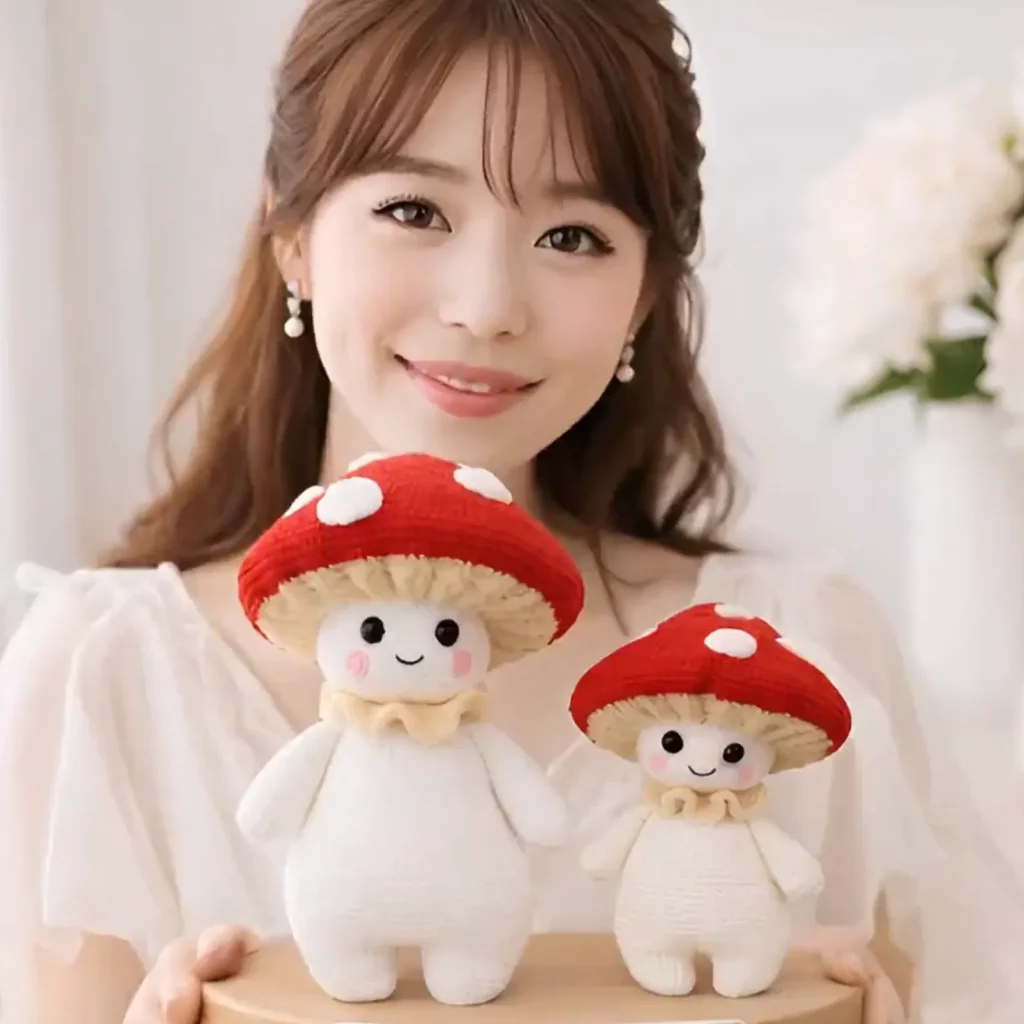
Whether you’re making a nursery shelf buddy, a fall decor piece, or a handmade gift, this free crochet pattern is designed to feel approachable and still look polished when finished.
Detailed Description of the Crochet Pattern#
This mushroom doll amigurumi is constructed using classic amigurumi building blocks:
- Round head in a light color with a simple embroidered smile
- Plump body that tapers slightly at the top for a stable standing shape
- Short, floppy arms that sit at the sides for a cuddly look
- Mushroom cap with a wide brim (a “toadstool” silhouette)
- Textured underside of the cap for that gill-like effect
- White spots added as small appliqués for a playful, iconic mushroom style
- Ruffle collar that frames the neck and adds a soft, fancy finish
The overall style is “kawaii” (cute and simple), with minimal facial details—so you get maximum personality without complicated embroidery.
Skill Level Explanation#
This is an easy crochet pattern for confident beginners and a relaxing project for experienced crocheters.
You’ll want to be comfortable with:
- Crocheting in the round
- Single crochet, increases, and decreases
- Basic color changes (optional)
- Simple sewing/assembly
- Light embroidery for the face
The only part that can feel “fussy” is attaching the cap and aligning it neatly. Don’t worry—I’ll share pinning tricks that make it much easier.
Materials Needed#
Yarn
Choose a yarn that feels soft and holds shape well.
Recommended yarn weight:
- Worsted weight (#4) for a medium doll
- DK weight (#3) for a smaller doll
- Plush/super bulky (#6) for a jumbo squishy doll (optional)
Color palette:
- Main (MC): white or cream (head + body + arms)
- Cap color: red (cap top)
- Underside/gills: beige/tan (cap underside)
- Spots: white (cap spots)
- Optional blush: light pink yarn, felt, or cosmetic blush
- Face embroidery: black yarn or embroidery floss
Hook
Use a hook that creates a tight fabric so stuffing won’t show.
- Worsted: 3.0–3.5 mm
- DK: 2.5–3.0 mm
- Plush: 5.5–7.0 mm (depends on yarn thickness)
Notions
- Fiberfill stuffing
- Stitch marker (highly recommended)
- Yarn needle
- Scissors
- Pins (for positioning cap/arms)
- Optional: safety eyes (if you prefer open eyes), but embroidered is great
Stitches & Techniques Explained#
Abbreviations (US terms)
- MR = magic ring
- ch = chain
- sc = single crochet
- inc = increase (2 sc in same stitch)
- dec = invisible decrease (sc2tog through front loops)
- sl st = slip stitch
- BLO/FLO = back/front loop only
- ( ) = repeat
- [ ] = stitch count
Techniques that help your plush look “store-bought”
- Invisible decreases for smooth shaping
- Stuffing in small pieces so the body doesn’t get lumpy
- Pin-first assembly for symmetry (especially cap placement)
- Tight stitches (amigurumi should be dense)
Step-by-Step Instructions#
Notes: Work in continuous rounds unless stated. Use a stitch marker. Stuff firmly but don’t overstretch stitches.
Head (MC)
R1: MR, 6 sc [6]
R2: inc x6 [12]
R3: (sc, inc) x6 [18]
R4: (2 sc, inc) x6 [24]
R5: (3 sc, inc) x6 [30]
R6: (4 sc, inc) x6 [36]
R7: (5 sc, inc) x6 [42]
R8: (6 sc, inc) x6 [48]
R9–R13: sc around [48]
Begin closing:
R14: (6 sc, dec) x6 [42]
R15: (5 sc, dec) x6 [36]
R16: (4 sc, dec) x6 [30]
Stuff firmly and shape.
R17: (3 sc, dec) x6 [24]
R18: (2 sc, dec) x6 [18]
R19: (sc, dec) x6 [12]
R20: dec x6 [6]
Fasten off, weave in.
Face Details (embroidery)
Use black yarn/floss:
- Eyes: two small vertical stitches or tiny arcs (your choice)
- Smile: a small curved line centered below the eyes
- Cheeks (optional): blush with pink yarn, felt circles, or cosmetic blush dabbed lightly
Tip: Place the face slightly lower on the head so the cap feels “snug” above it.
Body (MC)
This body is a rounded plush shape with a stable base.
R1: MR, 6 sc [6]
R2: inc x6 [12]
R3: (sc, inc) x6 [18]
R4: (2 sc, inc) x6 [24]
R5: (3 sc, inc) x6 [30]
R6: (4 sc, inc) x6 [36]
R7–R11: sc around [36]
R12: (4 sc, dec) x6 [30]
R13–R14: sc around [30]
Stuff firmly (especially the bottom).
R15: (3 sc, dec) x6 [24]
R16: (2 sc, dec) x6 [18]
Fasten off leaving a long tail for sewing the head to the body.
Arms (make 2, MC)
Short and soft arms keep the doll extra cute.
R1: MR, 6 sc [6]
R2: (sc, inc) x3 [9]
R3–R7: sc around [9]
Lightly stuff (optional). Flatten and close with 4–5 sc across.
Leave a long tail for sewing.
Attach Head and Arms
- Sew head to body, centered, using tight whip stitches.
- Pin arms to the sides of the body just below the neck seam.
- Sew firmly (arms should flop slightly, not stick straight out).
Ruffle Collar (beige/tan)
This ruffle gives that soft “mushroom doll” vibe.
Join yarn at the neck seam (where head meets body).
Work a round of sc evenly around the neck (aim for 30–36 sc, depending on your stitch density—place stitches wherever you can catch a secure loop).
Now create the ruffle:
- Ruffle round: (sc, inc) repeat around (this doubles stitches gradually and makes it wave).
For a bigger ruffle, do (inc in each stitch) around instead.
Fasten off and weave in ends.
Mushroom Cap Underside (beige/tan)
This is the “brim” underside that looks like gills.
R1: MR, 6 sc [6]
R2: inc x6 [12]
R3: (sc, inc) x6 [18]
R4: (2 sc, inc) x6 [24]
R5: (3 sc, inc) x6 [30]
R6: (4 sc, inc) x6 [36]
R7: (5 sc, inc) x6 [42]
R8: (6 sc, inc) x6 [48]
R9: (7 sc, inc) x6 [54]
R10: (8 sc, inc) x6 [60]
Optional “gill texture”:
Work one round in BLO sc around [60]. This creates a subtle ridge.
Fasten off with a long tail for sewing to the cap top.
Mushroom Cap Top (red)
This forms the rounded dome.
R1: MR, 6 sc [6]
R2: inc x6 [12]
R3: (sc, inc) x6 [18]
R4: (2 sc, inc) x6 [24]
R5: (3 sc, inc) x6 [30]
R6: (4 sc, inc) x6 [36]
R7: (5 sc, inc) x6 [42]
R8: (6 sc, inc) x6 [48]
R9–R12: sc around [48]
R13: (6 sc, dec) x6 [42]
R14: (5 sc, dec) x6 [36]
R15: (4 sc, dec) x6 [30]
Stop here—do not close fully. Lightly stuff the dome if you want it extra plush (optional).
Join Cap Top to Cap Underside
- Place the red cap top over the beige underside like a lid.
- Align edges evenly and pin all around.
- Sew around with whip stitch using the long tail.
Tip: Don’t pull stitches too tight; you want the brim to stay smooth and round, not puckered.
White Spots (make 5–8, white)
Make a mix of sizes for a natural spotted look.
Small spot:
MR, 6 sc, sl st to join, fasten off.
Medium spot:
MR, 6 sc [6]
Round 2: inc x6 [12]
Fasten off.
Sew spots onto the red cap. Place more on the top and fewer near the brim for a balanced look.
Attach Cap to Head
This is the “make it or break it” step—pin first!
- Place cap on head so the brim sits just above the eyes.
- Pin at front, back, and both sides first.
- Check the doll from all angles (front and profile).
- Sew the cap to the head with small stitches around the inside edge of the brim.
Optional: Only tack the cap in a few places if you want it removable, but sewing all around looks neatest.
Common Mistakes and How to Avoid Them#
- Cap looks crooked: Pin in four points first (front/back/sides), then add more pins before sewing.
- Brim waves too much: Your underside may have too many increases. Skip the last increase round or use fewer increases for a flatter brim.
- Cap puckers when sewn: You’re pulling the sewing yarn too tight. Relax tension and sew through consistent loops.
- Body won’t stand: Stuff the bottom more firmly and flatten the base gently with your hands.
- Spots look messy: Use fewer, larger spots and stitch them down with tiny even stitches.
Expert Tips for Better Results#
- Stuff the head firmly so the cap has a stable base and doesn’t sag.
- Use invisible decreases for smooth, photogenic shaping.
- Weave ends inside the cap so they don’t pop through the red stitches.
- Add a tiny weighted pouch (poly pellets inside fabric) to the body base for perfect standing balance.
- Blush lightly: a small amount adds instant “cute” without extra crochet.
Variations and Customization Ideas#
- Color swap: Make a pastel cap (pink, sage, cream) for a softer look.
- Mini + big pair: Use the same stitch counts but change yarn weight (DK for mini, plush for jumbo).
- Add a tiny bag: Crochet a small satchel strap across the body for cottagecore vibes.
- Different collars: Swap the ruffle collar for a scarf, bow tie, or lace-style collar.
- Spotted vs solid: Skip spots for a minimalist mushroom doll, or add extra spots for a whimsical look.
- Holiday versions: Red/white for winter, orange/cream for autumn, green/white for a forest sprite theme.
Benefits of This Crochet Project#
- Works up quickly with simple amigurumi shapes
- Great stash-buster (small accent colors go a long way)
- Customizable for seasons, gifts, and decor
- Beginner-friendly construction with “wow” results
- Excellent practice for sewing and symmetry
- Makes an adorable gift that looks handmade-in-the-best-way
Internal Linking Suggestions#
If you’re building a crochet blog, link this pattern to:
- How to Crochet a Magic Ring
- Invisible Decrease Tutorial for Amigurumi
- How to Sew Amigurumi Pieces Neatly
- Best Yarn for Crochet Toys and Plushies
- Beginner Amigurumi Patterns for Gifts
- Easy Crochet Embroidery Faces
FAQ Section#
Is this a good crochet pattern for beginners?
Yes. The stitches are simple and repetitive. The only part that requires patience is attaching the cap evenly—pinning makes it easy.
Can I use plush yarn for this free crochet pattern?
Absolutely. Plush yarn makes a bigger, squishier doll. Use a larger hook and rely on stitch markers to keep track of rounds.
How do I make a smaller mushroom doll?
Use DK or sport weight yarn with a smaller hook, keeping the same stitch counts. Your finished doll will scale down naturally.
How do I stop the cap brim from curling?
Try adding one more increase round to the underside or lightly block the brim. Also avoid sewing too tightly when joining cap pieces.
Do I have to use safety eyes?
No—embroidered eyes are adorable and are often preferred for a soft “kawaii” look.
How can I make the doll stand more securely?
Stuff the body base firmly and flatten it slightly. A small weighted pouch inside the bottom also helps.
Conclusion#
A mushroom doll is one of those crochet makes that feels magical from start to finish—simple stitches, big personality, and endless ways to customize. Once you’ve made one, it’s easy to imagine a whole little mushroom family in different colors and sizes.
If you tell me what yarn weight you plan to use (DK, worsted, or plush) and how tall you want your doll, I can help you fine-tune the cap brim size and spot placement so your finished mushroom comes out perfectly proportioned.


