


Introduction#
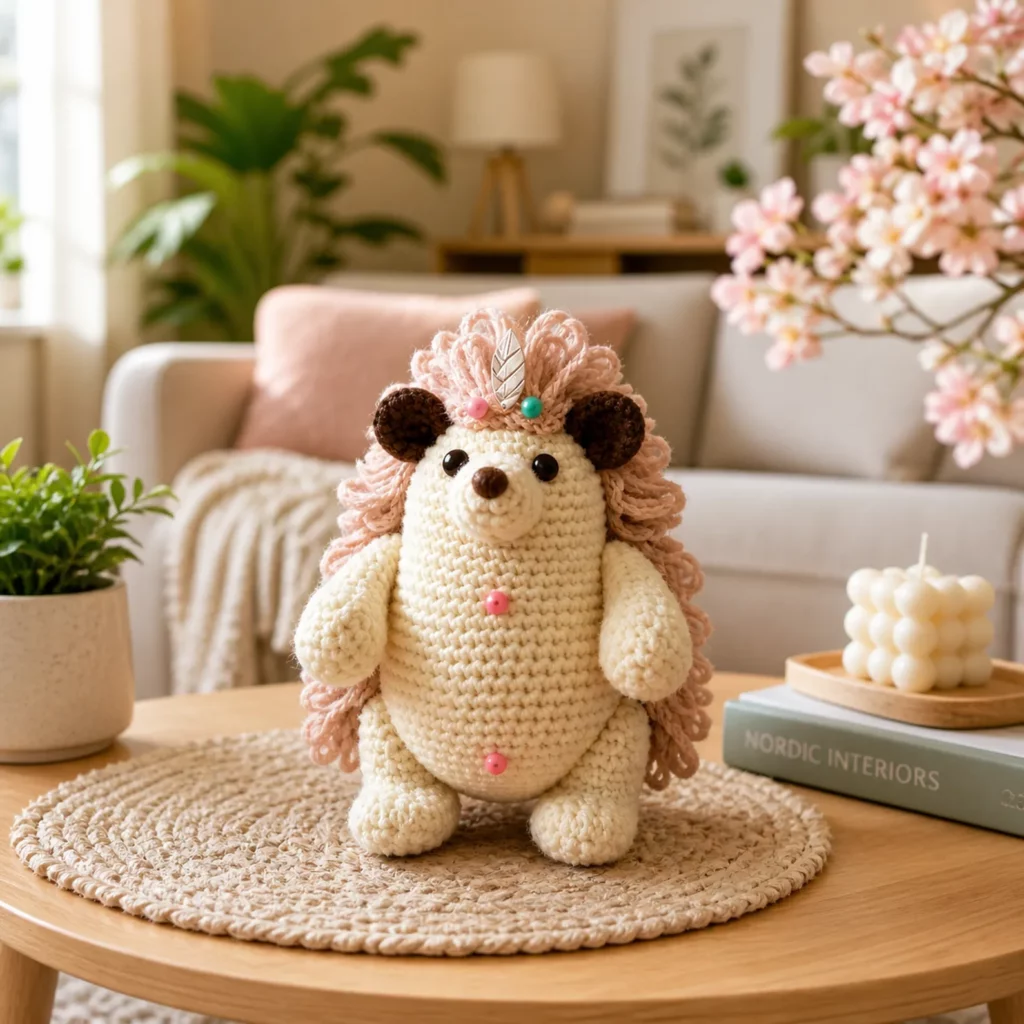
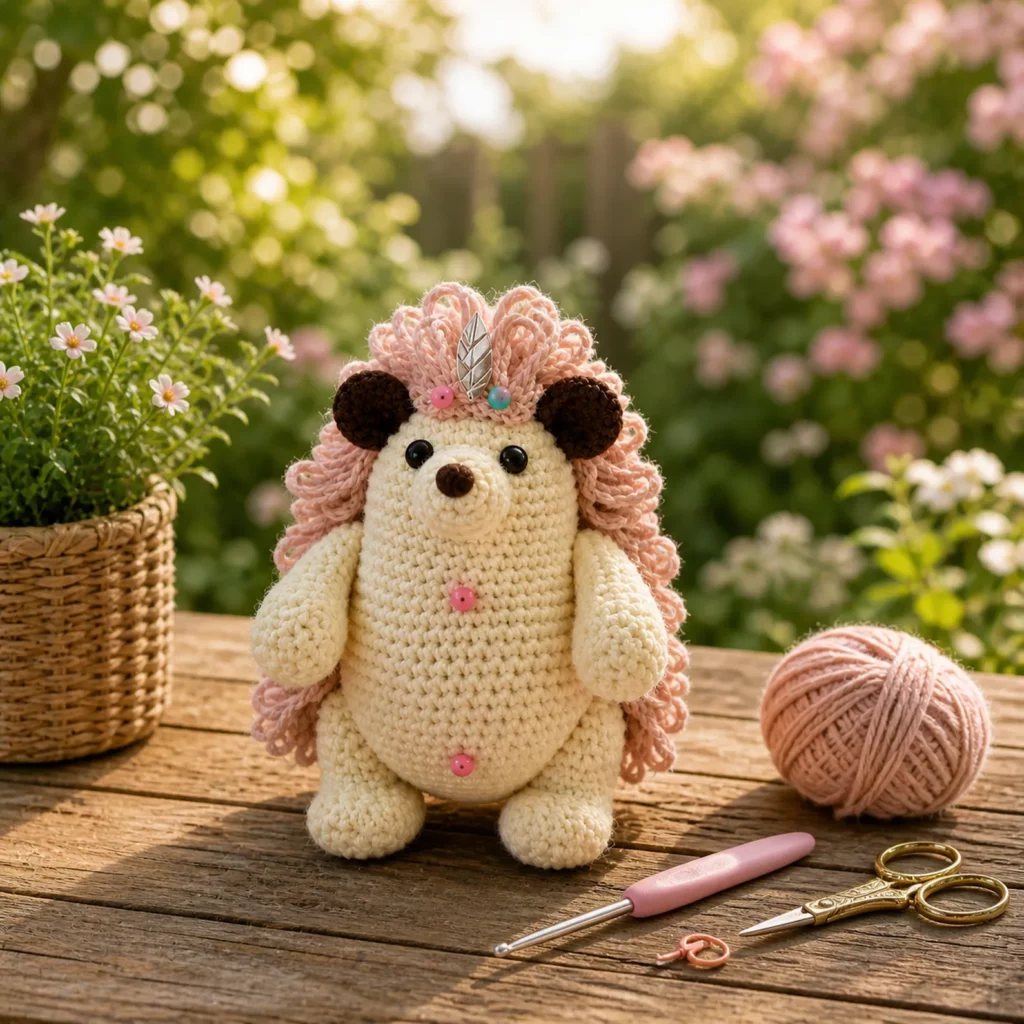
When you want an amigurumi project that’s instantly adorable but still feels special and different, a plush hedgehog is the perfect choice. It has that cozy woodland vibe, a round little body that fits beautifully in your hands, and—best of all—those fluffy “spines” that make it look extra huggable instead of poky.
Explore more beginner amigurumi crochet patterns in our pattern library.
This crochet pattern walks you through a soft, standing hedgehog with tiny rounded ears, a cute snout, and a fluffy back made with simple looped yarn (no complicated shaping required). The body is classic single crochet in the round—ideal for a crochet for beginners level amigurumi—while the “spiky” texture comes from an easy technique you can do even if you’ve never used loop stitch or yarn loops before.
If you’re here looking for a free crochet pattern that makes a giftable plush, a nursery decoration, or a fun desk companion, you’re in the right place. I’ll also share the best yarn choices for a fluffy look, how to place the face so the hedgehog looks sweet (not startled), and how to keep your finished toy standing nicely.
Detailed Description of the Crochet Pattern#
This hedgehog amigurumi is designed in two main color zones:
- Belly/face (light cream): smooth single crochet with a slightly protruding snout
- Back/spines (gray or white fluffy): textured section created with loop stitch or a beginner-friendly “yarn-loop” method
The overall shape is a chubby oval that sits upright with little feet at the bottom. It’s not overly long like a realistic hedgehog—this is more of a cute plush style.
Main parts:
- Body + head (worked as one piece for simplicity)
- Snout (small oval, sewn on)
- Ears (tiny half-circles)
- Arms (short, rounded)
- Feet (small bumps or separate pieces)
- Spines/back texture (loop stitch or attached loops)
Because the body and head are mostly one continuous piece, you avoid complicated assembly. Most of the “character” comes from the snout placement and the fluffy back.
Skill Level Explanation#
This is an easy crochet pattern with optional intermediate upgrades.
Great for beginners if you can:
- Crochet in continuous rounds
- Single crochet, increase, and invisible decrease
- Count stitches (stitch marker helps a lot)
- Sew on small pieces
Optional skills (nice but not required):
- Loop stitch for the spines
- Color changes for a clean two-tone look
- Embroidered details (tiny nose, little mouth)
If you’re new to texture stitches, don’t worry: I include a simple alternate spine method that uses loops made from cut yarn strands.
Materials Needed#
Yarn
Choose yarn based on the look you want:
Option A: Smooth + fluffy combo (recommended)
- Smooth worsted weight (#4) for face/belly
- Fluffy yarn for spines: faux fur yarn, eyelash yarn, or boucle
Option B: All smooth yarn (simplest)
- Use worsted weight for everything and create spines with yarn loops
Color suggestions:
- Belly/face: cream, beige, light tan
- Back/spines: gray, taupe, white, or mixed fleck yarn
- Nose: black or dark brown (embroidery floss)
Hook
Use a smaller hook than the yarn label suggests to keep stitches tight:
- Worsted: 3.0–3.5 mm
- Fluffy yarn: match your main hook, or go up 0.5 mm if needed for comfort
Notions
- Fiberfill stuffing
- Stitch marker
- Yarn needle
- Scissors
- Safety eyes (optional) 8–12 mm depending on size
- Black embroidery floss for nose/mouth
- Optional: pet brush (to fluff faux fur yarn gently)
- Optional: small cardboard piece for wrapping cut loops (faster loop prep)
Stitches & Techniques Explained#
Abbreviations (US terms)
- MR = magic ring
- sc = single crochet
- inc = increase (2 sc in same stitch)
- dec = invisible decrease (sc2tog through front loops)
- sl st = slip stitch
- ch = chain
- BLO = back loop only
Invisible decrease
Invisible decreases keep your shaping smooth—especially helpful on the face and belly where bumps are noticeable.
Loop stitch (for spines)
Loop stitch creates little loops on the outside of your fabric. It looks like soft “spikes” without being sharp. If you’ve never done it, it’s basically holding the yarn in a loop over your finger while you complete a single crochet.
Alternative spine method (no loop stitch)
You crochet the back with regular single crochet, then attach short strands as loops using your hook (similar to adding fringe). This is extremely beginner-friendly and works with any yarn.
Step-by-Step Instructions#
Notes:
- Work in continuous rounds unless stated
- Use a stitch marker in the first stitch of each round
- Stuff as you go for best shaping
- Stitch counts are in brackets
Body and Head (worked in one piece)
Start in cream (belly/face).
R1: MR, 6 sc [6]
R2: inc x6 [12]
R3: (sc, inc) x6 [18]
R4: (2 sc, inc) x6 [24]
R5: (3 sc, inc) x6 [30]
R6: (4 sc, inc) x6 [36]
R7: (5 sc, inc) x6 [42]
R8–R11: sc around [42]
Now create the “body” height:
R12–R16: sc around [42]
Switch to back/spine color for the upper back section.
If you’re using fluffy yarn, this is where you’ll change to it. If you’re using loop stitch, use it on the back half of the round.
Two-tone placement tip:
To keep a clean belly, crochet the front half of each round in cream and the back half in spine color. The simplest version is one full color change for the upper section—both work.
For a simple clean look (easiest):
- Change yarn to spine color at R17 and continue.
R17: sc around [42]
R18: sc around [42]
R19: sc around [42]
Begin shaping toward the “neck/head” area:
R20: (5 sc, dec) x6 [36]
R21: sc around [36]
R22: (4 sc, dec) x6 [30]
R23: sc around [30]
Now shape the head (switch back to cream if you want a lighter face; keep spine color for the back half if you prefer two-tone):
R24: (3 sc, inc) x6 [36]
R25: (5 sc, inc) x6 [42]
R26–R28: sc around [42]
Eye placement (if using safety eyes):
- Place between R26 and R27, about 7–9 stitches apart (adjust to preference).
For a sweet look, keep them slightly closer and lower.
Start closing the top of the head:
R29: (5 sc, dec) x6 [36]
R30: (4 sc, dec) x6 [30]
Start stuffing firmly—especially the belly and base.
R31: (3 sc, dec) x6 [24]
R32: (2 sc, dec) x6 [18]
R33: (sc, dec) x6 [12]
R34: dec x6 [6]
Fasten off, close, weave in.
Snout (cream)
This snout gives the hedgehog a defined little nose area.
R1: MR, 6 sc [6]
R2: (sc, inc) x3 [9]
R3: sc around [9]
R4: (sc, dec) x3 [6]
Fasten off, lightly stuff, sew to the front center of the face.
Embroider the nose:
- Use black floss to stitch a small triangle or oval at the tip of the snout.
Optional: add a tiny smile line under the nose.
Ears (make 2, dark brown or spine color)
R1: MR, 6 sc [6]
R2: sc around [6]
Flatten and sew to the head, slightly above and to the sides of the eyes.
Arms (make 2, cream)
R1: MR, 6 sc [6]
R2: (sc, inc) x3 [9]
R3–R6: sc around [9]
Lightly stuff, flatten top, sew to the sides of the body.
Feet (optional but cute)
Simple foot bumps (no separate pieces):
- Before fully stuffing and closing the body, stitch a few tight gathering stitches at the bottom front to create two small “toe bumps.”
Separate feet option (make 2, cream):
R1: MR 6 sc
R2: inc x6 [12]
R3: sc around [12]
Fasten off, lightly stuff, sew to the lower front so the hedgehog stands.
Creating the Fluffy Spines#
Choose one method:
Method One: Loop Stitch Back
Work loop stitch on the back section rounds (R17–R28 area or wherever you want spines).
How to do loop stitch in simple terms:
- Hold yarn over your finger to form a loop on the outside
- Insert hook, yarn over, pull up a loop
- Yarn over and pull through both loops on hook
This locks the loop in place.
Tips:
- Keep loop lengths consistent (aim for 1–2 cm loops for a plush look)
- Use a slightly larger hook if loops feel too tight
- Brush gently with a pet brush if using faux fur yarn (go slow)
Method Two: Attached Yarn Loops (Beginner-Friendly)
This method works even if you used normal sc for the back.
Steps:
- Cut strands of your spine yarn about 8–10 cm long
- Fold one strand in half to make a loop
- Insert hook from outside to inside through a stitch on the back
- Pull the folded loop through
- Pull the two loose ends through the loop and tighten
Repeat across the back in rows until it looks fluffy.
Pro tip:
- Concentrate loops on the “cap” from the back of the head down to mid-back. Leave the belly smooth.
Common Mistakes and How to Avoid Them#
- Hedgehog looks lopsided: Count rounds carefully and use a stitch marker. Stuff evenly and shape with your hands.
- Spines look patchy: Add more loops closer together, especially on the head back. Fluff them gently.
- Safety eyes sit too high: Hedgehogs look cuter with eyes slightly lower and closer together.
- Snout looks crooked: Pin it first, then sew slowly around the edge.
- Toy won’t stand: Stuff the base firmly and attach feet slightly forward.
Expert Tips for Better Results#
- Use a slightly smaller hook for the belly so stitches stay tight and smooth.
- For the fluffiest back, use boucle or faux fur yarn and lightly brush it after finishing.
- If you’re using cut loops, vary the loop density: denser on top of head and upper back, lighter toward the lower back.
- Add subtle cheeks with a tiny touch of pink yarn or blush (display projects only).
- For a super-clean two-tone line, change colors at the sides and keep that “seam” along the body’s sides.
Variations and Customization Ideas#
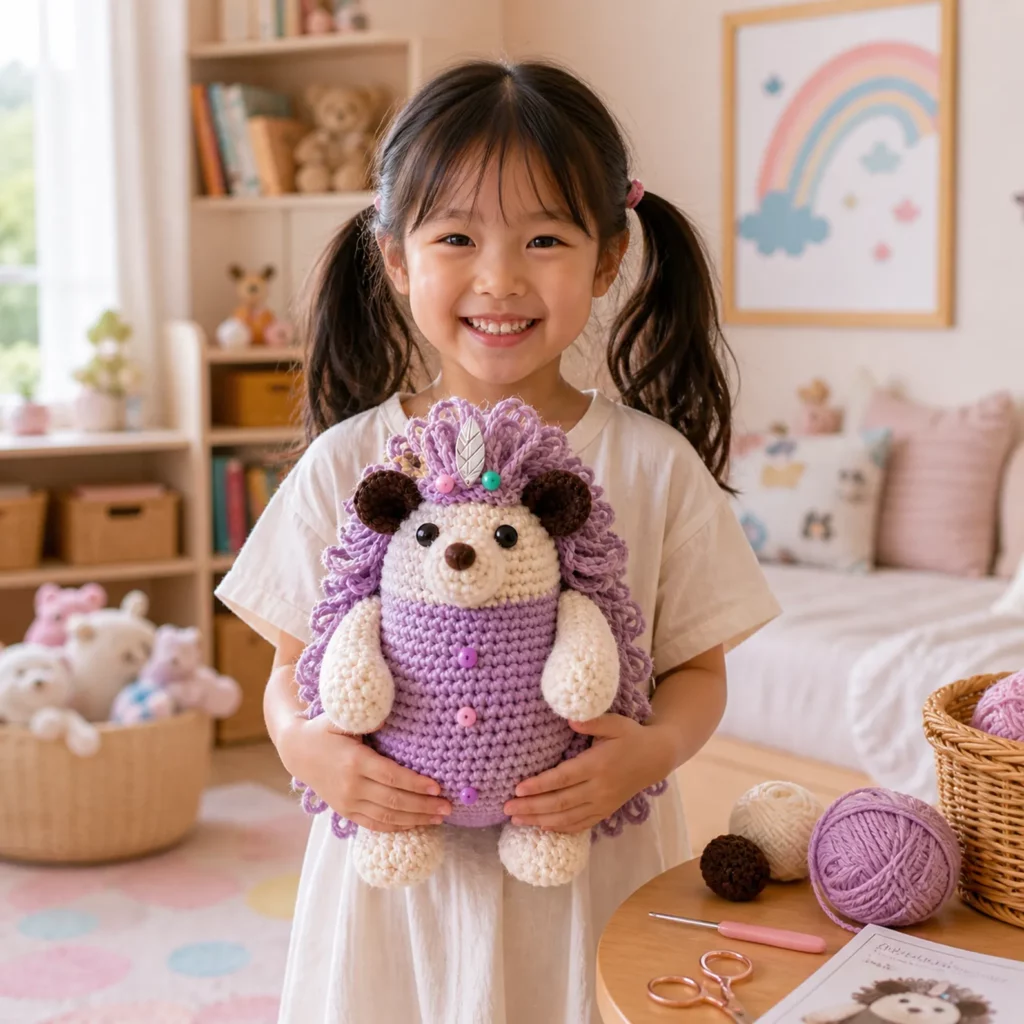
- Baby hedgehog: pastel spines (lavender/cream), embroidered sleepy eyes
- Woodland set: make a fox, bunny, and hedgehog in matching neutrals
- Keychain mini: use DK yarn and smaller hook; add a top loop
- Holiday hedgehog: add a tiny scarf or Santa hat
- Unicorn hedgehog: add a tiny horn and colorful loops (fun and whimsical)
Benefits of This Crochet Project#
- Classic amigurumi shaping that’s beginner-friendly
- Fun texture technique that upgrades your crochet skills
- Great stash buster for leftover fluffy yarn
- Makes a giftable plush with strong “cute factor”
- Evergreen blog topic: amigurumi + crochet pattern + crochet tutorial searches stay popular year-round
Internal Linking Suggestions#
You may also like…
- Magic Ring Crochet Tutorial
- Invisible Decrease Crochet Tutorial
- How to Sew Amigurumi Pieces Neatly
- Beginner Amigurumi Animals (bunny, bear, owl)
- How to Add Hair or Fur to Amigurumi (loop stitch and fringe methods)
FAQ Section#
Is this a free crochet pattern suitable for beginners?
Yes. The main body is simple single crochet shaping. If loop stitch feels new, use the attached yarn loop method instead.
What yarn is best for fluffy hedgehog spines?
Boucle, faux fur, or eyelash yarn gives the fluffiest look. You can also use normal yarn and add cut loops for texture.
Can I make it baby-safe?
Yes. Skip safety eyes and embroider eyes and nose with floss. Stitch all parts securely and avoid detachable accessories.
How do I stop the spines from looking messy?
Keep loops consistent in length and place them evenly. If using faux fur yarn, brush gently in one direction.
How do I resize the hedgehog?
Use thicker yarn and a larger hook to make it bigger, or thinner yarn and a smaller hook to make it smaller—keep stitch counts the same.
My hedgehog doesn’t stand up. What should I do?
Stuff the base more firmly, flatten the bottom slightly, and attach feet a little forward so the weight balances.
Conclusion#
This fluffy hedgehog amigurumi is a cozy, charming make that feels extra special thanks to the textured spines—without requiring complicated crochet. With a smooth belly, sweet snout, tiny ears, and a fluffy back, it’s a crochet pattern you can repeat in different colors for gifts, craft fairs, or a whole woodland collection.
If you tell me what yarn you’re using for the spines (boucle, faux fur, or regular yarn), I can suggest the best loop length and how many rows to cover for the fluffiest, cutest hedgehog shape.


