


Introduction#
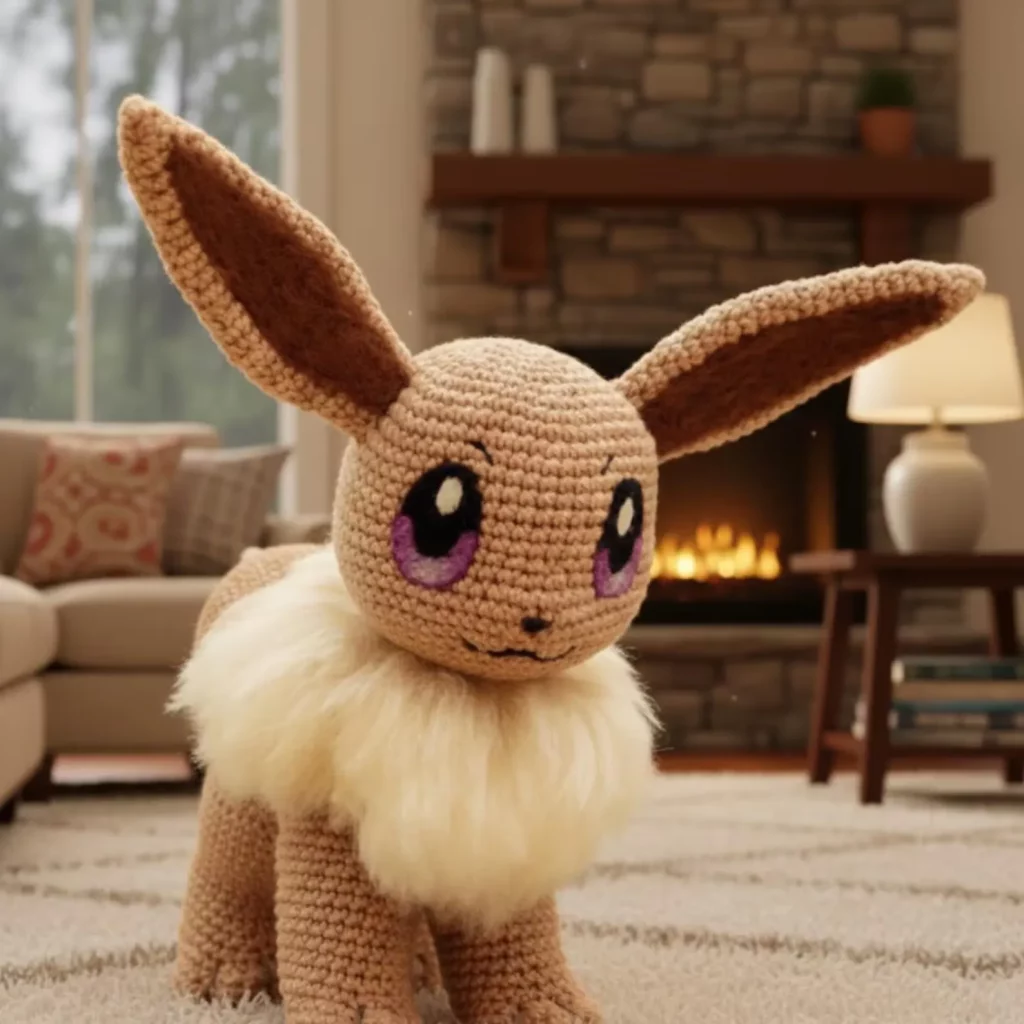
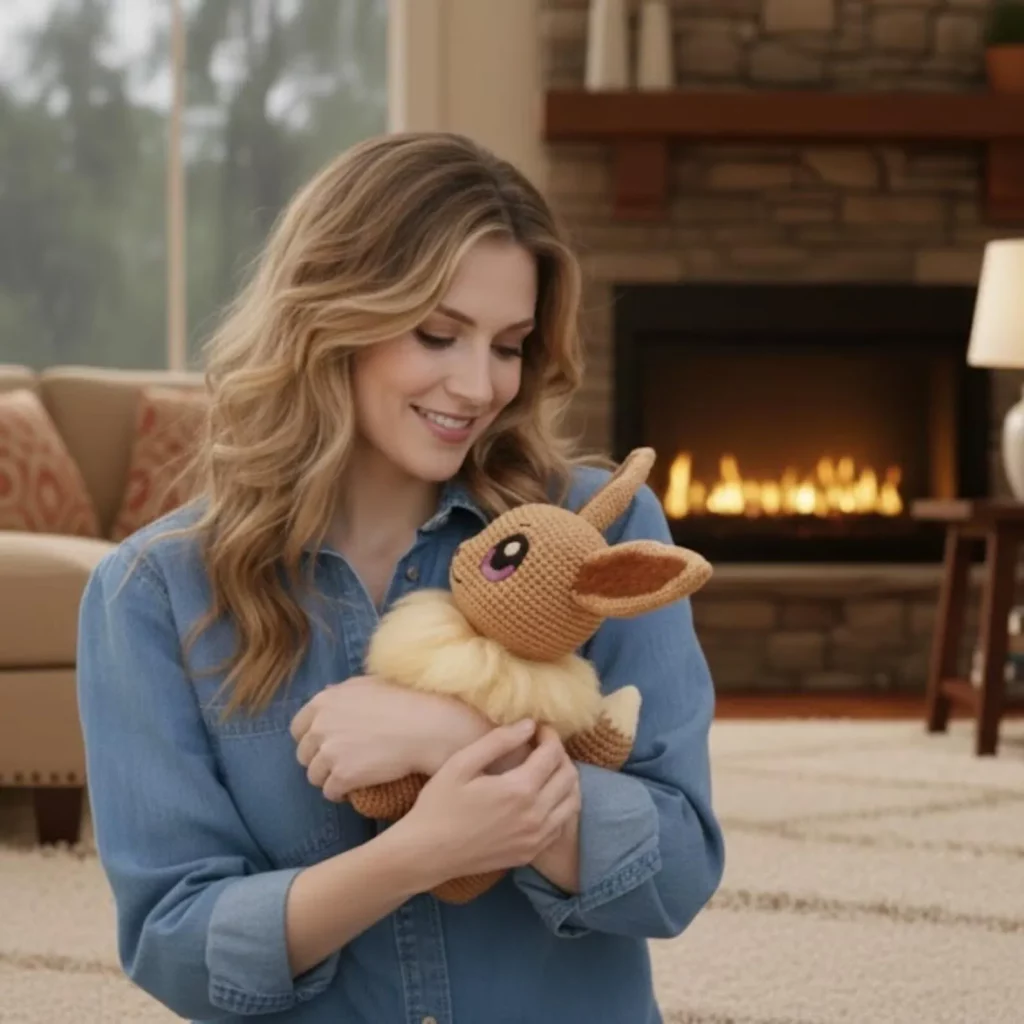
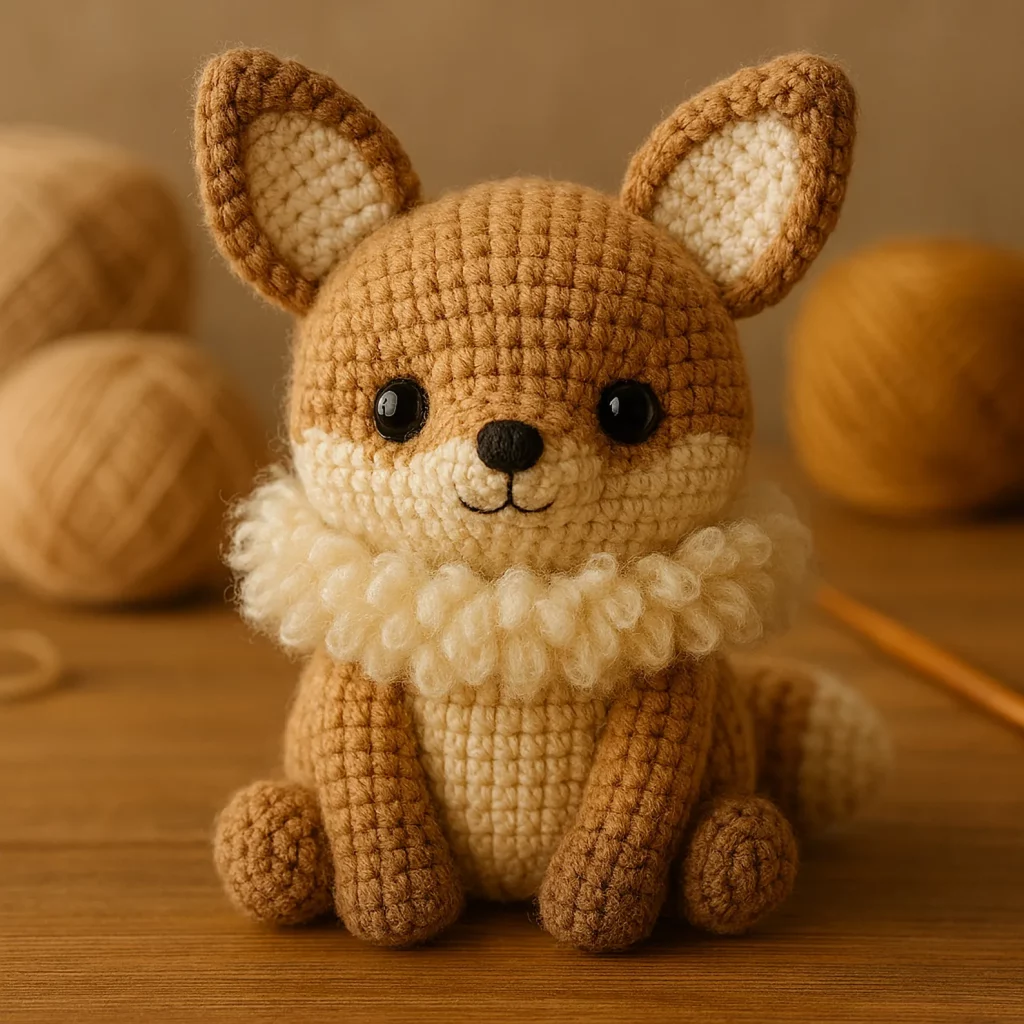
If you love amigurumi with big ears, a sweet face, and that extra “wow” detail that makes people reach out to touch it, this fluffy fox-inspired plush is going to be your new favorite make. The shape is classic and beginner-friendly—round head, simple body, four legs—but the fluffy neck ruff transforms it from “cute toy” to “collector-style plush.”
Explore more beginner amigurumi crochet patterns in our pattern library.
This crochet pattern is written to feel like a real crochet tutorial, not just a list of rounds. You’ll learn how to shape the head so it looks smooth, how to place facial details so the expression feels balanced, and how to add a fluffy collar using a few different methods (including a no-faux-fur option). Whether you’re making a gift, adding to your shelf display, or building content for your crochet blog, this is the kind of free crochet pattern that gives genuine value and looks polished when finished.
Detailed Description of the Crochet Pattern#
This crochet pattern creates a small animal plush with a fox-like silhouette and a signature fluffy collar. The key design features include:
- Rounded head with a slightly flattened “face” area for a cute expression
- Large upright ears with optional inner-ear color for contrast
- Big, expressive eyes (safety eyes or embroidered eyes both work)
- Small nose and gentle smile line for a friendly look
- Fluffy collar/ruff around the neck (the standout feature)
- Compact body with four sturdy legs for a standing pose
- Tail (optional but recommended) to complete the silhouette
Construction uses mostly single crochet in continuous rounds—a staple technique for crochet for beginners. The collar can be made with faux fur yarn, brushed yarn, or loop stitches depending on your comfort level.
Skill Level Explanation#
This is an easy-to-intermediate crochet pattern.
You can make it as a beginner if you’re comfortable with:
- Single crochet in the round (magic ring or alternative start)
- Increases and invisible decreases
- Basic sewing/assembly (ears and legs)
- Simple embroidery (optional)
The “intermediate” part is mainly the fluffy collar, because specialty yarns can be harder to see. I include beginner-friendly alternatives so you can still get a fluffy look without stress.
Materials Needed#
Yarn
Choose a smooth yarn for the body so you can see your stitches and keep shaping neat.
Recommended yarn weight:
- Worsted weight (#4) or DK (#3)
Color suggestions:
- Main body: tan/light brown
- Accent: darker brown for ear inner and tail tip (optional)
- Collar: cream/off-white (faux fur yarn or brushed yarn works beautifully)
- Embroidery: black for nose/mouth; optional purple/black/white for eyes if embroidering
Collar yarn options (pick one):
- Faux fur yarn (very fluffy, hardest to see stitches)
- Eyelash yarn (fluffy but easier than faux fur)
- Brushed acrylic/mohair blend (soft halo, easiest to crochet)
- Regular yarn + loop stitch technique (no specialty yarn needed)
Hook
Use a smaller hook than the yarn label suggests to prevent gaps:
- DK/Worsted: 2.75 mm – 3.5 mm (choose what gives tight fabric)
Notions
- Fiberfill stuffing
- Stitch marker
- Yarn needle
- Scissors
- Pins (great for symmetrical placement)
- Safety eyes: 10–14 mm (optional)
- Optional: felt circles or embroidery floss for eyes/shine
- Optional: pet slicker brush (only if you use brushable acrylic yarn for the collar)
Stitches & Techniques Explained#
Abbreviations (US terms)
- MR = magic ring
- ch = chain
- sc = single crochet
- inc = increase (2 sc in same stitch)
- dec = invisible decrease (sc2tog through front loops)
- sl st = slip stitch
- BLO/FLO = back/front loop only
- ( ) = repeat
- = stitch count
Helpful techniques for a clean plush
Invisible decrease
Makes shaping smoother than a standard decrease, especially around the head.
Stuff as you go
Stuff gradually and shape with your hands. A smooth head is more about consistent stuffing than “perfect” stitches.
Face mapping
Before locking in eyes or embroidery, place markers or pins where you think features should go. Small adjustments make a big difference.
Step-by-Step Instructions#
Notes:
- Work in continuous rounds unless stated.
- Use a stitch marker for the first stitch of each round.
- Stuff firmly but don’t stretch stitches.
Head (main color)
R1: MR, 6 sc [6]
R2: inc x6 [12]
R3: (sc, inc) x6 [18]
R4: (2 sc, inc) x6 [24]
R5: (3 sc, inc) x6 [30]
R6: (4 sc, inc) x6 [36]
R7: (5 sc, inc) x6 [42]
R8: (6 sc, inc) x6 [48]
R9–R12: sc around [48]
Eye placement (if using safety eyes):
Place eyes between R10–R11, about 10–12 stitches apart (adjust for your preferred expression).
Begin closing:
R13: (6 sc, dec) x6 [42]
R14: (5 sc, dec) x6 [36]
R15: (4 sc, dec) x6 [30]
Stuff firmly and shape.
R16: (3 sc, dec) x6 [24]
R17: (2 sc, dec) x6 [18]
R18: (sc, dec) x6 [12]
R19: dec x6 [6]
Fasten off, weave in.
Nose and Mouth (embroidery)
With black yarn or embroidery floss:
- Nose: tiny triangle or small oval centered low on the face
- Mouth: a short curved line (or a small “w” smile)
Optional: add a tiny white eye highlight stitch if embroidering eyes.
Ears (make 2)
Outer ear (main color):
R1: MR, 6 sc [6]
R2: (sc, inc) x3 [9]
R3: sc around [9]
R4: (2 sc, inc) x3 [12]
R5–R7: sc around [12]
R8: (2 sc, dec) x3 [9]
R9: sc around [9]
Flatten, do not stuff. Fasten off leaving tail for sewing.
Inner ear (optional, darker accent or lighter contrast, make 2):
R1: MR, 5 sc [5]
R2: (sc, inc) x2, sc [7]
R3: sc around [7]
Fasten off with tail.
Sew inner ear onto outer ear before attaching ears to the head.
Body (main color)
R1: MR, 6 sc [6]
R2: inc x6 [12]
R3: (sc, inc) x6 [18]
R4: (2 sc, inc) x6 [24]
R5: (3 sc, inc) x6 [30]
R6: (4 sc, inc) x6 [36]
R7–R10: sc around [36]
Slight taper:
R11: (4 sc, dec) x6 [30]
R12–R13: sc around [30]
Stuff firmly, especially the bottom for stability.
R14: (3 sc, dec) x6 [24]
R15: (2 sc, dec) x6 [18]
Fasten off with a long tail for attaching head.
Legs (make 4, main color)
These legs are simple sturdy tubes.
R1: MR, 6 sc [6]
R2: inc x6 [12]
R3–R6: sc around [12]
Stuff lightly but keep the bottom firm.
Flatten top and close with 6 sc across. Leave a long tail.
Tail (optional, main color + accent tip)
R1: MR, 6 sc [6]
R2: (sc, inc) x3 [9]
R3: sc around [9]
R4: (2 sc, inc) x3 [12]
R5–R8: sc around [12]
Optional accent tip: change color for last 1–2 rounds.
Lightly stuff. Flatten and close. Leave tail for sewing.
Fluffy Collar Options#
This is the signature feature. Choose the method that matches your supplies.
Option: Faux fur yarn collar (fluffiest)
Join faux fur yarn around the neck seam area (where head meets body after assembly). Work one round of sc evenly around. If you can’t see stitches, feel them with your fingers and use markers.
Then work another round with increases for ruffle volume:
- (sc, inc) around, or inc in every stitch for a dramatic ruff.
Option: Loop stitch collar (no specialty yarn)
Use your cream yarn and work loop stitches around the neck. Loop stitch creates little loops you can trim slightly or leave fluffy. This gives a faux-fur look with normal yarn.
Option: Brushable yarn collar (soft halo)
Use acrylic yarn that can be brushed. Crochet a simple ruffle collar (two rounds of sc with increases), then lightly brush the collar with a pet slicker brush to raise a fuzzy halo.
Assembly#
- Attach head to body
Pin head centered on body. Sew securely with whip stitch. Reinforce with extra stitches around the join. - Attach legs
Sew two front legs slightly forward on the body and two back legs slightly back. Use pins so the plush stands evenly. - Attach tail (optional)
Sew tail to the back, centered. - Attach ears
Pin ears on top sides of head, angled slightly outward. Sew securely. - Add collar last
The collar hides the seam and adds the plush “signature” look. Add it after the head is attached.
Common Mistakes and How to Avoid Them#
- Head looks lumpy: Stuff in small pieces and shape as you go. Don’t overstuff.
- Eyes feel uneven: Pin/mark placement before installing. Check from multiple angles.
- Ears don’t match: Count rows carefully and pin both ears before sewing.
- Collar yarn is hard to crochet: Use the loop stitch method or brushed yarn option.
- Toy won’t stand: Stuff the body base firmly and place legs wider apart.
Expert Tips for Better Results#
- Use invisible decreases everywhere for a smoother plush finish.
- Add a tiny weighted pouch (poly pellets inside fabric) in the body base for perfect standing balance.
- For extra cute expression: place eyes slightly lower and closer together than you think.
- Sew ears through multiple layers so they don’t flop over time.
- Weave ends deep inside the body so nothing pokes out through tight stitches.
Variations and Customization Ideas#
- Swap collar color for different “types” (cream, pale gray, pastel).
- Make a mini version with DK yarn or a jumbo version with plush yarn.
- Add a little scarf instead of a collar for a different vibe.
- Embroider star highlights in the eyes for a super cute look.
- Add darker “sock” markings on legs with surface crochet.
Benefits of This Crochet Project#
- Beginner-friendly construction with a high-end finished look
- Great for gifts, display plushies, and themed collections
- Teaches valuable amigurumi skills (shaping, assembly, symmetry)
- The collar detail makes it stand out from basic animal patterns
- Easy to customize size and personality without rewriting the pattern
Internal Linking Suggestions#
If you’re building a crochet blog, link this post to:
- How to Crochet a Magic Ring
- Invisible Decrease Tutorial for Amigurumi
- How to Embroider Cute Amigurumi Faces
- How to Attach Ears and Limbs Neatly
- Best Yarn for Amigurumi Toys
- How to Crochet with Faux Fur Yarn
FAQ Section#
Is this a good crochet pattern for beginners?
Yes. The shaping is simple and the parts are minimal. The only tricky part can be the fluffy collar, and there are easy alternatives included.
Can I make this without safety eyes?
Absolutely. Embroidered eyes are a great option and can be more child-friendly.
How do I keep the ears standing upright?
Don’t stuff them, sew them on firmly with tight stitches, and slightly angle them outward. You can also stitch a small tack at the base to shape the angle.
What if I don’t have faux fur yarn for the collar?
Use loop stitch with regular yarn, or crochet the collar in acrylic and brush it gently to create fluff.
How do I resize the crochet pattern?
Change yarn weight and hook size. The stitch counts can stay the same to keep proportions consistent.
Can I wash this plush?
If you use machine-washable yarn, gentle washing is usually fine. For faux fur collars, hand washing and air drying often keeps fluff looking best.
Conclusion#
This fluffy fox-inspired amigurumi is the perfect combination of simple construction and standout detail. The body is approachable for crochet for beginners, but the big ears and fluffy collar make it look like a premium plush when finished. Once you make one, you’ll probably want to create a whole set in different colors because the pattern works beautifully in both natural and playful palettes.
If you tell me your yarn weight (DK, worsted, or plush) and the size you want (mini, medium, jumbo), I can adjust the eye size, collar fullness, and leg placement so your finished plush comes out perfectly proportioned.


