


Introduction#
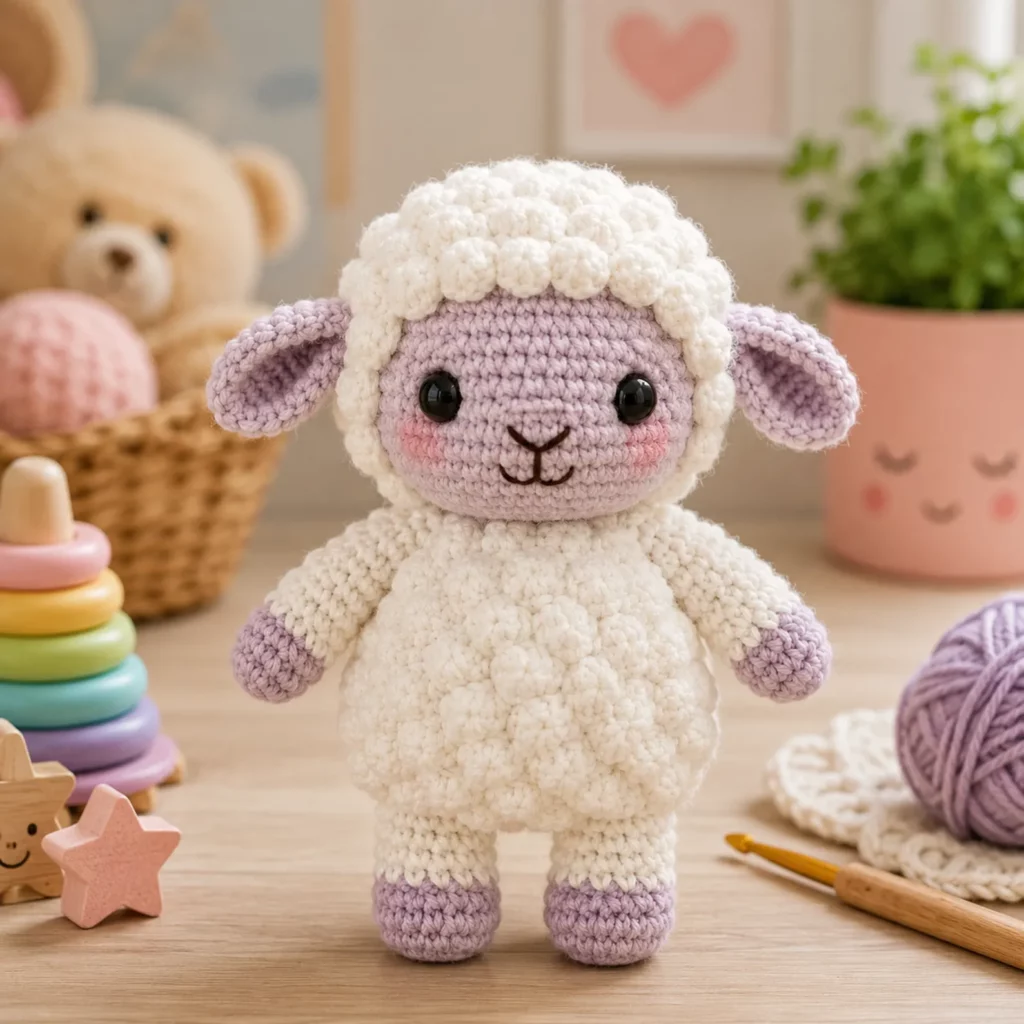
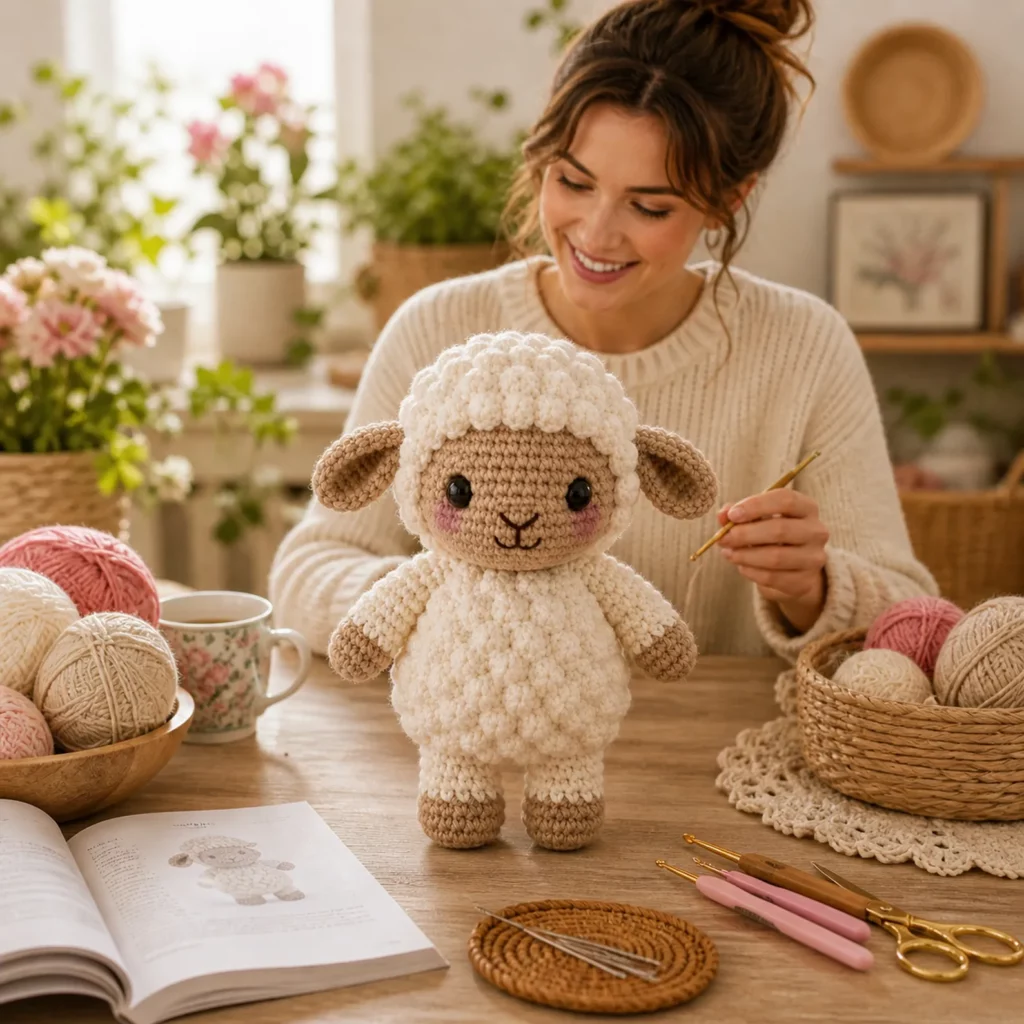
If you’ve ever wanted to crochet a plush that looks “store-bought cute” but still feels totally doable at home, this little lamb is the kind of project that delivers. It’s soft, round, and squishy, with a sweet face and that signature woolly texture that makes lamb amigurumi so irresistible.
Explore more beginner amigurumi crochet patterns in our pattern library.
This crochet pattern is designed to be beginner-friendly while still teaching you a few fun techniques—especially how to create a cozy, bumpy fleece using bobble stitches (also called popcorn/bobble “wool” in amigurumi). The shaping is straightforward, the parts are small, and the end result is a gift-worthy plush that works for baby showers, Easter baskets, nurseries, or just because you want something adorable on your desk.
Below you’ll find a detailed, educational crochet tutorial style guide that walks you through everything: materials, stitch explanations, step-by-step instructions, assembly, and finishing tips to make your lamb neat and polished.
Detailed Description of the Crochet Pattern#
This is a classic amigurumi lamb built from simple parts:
- Head (beige/tan): worked in continuous rounds using single crochet increases and decreases.
- Muzzle & face details: shaped by stuffing and embroidering a small nose/mouth; optional blush on cheeks.
- Ears (beige/tan): flat-ish oval/leaf shapes sewn to the sides of the head.
- Body (white/cream): a rounded egg shape covered with bobble stitches to mimic wool.
- Arms (white with beige hooves): short, slightly tapered tubes; sewn to the sides.
- Legs (white with beige hooves): two sturdy tubes that let the lamb stand.
- Wool cap/fringe around the head (white): extra bobbles clustered on top and around the crown for that fluffy “fleece hat” look.
Overall, the construction is approachable: crochet each part, stuff firmly, sew together, then add the face.
Skill Level Explanation#
Skill Level: Confident Beginner to Intermediate Beginner
You’ll do great if you already know:
- Single crochet (sc)
- Increase (inc) and decrease (dec)
- Working in continuous rounds (spiral)
- Basic sewing/assembly for amigurumi
Newer skills you’ll learn (or practice):
- Bobble stitch for wool texture
- Invisible decrease (recommended for a smooth finish)
- Clean color changes (for hooves)
Materials Needed#
Yarn
Use smooth yarn for the face/hooves and a soft yarn for the wool.
Suggested yarn weights:
- DK (Category 3) or Worsted (Category 4)
Colors:
- A: Cream/White (wool + body base)
- B: Beige/Tan (head, ears, hooves)
Tips for yarn choice:
- Cotton gives crisp stitches and a clean face.
- Acrylic gives extra squish and softness.
- Keep both yarns the same weight if possible.
Hook
Use a hook one size smaller than the yarn label suggests:
- DK yarn: 2.75–3.25 mm
- Worsted: 3.25–4.0 mm
Notions
- Stitch marker
- Yarn needle
- Scissors
- Fiberfill stuffing
- Safety eyes (8–12 mm)
- Black embroidery floss or black yarn for nose/mouth
- Optional: blush (cosmetic blush or pastel chalk)
Safety Note
If this is for a baby/toddler, embroider the eyes instead of using safety eyes.
Stitches & Techniques Explained#
Common Abbreviations
- MR = magic ring
- sc = single crochet
- inc = increase
- dec = decrease
- BLO = back loop only
- FLO = front loop only
- sl st = slip stitch
- ch = chain
- ( ) = repeat
- [ ] = stitch count
Invisible Decrease
Pick up the front loops of the next two stitches, then single crochet them together.
Bobble Stitch for “Wool”
Bobble (bo):
- Yarn over, insert hook, pull up a loop
- Yarn over, pull through 2 loops
- Repeat steps 1–2 two more times in the same stitch
- Yarn over, pull through all loops
- Keep the next stitch snug so the bobble pops outward
Step-by-Step Instructions#
Finished Size
With DK yarn and a 3.0 mm hook: roughly 6–9 inches (15–23 cm) tall.
Notes Before You Start
- Work in continuous rounds unless stated.
- Use a stitch marker.
- Stuff as you go.
Color Key
- A = White/Cream (wool)
- B = Beige/Tan (face + hooves)
Head (Color B)
Round 1: 6 sc in MR [6]
Round 2: inc around [12]
Round 3: (sc, inc) around [18]
Round 4: (2 sc, inc) around [24]
Round 5: (3 sc, inc) around [30]
Round 6: (4 sc, inc) around [36]
Rounds 7–11: sc around [36]
Place eyes between Rounds 9–10, 7–8 stitches apart.
Round 12: (4 sc, dec) around [30]
Round 13: (3 sc, dec) around [24]
Round 14: (2 sc, dec) around [18]
Stuff firmly.
Round 15: (sc, dec) around [12]
Round 16: dec around [6]
Fasten off and close.
Face Embroidery
Embroider a small “Y” style nose and mouth centered below the eyes. Add optional blush.
Wool Cap (Color A)
Round 1: 6 sc in MR [6]
Round 2: inc around [12]
Round 3: (sc, inc) around [18]
Round 4: (2 sc, inc) around [24]
Round 5: (3 sc, inc) around [30]
Round 6: (sc, bo) around [30]
Round 7: sc around [30]
Fasten off with a long tail and sew onto the top of the head.
Ears (Make 2, Color B)
Round 1: 6 sc in MR [6]
Round 2: (sc, inc) around [9]
Round 3: sc around [9]
Round 4: (2 sc, inc) around [12]
Round 5: sc around [12]
Flatten and sc across the top to close. Fasten off with tail.
Body (Color A)
Round 1: 6 sc in MR [6]
Round 2: inc around [12]
Round 3: (sc, inc) around [18]
Round 4: (2 sc, inc) around [24]
Round 5: (3 sc, inc) around [30]
Round 6: (4 sc, inc) around [36]
Texture rounds:
Round 7: (sc, bo) around [36]
Round 8: sc around [36]
Round 9: (bo, 2 sc) around [36]
Round 10: sc around [36]
Round 11: (sc, bo) around [36]
Round 12: sc around [36]
Shaping down:
Round 13: (4 sc, dec) around [30]
Round 14: sc around [30]
Round 15: (3 sc, dec) around [24]
Stuff firmly.
Round 16: sc around [24]
Round 17: (2 sc, dec) around [18]
Round 18: (sc, dec) around [12]
Round 19: dec around [6]
Fasten off and close.
Arms (Make 2)
Hoof (Color B):
Round 1: 6 sc in MR [6]
Round 2: (sc, inc) around [9]
Round 3: sc around [9]
Change to Color A:
Round 4: sc around [9]
Rounds 5–7: sc around [9]
Lightly stuff hoof, flatten, fasten off with sewing tail.
Legs (Make 2)
Hoof (Color B):
Round 1: 6 sc in MR [6]
Round 2: inc around [12]
Round 3: sc around [12]
Change to Color A:
Round 4 (BLO optional): sc around [12]
Rounds 5–8: sc around [12]
Stuff firmly and fasten off with tail.
Assembly
- Sew head to body centered.
- Sew ears to sides of head.
- Sew arms to body sides.
- Sew legs to underside evenly so it stands.
- Adjust stuffing and shaping as needed.
Common Mistakes and How to Avoid Them#
- Not counting stitches: count every round.
- Understuffing: stuff body and legs firmly.
- Bobbles not popping: keep tension snug and push bobbles outward.
- Eye placement off: test with pins first.
- Gaps showing stuffing: use smaller hook and tighter tension.
Expert Tips for Better Results#
- Use invisible decreases for smooth shaping.
- Flatten the body base slightly for standing stability.
- Embroider the face before attaching the head.
- Make color changes on the last yarn-over for clean transitions.
Variations and Customization Ideas#
- Make a mini keychain version with thinner yarn.
- Embroider sleepy eyes for a baby-safe plush.
- Use pastel variegated yarn for rainbow wool.
- Add a scarf, bow, or tiny bell collar.
Benefits of This Crochet Project#
- Fun texture practice with bobbles
- Great handmade gift idea
- Uses small amounts of yarn
- Relaxing, repetitive rounds
- Builds amigurumi skills fast
Internal Linking Suggestions#
- Easy Crochet Bunny Pattern for Beginners
- How to Crochet a Magic Ring
- Invisible Decrease Tutorial
- Best Yarn for Amigurumi
- Free Crochet Bear Pattern

FAQ#
Is this suitable for beginners? Yes, especially if you know sc, inc, and dec.
What yarn works best? Cotton for crisp stitches, acrylic for softness.
How do I make bobbles fluffy? Tighten the next stitch and push bobbles outward.
Can I make it baby-safe? Yes—embroider eyes and sew securely.
Why is my amigurumi lopsided? Missed counts or tension changes—use a marker and count.
Conclusion#
This fluffy lamb is a cozy, giftable crochet pattern that’s simple to build yet full of personality. The bobble “wool” texture makes it extra special, and the basic amigurumi shaping keeps it approachable. Customize colors, add accessories, or embroider sleepy eyes, and you’ll have a plush you’ll be proud to display or gift.
If you tell me your yarn weight and hook size, I can suggest the best safety-eye size (or embroidered eye style) to match your finished lamb.


