


Introduction#
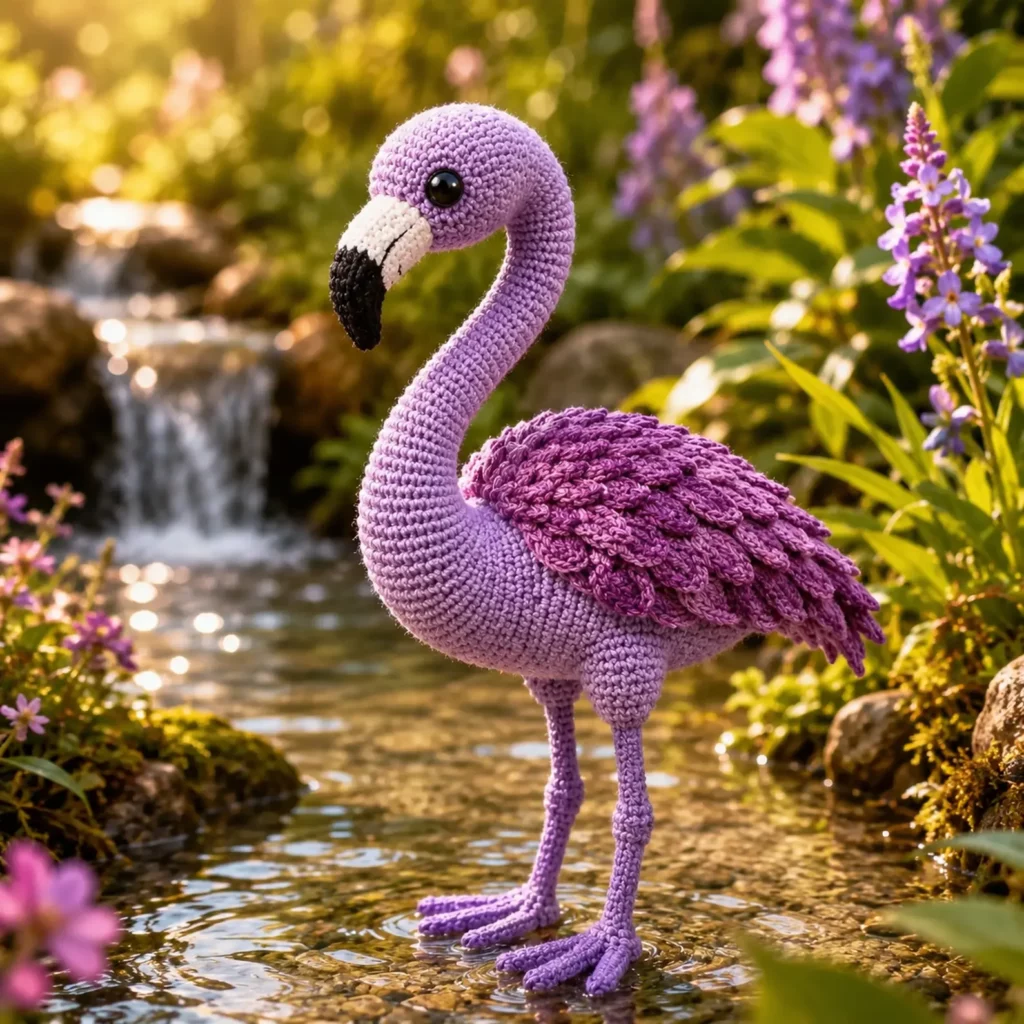
If you want a crochet project that looks elegant, cheerful, and instantly “summer,” a flamingo amigurumi is one of the cutest choices you can make. The long curved neck, slim legs, and fluffy wing feathers give it that iconic silhouette, but the actual construction can be very beginner-friendly when you break it into simple parts.
Explore more beginner amigurumi crochet patterns in our pattern library.
This crochet pattern tutorial is designed to help you create a standing flamingo plush with a smooth body, a gently curved neck, and layered wing feathers that add texture without complicated stitches. You’ll also learn how to build sturdy legs that support the bird (without frustration), how to shape a beak that looks like a flamingo beak, and how to assemble everything so your plush looks balanced and polished.
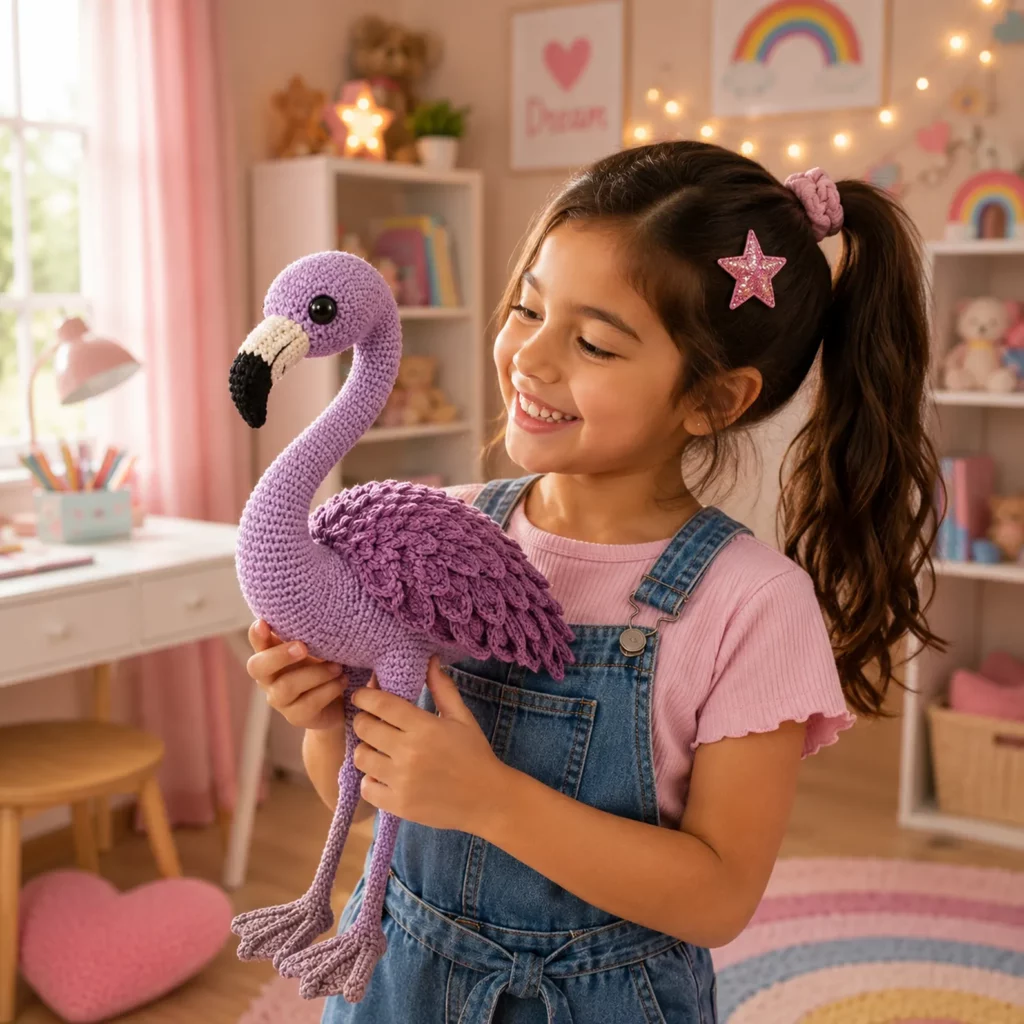
This is a fun DIY crochet project for beach décor, nursery themes, gifts, or craft fairs. And once you finish one, it’s easy to change the size, adjust the pose, or make a whole flock in different shades of pink.
Detailed Description of the Crochet Pattern#
This amigurumi flamingo has a realistic-but-kawaii vibe. The body is a rounded teardrop shape, the neck curves forward in an “S” shape, and the wings use layered scallops to mimic feathers. The beak is two-tone (light and dark), and the legs are long and slim with flat feet for stability.
What you’ll make
- Body (pink): egg/teardrop shape, slightly wider at the base for standing
- Neck (pink): long tube with gentle shaping so it curves naturally
- Head (pink): small rounded head attached to the neck
- Beak (cream + black): curved beak with a defined color tip
- Wings (pink): feathered layers using scallops or shells
- Legs (pink): long tubes, optionally reinforced
- Feet (pink or light tan): flat feet with toe shaping for balance
How it’s built
- Crochet each part separately in tight single crochet
- Stuff the body firmly and the neck lightly
- Attach the neck securely to the body top
- Add wings and beak for the signature flamingo look
- Attach legs and feet last so you can fine-tune balance
The best part about this crochet pattern is that it’s scalable. Use DK yarn for a small flamingo or worsted yarn for a bigger plush, and the structure stays the same.
Skill Level Explanation#
Skill Level: Confident Beginner to Intermediate Beginner
You’ll do great if you already know
- Magic ring
- Single crochet (sc)
- Increases (inc) and decreases (dec)
- Working in continuous rounds
- Basic sewing for amigurumi assembly
Newer skills you’ll practice
- Shaping a long neck so it curves smoothly
- Reinforcing legs for a standing plush
- Adding feather texture with scallops
- Clean color changes for the beak
This is an easy crochet pattern in stitches, but it rewards careful assembly and neat finishing.
Materials Needed#
Yarn
Use smooth yarn for clean stitch definition.
Recommended yarn weights
- DK (Category 3) for a smaller flamingo
- Worsted (Category 4) for a medium flamingo plush
Colors
- A: Pink (main body, head, neck, wings, legs)
- B: Cream or light pink (beak base)
- C: Black (beak tip)
- Optional: Darker pink (wing shading)
Yarn choice tips
- Cotton gives crisp stitches and a more “structured” bird look
- Acrylic gives a softer, plushier finish
- Avoid fuzzy yarn for the main body because it hides stitches and makes assembly harder
Hook
Use a hook slightly smaller than the yarn label suggests so stuffing won’t show through.
- DK: 2.75–3.25 mm
- Worsted: 3.0–4.0 mm
Notions
- Stitch marker
- Yarn needle
- Scissors
- Fiberfill stuffing
- Safety eyes (8–12 mm) or embroidery thread for eyes
- Optional: floral wire, pipe cleaners, or sturdy craft wire for legs/neck support
- Optional: poly pellets or small stones in a sealed pouch for base weight
Safety Note
If this is for a baby/toddler, embroider eyes and avoid wire supports.
Stitches & Techniques Explained#
Common Abbreviations
- MR = magic ring
- sc = single crochet
- inc = increase (2 sc in one stitch)
- dec = decrease (use invisible decrease if possible)
- sl st = slip stitch
- ch = chain
- dc = double crochet
- ( ) = repeat
- = stitch count
Invisible Decrease
Insert hook into the front loop of the next stitch, then the front loop of the following stitch, yarn over and pull through, yarn over and pull through two. This keeps the shape smooth and less bumpy.
Feather Scallops for Wings
A simple feather edge can be made with shells
- Shell: 3 dc in one stitch
Spacing them along the edge creates a layered feather look without complex techniques.
Standing Legs That Actually Work
Long-legged amigurumi can tip over if the base is too light or the feet are too small. You have three beginner-friendly options
- Add a small weight pouch in the body base
- Make feet wider (bigger oval)
- Use pipe cleaner or wire reinforcement inside legs
You can combine weight + slightly wider feet for a no-wire solution that still stands well.

Step-by-Step Instructions#
Finished Size
With worsted yarn and a 3.5 mm hook, expect around 10–14 inches (25–36 cm) tall depending on leg length. DK yarn makes a smaller flamingo.
Notes Before You Start
- Work in continuous rounds unless stated
- Move your stitch marker each round
- Stuff firmly but do not overstuff (stretching creates gaps)
- Pin parts before sewing for symmetry
Color Key
- A = Pink
- B = Cream
- C = Black
Body (Color A)#
Round 1: 6 sc in MR [6]
Round 2: inc around [12]
Round 3: (sc, inc) around [18]
Round 4: (2 sc, inc) around [24]
Round 5: (3 sc, inc) around [30]
Round 6: (4 sc, inc) around [36]
Round 7: (5 sc, inc) around [42]
Rounds 8–12: sc around [42]
Shape the belly
Round 13: (6 sc, inc) around [48]
Rounds 14–16: sc around [48]
Shape toward neck opening
Round 17: (6 sc, dec) around [42]
Round 18: sc around [42]
Round 19: (5 sc, dec) around [36]
Round 20: sc around [36]
Round 21: (4 sc, dec) around [30]
Round 22: sc around [30]
Stuff firmly. If using weight, place it at the very bottom now.
Round 23: (3 sc, dec) around [24]
Round 24: (2 sc, dec) around [18]
Round 25: (sc, dec) around [12]
Round 26: sc around [12]
Do not close the body completely. This smaller opening becomes the neck attachment area. Fasten off with a long tail for sewing.
Head (Color A)#
Round 1: 6 sc in MR [6]
Round 2: inc around [12]
Round 3: (sc, inc) around [18]
Round 4: (2 sc, inc) around [24]
Rounds 5–7: sc around [24]
Place eyes between Rounds 5–6, about 6 stitches apart (adjust for the look you want).
Round 8: (2 sc, dec) around [18]
Round 9: (sc, dec) around [12]
Stuff lightly.
Round 10: dec around [6]
Fasten off and close.
Neck (Color A)#
The neck is worked as a tube, then gently shaped with a few increases and decreases so it curves.
Round 1: 6 sc in MR [6]
Round 2: (sc, inc) around [9]
Round 3: sc around [9]
Round 4: (2 sc, inc) around [12]
Rounds 5–18: sc around [12]
Create a gentle curve
Round 19: (3 sc, inc) around [15]
Rounds 20–22: sc around [15]
Round 23: (3 sc, dec) around [12]
Rounds 24–28: sc around [12]
Fasten off leaving a long tail for sewing. Stuff lightly. You want it shaped but still flexible enough to curve.
Neck shaping tip
If you want a stronger “S” curve, add a pipe cleaner inside the neck before closing the ends during assembly. For a no-wire option, you can stitch the neck down with a few hidden anchor stitches to force the curve.
Attach Head to Neck#
Sew the head to the top of the neck. Use small stitches and go around twice for strength. Add a tiny bit more stuffing at the join if needed so the head doesn’t flop.
Beak (Two Colors, B + C)#
Start with Color B (cream)
Round 1: 4 sc in MR [4]
Round 2: (sc, inc) around [6]
Round 3: sc around [6]
Round 4: (2 sc, inc) around [8]
Round 5: sc around [8]
Switch to Color C (black)
Round 6: sc around [8]
Round 7: sc around [8]
Fasten off with a long tail.
Flatten the base slightly and sew to the front of the head. Stitch the top edge a little tighter than the bottom so the beak curves downward naturally.
Wings (Make 2, Color A)#
These wings are small panels with scalloped feather edging.
Ch 14
Row 1: sc in 2nd ch and across [13], ch 1, turn
Row 2: sc across [13], ch 1, turn
Row 3: sc2tog, sc 9, sc2tog [11], ch 1, turn
Row 4: sc across [11], ch 1, turn
Row 5: sc2tog, sc 7, sc2tog [9], ch 1, turn
Row 6: sc across [9]
Fasten off.
Feather edging
Attach yarn along the longer curved edge and work
- (sl st, skip 1, 3 dc in next st, skip 1) repeat along the edge
This creates the layered feather look.
Optional extra feather layer
Add a second scallop row near the wing tip only for more volume.
Legs (Make 2, Color A)#
These are long tubes. Reinforcement is optional but recommended for standing.
Round 1: 6 sc in MR [6]
Round 2: sc around [6]
Rounds 3–30: sc around [6] (or until desired leg length)
Fasten off leaving a long tail. Do not stuff fully. If using reinforcement, insert pipe cleaner/wire now. If not, lightly stuff only the top portion so the leg doesn’t look flat.
Feet (Make 2, Color A or light tan)#
Flat feet help the flamingo stand.
Ch 8
Round 1: sc in 2nd ch, sc in next 5, 3 sc in last ch, sc back along underside (6), 2 sc in last stitch [16]
Round 2: inc, sc 5, inc x3, sc 5, inc x2 [24]
Round 3: sc around [24]
Fasten off with a long tail.
Optional toe shaping
Add 2–3 short surface stitches from the front edge inward to suggest toes. You can also slightly pinch the front and tack with a stitch to form a gentle point.
Assembly#
Attach neck to body
- Pin the neck to the smaller opening at the top of the body
- Angle it forward slightly for a flamingo silhouette
- Sew securely around the neck base
- Add hidden anchor stitches from the back of the neck into the upper body to hold the curve
Attach wings
- Sew wings to each side of the body
- Angle slightly backward
- Leave feather edges free so they look layered
Attach legs to body
- Decide if you want the flamingo standing straight or with a slight bend
- Pin legs to the underside of the body, slightly forward of center
- Sew firmly around the top of each leg
Attach feet
- Sew feet to the bottom of each leg
- Make sure both feet sit flat on the table
- Adjust by shifting the foot angle slightly if it tips
Final balance check
- Stand the flamingo on a flat surface
- If it tips, add a small weight pouch to the body base or slightly widen the feet by adding one more round of sc
- If the neck feels too heavy, add a few extra anchor stitches from neck to body
Common Mistakes and How to Avoid Them#
The flamingo won’t stand
- Add weight to the body base
- Make feet wider
- Use leg reinforcement
- Position legs slightly forward to counterbalance the neck
Neck looks floppy
- Stuff lightly but evenly
- Use a pipe cleaner or wire
- Add hidden anchor stitches to force the curve
Wings look flat
- Add a second scallop row at the tip
- Use a slightly larger hook for wings only so scallops puff up
- Block wings gently by flattening before sewing
Beak looks crooked
- Mark the center of the face with pins
- Tack the beak with two small stitches, check alignment, then sew fully
Stuffing shows through stitches
- Use a smaller hook
- Keep tension consistent
- Avoid overstuffing the body
Expert Tips for Better Results#
- Use invisible decreases everywhere for a smoother professional finish
- If you want a realistic flamingo posture, attach the neck slightly off-center forward so the head sits above the front of the belly
- For extra feather detail, use two shades of pink on the wing scallops
- Add a tiny embroidered “smile line” under the beak for an extra cute expression
- If you plan to display it, lightly steam-shape the neck curve (only if no plastic safety eyes are affected and your yarn can handle it)
Variations and Customization Ideas#
- Make a baby flamingo by shortening the legs and neck
- Make a giant flamingo by using bulky yarn and keeping the same stitch counts
- Add blush cheeks for a kawaii look
- Add a little flower crown with small crocheted blossoms
- Make a seated flamingo by skipping long legs and creating tucked feet
- Create a flock by making multiple flamingos in ombré pink shades
Benefits of This Crochet Project#
- A high-impact crochet pattern that’s still beginner-friendly in stitches
- Teaches shaping, balance, and assembly skills
- Great display piece for summer décor or nursery themes
- Customizable size and style
- A fun stash-buster for pink yarn leftovers
- Makes a thoughtful handmade gift that feels special and unique
Internal Linking Suggestions#
- How to Crochet a Magic Ring for Beginners
- Invisible Decrease Tutorial for Amigurumi
- How to Add Weight to Amigurumi for Standing Plushies
- How to Sew Amigurumi Parts Neatly
- Easy Crochet Bird Patterns Collection
FAQ#
Is this flamingo amigurumi crochet pattern suitable for beginners?
Yes, especially for confident beginners. The stitches are mostly single crochet with basic increases and decreases. The standing legs are the most “technical” part, but the tips above make it manageable.
What yarn works best for a crochet flamingo?
Smooth DK or worsted yarn works best. Cotton gives crisp stitches and holds shape well. Acrylic is softer and plushier.
How do I make the flamingo stand without wire?
Use wider feet and add a small weight pouch inside the base of the body. Position the legs slightly forward to counterbalance the neck.
How do I make the neck curve hold its shape?
You can insert a pipe cleaner/wire, or you can use hidden anchor stitches from the neck to the body to hold the curve. Light stuffing also helps.
Can I make this pattern smaller or larger?
Yes. Change yarn weight and hook size. The stitch counts can stay the same and your flamingo will scale naturally.
Can I make it baby-safe?
Yes. Embroider the eyes, skip wire reinforcement, and stitch all parts securely.
Conclusion#
A flamingo is one of the most satisfying bird plush projects because the shape is elegant, the colors are cheerful, and the feather wings make it look extra special without complicated stitches. With a sturdy base, secure leg attachment, and a neatly curved neck, you’ll end up with a finished plush that looks display-worthy and giftable.
If you tell me your yarn weight and hook size, I can suggest the ideal safety-eye size and exactly how many rounds to add or remove to make your flamingo taller, shorter, or extra chubby.


