


Introduction#
A crochet puppy is the kind of project that never goes out of style. It’s comforting to make, it’s adorable to gift, and it looks right at home in nurseries, on shelves, or tucked into a child’s arms. Even better, a puppy amigurumi can be as simple or as detailed as you want—basic shapes for a quick make, or extra touches like floppy ears, muzzle shaping, and a tiny collar for a “boutique plush” finish.
Explore more beginner amigurumi crochet patterns in our pattern library.
This crochet pattern is designed to help you create a sweet dachshund-style puppy with a long body, short legs, and soft floppy ears. The colorwork is kept beginner-friendly by using small accent pieces and clean color changes rather than complicated tapestry crochet. You’ll also learn how to assemble the pieces so the puppy sits or lies naturally, plus how to add a simple collar and charm detail to finish it off.
If you’re looking for a crochet pattern that feels gift-ready and high-value (without being stressful), this is a great one to add to your DIY crochet list.
Detailed Description of the Crochet Pattern#
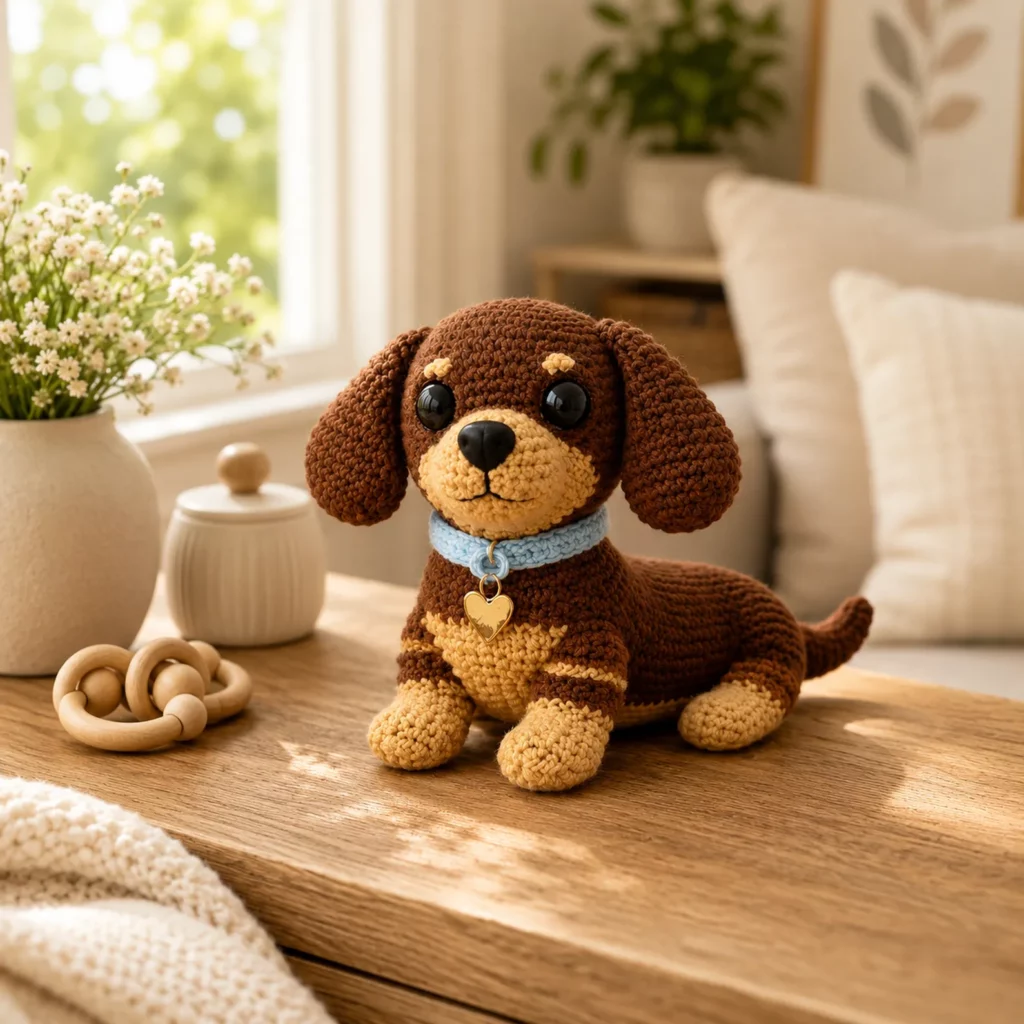
This puppy is shaped like a small dachshund (also called a sausage dog): a rounded head with a friendly face, long body, and low stance. The ears are large and floppy, framing the face and making the character instantly recognizable. The paws are slightly oversized for cuteness, with contrasting toe tips. A lighter muzzle and chest patch add definition, and a tiny collar gives it extra personality.
Key design features
- Rounded head with a raised muzzle and embroidered smile
- Floppy ears shaped as soft ovals
- Long body with a gentle curve (great for a lying pose)
- Short legs that keep the silhouette low and cuddly
- Contrasting muzzle, chest, and paw tips for a polished look
- Tail that curves slightly upward
- Optional collar with a small charm (perfect for gifting)
This crochet pattern can be made in one main color (super simple) or in two colors for a more “realistic puppy” effect.
Skill Level Explanation#
This crochet pattern is confident beginner to intermediate.
You’ll be comfortable if you can
- Crochet single crochet in continuous rounds
- Increase and decrease evenly
- Count stitches and rounds with a stitch marker
- Sew amigurumi parts securely
- Add simple embroidery details
You’ll practice
- Shaping a longer body without lumps
- Sewing floppy ears symmetrically
- Placing muzzle, eyes, and markings neatly
- Building stability through stuffing and leg placement
If you’ve made a basic amigurumi animal before, this puppy will feel very manageable.
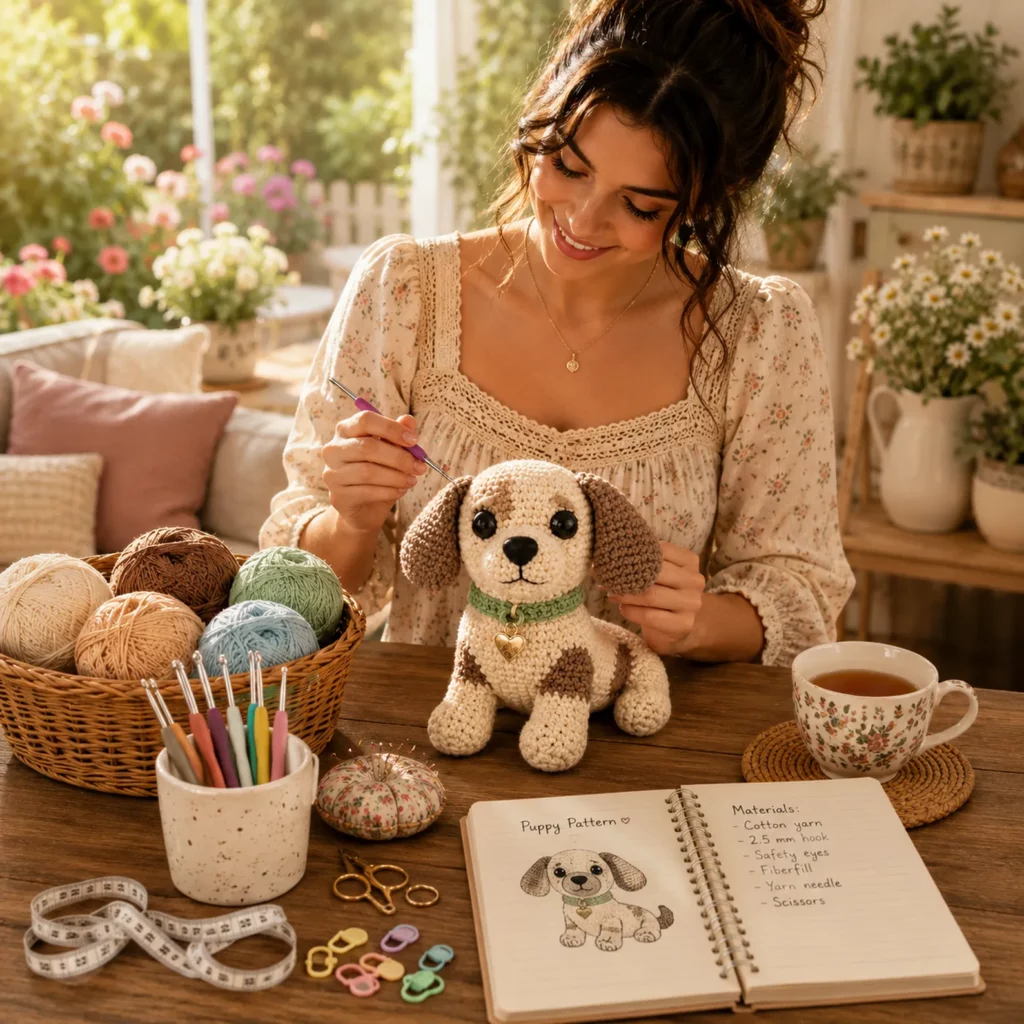
Materials Needed#
Yarn
Choose smooth yarn for clean stitch definition and a professional finish.
Recommended yarn weight
- DK weight for a smaller, detailed puppy
- Worsted weight for a medium plush puppy
Suggested colors
- Main body: chocolate brown
- Contrast: tan/light brown for muzzle, chest, and paws
- Collar: light blue (or any color you love)
- Optional: small amount of black for nose embroidery
Yarn tips
- Cotton gives crisp stitches and holds shape well
- Acrylic is softer and great for cuddly toys
- Avoid fuzzy yarn if you want sharp facial features and clean color blocks
Hook
Use a smaller hook than the yarn label suggests to create tight fabric.
- DK: 2.75 mm to 3.25 mm
- Worsted: 3.25 mm to 4.0 mm
Notions
- Stitch marker
- Tapestry needle
- Scissors
- Fiberfill stuffing
- Safety eyes (8 mm to 12 mm depending on finished size) or embroidery floss
- Optional small button/charm for collar (use embroidery instead for baby-safe version)
Safety note
For small children, embroider eyes and avoid any hard charms or buttons.
Stitches & Techniques Explained#
US terms
Abbreviations
- MR magic ring
- ch chain
- sl st slip stitch
- sc single crochet
- inc increase (2 sc in same stitch)
- dec decrease (sc 2 stitches together)
- st stitch
Invisible decrease
For smoother shaping, use invisible decreases by picking up the front loops of the next two stitches and single crocheting them together.
Clean color changes
Change color on the last yarn-over of the stitch before the new color. Pull the new color snug to avoid gaps.
Stuffing for a long body
Stuff in small amounts and shape as you go. A long body looks best when it’s firm in the center but not overstuffed at the ends.
Step-by-Step Instructions#
Work in continuous rounds unless stated. Use a stitch marker for the first stitch of each round.
Finished size
This depends on yarn and hook, but typically ends up hand-sized with DK/worsted yarn.
Head
Use main color (brown).
Round 1
- 6 sc in MR (6)
Round 2
- inc around (12)
Round 3
- (sc, inc) around (18)
Round 4
- (2 sc, inc) around (24)
Round 5
- (3 sc, inc) around (30)
Round 6
- (4 sc, inc) around (36)
Rounds 7 to 10
- sc around (36)
Eye placement
- Place eyes between rounds 8 and 9
- Space about 7 to 9 stitches apart for a friendly expression
Begin shaping down
Round 11
- (4 sc, dec) around (30)
Round 12
- sc around (30)
Round 13
- (3 sc, dec) around (24)
Round 14
- sc around (24)
Stuff firmly now, shaping the face slightly forward.
Round 15
- (2 sc, dec) around (18)
Round 16
- (sc, dec) around (12)
Round 17
- dec around (6)
Fasten off and close.
Muzzle
Use contrast color (tan).
Round 1
- 6 sc in MR (6)
Round 2
- inc around (12)
Round 3
- (sc, inc) around (18)
Rounds 4 to 5
- sc around (18)
Round 6
- (sc, dec) around (12)
Round 7
- sc around (12)
Stuff lightly and shape into a soft oval. Fasten off leaving a long tail.
Embroider nose and mouth
- Nose: small oval or triangle in black (or dark brown)
- Mouth: short vertical line down, then two small curves for a gentle smile
Sew muzzle to the lower front of the head, centered under the eyes.
Ears (make two)
Use main color (brown). These are floppy ovals.
Round 1
- 6 sc in MR (6)
Round 2
- (sc, inc) around (9)
Round 3
- (2 sc, inc) around (12)
Round 4
- (3 sc, inc) around (15)
Rounds 5 to 10
- sc around (15)
Round 11
- (3 sc, dec) around (12)
Round 12
- sc around (12)
Flatten lightly (do not stuff) and close by sc across the top. Fasten off leaving a sewing tail.
Sew ears to the sides of the head
- Position slightly lower than the crown
- Angle forward a little so they frame the face
- Pin both first to ensure symmetry
Body
Use main color (brown). The body is a long capsule shape.
Round 1
- 6 sc in MR (6)
Round 2
- inc around (12)
Round 3
- (sc, inc) around (18)
Round 4
- (2 sc, inc) around (24)
Round 5
- (3 sc, inc) around (30)
Round 6
- (4 sc, inc) around (36)
Rounds 7 to 18
- sc around (36)
This creates the long torso. Add more rounds here if you want an even longer dachshund body.
Begin tapering
Round 19
- (4 sc, dec) around (30)
Round 20
- sc around (30)
Round 21
- (3 sc, dec) around (24)
Rounds 22 to 23
- sc around (24)
Start stuffing
Stuff firmly but do not overstuff. Shape the body so it’s smooth and slightly oval.
Round 24
- (2 sc, dec) around (18)
Round 25
- sc around (18)
Round 26
- (sc, dec) around (12)
Round 27
- dec around (6)
Fasten off and close.
Optional chest patch
If you want a lighter chest like the example style, sew a small tan oval onto the front underside of the body.
- Ch 8, sc across (7) for 6 to 8 rows, then sew in place.
Legs (make four)
Start with contrast (tan) for paw tips, then switch to main color (brown).
Paw and leg
Round 1 (tan)
- 6 sc in MR (6)
Round 2
- inc around (12)
Round 3
- sc around (12)
Round 4
- (2 sc, inc) around (18)
Round 5
- sc around (18)
Switch to main color (brown)
Round 6
- sc around (18)
Taper slightly
Round 7
- (4 sc, dec) around (15)
Rounds 8 to 12
- sc around (15)
Stuff firmly. Flatten the bottom slightly. Fasten off leaving a long tail.
Leg placement for a dachshund look
- Front legs: sew slightly forward under the chest
- Back legs: sew slightly back under the body
- Keep legs low and evenly spaced for stability
Tip: Place all four legs with pins first, then set the body on a table to check balance.
Tail
Use main color (brown).
Round 1
- 6 sc in MR (6)
Rounds 2 to 10
- sc around (6)
Stuff lightly or leave unstuffed for a softer tail. Fasten off leaving a sewing tail. Sew to the back of the body and angle slightly upward.
Collar (optional but adorable)
Use a collar color (light blue).
Simple collar band
- Ch enough to fit around the neck (test around the base of the head)
- Work sc across for 2 rows
- Sew ends together to form a ring
Optional tiny charm
- You can sew a small crocheted heart or embroider a heart shape on the collar
- For baby-safe, skip any hard charm
Assembly#
Suggested assembly order
- Sew muzzle to head and embroider nose/mouth
- Attach ears
- Sew head to body (slight forward tilt looks cute)
- Sew legs and test standing/lying pose
- Attach tail
- Add chest patch if using
- Add collar last
Head join tip
For a strong join, sew through both pieces multiple times. If you want a very sturdy neck, add a little extra stuffing at the neck area right before finishing the seam.
Common Mistakes and How to Avoid Them#
Puppy won’t sit or lie evenly
- Pin legs first and test on a flat surface
- Stuff legs firmly and keep paw bottoms slightly flat
- Adjust leg placement until it feels stable
Muzzle looks crooked
- Pin it first and sew top edge before the sides
- Add stuffing right before closing the last stitches
Ears look uneven
- Count rounds carefully
- Pin both ears and measure placement from the center seam of the head
Stuffing shows through
- Use a smaller hook
- Tighten tension
- Avoid overstuffing which stretches stitches
Body looks lumpy
- Stuff in small amounts
- Massage the stuffing into place as you go
- Add a little more stuffing to low spots, not all at once
Expert Tips for Better Results#
- Use invisible decreases for a smoother face and body
- Add tiny eyebrow stitches above the eyes for extra expression
- If you want extra “plush cheeks,” add two shaping stitches pulling slightly from muzzle edge toward the sides
- Keep embroidery small and centered—tiny details make the face look professional
- Steam-block the collar lightly so it sits flat (optional)
Variations and Customization Ideas#
- Make a cream dachshund with brown ears for a different look
- Add a tiny sweater by crocheting a simple tube and slipping it over the body
- Turn it into a keychain mini by using sport yarn and embroidered eyes
- Add spots by sewing small tan or brown patches on the back
- Make a long-eared puppy (beagle vibe) by adding more ear rounds
- Add a tiny bone applique on the collar
Benefits of This Crochet Project#
- A timeless crochet pattern that’s always giftable
- Great for building amigurumi confidence (shaping + assembly practice)
- Easy to customize into different dog “breeds” with color changes
- Uses mostly basic stitches, so it’s relaxing and repeatable
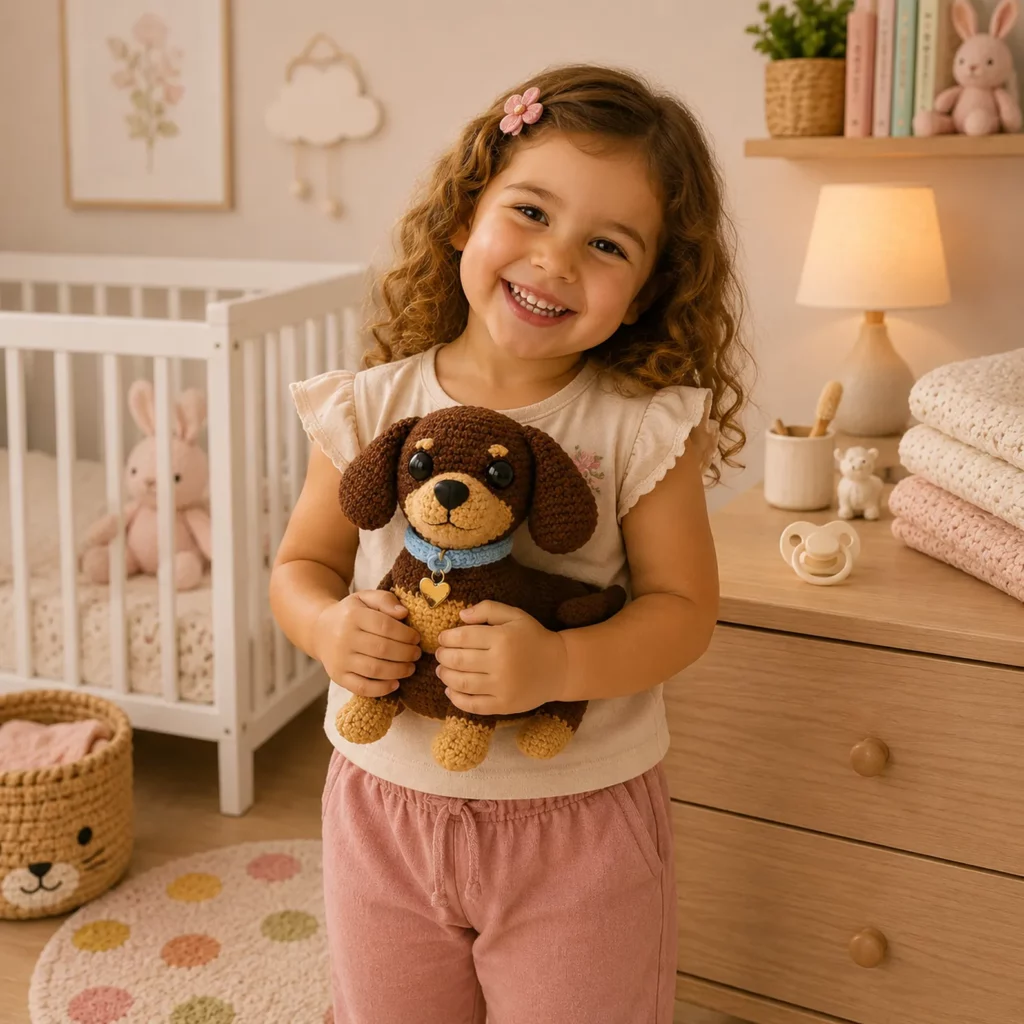
- Makes a sweet nursery plush, desk buddy, or handmade present
- Looks polished with simple details like muzzle and collar
Internal Linking Suggestions#
You may also like
- Easy crochet pattern for a kitten amigurumi
- Free crochet pattern for a teddy bear plush
- Crochet tutorial for invisible decreases
- How to place safety eyes symmetrically
- DIY crochet collar and tiny accessories ideas
- Beginner crochet plush animal patterns roundup
FAQ Section#
Can beginners make this crochet pattern
Yes. The stitches are simple; the main challenge is neat sewing and symmetrical placement, which is great practice.
Can I make this puppy without safety eyes
Absolutely. Embroider eyes with black thread for a baby-safe plush.
What yarn is best for an amigurumi dog
Smooth cotton or acrylic is best. Cotton gives crisp stitches; acrylic can be softer and more cuddly.
How do I make the body longer
Add extra plain rounds in the long middle section of the body before tapering.
How do I make the ears floppier
Don’t stuff them, and consider using one hook size larger for the ears only.
How do I wash the finished toy
Hand wash or gentle cycle in a laundry bag (if no hard charm), then reshape and air dry.
Conclusion#
This dachshund puppy amigurumi crochet pattern is the perfect mix of simple and adorable. The long body and floppy ears give it a recognizable puppy silhouette, while the muzzle, paw tips, and little collar add that boutique-style finish. With tight stitches and careful assembly, you’ll end up with a plush that looks polished, gift-ready, and impossible not to hug.
If you want, tell me your yarn weight and the approximate height you’d like, and I can suggest the best eye size and how many body rounds to add for the exact dachshund length you want.


