


Introduction#
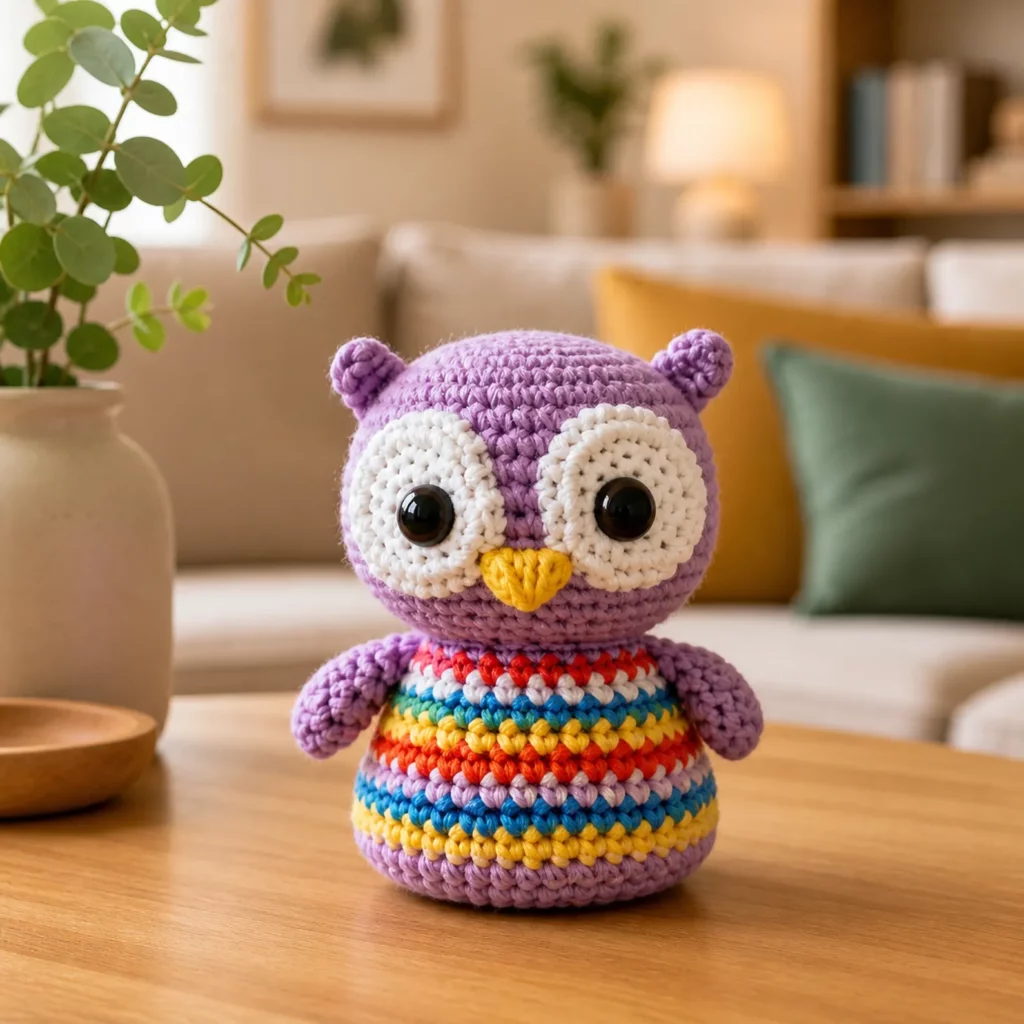
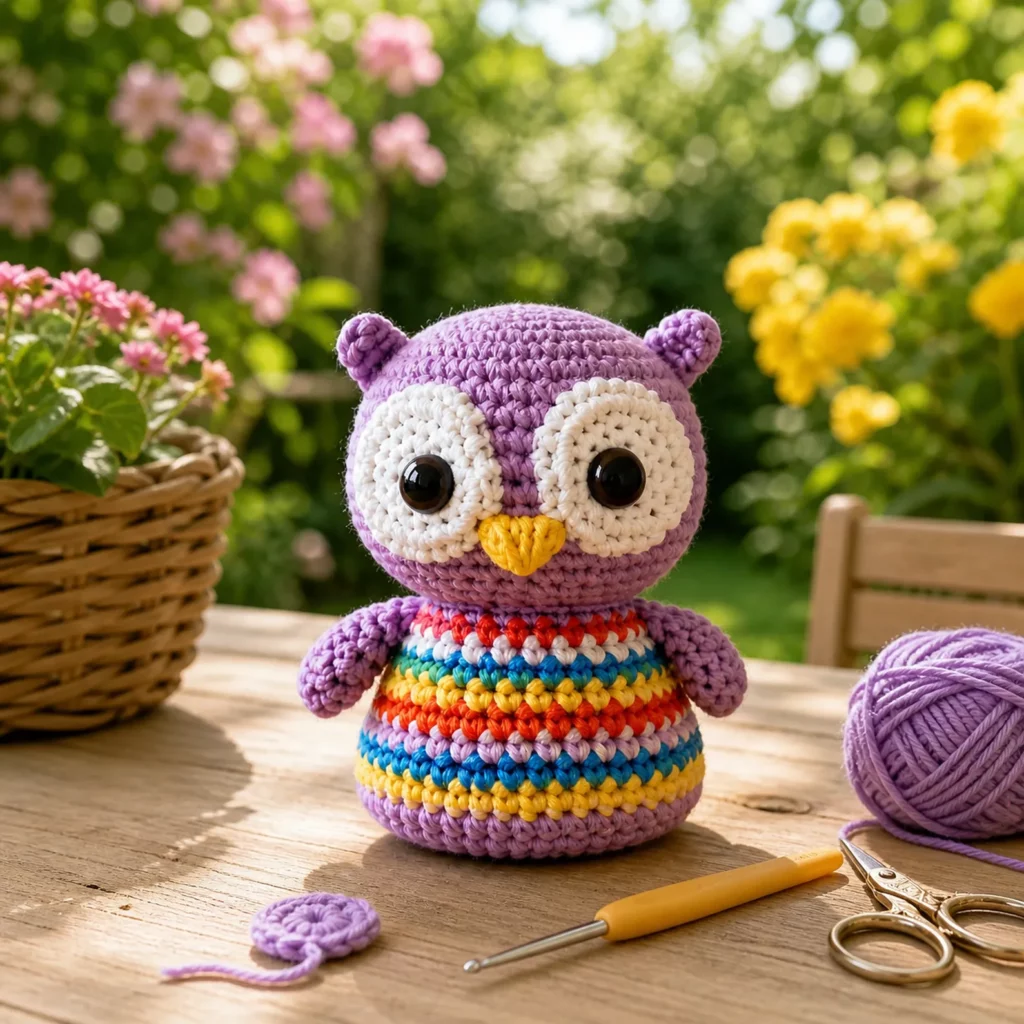
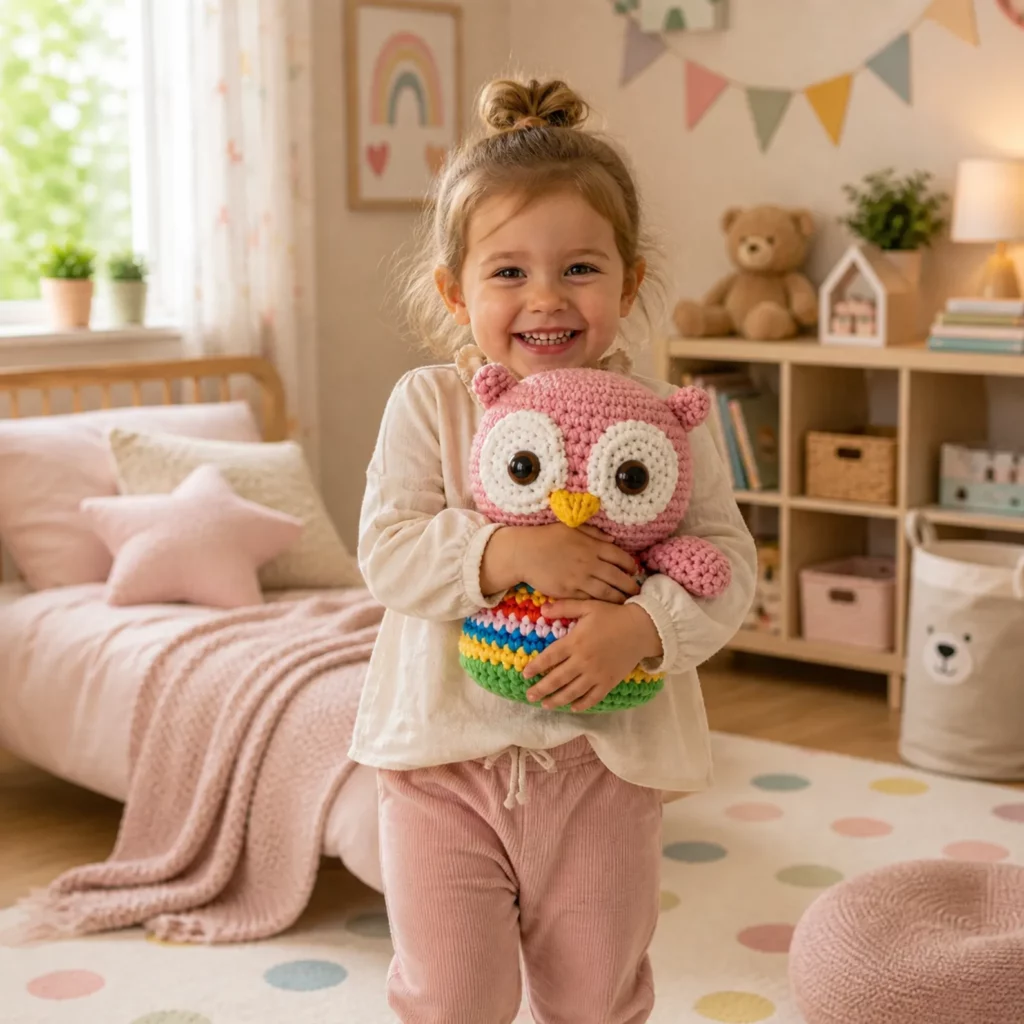
Some amigurumi projects are cute… and then there are projects that make people stop and say, “Wait—YOU crocheted that?!” This rainbow owl is exactly that kind of make. The oversized eyes, tiny ear tufts, and cheerful striped sweater-body give it a playful, modern look that works as a toy, a desk buddy, or colorful nursery décor.
Explore more beginner amigurumi crochet patterns in our pattern library.
The best part? This crochet pattern is built from very simple shapes—mostly rounds of single crochet—so you don’t need advanced skills to get a professional finish. The “wow” comes from smart details: clean eye patches, a small beak, and bold stripe changes that turn a basic body into a bright statement piece.
Below you’ll find a complete free crochet pattern written as an easy crochet pattern and crochet tutorial. I’ll also walk you through clean color changes, eye placement tricks, and how to keep the owl standing neatly without wobbling.
Detailed Description of the Crochet Pattern#
This owl amigurumi has a classic “big head + smaller body” proportion that reads instantly as cute and cartoon-like.
Key design features:
- Large round head in bright orange/red with small pointed “ear” corners (either stitched or shaped with tiny ear bumps)
- Oversized eye patches in cream/white, each holding a safety eye for the wide-eyed owl look
- Small yellow beak centered between the eyes
- Striped sweater-style body with bold horizontal color bands (green, yellow, blue, white, red/orange)
- Tiny wings (simple half-oval shapes) attached at the sides
- Flat, weighted base (slightly wider bottom rounds) so it sits upright
How it’s made:
- Head and body are crocheted in continuous rounds of single crochet.
- Eye patches, beak, and wings are crocheted separately and sewn on.
- Stripes are created with clean color changes in the body rounds.
Skill Level Explanation#
This is an easy-to-intermediate crochet pattern.
Beginner-friendly skills:
- Single crochet in the round
- Basic increases and decreases
- Simple sewing (attaching patches and wings)
Intermediate touchpoints:
- Neat color changes for stripes
- Symmetrical placement of eye patches and eyes
- Clean assembly (pinning helps a lot)
If you can crochet a basic amigurumi ball, you can make this owl.
Materials Needed#
Yarn
Use worsted weight yarn for a medium owl, or DK for a smaller one.
Recommended yarn:
- Worsted (#4) acrylic or cotton blend (best balance of softness + stitch definition)
Suggested colors (customize as you like):
- Head: orange/red
- Eye patches: cream/white
- Beak: yellow
- Body stripes: green, yellow, blue, white, orange/red
- Optional: a tiny bit of black for embroidered details
Hook
- Worsted: 3.0–3.5 mm for tight amigurumi fabric
- DK: 2.5–3.0 mm
Notions
- Fiberfill stuffing
- Stitch marker
- Yarn needle
- Scissors
- Safety eyes: 10–14 mm depending on owl size
- Optional: embroidery floss for eyelashes/eyebrows
Stitches & Techniques Explained#
Abbreviations (US terms)
- MR = magic ring
- sc = single crochet
- inc = increase (2 sc in one stitch)
- dec = invisible decrease (sc2tog through front loops)
- sl st = slip stitch
- ch = chain
Clean color change (for crisp stripes)
On the last stitch of the old color:
- Insert hook, yarn over with old color, pull up a loop
- Yarn over with NEW color, pull through to finish stitch
This makes the next stitch start cleanly in the new color.
Invisible decrease
Use invisible decreases on head/body shaping so the fabric stays smooth.
Step-by-Step Instructions#
Notes:
- Work in continuous rounds unless stated.
- Use a stitch marker in the first stitch of each round.
- Stuff firmly but don’t overstuff.
Head (orange/red)
R1: MR 6 sc [6]
R2: inc x6 [12]
R3: (sc, inc) x6 [18]
R4: (2 sc, inc) x6 [24]
R5: (3 sc, inc) x6 [30]
R6: (4 sc, inc) x6 [36]
R7: (5 sc, inc) x6 [42]
R8–R12: sc around [42]
Start shaping down:
R13: (5 sc, dec) x6 [36]
R14: (4 sc, dec) x6 [30]
R15: (3 sc, dec) x6 [24]
Stuff firmly and shape.
R16: (2 sc, dec) x6 [18]
R17: (sc, dec) x6 [12]
R18: dec x6 [6]
Fasten off, close, weave in.
Ear tufts option:
If you want tiny “horns/ears,” you can stitch two small bumps on top after finishing by sewing a few stitches and pulling tight to form points, or crochet two tiny cones and sew them on.
Eye Patches (make 2, cream/white)
R1: MR 6 sc [6]
R2: inc x6 [12]
R3: (sc, inc) x6 [18]
R4: (2 sc, inc) x6 [24]
Fasten off with a long tail.
Place safety eyes through the patches first, then through the head:
- Position patches evenly on the face.
- Insert the safety eyes through the patch center area, then through the head fabric.
- Secure the washers inside the head.
Beak (yellow)
R1: MR 4 sc [4]
R2: (sc, inc) x2 [6]
R3: sc around [6]
Fasten off, lightly stuff if desired, sew between the eye patches.
Alternative easy beak:
- Crochet a small triangle: ch 3, sc in 2nd ch, hdc in last ch. Sew on.
Body (striped “sweater” look)
Start at the bottom with green.
R1: MR 6 sc [6]
R2: inc x6 [12]
R3: (sc, inc) x6 [18]
R4: (2 sc, inc) x6 [24]
R5: (3 sc, inc) x6 [30]
R6: (4 sc, inc) x6 [36]
R7–R8: sc around [36]
Now begin stripes (change colors as you like):
- Work 1–2 rounds per color for bold stripes.
Example stripe plan: - Green: 2 rounds
- Yellow: 2 rounds
- Blue: 2 rounds
- White: 1 round
- Orange/red: 2 rounds
Repeat once more if you want a taller body.
Shaping top:
R?: (4 sc, dec) x6 [30]
R?: sc around [30]
Stuff firmly, especially the base.
R?: (3 sc, dec) x6 [24]
R?: (2 sc, dec) x6 [18]
R?: (sc, dec) x6 [12]
R?: dec x6 [6]
Fasten off, close, leave a tail to sew head to body.
Sew head to body securely. Go around twice for strength.
Wings (make 2, orange/red)
Ch 7
Row 1: sc in 2nd ch from hook and across (6 sc)
Row 2–3: ch 1, turn, sc across
Round the tip by adding 2 sc in the last stitch of the final row if you want a softer curve.
Fasten off and sew wings to sides of body.
Common Mistakes and How to Avoid Them#
- Eye patches look uneven: Pin both patches first, then step back and check alignment before sewing.
- Stripes look jagged: Always change color on the last yarn-over of the stitch before the new color.
- Owl won’t stand: Stuff the bottom firmly and keep the base slightly wider than the upper body.
- Safety eyes feel loose: Make sure washers are fully snapped into place and fabric is tight (smaller hook helps).
- Head wobbles: Sew head on with multiple passes and tighten stitches evenly.
Expert Tips for Better Results#
- For extra “cute factor,” place the eyes a little lower on the face than you think.
- Use a cotton blend yarn for the eye patches so the circles look crisp and smooth.
- Add a tiny embroidered eyelash stitch on the outer top corners of the eyes for personality.
- If you want a cleaner stripe look, keep the “seam” at the back by always starting your round at the same point and doing your color changes there.
Variations and Customization Ideas#
- Make a pastel owl (mint, blush, cream, lavender) for nurseries.
- Add a tiny scarf or bow tie for seasonal gifts.
- Turn it into a holiday owl: red/green stripes + white beak trim.
- Swap the big patches for solid black safety eyes for a simpler face.
- Add tiny feet: two small ovals sewn to the front base.
Benefits of This Crochet Project#
- Great beginner-friendly amigurumi with a high “wow” factor
- Perfect stash-buster for leftover yarn (stripes!)
- Easy to customize colors, facial expression, and size
- Makes a giftable plush for birthdays, nurseries, and holidays
- Strong SEO topic: “crochet pattern,” “free crochet pattern,” and “crochet for beginners” fit naturally
Internal Linking Suggestions#
You may also like…
- Magic Ring Crochet Tutorial
- Invisible Decrease Crochet Tutorial
- How to Change Colors Cleanly in Crochet
- Beginner Amigurumi Animal Patterns
- How to Place Safety Eyes in Amigurumi
FAQ Section#
Is this owl crochet pattern beginner-friendly?
Yes. The shaping uses basic single crochet increases and decreases. The main “detail work” is sewing the eye patches neatly.
What yarn works best for a striped amigurumi body?
Worsted weight acrylic or cotton blends work well. Cotton blends give the cleanest stripe definition.
Can I make it without safety eyes?
Absolutely. Embroider eyes with black yarn or floss for a baby-safe option.
How do I keep the stripes from looking messy?
Change colors on the last yarn-over of the stitch before the new color and keep your seam line at the back.
How do I resize the owl?
Use thicker yarn and a larger hook to size up, or thinner yarn and a smaller hook to size down—keep the same stitch counts.
Conclusion#
This rainbow owl is a fun, cheerful amigurumi that turns simple crochet techniques into a bright, giftable plush. With big eye patches, a tiny beak, and bold sweater stripes, it’s the kind of crochet pattern that looks impressive without being complicated.
If you tell me what yarn weight you’re using (DK or worsted) and your safety eye size, I can suggest the best eye patch diameter and exact eye placement for perfectly balanced proportions.


