


Introduction#
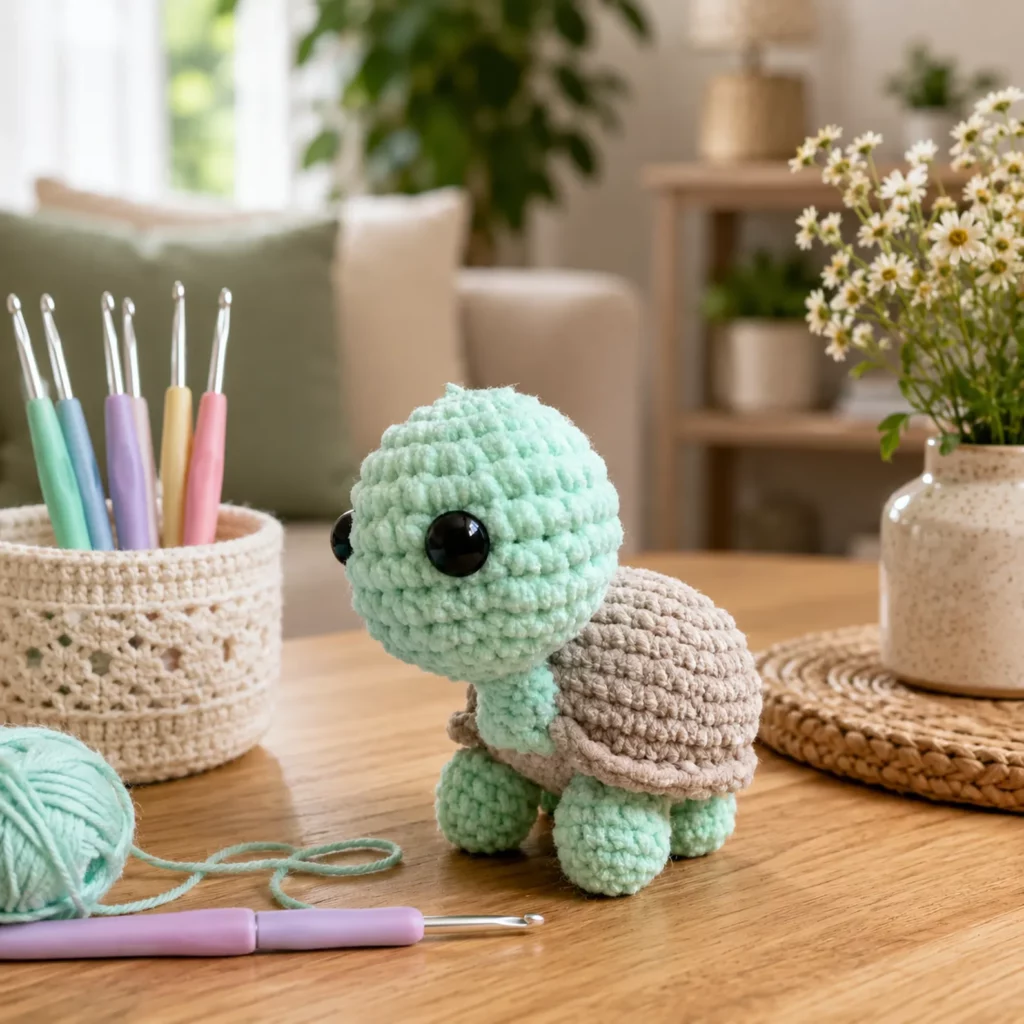
A plush turtle amigurumi is one of those crochet projects that makes people instantly say “aww” the moment they see it. Big round eyes, a sweet chubby head, and a cozy shell—this little turtle has that perfect mix of simple shapes and maximum cuteness. And because it’s made with plush yarn, it’s also incredibly satisfying to hold (and surprisingly quick to finish).
Explore more beginner amigurumi crochet patterns in our pattern library.
This crochet pattern will walk you through making a soft turtle plush with a large rounded head, a short neck, a textured shell, and four squishy flippers/feet. It’s designed with beginners in mind: the shaping is classic amigurumi (increase, even rounds, decrease), and the pieces are forgiving because plush yarn naturally hides tiny imperfections.
If you’re looking for a free crochet pattern that’s adorable, giftable, and beginner-friendly, this is an easy crochet pattern you’ll want to make in every color.
Detailed Description of the Crochet Pattern#
This turtle is a “kawaii-style” amigurumi plush with exaggerated proportions—meaning the head is large, the body is compact, and the shell looks like a soft dome resting on top. The overall silhouette is rounded and friendly, with a gentle curve from head to shell.
Key design features
- Oversized head: Round and expressive, perfect for big eyes
- Short neck: Gives the turtle that “peeking forward” pose
- Textured shell: Made as a dome with stitched “scutes” lines (or a subtle ridged look)
- Flippers/feet: Four simple puffy shapes that help the turtle sit stably
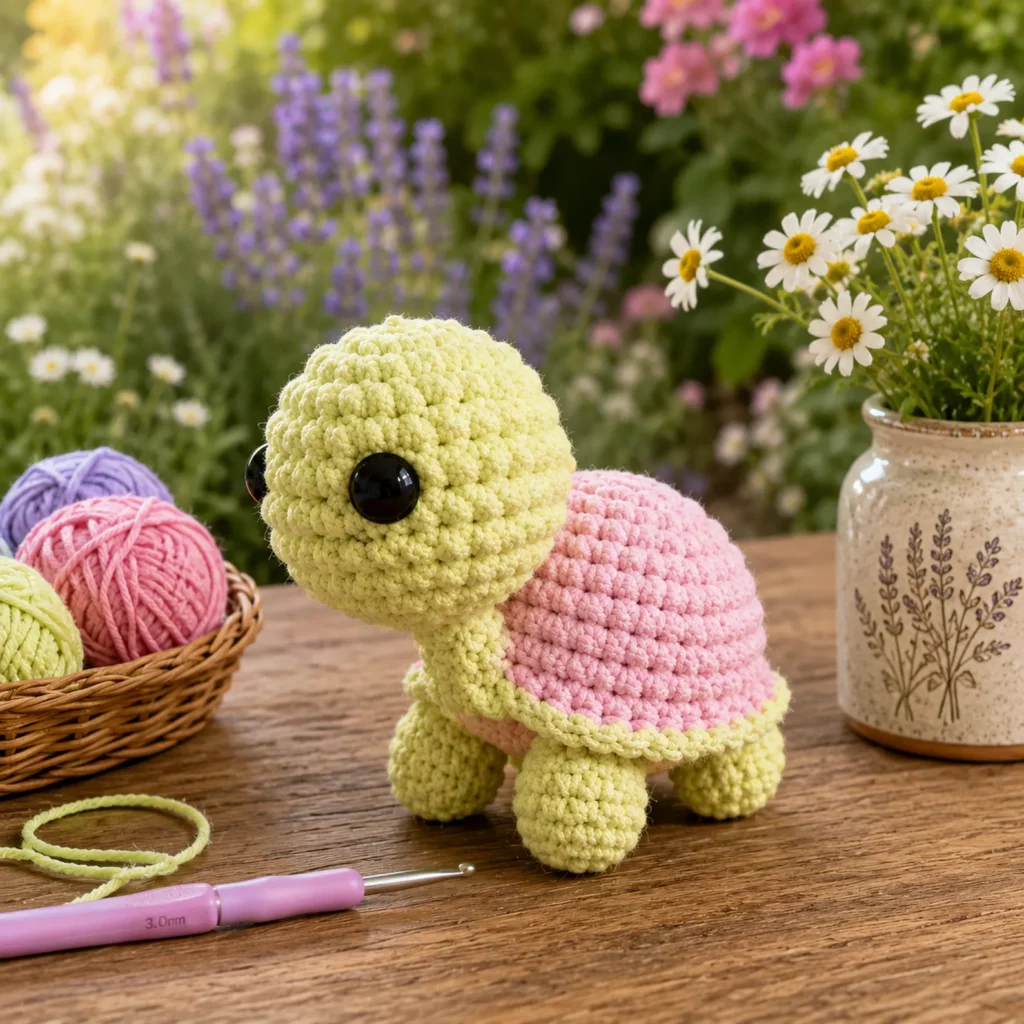
- Two-tone colorway: A contrasting shell color makes the design pop
How it’s made
You’ll crochet the turtle in separate pieces, then assemble:
- Head (large sphere)
- Neck (short tube connector)
- Body base (small oval/round base)
- Shell dome (rounded cap)
- Shell edging (optional rim)
- Four feet/flippers (small puffs)
This construction keeps everything beginner-friendly and allows you to customize size easily.
Skill Level Explanation#
This is an easy to easy-intermediate amigurumi project.
You’ll be comfortable if you can:
- Crochet single crochet (sc) in the round
- Make increases (inc) and decreases (dec)
- Count stitches with a stitch marker
- Sew pieces together with a yarn needle
Beginner-friendly bonus: Plush yarn helps hide small tension differences, and the shapes are simple and rounded—no fiddly details required.
Materials Needed#
Yarn
This turtle looks best with soft, bulky yarn, but you can use worsted too.
Recommended yarn options
- Plush/chenille yarn (super bulky/size 6) for the classic squishy look
- Bulky yarn (size 5) as a slightly firmer alternative
- Worsted weight (size 4) if you want a smaller, more detailed turtle
Color suggestions
- Head + feet: mint, sage, aqua, light green, pastel blue
- Shell: gray, taupe, sand, brown, or a deeper green
Yardage estimate
- Plush yarn: 100–180 yards total (more if you enlarge the shell)
- Worsted yarn: 120–220 yards total (depends on size)
Hook
Choose a hook that creates a tight fabric so stuffing doesn’t show.
- Plush yarn: 4.5–6.0 mm (often 5.0 mm is a sweet spot)
- Bulky yarn: 4.0–5.5 mm
- Worsted yarn: 2.75–3.5 mm
Tip: If your stitches look gappy, go down one hook size.
Notions
- Stitch marker
- Yarn needle
- Scissors
- Polyester fiberfill stuffing
Eyes (choose one)
- Safety eyes: 10–16 mm depending on size
- Embroidered eyes (best for baby-safe gifting)
Safety note: If this plush is for a child under 3, skip safety eyes and embroider instead.
Optional structure helpers
- A small felt circle behind safety eyes (extra security)
- A small pouch of poly pellets in the belly (helps it sit upright)
Stitches & Techniques Explained#
Abbreviations (US terms)
- MR = magic ring
- sc = single crochet
- inc = increase (2 sc in one stitch)
- dec = invisible decrease (recommended)
- sl st = slip stitch
- ch = chain
- st(s) = stitch(es)
Invisible decrease
Invisible decrease gives a smoother finish than regular sc2tog—especially noticeable on plushies.
How:
- Insert hook into front loop of next st
- Insert hook into front loop of following st
- Yarn over, pull through both front loops
- Yarn over, pull through remaining loops
Plush yarn handling tips
- Use a stitch marker every round (stitches can be hard to see)
- Count slowly and use your fingers to feel the “V”s
- Don’t yank tight—plush yarn can snap if pulled aggressively
Step-by-Step Instructions#
Pattern notes
- Work in continuous rounds
- Use a stitch marker in the first stitch of each round
- Stuff as you go for a smoother shape
- Counts are in ( )
Part 1: Head (Main Color)
Rnd 1: MR, 6 sc (6)
Rnd 2: inc around (12)
Rnd 3: (sc, inc) around (18)
Rnd 4: (2 sc, inc) around (24)
Rnd 5: (3 sc, inc) around (30)
Rnd 6: (4 sc, inc) around (36)
Rnd 7–11: sc around (36) for 5 rounds
Place eyes now (if using safety eyes):
Place between Rnd 8–9, spaced about 8–10 stitches apart (adjust for your desired expression).
Begin stuffing firmly.
Rnd 12: (4 sc, dec) around (30)
Rnd 13: (3 sc, dec) around (24)
Rnd 14: (2 sc, dec) around (18)
Rnd 15: (sc, dec) around (12)
Rnd 16: dec around (6)
Fasten off, close, weave in ends.
Part 2: Neck (Main Color)
Rnd 1: MR, 6 sc (6)
Rnd 2–4: sc around (6) for 3 rounds
Lightly stuff (optional, just enough to hold shape).
Fasten off leaving a long tail for sewing.
Part 3: Body Base (Main Color)
This is the underside “belly” that the shell will attach to.
Rnd 1: MR, 6 sc (6)
Rnd 2: inc around (12)
Rnd 3: (sc, inc) around (18)
Rnd 4: (2 sc, inc) around (24)
Rnd 5: (3 sc, inc) around (30)
Rnd 6: sc around (30)
Fasten off leaving a long tail for joining to the shell later.
Part 4: Shell Dome (Shell Color)
This is a rounded cap that sits on top of the body base.
Rnd 1: MR, 6 sc (6)
Rnd 2: inc around (12)
Rnd 3: (sc, inc) around (18)
Rnd 4: (2 sc, inc) around (24)
Rnd 5: (3 sc, inc) around (30)
Rnd 6: (4 sc, inc) around (36)
Rnd 7: (5 sc, inc) around (42)
Rnd 8–11: sc around (42) for 4 rounds
(This builds the dome height.)
Optional: If you want a slightly wider shell, add:
- Rnd X: (6 sc, inc) around (48)
- then 1–2 even rounds at 48
Fasten off leaving a long tail for sewing.
Part 5: Shell Rim (Optional)
To create a cute rim edge, you can do one round of sc around the shell opening before sewing it to the body base:
Join yarn at the opening edge and sc evenly around (same count as the final round). Fasten off.
Part 6: Feet/Flippers (Make 4, Main Color)
Rnd 1: MR, 6 sc (6)
Rnd 2: inc around (12)
Rnd 3: sc around (12)
Rnd 4: (2 sc, dec) around (9)
Rnd 5: sc around (9)
Stuff lightly. Flatten and close with 4–5 sc through both layers (or sew closed).
Fasten off leaving a tail.
Part 7: Assembly
- Attach neck to head
- Sew neck centered under the head
- Attach head/neck to body base
- Sew neck to the front edge of the body base
- Attach feet
- Sew two front feet near the head area
- Sew two back feet near the rear edge
- Make sure the turtle sits evenly
- Join body base to shell dome
- Place shell dome on top of the body base
- Stitch around the edge, leaving a small opening
- Add stuffing inside the shell area (moderate stuffing; don’t overfill)
- Finish sewing closed
Optional: Add a few simple stitches on top of the shell to suggest “shell segments” (gentle lines, not too deep).
Common Mistakes and How to Avoid Them#
- Stuffing shows through: Use a smaller hook and tighter tension.
- Shell looks too flat: Add 1–2 extra even rounds on the shell dome before closing.
- Turtle won’t sit: Place feet symmetrically and consider adding a small pellet pouch in the belly.
- Head droops: Stuff the neck a little more and reinforce the seam between neck and body.
- Safety eyes uneven: Mark the head center line and count stitches rather than eyeballing.
- Plush yarn stitches hard to see: Use a stitch marker and count by feeling the stitches.
Expert Tips for Better Results#
- Stuff in layers: Small pieces of stuffing give a smoother plush than one big wad.
- Use invisible decreases: They look much cleaner on rounded plush faces.
- Reinforce stress seams: The head/neck join gets handled most—sew it twice.
- Add a shell “lip”: One extra rim round makes the shell look more finished.
- Keep the shell slightly under-stuffed: It should be puffy but not so firm it distorts the dome shape.
Variations and Customization Ideas#
- Baby turtle: Use pastel yarn and smaller eyes or embroidered sleepy eyes.
- Sea turtle vibe: Add small side flippers (longer and flatter) instead of rounded feet.
- Keychain turtle: Make a mini version with worsted yarn and add a loop on the head.
- Striped or speckled shell: Alternate shell color every 2 rounds for subtle striping.
- Personalized gift: Stitch initials on the shell with surface embroidery.
- Make a set: Create matching turtles in different colors for a cute “family.”
Benefits of This Crochet Project#
- Quick, satisfying plush with big cute payoff
- Beginner-friendly amigurumi shaping practice
- Great stash-buster for plush yarn colors
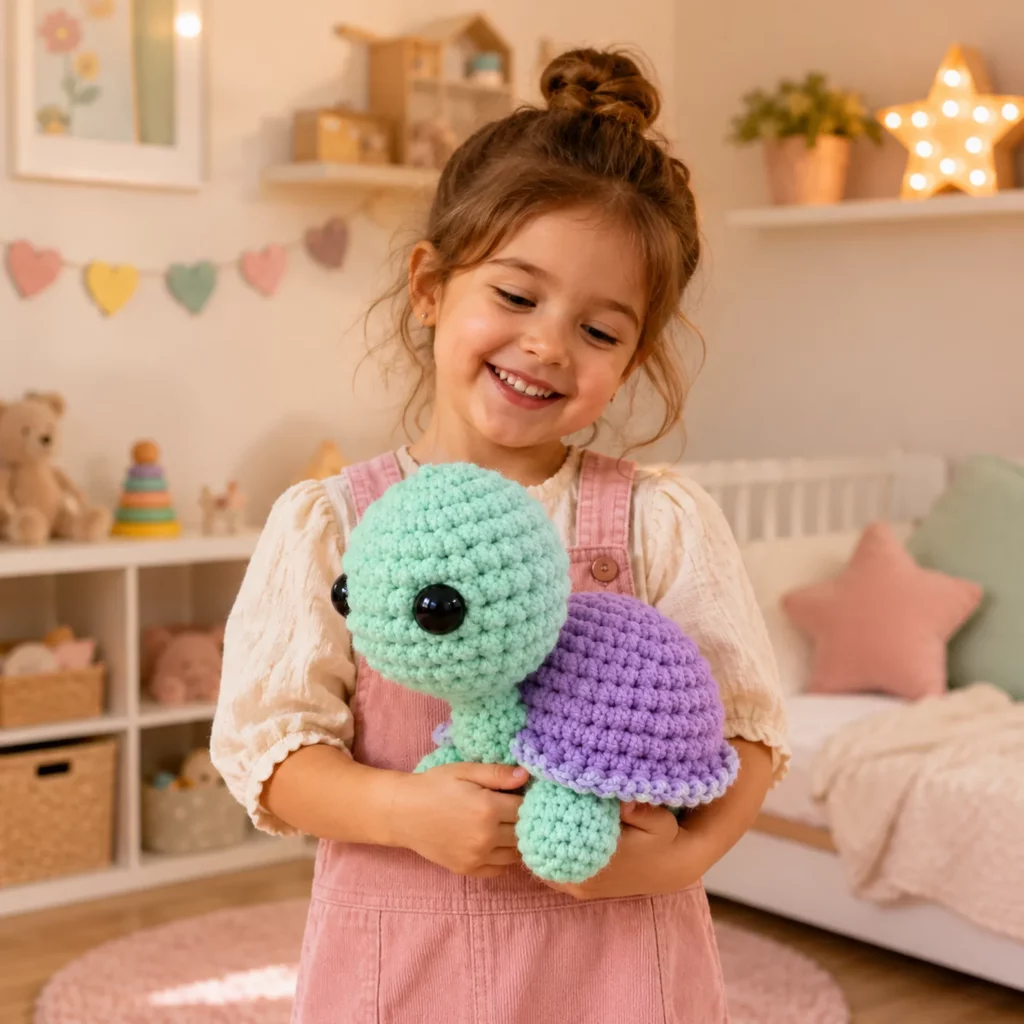
- Perfect for gifting (baby shower, birthday, comfort gift)
- Easy to scale up/down by changing yarn and hook size
- Minimal sewing compared to more complex animals
Internal Linking Suggestions#
You may also like…
- Crochet Tutorial: How to Use Invisible Decrease in Amigurumi
- Crochet for Beginners: Working with Plush/Chenille Yarn
- Free Crochet Pattern: Mini Whale Amigurumi
- DIY Crochet: How to Attach Safety Eyes Securely
- Free Crochet Pattern: Simple Amigurumi Ball Practice Pattern
- Amigurumi Finishing Guide: Stuffing and Sewing Tips
FAQ Section#
What yarn is best for a plush turtle crochet pattern?
Plush/chenille yarn makes the softest, squishiest turtle. Cotton or acrylic worsted yarn also works well if you prefer clearer stitches and a smaller finished size.
Is this an easy crochet pattern for beginners?
Yes. The turtle uses simple rounds with increases and decreases. Assembly is straightforward, and the plush yarn is forgiving.
How do I make the turtle bigger or smaller?
Use thicker yarn and a larger hook to size up, or thinner yarn and a smaller hook to size down. You can also add one more increase round to the head and shell to enlarge them.
Can I embroider the eyes instead of using safety eyes?
Absolutely. Embroidered eyes are safer for babies and also hold up well if the turtle will be used as a keychain or frequently handled plush.
How do I keep the shell from going floppy?
Keep stitches tight, avoid over-stretchy yarn, and add moderate stuffing. For extra structure, insert a felt circle inside the shell before fully sewing it closed.
Why does my turtle tip forward?
Front feet may be too far forward or too large. Move them slightly back and add more stuffing or a small weight toward the back/bottom.
Conclusion#
This plush turtle amigurumi is the perfect blend of simple and adorable: a big cuddly head, a soft rounded shell, and a sweet little sitting shape that looks amazing in pastel plush yarn. This free crochet pattern is beginner-friendly, customizable, and makes a fantastic gift or desk buddy.
If you tell me your yarn type (plush vs worsted) and the size you want (mini, medium, or jumbo), I can adjust the stitch counts so your crochet pattern comes out perfectly proportioned.


