


Introduction#
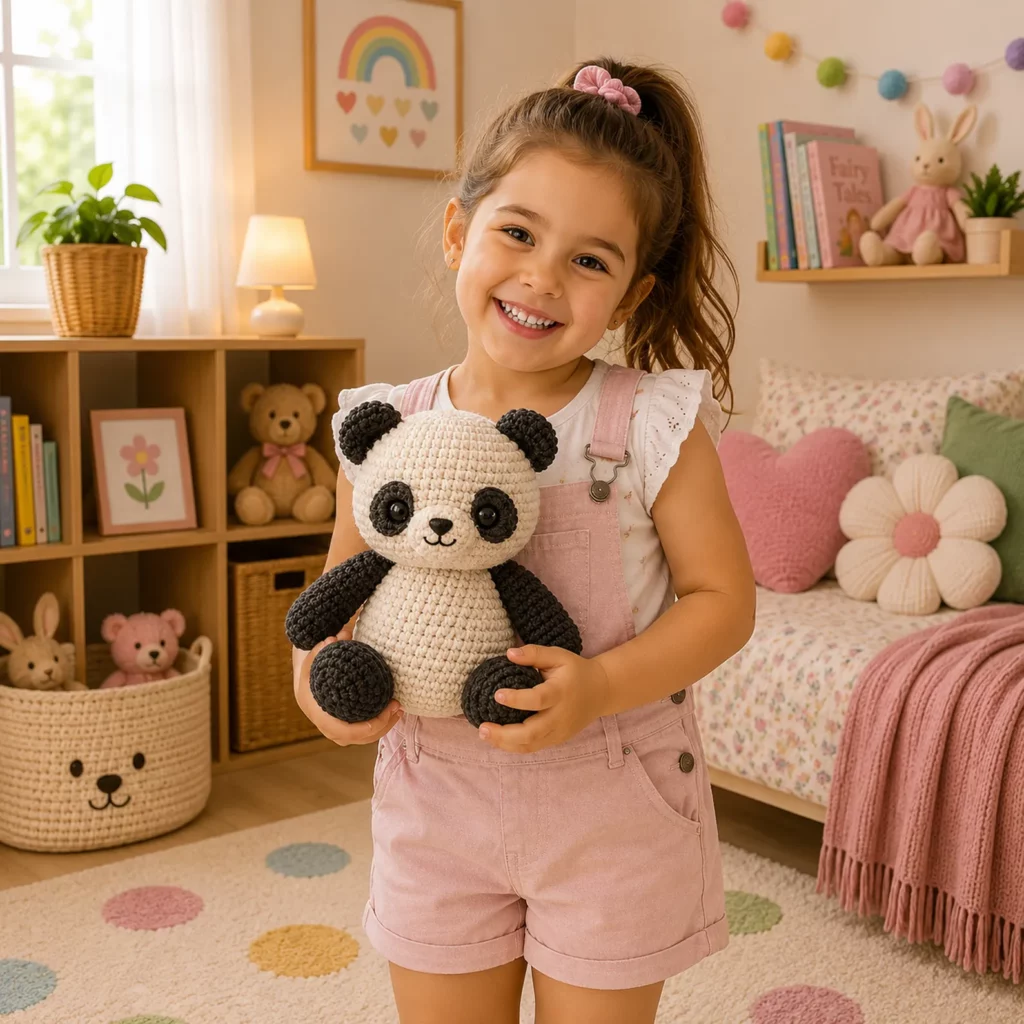
A panda is one of those timeless amigurumi makes that never stops being popular. It’s instantly recognizable, looks adorable in photos, and feels comforting the moment you hold it. Even better, a panda plush is built from simple shapes—round head, rounded body, small ears and limbs—so it’s a fantastic project if you want a “cute result” without complicated construction.
Explore more beginner amigurumi crochet patterns in our pattern library.
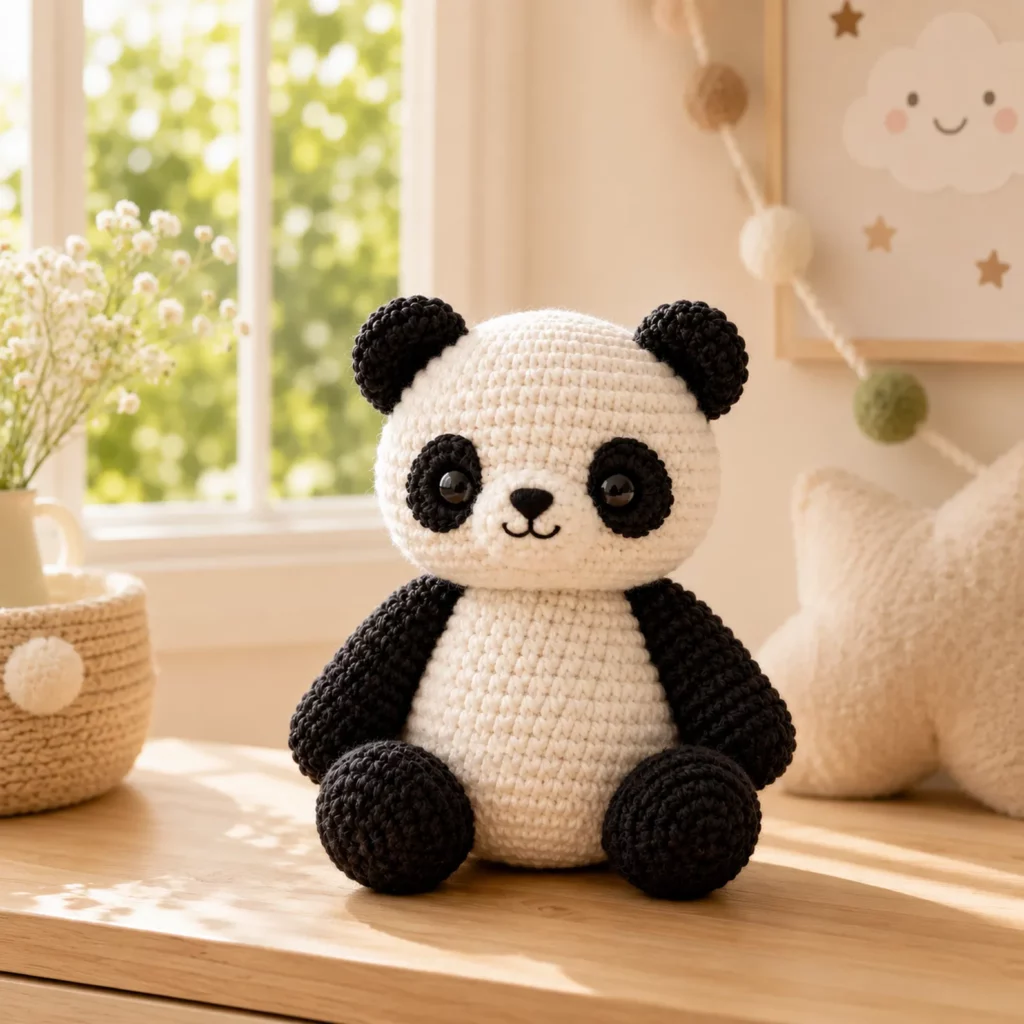
This crochet pattern creates a soft, seated panda with a plump white belly, black arms and legs, and signature black eye patches. The face is friendly and minimal: a small muzzle area, a tiny stitched smile, and round eyes that give the panda that gentle, calm expression. You can make it as a nursery gift, a desk buddy, a birthday present, or part of a whole set of crochet animals.
In this crochet tutorial, I’ll walk you through everything: how the panda is constructed, which stitches make the smoothest fabric, how to place the eye patches evenly, and how to assemble the pieces so your panda sits nicely and looks polished from every angle.
Detailed Description of the Crochet Pattern#
This panda amigurumi crochet pattern is designed with classic proportions and a clean, modern finish.
What the finished panda looks like
- A rounded head that’s slightly larger than the body for a cute “baby animal” look
- Black rounded ears placed high on the head
- Black eye patches that frame the eyes (no complicated colorwork needed)
- A white muzzle area with a small black nose and a gentle smile
- A plump white belly that contrasts with black arms and legs
- Seated posture with oversized feet that help the plush sit steadily
How it’s made
- The head is crocheted in the round with tight single crochet and smooth decreases
- The muzzle is a small oval piece (or a small circle/oval hybrid) sewn on top for dimension
- Eye patches are crocheted separately and sewn on for crisp edges
- Arms and legs are simple tubes with shaping at the ends for rounded paws
- Ears are small half-spheres sewn to the head
- The body is a rounded capsule shape, stuffed firmly for structure
Because the panda is mostly made from basic shapes, it’s easy to customize: make it bigger by switching yarn weight, make it cuter with blush cheeks, or make it baby-safe with embroidered eyes.
Skill Level Explanation#
This is an easy crochet pattern for beginners, especially if you’ve made at least one simple amigurumi ball before.
You’ll be comfortable if you can
- Crochet single crochet in the round
- Increase and decrease evenly
- Count stitches and rounds
- Sew small pieces neatly (ears, patches, limbs)
- Weave in ends securely
Skills you’ll practice in this crochet tutorial
- Symmetrical placement of facial features
- Invisible decreases for a smooth, professional look
- Stuffing and shaping so the plush looks round (not lumpy)
- Joining parts with clean seams
If you’re a total beginner, don’t worry. The pattern is forgiving, and the pieces are small enough that you can redo one part without losing a ton of time.
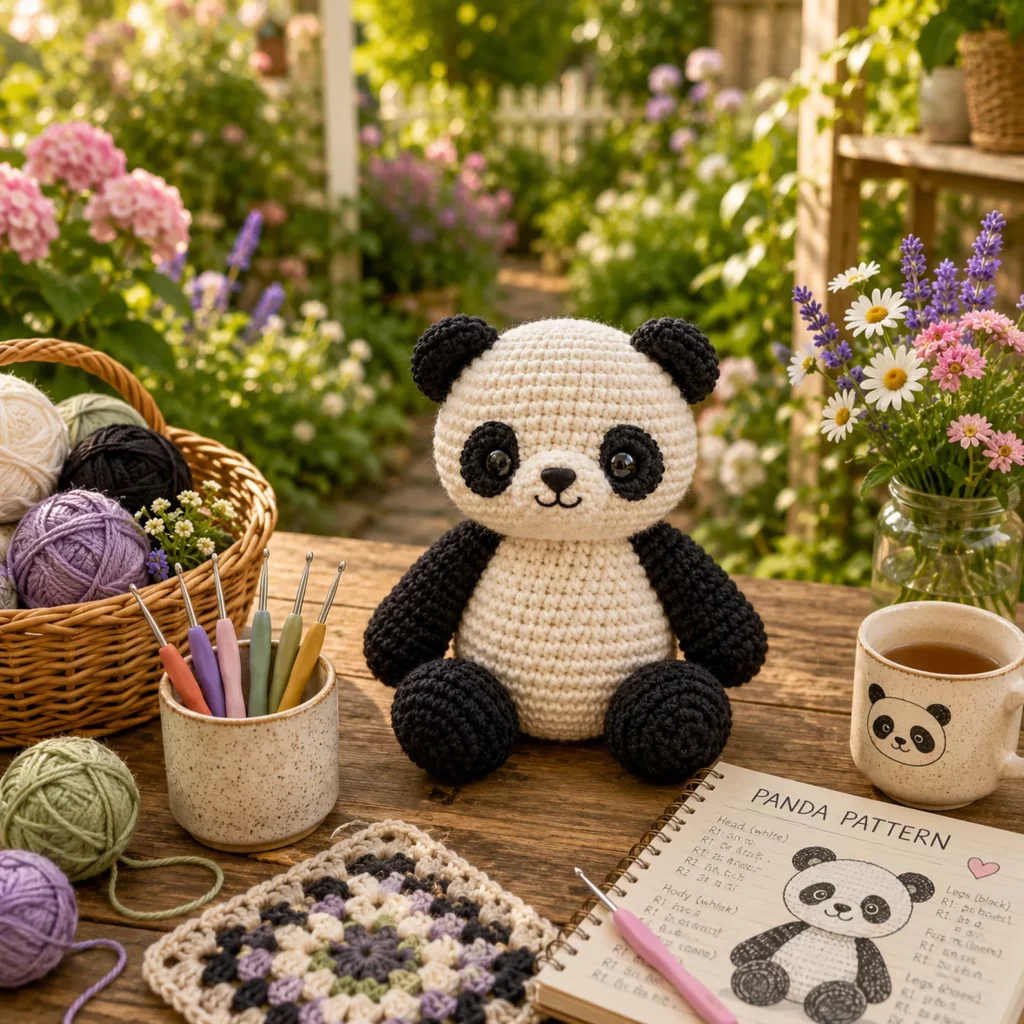
Materials Needed#
Yarn
For a panda, smooth yarn gives you the cleanest stitches and the sharpest color contrast.
Recommended yarn types
- Cotton yarn for crisp definition and a structured plush
- Acrylic yarn for softness and easy care
- Cotton-blend for the best of both worlds
Yarn weight options
- DK weight for a smaller, detailed panda
- Worsted weight for a medium plush panda
- Chunky yarn for a bigger cuddle panda (stitches may be harder to see)
Colors
- White or cream for the head and body
- Black for ears, arms, legs, and eye patches
- Optional: a tiny amount of gray for shading (not necessary)
Hook
Use a smaller hook than the yarn label suggests so the fabric is tight and stuffing doesn’t show.
- DK: 2.75 mm to 3.25 mm
- Worsted: 3.25 mm to 4.0 mm
- Chunky: 4.5 mm to 6.0 mm (depending on yarn)
Notions
- Stitch marker
- Tapestry needle
- Scissors
- Fiberfill stuffing
- Safety eyes (8 mm to 14 mm depending on size) or black embroidery thread
- Optional blush or pink yarn for cheeks
Baby-safe note
If making this panda for babies or toddlers, embroider the eyes and skip any plastic parts.
Stitches & Techniques Explained#
US terms
Abbreviations
- MR magic ring
- ch chain
- sl st slip stitch
- sc single crochet
- inc increase (2 sc in one stitch)
- dec decrease (sc 2 stitches together)
- st stitch
Invisible decrease
Invisible decrease makes your shaping look smoother, especially on the head. Instead of going through both loops, you pick up only the front loops of the next two stitches and sc them together.
Tight amigurumi fabric
A good amigurumi fabric feels dense and slightly firm. If you can see stuffing through the stitches, go down a hook size or tighten your tension.
Neat sewing for patches
For eye patches and muzzle, pin first, then sew with small stitches around the edge. Catch only the outer loops of the patch and a small amount of the head fabric to keep stitches invisible.
Step-by-Step Instructions#
Work in continuous rounds unless stated. Use a stitch marker to mark the first stitch of each round.
Sizing note
These stitch counts create a classic medium-sized panda in DK/worsted yarn. If you use thicker yarn, the panda will be larger without changing the pattern.
Head
Use white.
Round 1
6 sc in MR (6)
Round 2
inc around (12)
Round 3
(sc, inc) around (18)
Round 4
(2 sc, inc) around (24)
Round 5
(3 sc, inc) around (30)
Round 6
(4 sc, inc) around (36)
Round 7
(5 sc, inc) around (42)
Rounds 8 to 12
sc around (42)
Eye placement
Place safety eyes between rounds 9 and 10. Space them about 7 to 9 stitches apart. If you’re adding eye patches, you can place the patches first, then insert eyes through patch and head for the cleanest look.
Begin shaping down
Round 13
(5 sc, dec) around (36)
Round 14
sc around (36)
Round 15
(4 sc, dec) around (30)
Round 16
sc around (30)
Round 17
(3 sc, dec) around (24)
Stuff firmly now and keep shaping the head as you go.
Round 18
(2 sc, dec) around (18)
Round 19
(sc, dec) around (12)
Round 20
dec around (6)
Fasten off, close, weave in end.
Muzzle
Use white.
Make a small oval muzzle
Round 1
6 sc in MR (6)
Round 2
(sc, inc) around (9)
Round 3
sc around (9)
Round 4
(sc, dec) around (6)
Stuff very lightly or leave unstuffed for a flatter muzzle. Fasten off with a long tail.
Nose and mouth
- Embroider a small black triangle or oval nose
- Add a tiny curved smile beneath
- Optional: add tiny cheek dots for extra sweetness
Sew muzzle centered under the eyes.
Eye patches
Use black. Make two.
Round 1
6 sc in MR (6)
Round 2
inc around (12)
Round 3
(sc, inc) around (18)
Fasten off leaving a sewing tail. Flatten into a circle/oval shape. Sew around the eyes. If you’re using safety eyes, insert them through the patch and head so the patch stays perfectly positioned.
Ears
Use black. Make two.
Round 1
6 sc in MR (6)
Round 2
inc around (12)
Round 3
(sc, inc) around (18)
Round 4
sc around (18)
Round 5
( sc, dec) around (12)
Stuff lightly or leave unstuffed for softer ears. Flatten slightly and sew to the top sides of the head.
Placement tip
Ears look cutest when they sit slightly out to the sides rather than straight up.
Body
Use white.
Round 1
6 sc in MR (6)
Round 2
inc around (12)
Round 3
(sc, inc) around (18)
Round 4
(2 sc, inc) around (24)
Round 5
(3 sc, inc) around (30)
Round 6
(4 sc, inc) around (36)
Rounds 7 to 12
sc around (36)
Belly rounding
Round 13
(5 sc, inc) around (42)
Rounds 14 to 17
sc around (42)
Taper
Round 18
(5 sc, dec) around (36)
Round 19
sc around (36)
Round 20
(4 sc, dec) around (30)
Round 21
sc around (30)
Stuff firmly, especially at the base so the panda sits nicely.
Round 22
(3 sc, dec) around (24)
Round 23
(2 sc, dec) around (18)
Round 24
(sc, dec) around (12)
Round 25
dec around (6)
Fasten off, close, weave in end.
Arms
Use black. Make two.
Round 1
6 sc in MR (6)
Round 2
(sc, inc) around (9)
Rounds 3 to 10
sc around (9)
Stuff lightly. Flatten the top and fasten off leaving a sewing tail. Sew arms to the upper sides of the body.
Legs and feet
Use black. Make two.
Round 1
6 sc in MR (6)
Round 2
inc around (12)
Round 3
(sc, inc) around (18)
Rounds 4 to 6
sc around (18)
Taper into leg
Round 7
(4 sc, dec) around (15)
Rounds 8 to 14
sc around (15)
Stuff firmly. Flatten the top slightly. Fasten off with tail. Sew legs to the lower front of the body so they act like “sitting feet.”
Assembly
Suggested order
- Sew muzzle and add embroidery
- Attach eye patches and eyes
- Sew ears
- Sew head to body (slight forward tilt looks extra cute)
- Attach arms
- Attach legs/feet and test sitting balance
- Weave in all ends
Head join tip
Sew the head on with multiple passes around the seam. If the head feels wobbly, add extra stuffing at the neck area before closing the seam.
Common Mistakes and How to Avoid Them#
Eye patches look uneven
Pin both patches first and measure spacing from the center of the muzzle. Insert safety eyes through the patches to “lock” placement.
Panda won’t sit nicely
Stuff the bottom of the body firmly and place legs slightly forward. Oversized feet help stability.
Stuffing shows through stitches
Use a smaller hook and tighter tension. Avoid overstuffing at the final rounds because it stretches stitches.
Head looks lumpy
Stuff in small amounts and shape as you go. Invisible decreases also make the head look smoother.
Ears droop oddly
Try placing the ears a little more to the side and slightly forward. Sewing them with a small pinch at the base can create a cute curve.
Expert Tips for Better Results#
- Use invisible decreases everywhere you shape down
- Add a tiny white highlight stitch on each eye for sparkle (embroidery)
- Lightly blush the cheeks for a softer expression (display only)
- If you want a super plush look, use velvet/chenille yarn but keep stitch counts and use a stitch marker carefully
- For baby-safe, embroider eyes and stitch patches extra securely
Variations and Customization Ideas#
- Mini panda keychain using sport yarn and a smaller hook
- Sleepy panda with embroidered closed eyes and rosy cheeks
- Bamboo lover panda holding a tiny green bamboo stalk
- Giant cuddle panda using chunky yarn and larger eyes
- Holiday panda with a tiny scarf or hat
- Panda family set by making the same pattern in different yarn weights
Benefits of This Crochet Project#
- A classic crochet pattern that always looks cute and giftable
- Great practice for amigurumi basics: shaping, sewing, facial placement
- Uses simple stitches but looks polished and professional
- Easy to customize with accessories and size changes
- Perfect handmade gift for nurseries, birthdays, and holidays
- A fun stash-buster for black and white yarn
Internal Linking Suggestions#
You may also like
- Free crochet pattern for a teddy bear amigurumi
- Crochet tutorial for invisible decrease
- How to place safety eyes symmetrically
- Beginner guide to sewing amigurumi parts neatly
- Easy crochet animal patterns for beginners roundup
- Crochet accessories for amigurumi like scarves and tiny hats
FAQ Section#
Is this panda crochet pattern beginner-friendly
Yes. The shapes are simple and the stitches are basic. The most important skill is careful assembly and symmetrical placement.
Can I make this panda without safety eyes
Absolutely. Embroider eyes with black thread for a baby-safe version.
What yarn is best for a panda amigurumi
Cotton or smooth acrylic is best. Cotton gives crisp stitch definition; acrylic can be softer and more cuddly.
How do I make the panda bigger
Use thicker yarn and a larger hook. Keep stitches tight so stuffing doesn’t show.
How do I keep the panda sitting upright
Stuff the base firmly, and place the legs slightly forward so they act like supports.
Do I have to crochet color changes for the face
No. Sewing on eye patches is easier and usually looks cleaner than in-round colorwork.
Conclusion#
This panda amigurumi crochet pattern is a cozy, feel-good project that’s perfect for makers of all levels. With a round head, soft belly, and those iconic black patches, the panda is instantly recognizable and always adorable. The construction is simple, the details are satisfying, and the finished plush looks gift-ready with just a little extra care in placement and sewing.
If you want, tell me what yarn weight you’re using and how tall you want the panda to be, and I can suggest the best eye size and small stitch-count tweaks to match your exact size goal.


