


Introduction#
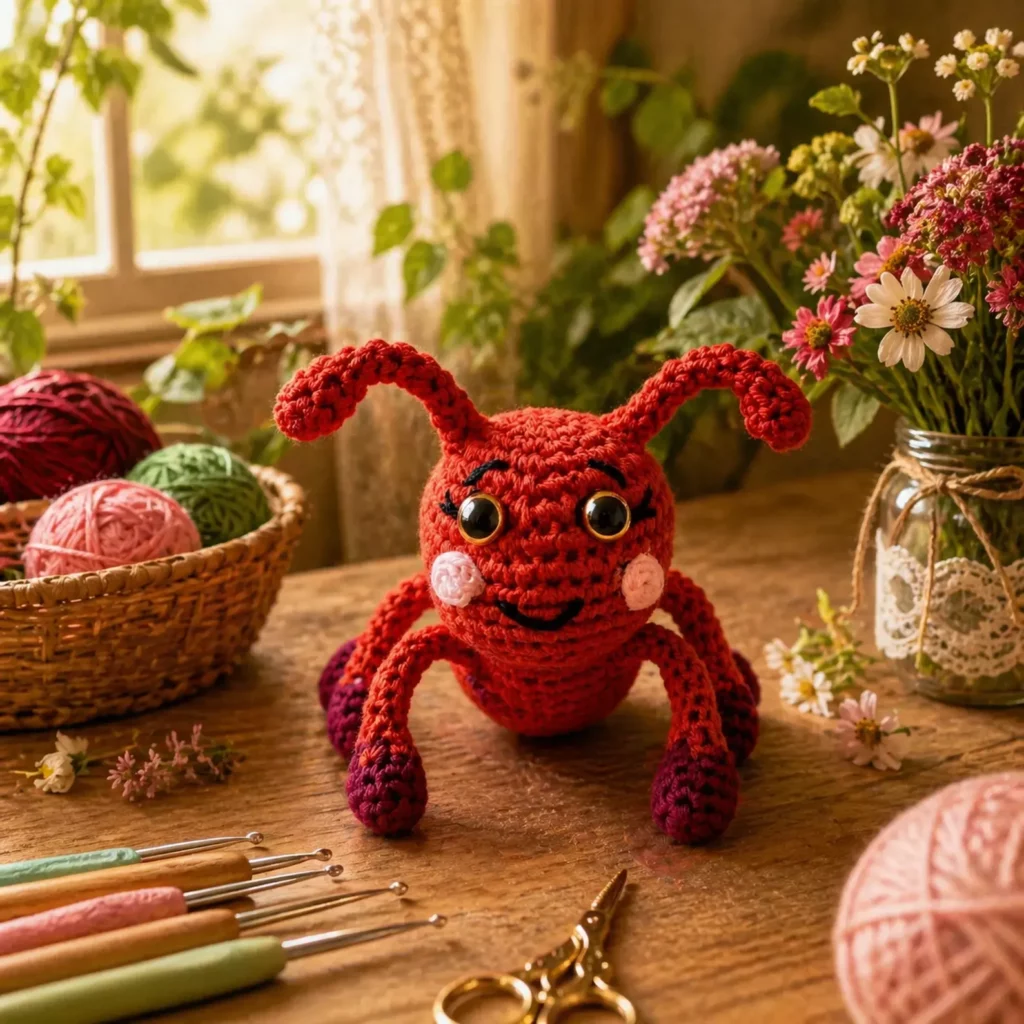
If you’re looking for a crochet project that’s small enough to finish quickly but detailed enough to feel “wow,” a ladybug amigurumi is the sweetest choice. Ladybugs are instantly recognizable (even in playful colors), and they make adorable desk buddies, nursery décor, party favors, and handmade gifts—especially when you give them expressive eyes, tiny cheeks, and bendy legs.
Explore more beginner amigurumi crochet patterns in our pattern library.
This crochet pattern is built around simple amigurumi shapes: a rounded head, an oval body, and slim legs that end in cute little “boots.” The color changes are minimal, so it’s still beginner-friendly, but the result looks polished and character-like. You’ll also learn easy techniques that upgrade your finished toy: clean color changes, symmetrical limb placement, and how to shape antennae so they don’t flop.
Below you’ll find a complete free crochet pattern and a true crochet tutorial style guide, including materials, stitch explanations, step-by-step instructions, troubleshooting, and customization ideas.
Detailed Description of the Crochet Pattern#
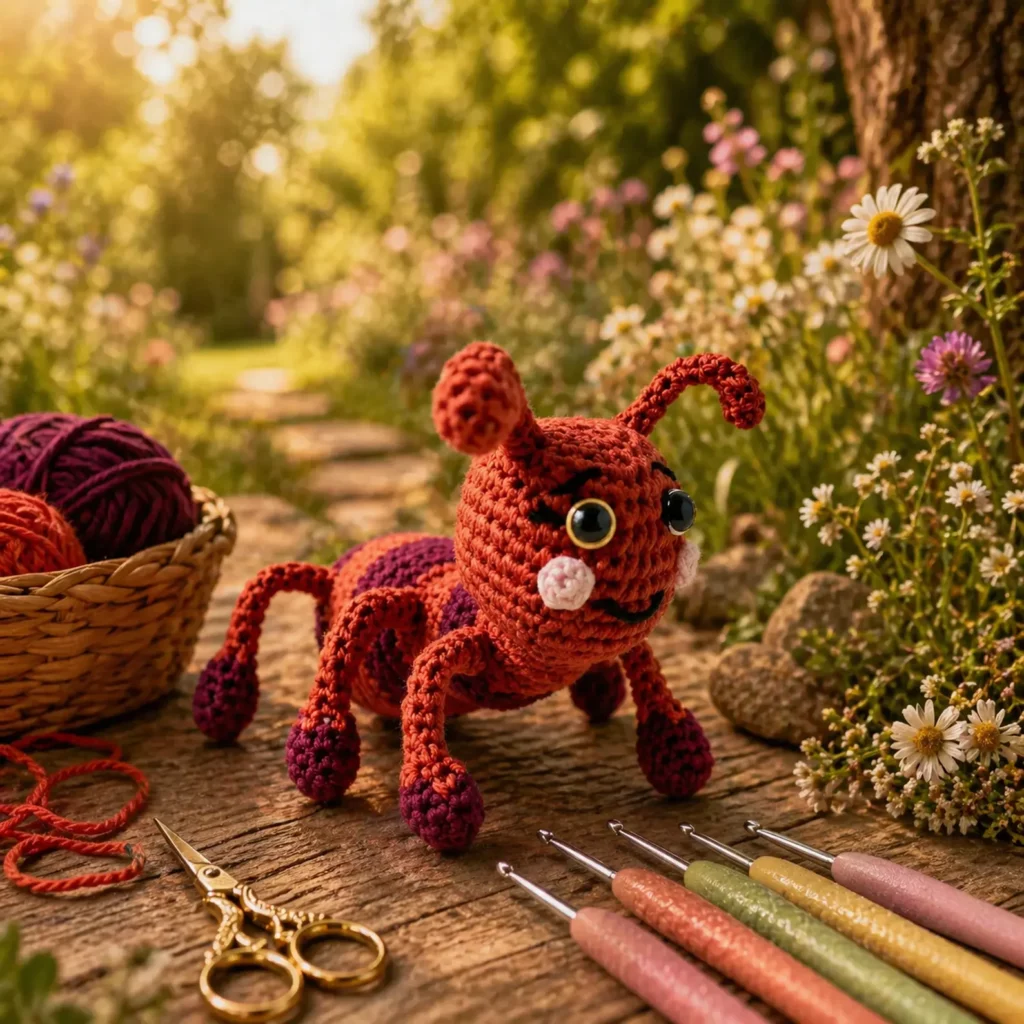
This ladybug amigurumi has a charming “bug on the move” pose with a big personality. The main design elements include:
- Rounded head with big eyes and optional embroidered lashes/eyebrows
- Oval body with a contrasting back panel (perfect for spots or striping)
- Six slim legs that curve naturally and end in darker feet
- Two antennae with rounded tips
- Cheek accents (embroidered) for a kawaii expression
- Simple smile line to give it a friendly look
You can keep the design classic (red + black spots), or go creative with colors—ladybugs look adorable in rust, burgundy, pink, teal, or even rainbow palettes.
Skill Level Explanation#
This is an easy-to-intermediate crochet pattern.
Great for beginners who already know:
- single crochet in the round
- increases and invisible decreases
- basic color changes
- sewing parts on neatly
The “intermediate” part is mostly assembly (six legs + antennae). If you pin before sewing and follow placement tips, it’s absolutely manageable—even as a first “multi-limb” amigurumi.
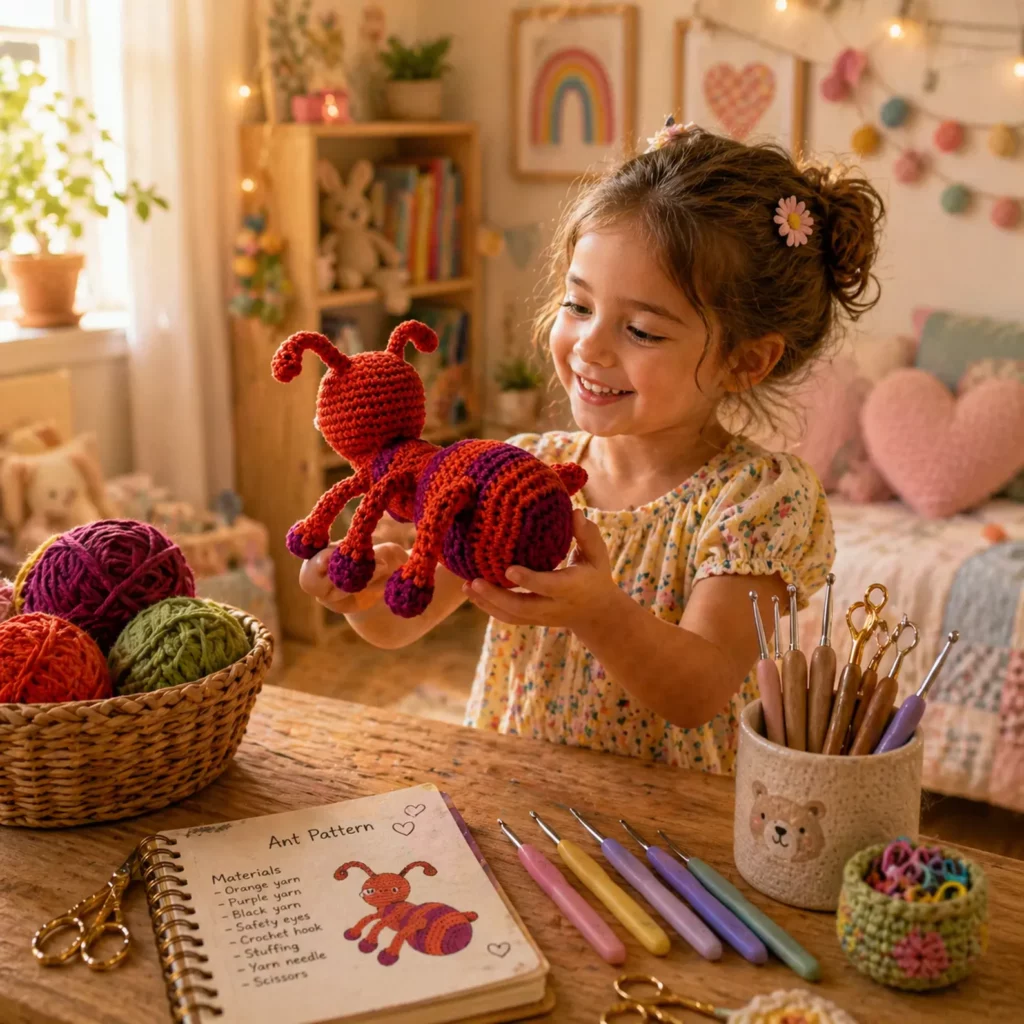
Materials Needed#
Yarn
For a neat, sturdy ladybug, choose yarn with good stitch definition.
Recommended yarn:
- Worsted weight (#4) cotton or acrylic
- DK (#3) also works for a smaller ladybug
Suggested colors:
- Main body: rust/red/orange
- Back panel or spots: deep purple/black
- Feet + antennae: dark purple/black
- Cheeks: pink embroidery thread
- Optional: white for eye highlights (if not using safety eyes)
Hook
Use a smaller hook than the yarn label suggests to prevent gaps:
- Worsted: 3.0–3.5 mm
- DK: 2.5–3.0 mm
Notions
- Fiberfill stuffing
- Stitch marker
- Yarn needle
- Scissors
- Safety eyes (optional): 8–12 mm depending on size
- Embroidery floss or thin yarn for smile/cheeks
- Optional: pipe cleaners/floral wire inside legs/antennae (display-only, not for young children)
Stitches & Techniques Explained#
Abbreviations (US terms)
- MR = magic ring
- sc = single crochet
- inc = increase (2 sc in same stitch)
- dec = invisible decrease (sc2tog through front loops)
- sl st = slip stitch
- ch = chain
- BLO = back loop only
- ( ) = repeat
- = stitch count
Clean color changes
For smooth stripes or a back panel edge, change colors on the last yarn-over of the stitch before the new color.
Invisible decreases
Invisible decreases keep your ladybug’s shape smooth—especially on the head and the rounded body.
Assembly symmetry trick
Place stitch markers on the body at the left/right “hip” points before sewing legs. This helps you attach legs evenly and keeps the ladybug balanced.
Step-by-Step Instructions#
Notes:
- Work in continuous rounds unless stated.
- Use a stitch marker in the first stitch of each round.
- Stuff as you go, shaping frequently with your hands.
This pattern creates a small-to-medium ladybug with a rounded head and oval body. You can scale it by changing yarn weight/hook size.
Head (main color)
R1: MR, 6 sc [6]
R2: inc x6 [12]
R3: (sc, inc) x6 [18]
R4: (2 sc, inc) x6 [24]
R5: (3 sc, inc) x6 [30]
R6: (4 sc, inc) x6 [36]
R7–R9: sc around [36]
Eye placement:
Place safety eyes between R8–R9, about 8–10 stitches apart.
(If embroidering eyes, skip safety eyes and embroider later.)
Begin closing:
R10: (4 sc, dec) x6 [30]
R11: (3 sc, dec) x6 [24]
Stuff firmly.
R12: (2 sc, dec) x6 [18]
R13: (sc, dec) x6 [12]
R14: dec x6 [6]
Fasten off, close, weave in.
Body (main color)
The body is an oval-ish shape that looks cute and gives room for a back panel/spot section.
R1: MR, 6 sc [6]
R2: inc x6 [12]
R3: (sc, inc) x6 [18]
R4: (2 sc, inc) x6 [24]
R5: (3 sc, inc) x6 [30]
R6: (4 sc, inc) x6 [36]
R7: (5 sc, inc) x6 [42]
R8–R11: sc around [42]
Begin tapering slightly:
R12: (5 sc, dec) x6 [36]
R13–R14: sc around [36]
Start stuffing firmly (especially the bottom).
Finish closing:
R15: (4 sc, dec) x6 [30]
R16: (3 sc, dec) x6 [24]
R17: (2 sc, dec) x6 [18]
R18: (sc, dec) x6 [12]
R19: dec x6 [6]
Fasten off leaving a long tail (helpful for sewing body to head or adding details).
Back Panel / Shell Patch (contrast color)
This creates that “ladybug shell” look. You can also add spots onto this panel.
Ch 12.
Work an oval around the chain:
- sc in 2nd ch from hook
- sc in next 9 ch
- 3 sc in last ch (turn corner)
Continue on underside: - sc in next 9 ch
- 2 sc in last ch
Join with sl st.
Round 2: sc around, adding increases at the curved ends so it stays flat.
Round 3 (optional): repeat Round 2 for a larger patch.
Fasten off with a long tail. Pin centered on the top of the body and sew around the edge.
Optional spots:
Make 3–6 tiny circles in black/purple:
MR, 6 sc, join. Fasten off. Sew onto the patch.
Legs (make 6)
Each leg is a thin tube with a darker “boot.” This style looks adorable and sturdy.
Start with boot color (dark).
Boot:
R1: MR, 6 sc [6]
R2: inc x6 [12]
R3: sc around [12]
R4: (sc, dec) x4 [8]
Lightly stuff the boot only.
Switch to main color for leg tube:
R5–R14: sc around [8] (or until desired length)
Fasten off with a tail for sewing.
Tip: If you want bendier legs, crochet the tube tighter (smaller hook) or insert a pipe cleaner for display pieces.
Antennae (make 2, dark)
R1: MR, 4 sc [4]
R2–R10: sc around [4] (adjust length)
Optional: for a rounded tip, do one round of inc around [8], then one round sc [8], then dec around back to [4].
Fasten off with tail.
Cheeks (optional, pink embroidery)
Use pink floss or yarn to stitch small ovals on each side of the face.
Mouth / Smile (black embroidery)
Stitch a gentle curved smile line under the eyes. A short line is enough—simple looks cutest.
Assembly#
Attach head to body
- Pin head centered on the front top of the body.
- Sew securely using whip stitch around the neck join.
- Reinforce with a second pass if it will be handled often.
Attach legs
Leg placement makes or breaks the “cute bug” pose. A simple approach:
- Attach two front legs near the head/body seam, spaced evenly left and right.
- Attach two middle legs at the widest part of the body (the “hips”).
- Attach two back legs closer to the rear of the body.
Pin all legs first, then sew once you like the stance. Aim for a slight outward angle so it looks like the ladybug is standing.
Attach antennae
Sew antennae on top of the head, slightly angled outward. If they flop, stitch the base down through a few extra rows.
Add final face details
Embroider the smile, cheeks, and optional eyebrows/eyelashes last so you can center everything neatly.
Common Mistakes and How to Avoid Them#
- Legs look uneven: Pin all legs before sewing. Measure spacing using stitch counts (same number of stitches from center line on both sides).
- Body looks lumpy: Stuff in small tufts and shape as you go, especially during decrease rounds.
- Patch puckers: Don’t sew too tight; use small even stitches. If the patch is too small, add one more oval round.
- Toy tips forward: Stuff the back/bottom more firmly and angle the back legs slightly outward.
- Antennae flop: Shorten them or stitch the base down through multiple rounds. For display-only pieces, use a pipe cleaner insert.
Expert Tips for Better Results#
- Use cotton yarn if you want the cleanest stitches and a more “designer” look.
- Make the face cute by placing eyes slightly lower on the head (not too high).
- If you want a more realistic ladybug shell look, add a vertical embroidered line down the center of the patch.
- Weave ends deep inside the body—small projects get handled a lot and loose ends can pop out.
- For craft fairs: make a batch in different colors but keep the same eye style and smile for a cohesive “collection.”
Variations and Customization Ideas#
- Classic ladybug: red body, black patch, black spots, black legs.
- Pastel ladybug: pink body, cream patch, brown spots.
- Bumblebug: yellow/black stripes on body, white wings added to the back.
- Keychain version: use DK yarn and a smaller hook; add a hanging loop on top of the head.
- Baby-safe version: embroidered eyes instead of safety eyes; avoid beads.
- Extra cute version: add a tiny bow on one antenna or a mini flower like a hair clip.
Benefits of This Crochet Project#
- Small, fast, and highly giftable
- Teaches core amigurumi skills (shaping + assembly)
- Great stash-buster for small amounts of yarn
- Cute home/desk décor with real personality
- Easy to customize into a whole “bug family”
- Excellent blog topic because it matches search intent: people love “cute amigurumi crochet pattern” projects
Internal Linking Suggestions#
You may also like…
- Magic Ring Tutorial for Beginners
- Invisible Decrease Tutorial for Amigurumi
- How to Sew Amigurumi Parts Neatly
- Beginner Amigurumi Patterns You Can Finish in a Weekend
- How to Crochet Small Motifs (spots, patches, appliqués)
- Crochet Toy Safety Tips (Embroidered Eyes vs Safety Eyes)
FAQ Section#
Is this ladybug amigurumi crochet pattern beginner-friendly?
Yes. The stitches are simple. The only part that takes patience is attaching six legs evenly, which is easy if you pin first.
What yarn is best for amigurumi bugs?
Worsted cotton or cotton blends give crisp stitches and sturdy shapes. Acrylic works too if you want a softer plush.
Can I make this without safety eyes?
Absolutely. Embroidered eyes are a great option and are often preferred for baby gifts.
How do I make the legs stiffer?
Crochet tighter with a smaller hook, stuff only the boots, and (for display only) insert pipe cleaners inside the leg tubes.
How do I add spots to the back?
Crochet tiny circles (MR, 6 sc) and sew them on, or embroider spots with satin stitch.
Can I sell finished ladybugs made from this free crochet pattern?
Finished handmade items are typically okay to sell. If you publish your own post, keep your wording and photos original for unique, AdSense-friendly content.
Conclusion#
A ladybug amigurumi is the perfect crochet pattern when you want something cute, quick, and packed with personality. It’s small enough to finish in a weekend, but detailed enough to feel special—and once you make one, you can easily create a whole lineup by changing the colors, adding spots, or switching the expression.
If you tell me your yarn weight (DK or worsted) and the finished size you want (tiny keychain or larger plush), I can adjust the stitch counts and leg length so your ladybug comes out perfectly proportioned.


