


Introduction#
Some crochet projects are cute… and then there are projects that make everyone in the room say, “Wait—YOU made that?!” A cheerful bee amigurumi is exactly that kind of make. It’s bright, happy, and full of personality, and it works perfectly as a gift for kids, a springtime décor piece, a classroom “helper,” or even a desk buddy to sit beside your laptop while you work.
Explore more beginner amigurumi crochet patterns in our pattern library.
What I love about this style of bee is how approachable it is. The shapes are classic amigurumi building blocks—round head, rounded body, simple limbs—then you add the iconic details: black-and-yellow stripes, wings, and antennae. Those little additions are what transform a basic doll shape into a character. And the best part? You don’t need advanced techniques to get a polished result. With a few smart tips for clean stripes and neat assembly, you’ll end up with a bee that looks professional, soft, and stable enough to sit.
This post is written like a true crochet tutorial with a complete free crochet pattern. You’ll learn how to build the body, how to handle color changes cleanly, how to attach wings so they sit nicely, and how to choose yarn so your bee holds its shape.
Detailed Description of the Crochet Pattern#
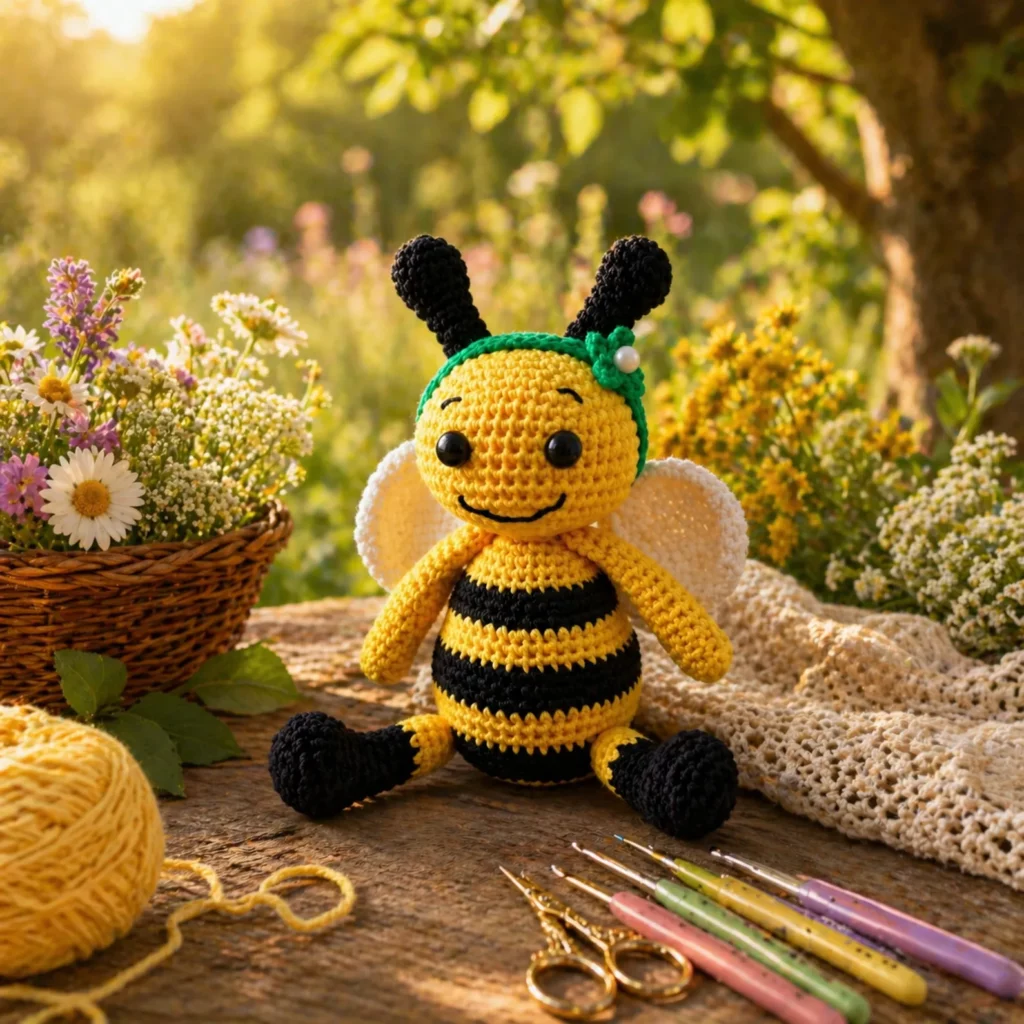
This crochet pattern creates a seated bee amigurumi with a friendly expression and classic bee styling. The design includes:
- Rounded head with a simple embroidered smile and optional sleepy eyelids
- Striped body in yellow and black with smooth color transitions
- Two arms and two legs/feet (soft, doll-like proportions)
- Two antennae that stand up for a cute silhouette
- Two wings (white, slightly curved) that sit behind the arms
- Optional head accessory (tiny flower or bow) for extra charm
The finished bee is “huggable but tidy”—not overly detailed, which makes it beginner-friendly, but detailed enough to look like a character. It’s also easy to customize: change the colors, swap wings for smaller ones, or make it into a keychain-sized bee by changing yarn weight.
Skill Level Explanation#
This is an easy-to-intermediate crochet pattern.
Beginner-friendly skills:
- Single crochet in continuous rounds
- Increasing and invisible decreasing
- Basic stuffing
- Simple sewing/assembly
Intermediate-ish skills (still very doable):
- Color changes for stripes
- Attaching wings evenly
- Adding antennae that stand up neatly
If you’re newer to amigurumi, this bee is a great learning project because it teaches neat color changes in a fun way.
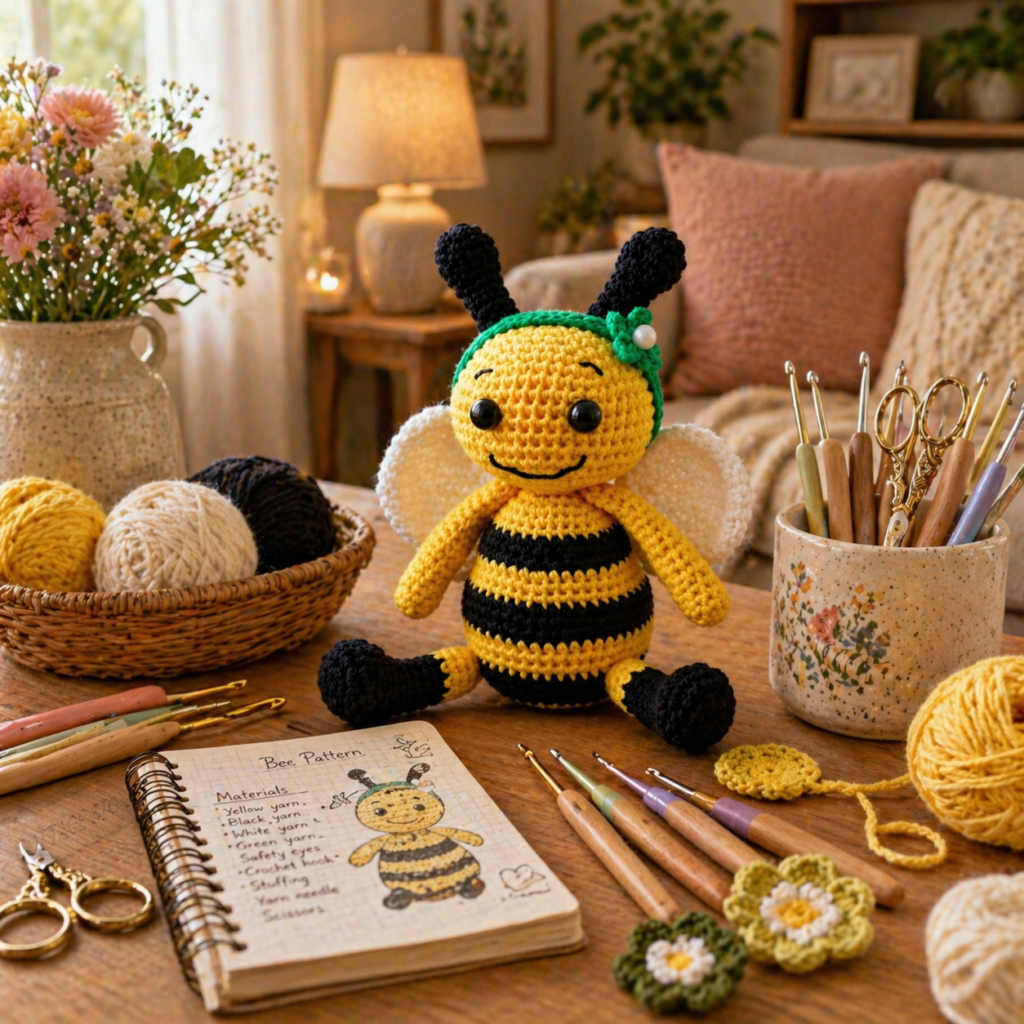
Materials Needed#
Yarn
For the cleanest stitches and a bee that holds its shape, cotton or cotton-blend yarn works beautifully. Acrylic is fine too and can be softer, but cotton gives crisp definition.
Recommended yarn weights:
- Worsted weight (#4) for a medium plush
- DK (#3) for a slightly smaller, more delicate bee
Colors:
- Yellow (main)
- Black (stripes, antennae, legs/feet)
- White (wings)
- Optional green + tiny accent color for a flower
Hook
Use a hook smaller than the yarn label suggests so the fabric is tight (stuffing won’t show):
- Worsted (#4): 3.0–3.5 mm
- DK (#3): 2.5–3.0 mm
Notions
- Fiberfill stuffing
- Stitch marker
- Yarn needle
- Scissors
- Safety eyes (optional): 8–12 mm depending on your bee size
- Embroidery floss or thin yarn (black) for smile/eyelids
- Optional: pipe cleaner or floral wire for antennae support (not recommended for toys for young children)
- Optional: small bead/button for flower center (use safely)
Stitches & Techniques Explained#
Abbreviations (US terms)
- MR = magic ring
- sc = single crochet
- inc = increase (2 sc in same stitch)
- dec = invisible decrease (sc2tog through front loops)
- sl st = slip stitch
- ch = chain
- BLO/FLO = back loop only / front loop only
- ( ) = repeat
- = stitch count
Clean stripe technique
For smooth stripes, change color on the last yarn-over of the previous stitch:
- Insert hook, yarn over old color, pull up loop
- Yarn over new color, pull through to complete the stitch
Then continue with the new color.
To reduce the “step” between rounds, you can use a simple trick:
- At the end of the round, sl st into the next stitch, move marker, then sc (this shifts the seam). Optional, but helpful if you like a cleaner look.
Invisible decrease
Use invisible decreases for smoother shaping—especially on the head and body.
Step-by-Step Instructions#
Notes:
- Work in continuous rounds unless stated.
- Use a stitch marker to track rounds.
- Stuff firmly, shaping as you go.
This free crochet pattern is written for a medium bee using worsted weight yarn. If you use DK, you’ll get a smaller bee without changing stitch counts.
Head (yellow)
Round 1: MR, 6 sc [6]
Round 2: inc x6 [12]
Round 3: (sc, inc) x6 [18]
Round 4: (2 sc, inc) x6 [24]
Round 5: (3 sc, inc) x6 [30]
Round 6: (4 sc, inc) x6 [36]
Rounds 7–10: sc around [36]
Eye placement:
Place safety eyes between R8–R9, about 8–10 stitches apart.
If embroidering eyes, skip this and stitch eyes later.
Begin closing:
Round 11: (4 sc, dec) x6 [30]
Round 12: (3 sc, dec) x6 [24]
Stuff firmly.
Round 13: (2 sc, dec) x6 [18]
Round 14: (sc, dec) x6 [12]
Round 15: dec x6 [6]
Fasten off, weave in.
Body (striped: yellow + black)
The body is slightly oval/pear-shaped so it sits nicely.
Start with yellow.
Round 1: MR, 6 sc [6]
Round 2: inc x6 [12]
Round 3: (sc, inc) x6 [18]
Round 4: (2 sc, inc) x6 [24]
Round 5: (3 sc, inc) x6 [30]
Round 6: (4 sc, inc) x6 [36]
Round 7: sc around [36]
Now begin stripes. A simple stripe plan:
- 2 rounds yellow
- 2 rounds black
Repeat until you like the look.
Example stripe sequence:
Rounds 8–9: yellow [36]
Rounds 10–11: black [36]
Rounds 12–13: yellow [36]
Rounds 14–15: black [36]
Rounds 16–17: yellow [36]
Begin tapering near the bottom (switch to black at the very base if you want darker “bottom”):
Round 18: (4 sc, dec) x6 [30]
Stuff firmly, especially the bottom half.
Round 19: sc around [30]
Round 20: (3 sc, dec) x6 [24]
Round 21: (2 sc, dec) x6 [18]
Round 22: (sc, dec) x6 [12]
Round 23: dec x6 [6]
Fasten off leaving a long tail for attaching head (or attach later with a separate yarn strand—either works).
Arms (make 2, yellow)
Round 1: MR, 6 sc [6]
Round 2: (sc, inc) x3 [9]
Rounds 3–6: sc around [9]
Lightly stuff (optional). Flatten and close. Leave tail for sewing.
Legs/Feet (make 2, black)
Round 1: MR, 6 sc [6]
Round 2: inc x6 [12]
Round 3: sc around [12]
Round 4: (sc, dec) x4 [8]
Stuff lightly. Flatten and close. Leave tail.
Tip: If you want bigger “boots,” add one more round of sc around [12] before decreasing.
Wings (make 2, white)
These wings are simple oval shapes that look clean and sit flat.
Ch 10.
Work around the chain to create an oval:
- sc in 2nd ch from hook
- hdc in next ch
- dc in next 5 ch
- hdc in next ch
- 3 sc in last ch (turn the corner)
Continue on underside of chain:
- hdc in next ch
- dc in next 5 ch
- hdc in next ch
- 2 sc in last ch
Join with sl st.
Optional: add a second round of sc around to thicken and neaten the edge.
Fasten off with a long tail.
Antennae (make 2, black)
Two options: soft antennae or stiffer antennae.
Soft antennae (simple):
MR, 4 sc [4]
Work sc around [4] for 10–14 rounds (until desired length).
Fasten off with tail.
Stiffer antennae (optional):
Crochet the same tube, but insert a pipe cleaner inside before closing. (Avoid for baby toys.)
Optional Flower Accessory (green + accent)
Tiny flower with bead-like center look:
- Make a small 5-petal flower using chain loops and sl sts, then stitch onto head near one antenna.
You can also do a tiny bow instead.
Assembly#
Assembly is where your bee becomes “cute.” Pin first, then sew.
Attach head to body
- Pin head centered on top of body.
- Sew securely around using whip stitch.
- Reinforce by stitching another pass if it will be handled often.
Attach legs
- Place legs on the front lower body so the bee can sit.
- Space them evenly and slightly forward.
- Sew firmly.
Attach arms
- Sew arms to the sides of the body, a little below the head join.
- Angle slightly forward for a friendly pose.
Attach wings
- Place wings behind the arms, centered on the upper back.
- Sew around the wing edge (or just along the center of each wing if you want them to lift slightly).
Attach antennae
- Sew antennae on top of the head.
- Place them symmetrically with a slight outward tilt.
Face details
- Embroider a simple curved smile.
- Optional: add tiny eyelid lines above the eyes for a “happy” expression.
Common Mistakes and How to Avoid Them#
- Stripes look jagged: Change colors on the last yarn-over of the stitch before the new round. Keep tension even during color changes.
- Stuffing shows through: Use a smaller hook or tighten tension slightly, especially on the head.
- Bee won’t sit upright: Stuff the bottom of the body more firmly, and position legs slightly wider and forward.
- Wings look uneven: Pin both wings first and check symmetry before sewing.
- Antennae flop too much: Make them shorter, crochet tighter (smaller hook), or use the optional pipe cleaner method for display-only pieces.
Expert Tips for Better Results#
- Use cotton yarn for crisp stripes and a cleaner finish.
- If you hate weaving ends from color changes, carry yarn up the inside of the body (only if stitches are tight and it won’t show).
- Add a tiny weight pouch inside the bottom (poly pellets in fabric) if you want a very stable sit.
- For the sweetest face, place eyes slightly lower than center and give a gentle smile curve.
- Block wings lightly (steam or pin flat) so they sit smooth and neat.
Variations and Customization Ideas#
- Mini bee keychain: Use DK yarn and smaller hook; add a top loop between antennae.
- Baby-safe bee: Embroider eyes instead of using safety eyes; skip beads.
- Queen bee: Add a tiny crown and make the body slightly larger with extra rounds.
- Different colors: Pastel bee, rainbow stripes, or neutral “bumble” tones.
- Wing styles: Smaller wings for a minimalist look, or double-layer wings for a plush fairy vibe.
- Other bugs: Use the same body and change colors/antennae to make a ladybug, beetle, or butterfly.
Benefits of This Crochet Project#
- Fast, giftable, and beginner-friendly
- Teaches neat stripe color changes (a core amigurumi skill)
- Great stash-buster for small amounts of black/white yarn
- Customizable to different sizes and styles
- Perfect for springtime, classroom gifts, or nursery décor
- Excellent crochet tutorial topic for blog content and search intent
Internal Linking Suggestions#
If you’re building a crochet blog, link this post to:
- How to Crochet a Magic Ring
- Invisible Decrease for Amigurumi
- How to Change Colors Cleanly in Crochet
- How to Attach Safety Eyes Securely
- How to Stuff Amigurumi Without Lumps
- Easy Beginner Amigurumi Patterns
FAQ Section#
Is this bee crochet pattern beginner-friendly?
Yes. The stitches are simple and the shapes are classic amigurumi. The only “challenge” is color changes, and this tutorial explains them clearly.
What yarn is best for amigurumi bees?
Cotton yarn gives crisp stitches and clean stripes. Acrylic works too, especially if you want a softer plush.
How do I make the stripes cleaner?
Change colors on the last yarn-over of the stitch before the new round. Keep your color-change tension relaxed but consistent.
Can I make this without safety eyes?
Absolutely. Embroidered eyes are a great baby-safe option and look very cute.
How do I keep the bee sitting upright?
Stuff the base firmly, place legs slightly forward, and consider adding a small weight pouch inside the bottom.
Can I sell finished bees made from this free crochet pattern?
Finished handmade items are generally okay to sell. If you publish your own version online, keep your wording and photos original.
Conclusion#
This bee amigurumi is the kind of crochet pattern you’ll want to repeat—because it’s quick, cheerful, and endlessly customizable. Once you make one, it’s easy to create a whole “hive” in different sizes or colors, and they make fantastic gifts year-round.
If you tell me your yarn weight (DK or worsted) and your target height (small desk buddy or larger plush), I can adjust the stripe plan and stitch counts so your finished bee comes out perfectly proportioned.


