


Introduction#
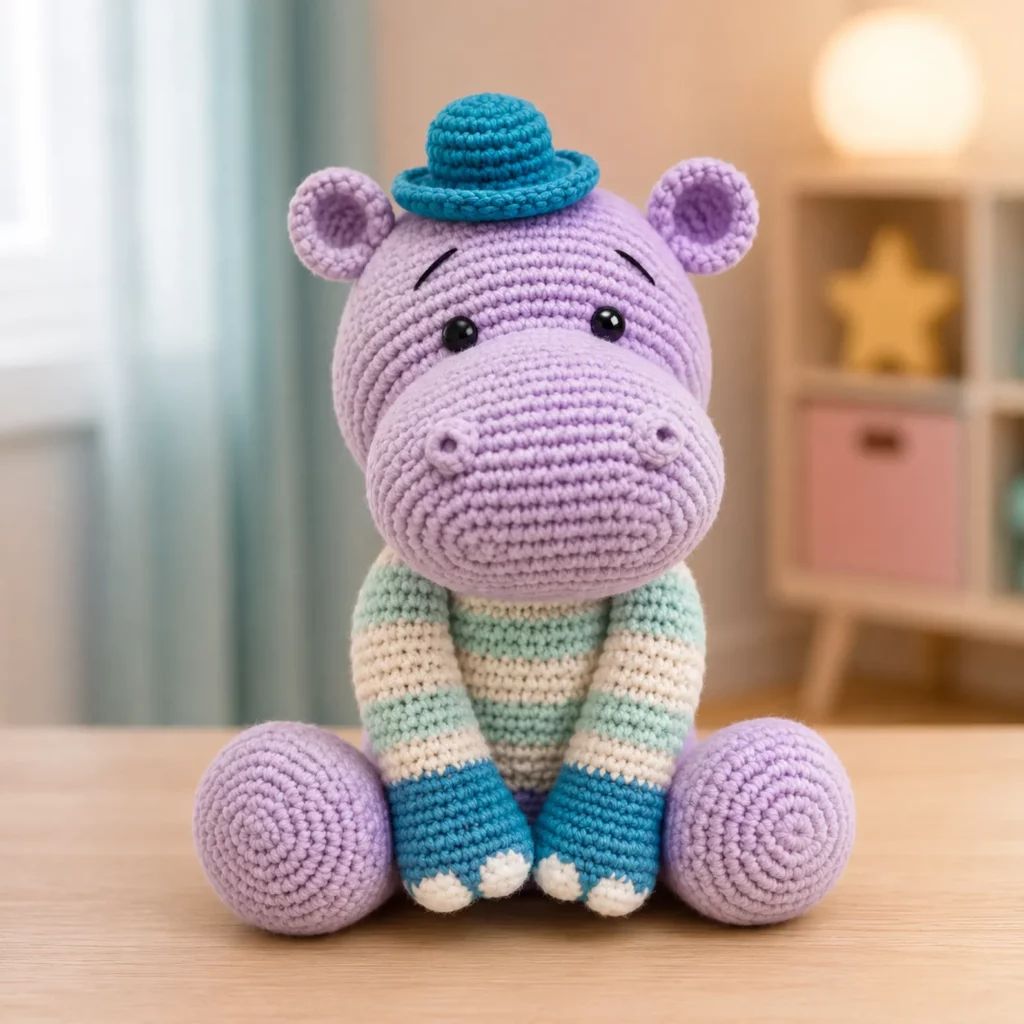
Amigurumi is at its best when it feels like a character—the kind of handmade plush that looks like it has a little personality and story. This hippo is exactly that: a sweet round head, a big snout, tiny ears, chunky feet, and the cutest finishing touch—a mini hat and a simple striped sweater that instantly makes it feel “styled.”
Explore more beginner amigurumi crochet patterns in our pattern library.
This crochet pattern is designed to be approachable even if you’re not an amigurumi expert. The shaping uses classic techniques (increase, even rounds, decrease) with simple parts that are easy to sew on cleanly. You’ll learn how to build a smooth, sturdy plush body, shape a snout that sits nicely, and make clothing that fits without being complicated.
If you’re looking for a free crochet pattern that’s giftable, display-worthy, and fun to customize with colors, this is a perfect DIY crochet project—and a great confidence builder for anyone learning crochet for beginners amigurumi skills.
Detailed Description of the Crochet Pattern#
This project creates a seated hippo amigurumi with:
- A rounded head and large muzzle/snout (the signature hippo look)
- Small rounded ears placed high on the head
- A plump body that sits upright
- Two arms and two chunky feet (stylized, not realistic—extra cute)
- Optional striped sweater (simple tube with sleeves)
- Optional tiny top hat (fast, beginner-friendly)
Construction style
This hippo is built as separate components that are assembled:
- Head (worked in the round)
- Snout (oval/rounded piece sewn on)
- Body (rounded with a flatter base for sitting)
- Arms and legs/feet (simple tubes or rounds)
- Ears (small circles)
- Clothing (simple cylinder shapes)
This modular approach makes the pattern easy to follow and easy to customize. Want a bigger head? Add a few increase rounds. Want longer legs? Add extra rounds before closing. Want a different outfit? Swap the sweater for overalls or a scarf.
Skill Level Explanation#
This is an easy-to-intermediate crochet project.
Great for confident beginners who can:
- work single crochet in the round
- increase and decrease evenly
- count stitches and rounds (stitch marker helps)
- sew pieces on securely
Intermediate elements (still very manageable):
- placing facial features symmetrically
- attaching the snout neatly (no wobble)
- fitting the sweater so it sits smoothly
If you’ve made a basic amigurumi ball or a simple plush before, this easy crochet pattern is a really fun step up.
Materials Needed#
Yarn
Use smooth yarn for the cleanest stitch definition and easiest assembly.
Recommended yarn (for a medium plush):
- Worsted weight (#4) acrylic or cotton blend
Color suggestions:
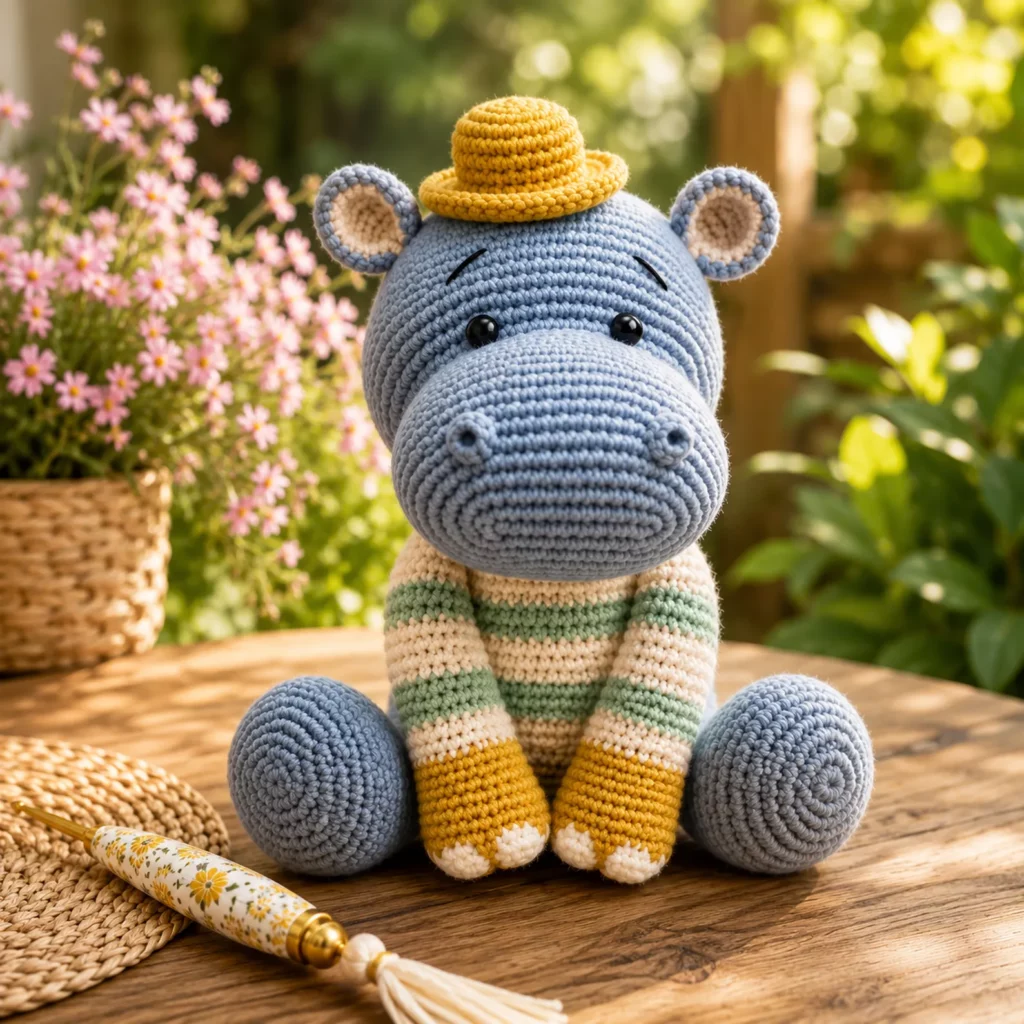
- Main hippo: pink, gray, lavender, or light blue
- Sweater: 2–3 stripe colors (pastels look adorable)
- Hat: contrasting bright color
Yardage estimate:
- Main color: 200–300 yards (depending on size)
- Sweater stripes: 50–120 yards total
- Hat + small details: scraps
Hook
Choose a hook size that creates a tight fabric:
- Worsted (#4): 2.75–3.5 mm
Tip: Amigurumi should feel dense. If stuffing shows through, go down a hook size.
Notions
- Stitch marker
- Yarn needle
- Scissors
- Polyester fiberfill stuffing
Eyes + safety options
- Safety eyes: 10–14 mm (depending on finished size)
- Or embroider eyes (recommended for baby-safe makes)
Important: For children under 3, avoid safety eyes and embroider instead.
Optional structure add-ons
- Small pouch of poly pellets in the body base (for sitting stability)
- Felt circles behind safety eyes (for extra security)
- Pipe cleaner or floral wire (only if you want poseable arms—optional)
Stitches & Techniques Explained#
Abbreviations (US terms)
- MR = magic ring
- sc = single crochet
- inc = increase (2 sc in one stitch)
- dec = invisible decrease
- sl st = slip stitch
- ch = chain
- st(s) = stitch(es)
- Rnd = round
Magic ring
Magic ring gives a tight center start. Pull the tail firmly and weave in securely.
Invisible decrease
Use invisible decreases for a smooth finish:
- Insert hook into front loop only of next stitch
- Insert into front loop only of following stitch
- Yarn over, pull through both loops
- Yarn over, pull through remaining loops
Clean color changes for sweater stripes
Change colors on the last yarn-over of the last stitch of the old color. Carry yarn neatly or cut and weave ends for the cleanest look.
Stuffing + shaping tip
Stuff in small pieces, then “massage” the shape with your hands. A smooth plush is more about even stuffing than perfect stitch tension.
Step-by-Step Instructions#
Pattern notes
- Work in continuous rounds unless stated.
- Use a stitch marker in the first stitch of each round.
- Stuff as you go for the smoothest shape.
- Numbers in ( ) are stitch counts.
Part 1: Head (Main Color)
Rnd 1: MR, 6 sc (6)
Rnd 2: inc around (12)
Rnd 3: (sc, inc) around (18)
Rnd 4: (2 sc, inc) around (24)
Rnd 5: (3 sc, inc) around (30)
Rnd 6: (4 sc, inc) around (36)
Rnd 7: (5 sc, inc) around (42)
Rnd 8: (6 sc, inc) around (48)
Rnd 9–14: sc around (48) for 6 rounds
Begin decreasing:
Rnd 15: (6 sc, dec) around (42)
Rnd 16: (5 sc, dec) around (36)
Rnd 17: (4 sc, dec) around (30)
Place eyes now (if using safety eyes):
Suggested placement between Rnd 11 and Rnd 13, spaced 8–10 stitches apart (adjust to your head size and desired expression).
Start stuffing the head firmly.
Rnd 18: (3 sc, dec) around (24)
Rnd 19: (2 sc, dec) around (18)
Rnd 20: (sc, dec) around (12)
Rnd 21: dec around (6)
Fasten off, close, weave in ends.
Part 2: Snout/Muzzle (Main Color)
This creates the hippo’s big rounded face.
Rnd 1: MR, 6 sc (6)
Rnd 2: inc around (12)
Rnd 3: (sc, inc) around (18)
Rnd 4: (2 sc, inc) around (24)
Rnd 5: sc around (24)
Rnd 6: sc around (24)
Fasten off leaving a long tail for sewing. Lightly stuff or leave unstuffed (unstuffed gives a flatter muzzle; lightly stuffed gives a rounder snout).
Optional nostrils:
Embroider two small nostrils using darker yarn or thread before sewing snout on.
Part 3: Ears (Make 2, Main Color)
Rnd 1: MR, 6 sc (6)
Rnd 2: inc around (12)
Rnd 3: sc around (12)
Fasten off leaving a tail. Do not stuff. Fold slightly and sew to top sides of head.
Part 4: Body (Main Color)
The body is slightly larger at the base so it sits.
Rnd 1: MR, 6 sc (6)
Rnd 2: inc around (12)
Rnd 3: (sc, inc) around (18)
Rnd 4: (2 sc, inc) around (24)
Rnd 5: (3 sc, inc) around (30)
Rnd 6: (4 sc, inc) around (36)
Rnd 7: (5 sc, inc) around (42)
Rnd 8: (6 sc, inc) around (48)
Rnd 9–15: sc around (48) for 7 rounds
Slight taper (optional, makes a cute seated body):
Rnd 16: (6 sc, dec) around (42)
Rnd 17: sc around (42)
Rnd 18: (5 sc, dec) around (36)
Rnd 19: sc around (36)
Begin stuffing firmly.
Optional: add a small pellet pouch at the very bottom for stability.
Close:
Rnd 20: (4 sc, dec) around (30)
Rnd 21: (3 sc, dec) around (24)
Rnd 22: (2 sc, dec) around (18)
Rnd 23: (sc, dec) around (12)
Rnd 24: dec around (6)
Fasten off, close, weave in ends.
Part 5: Arms (Make 2, Main Color)
Rnd 1: MR, 6 sc (6)
Rnd 2: (sc, inc) around (9)
Rnd 3–7: sc around (9) for 5 rounds
Lightly stuff the bottom only (optional). Flatten and close with 4–5 sc through both layers. Fasten off leaving tail.
Part 6: Feet/Legs (Make 2, Main Color)
Chunky “sitting” feet.
Rnd 1: MR, 6 sc (6)
Rnd 2: inc around (12)
Rnd 3: (sc, inc) around (18)
Rnd 4: sc around (18)
Rnd 5: sc around (18)
Rnd 6: (4 sc, dec) around (15)
Rnd 7: sc around (15)
Stuff firmly, flatten and close with 6–7 sc through both layers. Fasten off leaving tail.
Part 7: Assembly
- Sew snout centered low on the head.
- Pin first, then sew with small whip stitches.
- Attach ears on top sides of head, symmetrical placement.
- Attach head to body (centered).
- Use long tail, sew around firmly; add extra stitches at front/back.
- Attach feet to lower front of body so the plush sits.
- Attach arms to sides, slightly below head line.
Part 8: Striped Sweater (Optional)
A simple tube sweater with arm openings.
Measure: around the body at widest point.
For a medium plush, you’ll often need 36–48 stitches.
Foundation: ch to fit body circumference (join into a ring without twisting).
Rnd 1: ch 1, sc around, join
Work in rounds, changing colors every 2–4 rounds for stripes.
Armholes:
When sweater reaches the arm level:
- sc to arm placement
- ch 5–8 (skip same number of stitches)
- continue around
Repeat for second armhole.
Continue for 2–4 rounds, then finish with 1 round of sc for a neat hem.
Fasten off and weave ends.
Part 9: Tiny Hat (Optional)
A mini top hat style.
Rnd 1: MR, 6 sc (6)
Rnd 2: inc around (12)
Rnd 3: (sc, inc) around (18)
Rnd 4: sc around (18)
Rnd 5: sc around (18)
Brim round:
Rnd 6: (inc, sc) around to create a slight flare (27)
Fasten off. Sew hat to head or keep removable.
Common Mistakes and How to Avoid Them#
- Head looks lumpy: Stuff gradually and shape often. Don’t cram stuffing at the end.
- Snout sits crooked: Pin with 4 markers (top/bottom/left/right) before sewing.
- Eyes not even: Measure stitch distance from the center line, don’t eyeball.
- Plush won’t sit: Add more stuffing at the base, or add a small pellet pouch.
- Sweater rides up: Make the tube slightly longer and add a snug hem round.
- Seams show too much: Use mattress stitch where possible and keep stitches small.
Expert Tips for Better Results#
- Use a smaller hook than usual: Dense stitches = smooth plush and better shape.
- Mark the center: A center line pin makes face placement easier and more symmetrical.
- Reinforce neck seam: The head/body join takes stress—sew around twice.
- Add subtle eyebrows: A tiny stitch above each eye adds a lot of expression.
- Weave ends aggressively: Plushies get handled; secure tails in multiple directions.
- Make the outfit removable: Crochet sweater slightly looser so it can slide on/off.
Variations and Customization Ideas#
- Different outfits: scarf, overalls, dress, or a simple collar.
- Seasonal themes: holiday sweater colors, birthday hat, or pastel spring palette.
- Size changes: use DK yarn for smaller; plush yarn for jumbo; add increase rounds to scale up.
- Face options: embroidered sleepy eyes, or blush cheeks.
- Add a tail: a small nub at the back is adorable and quick.
Benefits of This Crochet Project#
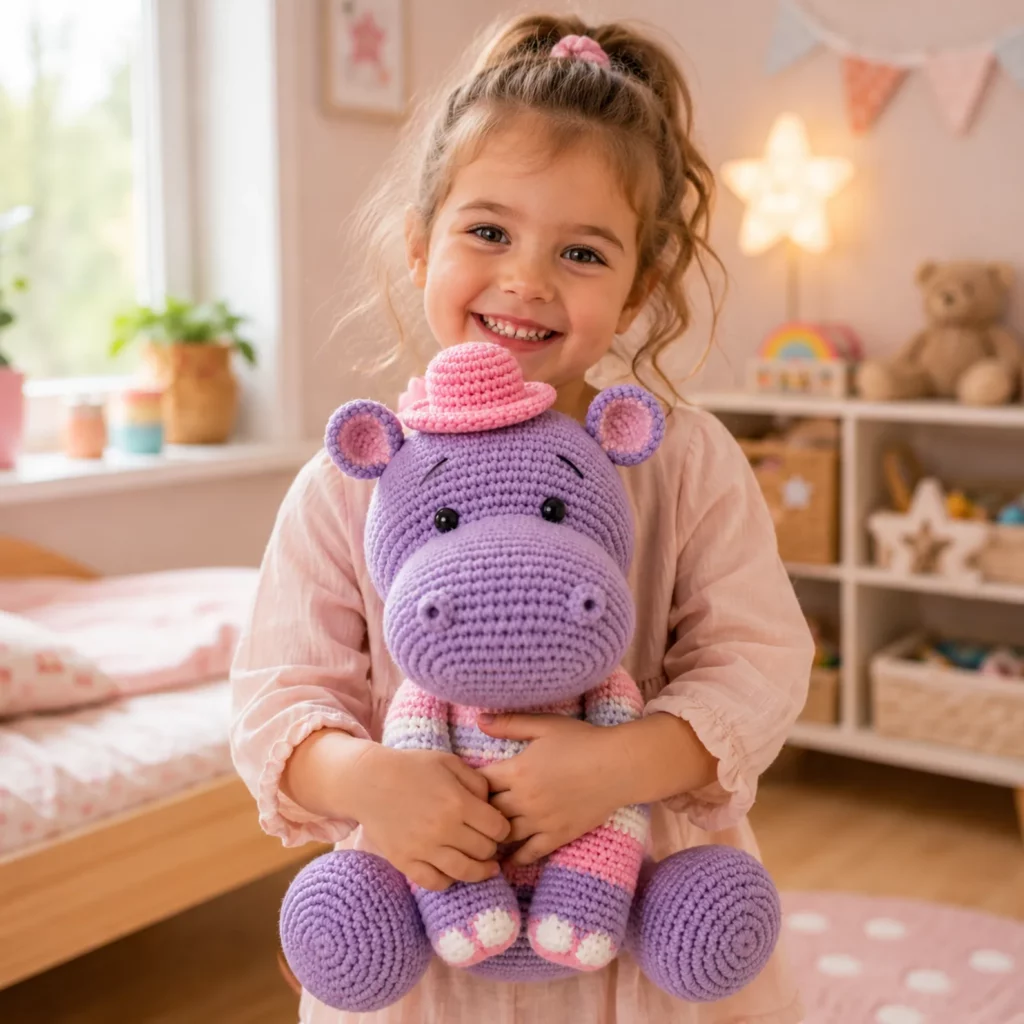
- A cute, display-worthy plush with personality
- Great practice for amigurumi shaping and assembly
- Clothing adds customization and gift appeal
- Easy to personalize with colors and expressions
- Small-shop friendly (makes a strong handmade gift/product)
- A fun way to use scraps for stripes and accessories
Internal Linking Suggestions#
You may also like…
- Free Crochet Pattern: Basic Amigurumi Ball (Beginner Practice)
- Crochet Tutorial: Invisible Decrease for Smooth Amigurumi
- Crochet Tutorial: How to Place Safety Eyes Evenly
- DIY Crochet: How to Stuff Amigurumi Without Lumps
- Free Crochet Pattern: Mini Crochet Hat for Plushies
- Free Crochet Pattern Roundup: Cute Amigurumi Animals for Beginners
FAQ Section#
What yarn is best for an amigurumi crochet pattern like this?
Worsted cotton or acrylic is ideal for clear stitches and durability. Plush yarn works too for a larger, softer finish—just use a bigger hook and count carefully.
Is this an easy crochet pattern for beginners?
Yes. The shaping is classic amigurumi and the pieces are simple. The main “skill” is sewing parts on neatly, which gets easier with pinning and practice.
How do I make the hippo bigger or smaller?
Use thicker yarn and a larger hook to size up, or thinner yarn and a smaller hook to size down. You can also add an extra increase round to both head and body for a larger plush.
Can I embroider the eyes instead of using safety eyes?
Absolutely. Embroidered eyes are safer for small children and can give a cute sleepy expression. Simple vertical stitches work well.
How do I keep the plush sitting upright?
Stuff the base more firmly than the top, and add a small pellet pouch at the bottom if needed. Attaching feet slightly forward also improves balance.
How do I keep the sweater from looking bulky?
Use fewer rounds per stripe (2–3 rounds), keep yarn ends woven neatly, and finish with a simple sc hem for a clean edge.
Conclusion#
This hippo amigurumi is the perfect mix of simple construction and “wow” personality—especially with the striped sweater and tiny hat. The shaping is beginner-friendly, the parts sew together cleanly, and the final plush feels polished enough to gift or display.
If you tell me your yarn weight (DK, worsted, or plush) and your preferred finished size (small, medium, jumbo), I can adjust the stitch counts and sweater measurements so your crochet pattern turns out perfectly proportioned.


