Introduction#
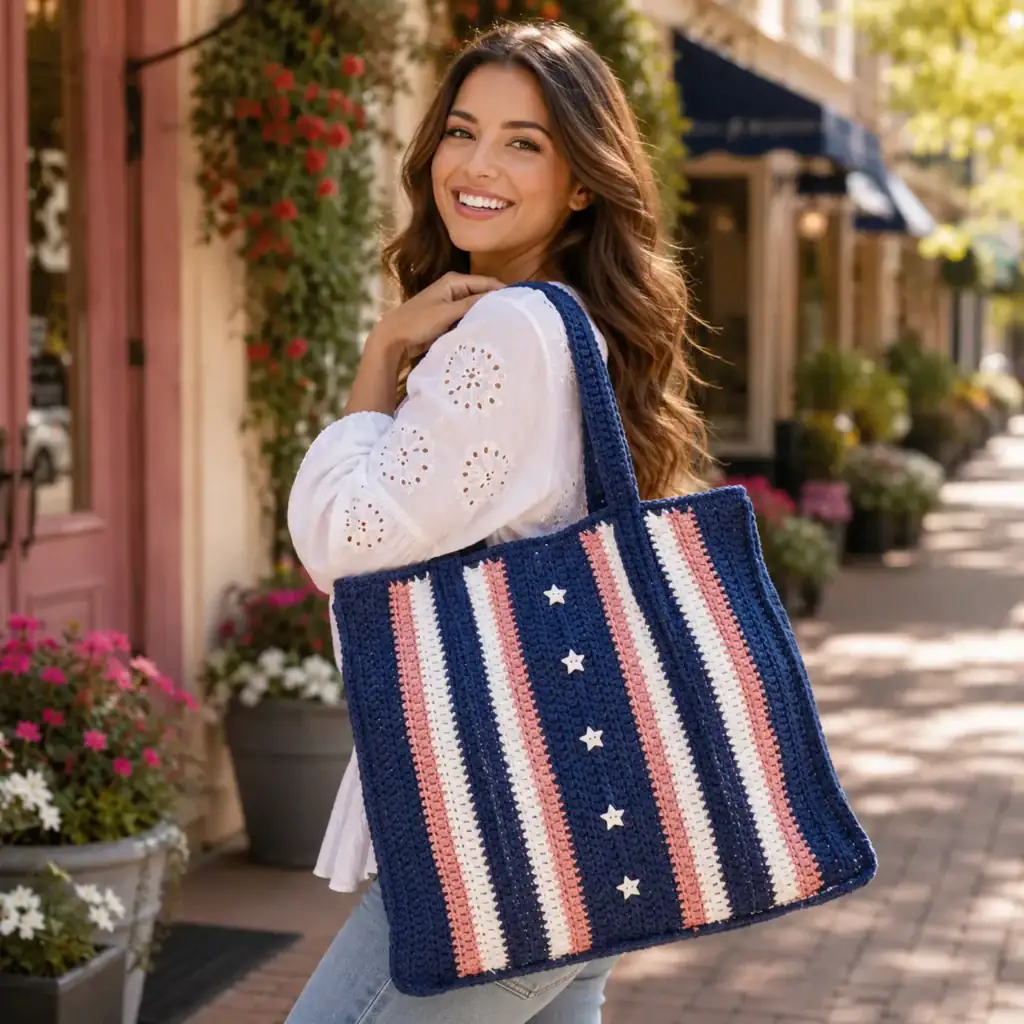
A good summer bag has one job: carry everything without looking sloppy. Sunscreen, sunglasses, water bottle, wallet, snacks—summer days are “bring it all” days. And if you’ve ever used a crochet tote that stretched out by lunchtime, you already know why the right stitch and yarn choice matter.
Explore more beginner bags crochet patterns in our pattern library.
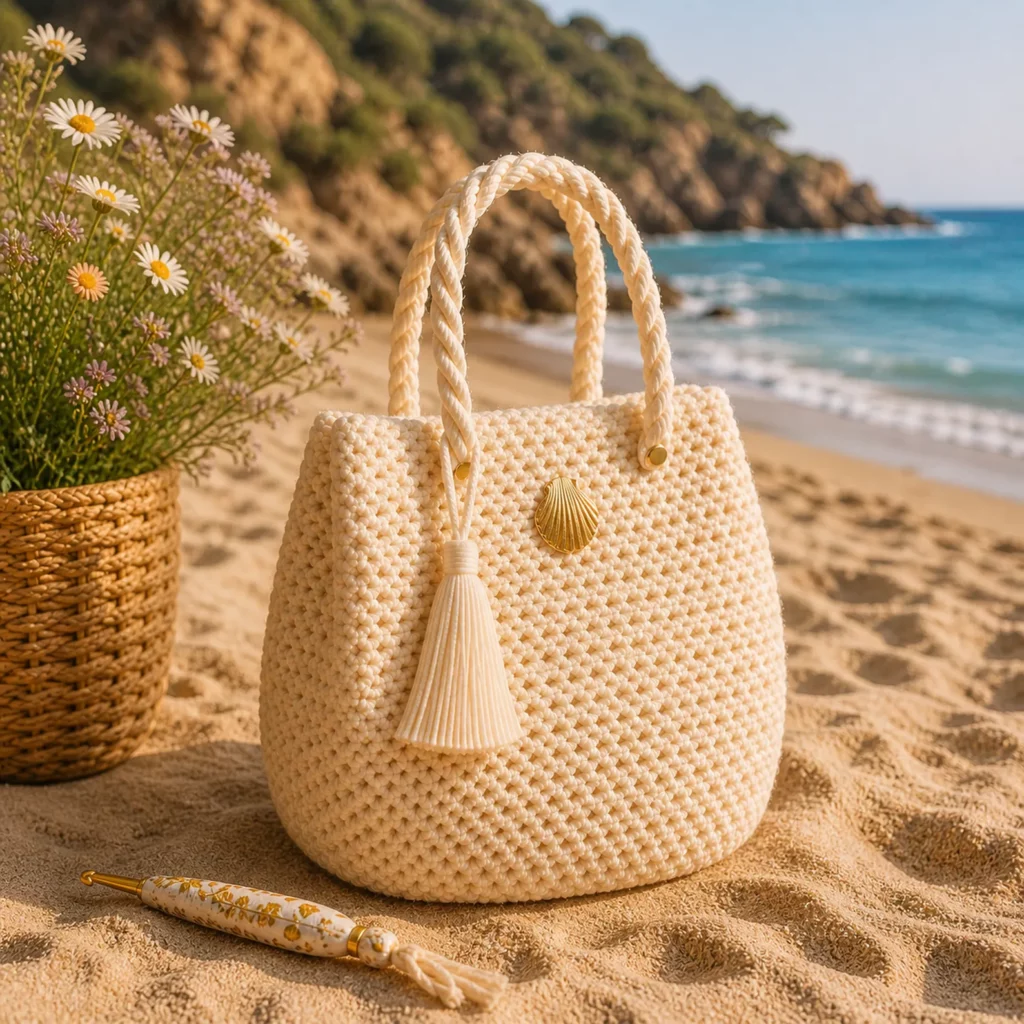
This crochet pattern is designed for a structured, beach-ready tote that looks elevated and holds its shape. It features a dense, modern texture, thick rope-style handles, and an optional tassel that adds that boutique finish. The construction is simple enough for confident beginners, but the result looks polished—especially when you add a lining and reinforce the handle attachments.
If you want a free crochet pattern that’s truly wearable (and not just cute in photos), this is your go-to DIY crochet summer tote.
Detailed Description of the Crochet Pattern#
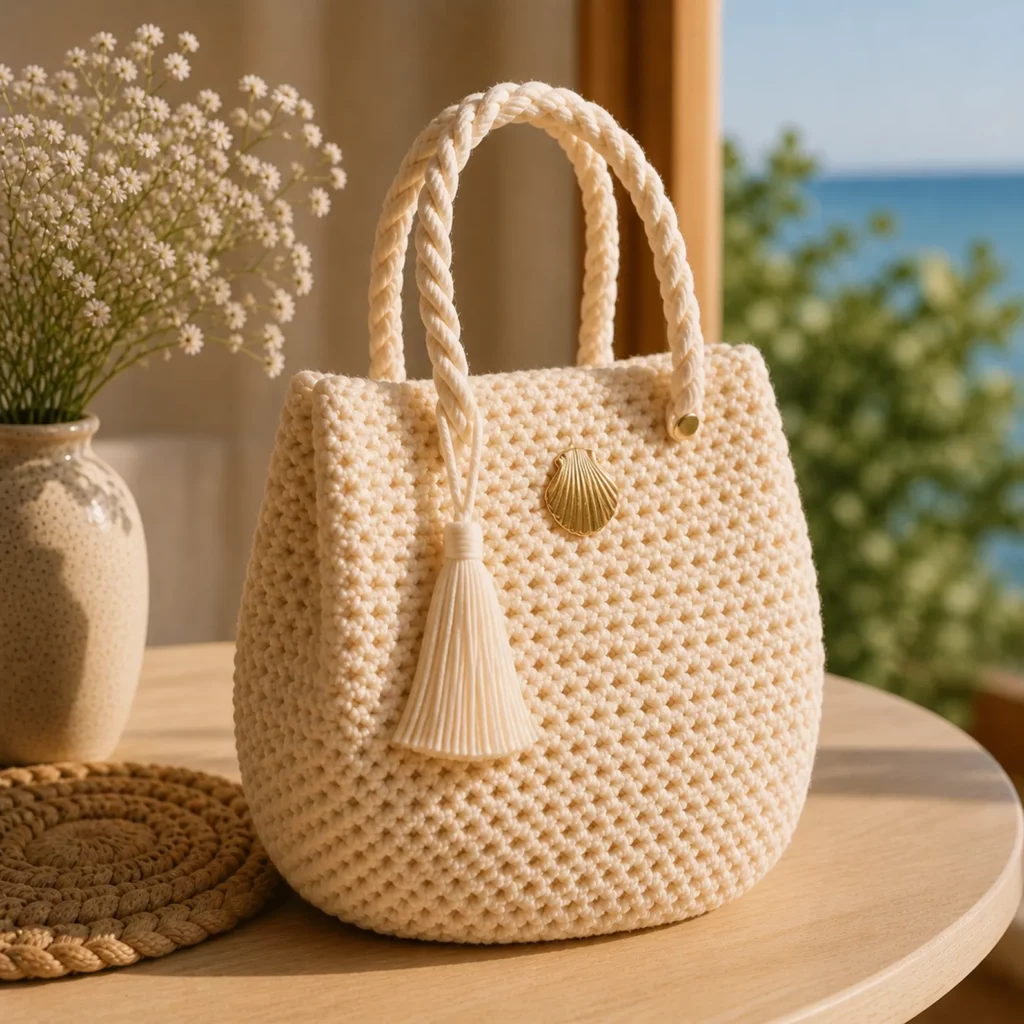
This summer tote is a softly structured bucket-style bag with a sturdy base, thick sides, and two rope-like handles. The body uses a dense stitch pattern that creates a pebbled texture with small holes for a breathable “summer” feel—while still being tight enough to hold essentials securely.
Design highlights
- Structured bucket silhouette: roomy base, slightly tapered sides, stable shape
- Textured stitch fabric: modern, high-end look that works beautifully in solid colors
- Rope handles: thick, comfortable, and visually balanced with the chunky body
- Optional tassel + label: instant boutique vibe without complicated hardware
- Easy to resize: adjust base diameter and height to create mini, medium, or oversized tote sizes
How it’s made
You’ll crochet:
- A flat round base (in the round)
- A fold round (BLO) to turn up clean sides
- Textured rounds to build the body
- A reinforced rim to prevent stretching
- Two rope handles (either crocheted cords or i-cord style)
- Optional: lining for durability + no-stretch structure
Skill Level Explanation#
This is an easy-to-intermediate crochet project.
Perfect for confident beginners who can:
- crochet in the round
- count stitches and keep even tension
- work basic increases for a flat circle
- seam or attach handles securely
Intermediate (optional) upgrades:
- adding a lining
- reinforcing handle attachment points
- installing a magnetic snap or drawstring closure
If you’ve made a hat or a basic basket, this easy crochet pattern tote is a natural next step.
Materials Needed#
Yarn
For a summer tote that doesn’t stretch, your yarn choice matters more than almost anything.
Best yarn options for this project:
- Braided cotton cord (3–5 mm) (most structured, modern finish)
- Chunky cotton yarn (sturdy, holds shape well)
- Worsted cotton held double (great alternative if you don’t have cord)
Avoid (unless lining):
- very soft acrylic (can stretch)
- fuzzy yarns (hide stitch definition and weaken structure)
Yardage estimate (medium tote):
- Cotton cord: 200–350 yards (depends on size + handle length)
- Worsted cotton held double: 450–700 yards
Hook
Choose a hook that makes dense stitches:
- 3–5 mm cord: 5.0–7.0 mm
- Worsted cotton held double: 6.0–8.0 mm
Tip: If your fabric feels floppy, go down a hook size.
Notions
- Stitch markers
- Yarn needle
- Scissors
- Measuring tape
Optional upgrades
- Fabric lining + thread/sewing machine
- Magnetic snap
- Bag label (metal or leather tag)
- Tassel charm (store-bought or DIY yarn tassel)
- Plastic canvas base insert (for a perfectly flat bottom)
Stitches & Techniques Explained#
Abbreviations (US terms)
- ch = chain
- sl st = slip stitch
- sc = single crochet
- hdc = half double crochet
- dc = double crochet
- inc = increase (2 stitches in one stitch)
- BLO = back loop only
- rep = repeat
- st(s) = stitch(es)
The texture stitch (simple + structured)
For the dense, slightly open “summer tote” look, a great beginner-friendly option is a granite/moss-style texture or a cluster texture. To keep this pattern easy and sturdy, we’ll use a Modified Moss Stitch in the round:
Round repeat (Moss Texture):
- (sc, ch 1, skip 1) repeat around
- Next round: work sc into the ch-1 spaces
This texture:
- looks modern and airy
- uses simple stitches
- stays surprisingly sturdy in cotton cord
- is easy to adjust for size
The fold round (BLO)
A single round of BLO sc makes the base “crease” upward so the sides stand neatly—like a basket.
Preventing stretch (the tote secret)
Stretch happens at two places:
- the rim
- the handles
We fix that by:
- adding 1–2 rounds of sc for a firm rim
- attaching handles with reinforced stitching
- optionally lining the bag (best upgrade)
Step-by-Step Instructions#
Pattern notes
- Written in US terms
- Work in continuous rounds unless noted
- Use a stitch marker to mark the first stitch of each round
- Finished size (example): 10–11″ wide x 10–12″ tall (adjustable)
Part 1: Base (Flat Circle)
Using main color.
Rnd 1: MR, 6 sc (6)
Rnd 2: inc around (12)
Rnd 3: (sc, inc) around (18)
Rnd 4: (2 sc, inc) around (24)
Rnd 5: (3 sc, inc) around (30)
Rnd 6: (4 sc, inc) around (36)
Rnd 7: (5 sc, inc) around (42)
Rnd 8: (6 sc, inc) around (48)
Continue increasing until your base is the size you want:
- Small: 42–48 sts (approx. 7–8″)
- Medium: 54–60 sts (approx. 9–10″)
- Large: 66–72 sts (approx. 11–12″)
Flat circle check:
- If it ripples, add 1 even round (no increases).
- If it cups, increase a little more frequently.
Part 2: Fold Round (Turns Base Into Sides)
Next Rnd: BLO sc around (same stitch count)
This creates a crisp corner and helps the tote stand.
Part 3: Side Setup Round
We’ll set up the moss texture.
Setup Rnd: (sc, ch 1, skip 1) repeat around.
If you end with an awkward stitch count, adjust at the end by skipping or adding one extra sc so the pattern lands evenly.
Part 4: Moss Texture Body
Body Rnd 1: sl st to first ch-1 space, ch 1, (sc in ch-1 space, ch 1, skip next sc) repeat around.
Join with sl st to first sc if you prefer joined rounds, or keep it continuous by marking your first sc each round.
Repeat this moss round until the bag is your desired height:
- Everyday tote: 9–11″ tall
- Beach tote: 11–13″ tall
Tip: Stop 1–1.5″ before final height to leave room for the rim rounds.
Part 5: Reinforced Rim
Switch to sc rounds to firm the top edge.
Rim Rnd 1: sc in each sc and each ch-1 space around (no chains).
Rim Rnd 2: sc around again.
Optional: Add one round of sl st for a crisp “bound” edge.
Fasten off and weave in ends.
Part 6: Handles (Rope-Style)
You have two great handle options.
Option A: 3-cord braid handles (thick and pretty)
Make 6 cords (3 cords per handle).
Cord (make 6):
- Ch 70–90 (adjust for handle height)
- Row 1: sc in 2nd ch from hook and across
Fasten off, leaving long tails.
Braid 3 cords tightly, knot ends, sew ends down neatly. Repeat for second handle.
Option B: Crochet tube handle (super strong)
- MR, 6 sc
- sc around until desired handle length
Insert a cotton cord inside for extra strength (optional), fasten off.
Part 7: Attach Handles
Mark 4 points on the rim:
- 2 attachment points for handle A
- 2 attachment points for handle B
Keep spacing symmetrical.
Sew handles with strong stitching:
- stitch through rim and 2–3 rounds below
- make multiple passes
- sew in a “box” with an “X” reinforcement if possible
Pro tip: handle attachments are stress points—over-sew, don’t under-sew.
Part 8: Optional Tassel + Label
- Attach a tassel to one handle using a jump ring or yarn loop
- Sew a small label/tag to the front for a boutique finish
Part 9: Optional Lining (Highly Recommended)
A lining makes your summer tote:
- less stretchy
- more durable
- safer for small items
- more “store-bought” inside
Simple lining method:
- Measure interior circumference and height.
- Sew a fabric tube and a circle base (or box corners for a flat base).
- Insert lining and whip stitch to the inside rim.
- Reinforce around handle stitching areas.
Common Mistakes and How to Avoid Them#
- Bag is too stretchy:
Use cotton cord, go down a hook size, add lining, and reinforce rim. - Base ripples:
Too many increases. Add an even round or spread increases farther apart. - Base cups:
Not enough increases. Increase more frequently. - Top edge flares out:
Your moss stitch may have too many chain spaces. Switch to sc sooner and add firm rim rounds. - Handles feel loose:
Sew deeper into the bag (not just the rim), and reinforce with multiple passes. - Holes look too open:
Reduce chain spaces (ch 1 becomes ch 0/none by working sc each stitch) or use a smaller hook.
Expert Tips for Better Results#
- Cotton cord = instant structure: it’s the easiest shortcut to a luxe tote.
- Keep tension firm: bags should be denser than garments.
- Add a base insert: plastic canvas inside the lining keeps the bottom flat.
- Use stitch markers for handle placement: symmetry makes the bag look professional.
- Weave ends aggressively: bags get tugged—secure tails in multiple directions.
- Add a closure if you travel: magnetic snap or drawstring helps keep items secure.
Variations and Customization Ideas#
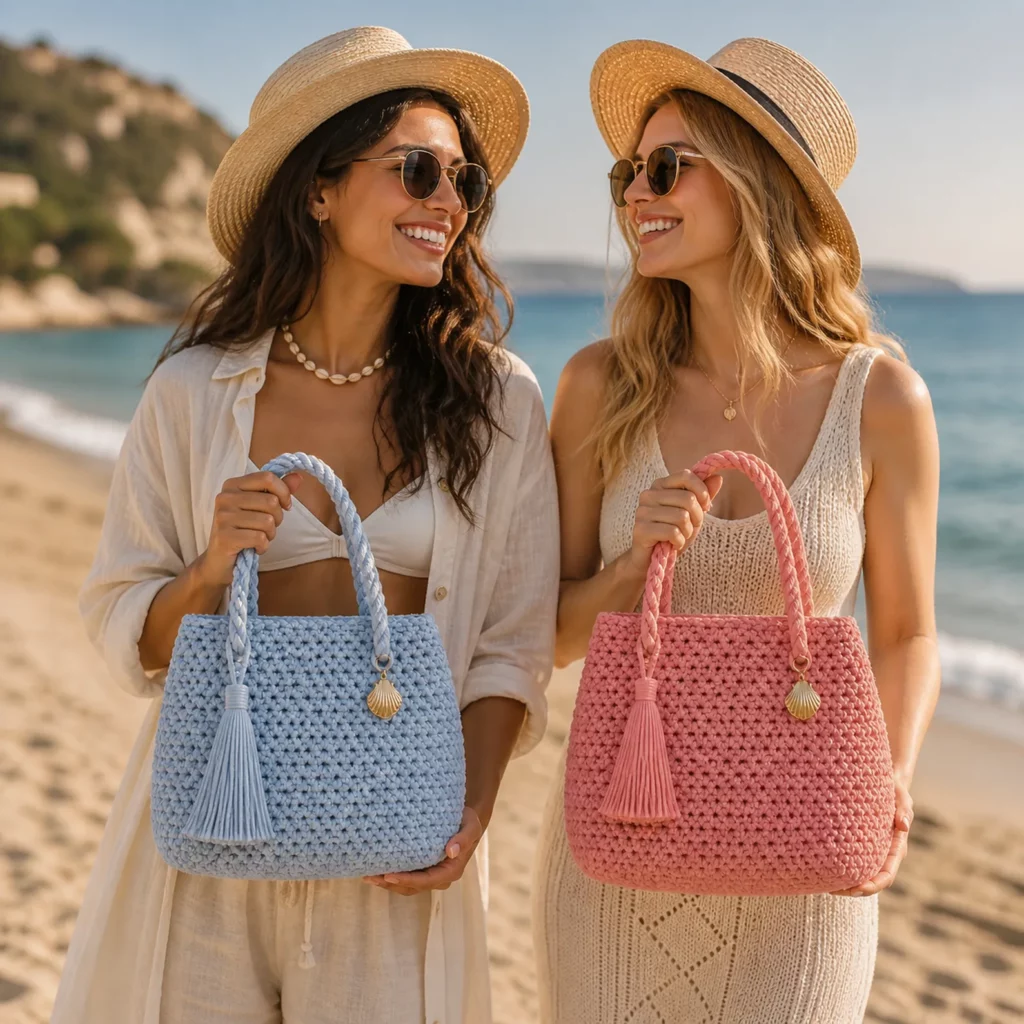
- Make it a true beach tote: increase base size and add 2–3 extra inches of height.
- Crossbody version: swap rope handles for D-rings + long strap.
- Two-tone color blocking: base in one color, body in another.
- Add pockets: crochet an interior pocket panel and stitch to lining.
- Drawstring top: add a channel round and thread a cord through.
- Minimalist version: skip tassel and label for a clean modern look.
Benefits of This Crochet Project#
- A practical summer bag you’ll actually use
- Teaches core bag skills: flat bases, sides, rims, reinforced handles
- Easy to resize and customize
- Looks boutique with simple upgrades (lining + tassel)
- Great stash-friendly project if using cotton held double
- Strong candidate for gifting or small-shop product listings
Internal Linking Suggestions#
You may also like…
- Crochet Tutorial: How to Crochet a Perfect Flat Circle
- Best Yarn for Crochet Bags (Cotton Cord vs Cotton vs Acrylic)
- DIY Crochet: How to Add a Fabric Lining to a Crochet Bag
- Crochet Tutorial: No-Stretch Bag Straps (Thermal Stitch + Braids)
- Free Crochet Pattern: Simple Summer Market Tote
- Free Crochet Pattern Roundup: Beginner-Friendly Crochet Bags
FAQ Section#
What yarn is best for a summer beach tote crochet pattern?
Braided cotton cord and worsted cotton are best because they hold shape and resist stretching—important for bags that carry weight.
Is this an easy crochet pattern for beginners?
Yes. The stitches are simple and repetitive. The main challenge is counting rounds and attaching handles securely—both very manageable with stitch markers.
How do I make the tote bigger or smaller?
Increase or decrease the base diameter by adding/removing increase rounds, then adjust the number of body rounds for height.
How do I stop my crochet tote from stretching?
Use cotton cord, keep tension firm, add a reinforced rim, and (best option) add a lining. Reinforce handle attachment points heavily.
Can I add a zipper or snap?
Yes. A magnetic snap is easiest. A zipper works best when installed into the lining and then stitched into the bag.
Does the moss stitch make the bag too holey?
Not if you use cotton cord and firm tension. If you want it tighter, switch to single crochet body rounds or reduce chain spaces.
Conclusion#
A summer tote should feel effortless—roomy enough for your day, sturdy enough to hold shape, and cute enough to carry everywhere. This free crochet pattern gives you that perfect mix: modern texture, rope handles, and an optional tassel that makes it look boutique-level without complicated techniques.
If you tell me your yarn type (cotton cord thickness or worsted cotton) and your target size (small, medium, beach oversized), I can adjust the base stitch counts and handle lengths so your crochet pattern turns out perfectly proportioned.