


Introduction#
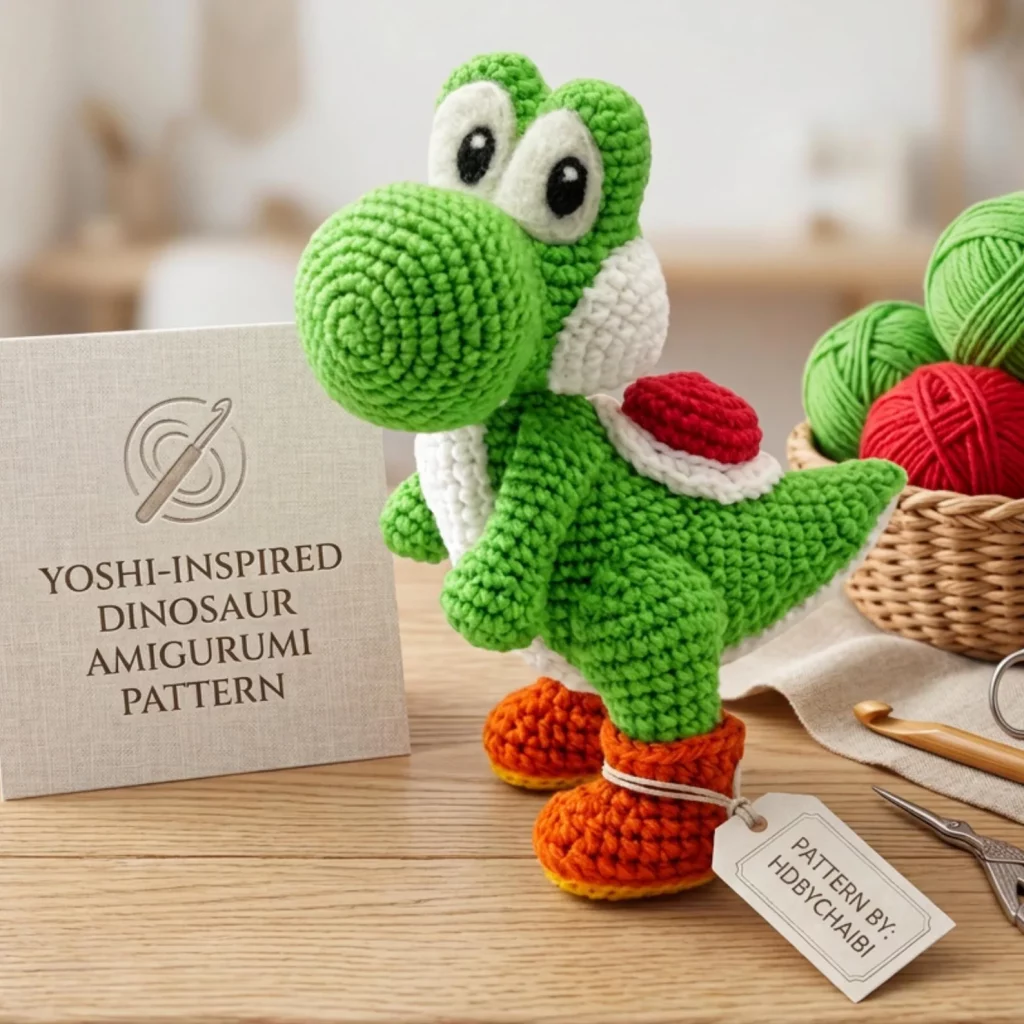
If you’ve ever wanted to crochet a character-style plush that looks instantly recognizable—big rounded snout, bright green body, sweet oversized eyes, and those iconic little shoes—this dinosaur amigurumi project is exactly the kind of make you’ll want on your hook.
Explore more beginner amigurumi crochet patterns in our pattern library.
The best part? Even though it looks detailed, it’s built from simple amigurumi shapes: a round head and snout, an oval body, chunky limbs, and a few bold color accents. In this crochet tutorial, you’ll get a complete crochet pattern with beginner-friendly guidance, plus shaping and assembly tips to help your finished plush look clean, sturdy, and adorable.
Detailed Description of the Crochet Pattern#
This DIY crochet dinosaur is a cute, game-inspired amigurumi with a classic “mascot” silhouette:
- Large rounded snout that sits forward from the face (the signature feature)
- Tall oval eyes with bright white highlights for an expressive look
- Round body with a lighter belly panel
- Small back “shell” detail in a contrasting color with a white rim
- Chunky arms and legs positioned for a standing pose
- Bright shoes with simple cuff details
Construction uses mostly single crochet in continuous rounds, which is ideal for crochet for beginners who are learning amigurumi. The shaping comes from straightforward increases and decreases, and the character details come from separate appliqué pieces (eyes, belly, shell).
Skill Level Explanation#
Skill level: Confident Beginner
This project is an easy crochet pattern if you already know the basics of amigurumi. You’ll practice:
- Crocheting in the round (magic ring or alternative start)
- Single crochet, increases, invisible decreases
- Changing colors neatly
- Sewing pieces in place (basic assembly)
If you’re brand new, you can still do it—just go slowly, keep stitch counts accurate, and pin pieces before sewing.
Materials Needed#
Yarn
Choose smooth yarn that shows stitch definition clearly (worsted weight is perfect).
- Main color (MC): bright green
- Contrast (CC1): white (belly + eye whites + shell rim)
- Contrast (CC2): red (shell top)
- Contrast (CC3): orange (shoes)
- Small amounts: black for pupils (or safety eyes), optional light yellow for shoe soles
Yarn tips:
- Cotton or cotton-blend makes crisp stitches and holds shape well.
- Acrylic works great too and is budget-friendly.
- If you want a larger plush, use thicker yarn and a bigger hook, keeping stitches tight.
Hook
- 2.75 mm to 3.5 mm for worsted yarn (choose the size that makes a firm fabric)
Notions
- Stitch marker
- Yarn needle
- Fiberfill stuffing
- Scissors
- Pins (strongly recommended for assembly)
- Optional: safety eyes (10–14 mm), felt for eye highlights, or embroidery thread
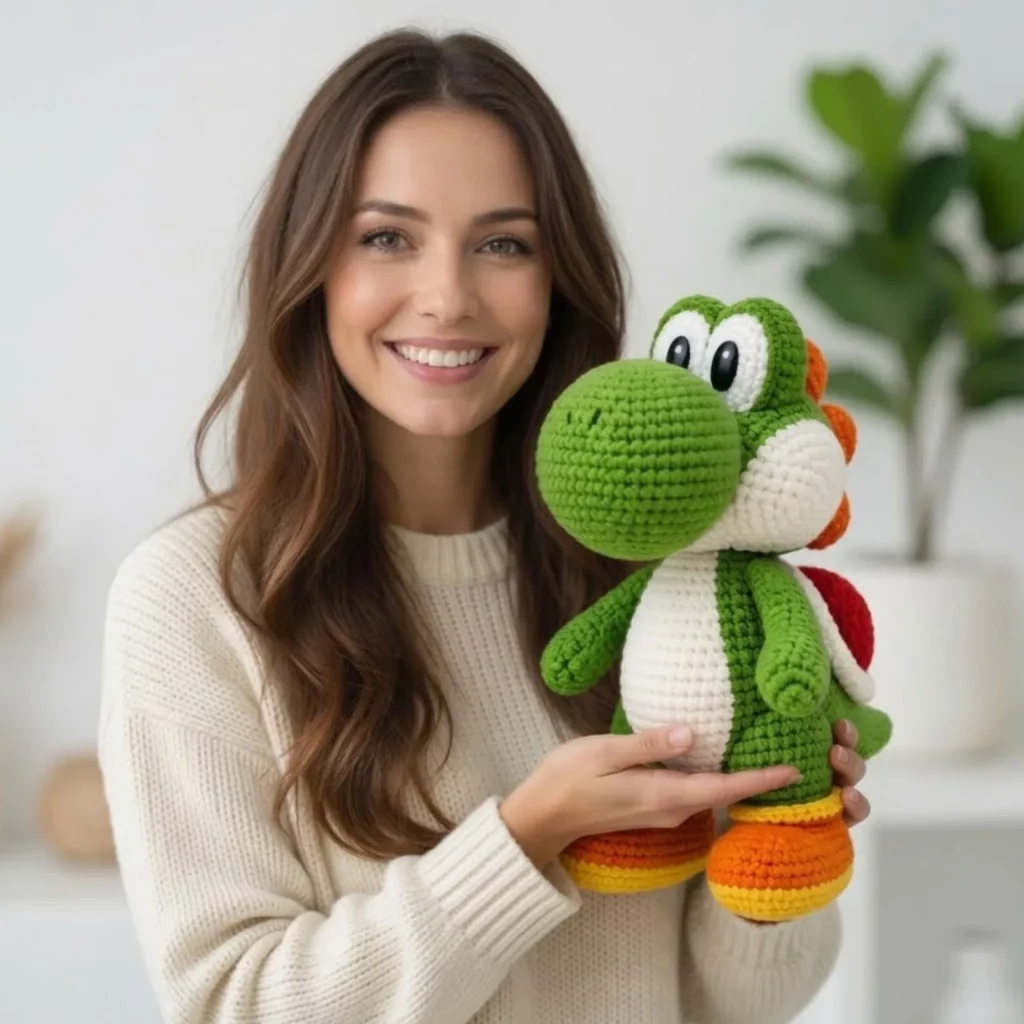
Finished Size
With worsted yarn and a 3.0 mm hook, expect roughly 7–10 inches tall, depending on tension.
Stitches & Techniques Explained#
Abbreviations (US terms)
- MR = magic ring
- ch = chain
- sc = single crochet
- inc = increase (2 sc in one stitch)
- dec = invisible decrease (sc2tog through front loops)
- sl st = slip stitch
- BLO/FLO = back/front loop only
- ( ) = repeat
- [ ] = stitch count
Helpful techniques for a polished look
- Invisible decrease: makes curves smooth (great for face shaping).
- Clean color change: switch colors on the last yarn over of the stitch before the new color.
- Pin-first assembly: pin eyes, snout, belly, and limbs before sewing to keep symmetry.
Step-by-Step Instructions#
Notes: Work in continuous rounds unless stated. Use a stitch marker for the first stitch of each round. Stuff firmly but don’t stretch stitches.
Head (MC)
R1: MR, 6 sc [6]
R2: inc x6 [12]
R3: (sc, inc) x6 [18]
R4: (2 sc, inc) x6 [24]
R5: (3 sc, inc) x6 [30]
R6: (4 sc, inc) x6 [36]
R7–R10: sc around [36]
Now shape the head slightly longer (helps the snout sit nicely):
R11: (5 sc, inc) x6 [42]
R12–R14: sc around [42]
Place eyes later (after snout and eye pieces are planned), or use safety eyes between R12–R13 about 9–11 stitches apart.
Start closing:
R15: (5 sc, dec) x6 [36]
R16: (4 sc, dec) x6 [30]
Stuff firmly.
R17: (3 sc, dec) x6 [24]
R18: (2 sc, dec) x6 [18]
R19: (sc, dec) x6 [12]
R20: dec x6 [6]
Fasten off, weave in.
Snout (MC)
The snout is a rounded “bubble” that you sew onto the front of the head.
R1: MR, 6 sc [6]
R2: inc x6 [12]
R3: (sc, inc) x6 [18]
R4: (2 sc, inc) x6 [24]
R5–R7: sc around [24]
R8: (2 sc, dec) x6 [18]
Lightly stuff.
Fasten off with a long tail for sewing.
Attach snout: Center it low on the face. The top of the snout should sit below where the eyes will go.
Eye Whites (make 2, CC1)
These are tall ovals.
Ch 7.
- In 2nd ch from hook: sc, hdc, dc, dc, hdc, sc (across)
- Work 3 sc in last ch, then continue on the underside: sc, hdc, dc, dc, hdc, sc
Join with sl st. Fasten off with tail.
Pupils (make 2, black)
Small ovals or circles.
Option A (crochet): MR, 6 sc, sl st to join, fasten off.
Option B (felt/embroidery): cut small ovals and stitch on.
Assembly tip: Place pupils slightly inward for a cute expression. Add tiny white highlights (felt or embroidery) if you want that “sparkly” look.
Belly Panel (CC1)
Make an oval belly that you sew onto the body.
Ch 10.
- In 2nd ch: sc, then sc across until last ch
- 3 sc in last ch, continue on underside with sc back
- 2 sc in first ch to round the end
Sl st to join.
Work 1–2 rounds of sc evenly around to thicken the border. Fasten off with tail.
Body (MC)
R1: MR, 6 sc [6]
R2: inc x6 [12]
R3: (sc, inc) x6 [18]
R4: (2 sc, inc) x6 [24]
R5: (3 sc, inc) x6 [30]
R6: (4 sc, inc) x6 [36]
R7–R11: sc around [36]
R12: (4 sc, dec) x6 [30]
R13–R14: sc around [30]
Stuff firmly.
R15: (3 sc, dec) x6 [24]
R16: (2 sc, dec) x6 [18]
R17: (sc, dec) x6 [12]
Fasten off leaving a long tail for attaching head.
Sew the belly panel onto the front center of the body before attaching limbs (easier access).
Arms (make 2, MC)
R1: MR, 6 sc [6]
R2: (sc, inc) x3 [9]
R3–R7: sc around [9]
Lightly stuff. Flatten and close with 4–5 sc across. Leave tail.
Legs (make 2, MC)
R1: MR, 6 sc [6]
R2: inc x6 [12]
R3: (sc, inc) x6 [18]
R4–R7: sc around [18]
Stuff firmly. Fasten off with tail.
Shoes (make 2, CC3)
Work shoes as a rounded base and stitch the green leg into them.
R1: MR, 6 sc [6]
R2: inc x6 [12]
R3: (sc, inc) x6 [18]
R4: (2 sc, inc) x6 [24]
R5–R6: sc around [24]
Fasten off with tail.
Shoe cuff (optional, CC1): Join white yarn to back loop of R6 and work one round of sc in BLO for a clean rim.
Insert the leg into the shoe opening and sew securely around the edge.
Shell Detail (back)
Shell top (CC2, red):
R1: MR, 6 sc [6]
R2: inc x6 [12]
R3: (sc, inc) x6 [18]
R4: sc around [18]
Fasten off with tail.
Shell rim (CC1, white):
Join white yarn around the edge of the red piece and work a round of sc evenly. Fasten off.
Sew shell to upper back of the body.
Assembly
- Sew head to body (centered; reinforce the neck seam).
- Sew arms to the sides of the body, slightly forward.
- Sew legs/shoes to the bottom so the dinosaur stands balanced.
- Sew eye whites above the snout, slightly angled outward at the top.
- Attach pupils and add highlights.
- Sew shell to the back.
Common Mistakes and How to Avoid Them#
- Wobbly standing pose: Position feet wider apart and stuff legs firmly. Add a little extra stuffing at the back of the body for balance.
- Eyes not symmetrical: Pin both eye whites first, then check from multiple angles before sewing.
- Snout looks flat: Stuff lightly and sew around the edge neatly—don’t pull too tight or it will squash.
- Visible stuffing: Use a smaller hook or tighten tension, especially on the head and body.
- Messy color changes: Change colors on the last yarn-over of the previous stitch and weave ends inside the piece.
Expert Tips for Better Results#
- Use stitch markers generously (mark the center front of the body and head).
- Sculpt the face subtly: A tiny tack stitch from the lower snout into the head can create a gentle smile curve.
- Smooth sewing lines: Sew through the same loops consistently (outer loops on appliqués look clean).
- Add character: Slightly tilt the head when attaching for a playful pose.
- Kid-safe finishing: If making for a child under 3, skip safety eyes and embroider instead.
Variations and Customization Ideas#
- Make it pastel: Mint green body + soft pink shoes for a cute nursery vibe.
- Add spikes: Crochet tiny triangles and stitch along the back of the head and tail area.
- Different expressions: Lower the pupils for a “shy” look, or center them for an alert expression.
- Keychain mini: Use thinner yarn and a smaller hook, then add a keyring loop at the top of the head.
- Holiday version: Add a tiny scarf or Santa hat for seasonal gifting.
Benefits of This Crochet Project#
- Works up quickly with simple shapes
- Great practice for amigurumi shaping and assembly
- Easy to personalize with color changes and expressions
- Makes an adorable desk buddy, gift, or collectible plush
- A satisfying project that looks “wow” without complicated stitches
Internal Linking Suggestions#
If you’re posting this on a crochet blog, link to:
- Magic Ring Tutorial for Beginners
- Invisible Decrease Crochet Tutorial
- How to Sew Amigurumi Pieces Neatly
- How to Choose the Right Hook Size for Amigurumi
- Beginner Amigurumi Projects You Can Finish Fast
FAQ Section#
Is this a good crochet pattern for beginners?
Yes—if you know single crochet and can count rounds, this is very doable. The details are mostly sewn-on pieces, which is great practice.
What yarn is best for a character-style amigurumi?
Worsted weight cotton or acrylic is ideal because it shows stitches clearly and holds shape well.
How do I make the eyes look neat and even?
Pin the eye whites in place first, then sew using small stitches around the edge. Add pupils after both eyes are attached.
Can I use safety eyes instead of crocheting pupils?
Absolutely. Place safety eyes through the eye-white pieces first, then attach the eye whites to the head.
How do I keep my amigurumi from leaning forward?
Stuff the feet and legs firmly, place legs slightly wider apart, and add a bit more stuffing toward the back of the body.
Can I resize this free crochet pattern?
Yes. Use thicker yarn and a bigger hook to size up, or thinner yarn and a smaller hook to size down—just keep stitches tight.
Conclusion#
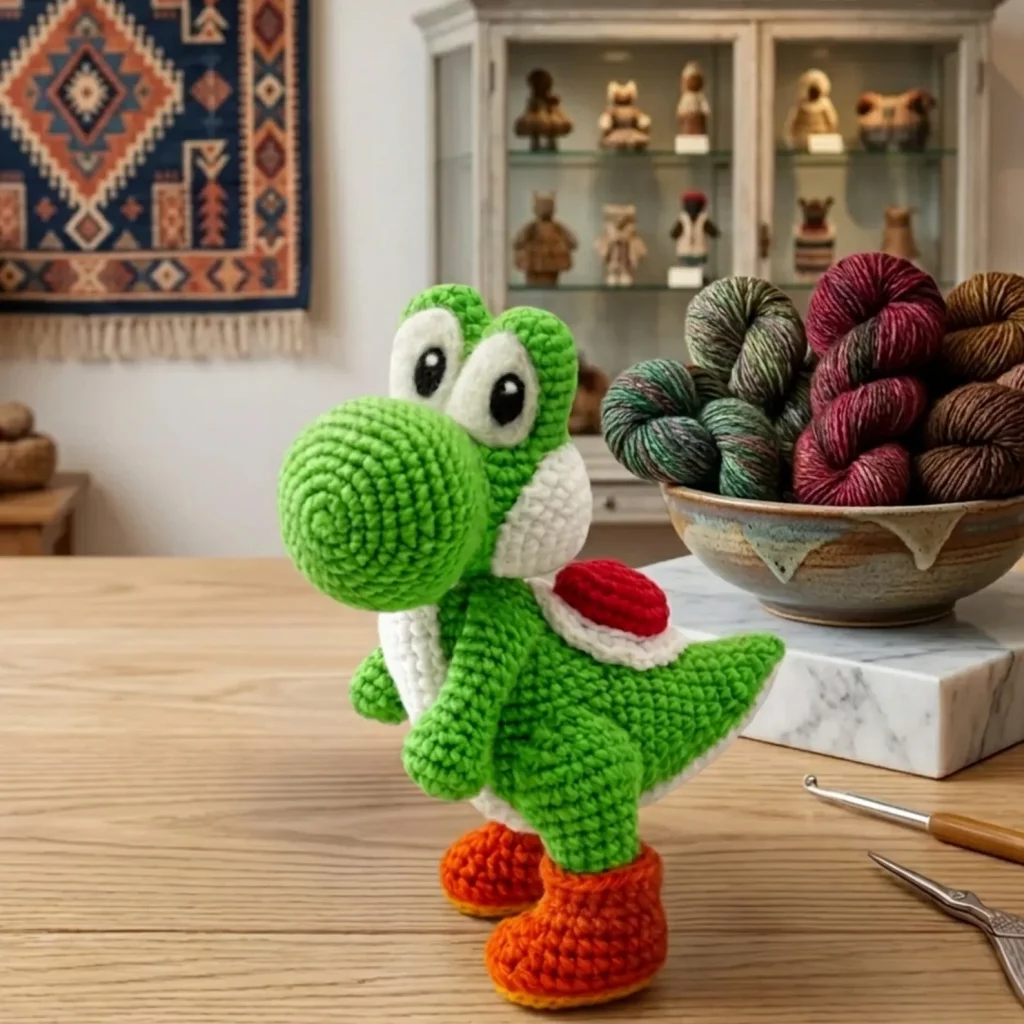
This cute green dinosaur amigurumi is the perfect mix of simple construction and bold character details—exactly what you want from an easy crochet pattern that still feels special when finished. Take your time with eye placement, pin everything before sewing, and don’t be afraid to tweak the colors to match your style.
If you want, tell me what yarn weight you’re using (worsted, DK, plush) and your hook size, and I can adjust the stitch counts so your finished dinosaur comes out the size you’re aiming for.


