


Introduction#
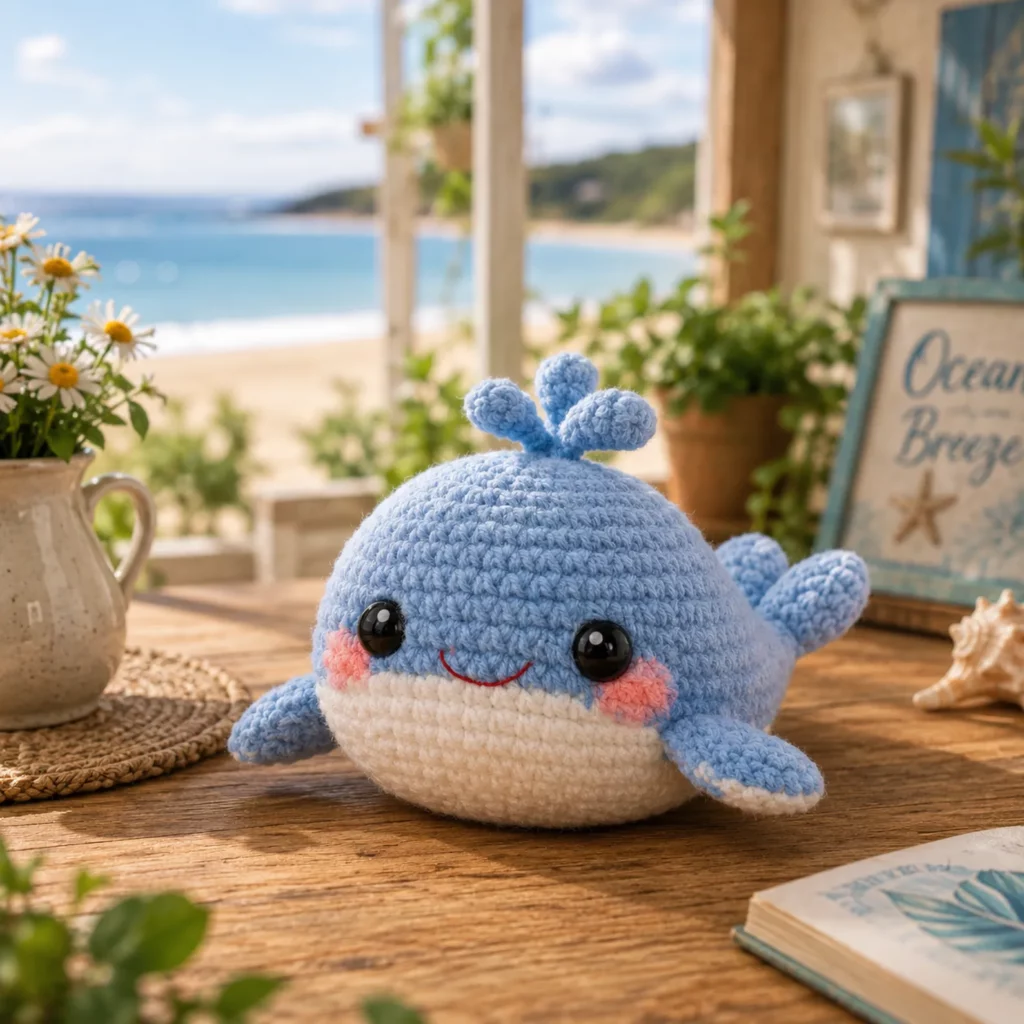
Some crochet projects are “finish-in-a-day” cute, and this little whale is exactly that kind of joy. It’s round, squishy, and instantly lovable—with big shiny eyes, a sweet smile, pink cheeks, and a tiny water spout that makes it look like it just popped up to say hello. It’s the perfect crochet pattern when you want something fast, giftable, and guaranteed to make people smile.
Explore more beginner amigurumi crochet patterns in our pattern library.
What makes this whale especially beginner-friendly is its simple construction. The body is basically one plush oval shape worked in continuous rounds, then you add small pieces: side fins, a tail fluke, and a tiny spout on top. No complicated shaping, no tricky joins—just clean amigurumi basics. And because it’s small, it’s a great stash-buster for leftover yarn too.
This crochet tutorial will walk you through everything: yarn and hook choices (including plush yarn tips), how to place the eyes for maximum cuteness, how to keep the belly color change neat, and how to assemble the whale so it sits nicely and looks polished.
Detailed Description of the Crochet Pattern#
This crochet pattern creates a chubby amigurumi whale with a two-tone body and cute facial features.
Key design elements
Rounded “bean” body shape that sits on a flat surface
Two-tone color blocking with a white belly and blue top
Small side fins that stick out slightly
Tail fluke at the back for a clear whale silhouette
Little water spout on top (three small bumps)
Big safety eyes, blush cheeks, and a tiny embroidered smile
How it’s made
The whale body is crocheted in the round from the top down, increasing to the widest point, then decreasing to close. The belly is created with a simple color-change section (or you can stitch a belly patch if you prefer). The fins, tail, and spout are quick mini pieces sewn on after stuffing.
Why it works for beginners
Most of the shape comes from consistent increases and decreases
All parts are small, so mistakes are easy to fix
Minimal sewing compared to many amigurumi animals
The whale looks “complete” even with simple stitching
Skill Level Explanation#
Skill level: Beginner-Friendly
You should know
Magic ring
Single crochet (sc)
Increase (inc) and decrease (dec)
Working in continuous rounds
Basic sewing with a tapestry needle
Helpful but optional
Invisible decrease for a smoother finish
Neat color changes for the belly
Light embroidery for the smile and blush
This is a great easy crochet pattern for beginners because it’s repetitive, forgiving, and quick.
Materials Needed#
Yarn
This whale looks great in both smooth yarn and plush/chenille yarn.
Option A: Worsted weight (Category 4) cotton or acrylic
Best for clear stitch definition and easier counting
Option B: Plush/chenille yarn (velvet yarn)
Best for extra squishy “kawaii” look, but use stitch markers carefully because stitches are harder to see
Suggested colors
A: Blue (top body)
B: White (belly)
C: Pink (blush cheeks, optional)
Optional: a tiny bit of darker blue for extra detail
Hook
Use a smaller hook than the yarn label suggests for tight stitches.
Worsted: 3.0–4.0 mm
Plush yarn: 4.0–5.5 mm depending on thickness
Notions
Stitch marker
Tapestry needle
Scissors
Fiberfill stuffing
Safety eyes (10–16 mm depending on size) or embroidery thread
Pink blush powder or pink yarn for cheeks
Optional: felt circles behind safety eyes (extra secure)
Safety note
If making for babies or toddlers, embroider eyes instead of using safety eyes.
Stitches & Techniques Explained#
Abbreviations
MR = magic ring
sc = single crochet
inc = increase (2 sc in one stitch)
dec = decrease (invisible decrease recommended)
sl st = slip stitch
ch = chain
BLO = back loop only
( ) repeat
[ ] stitch count
Invisible decrease
Insert hook into the front loop of the next stitch, then the front loop of the following stitch, yarn over and pull through, yarn over and pull through two. This keeps the whale smooth and round.
Clean color change
To change colors neatly, make the last yarn-over of the previous stitch with the new color. That prevents “dots” of the old color from showing.
Stuffing tip for a perfect shape
Stuff firmly, but don’t stretch stitches. Add stuffing gradually as you decrease so you can keep the whale evenly rounded.
Step-by-Step Instructions#
Finished size
With worsted yarn and a 3.5 mm hook: about 5–7 inches (13–18 cm) long
With plush yarn: about 7–10 inches (18–25 cm) long depending on yarn thickness
Notes before you begin
Work in continuous rounds
Use a stitch marker in the first stitch of each round
If using plush yarn, count carefully and mark rounds often
Color Key
A = Blue
B = White
C = Pink
Body (Top Down)
Start with A (blue).
Round 1: 6 sc in MR [6]
Round 2: inc around [12]
Round 3: (sc, inc) around [18]
Round 4: (2 sc, inc) around [24]
Round 5: (3 sc, inc) around [30]
Round 6: (4 sc, inc) around [36]
Round 7: (5 sc, inc) around [42]
Round 8: sc around [42]
Round 9: sc around [42]
Create the belly color block
You have two easy options.
Option 1: Simple half-and-half belly (beginner-friendly)
Round 10: sc 21 in A, change to B, sc 21 in B [42]
Round 11: sc 21 in A, sc 21 in B [42]
Round 12: sc 21 in A, sc 21 in B [42]
Option 2: Full belly patch (no color changes)
Keep the whole body in A, then crochet a white oval patch and sew it on later. This is easiest if you hate color changes.
Continue shaping toward the bottom
Round 13: (5 sc, dec) around [36]
Round 14: sc around [36]
Round 15: (4 sc, dec) around [30]
Round 16: sc around [30]
Round 17: (3 sc, dec) around [24]
Round 18: (2 sc, dec) around [18]
Insert eyes now
Place eyes between Rounds 9–10 (or 10–11), about 7–9 stitches apart. Slightly lower placement makes it extra cute.
Start stuffing firmly.
Round 19: (sc, dec) around [12]
Round 20: dec around [6]
Fasten off, weave through final stitches, and close.
Side Fins (Make 2, A)
Round 1: 6 sc in MR [6]
Round 2: (sc, inc) around [9]
Round 3: sc around [9]
Round 4: (2 sc, inc) around [12]
Round 5: sc around [12]
Flatten (do not stuff) and fasten off with a long tail.
Sew fins on each side of the whale body, slightly below the eye line, angled downward a bit.
Tail Fluke (Make 1, A)
Ch 8
Row 1: sc in 2nd ch and across (7), ch 1, turn
Row 2: sc2tog, sc 3, sc2tog (5), ch 1, turn
Row 3: sc across (5), ch 1, turn
Row 4: sc2tog, sc 1, sc2tog (3)
Fasten off.
To make it more “fluke shaped”
Pinch the center slightly and add a few stitches to create a small dip in the middle.
Sew tail to the back of the whale, centered.
Water Spout (Make 1, A)
This is the tiny three-bump spout on top.
Round 1: 6 sc in MR [6]
Round 2: sc around [6]
Fasten off leaving a tail.
Make it look like 3 bumps
With your needle, stitch through the top of the little ball to create three sections (like gently cinching it into thirds). Or, crochet 3 tiny bobbles and sew them together.
Sew spout to the top center of the whale, a little behind the eyes.
Face Details
Smile
Embroider a small curved smile with pink or red thread between the eyes, slightly closer to the belly color.
Blush cheeks
Either lightly apply blush powder under the eyes or embroider small pink ovals with yarn/thread.
Optional highlight stitch
Add one tiny white stitch on each eye to make them sparkle (if embroidered eyes).
Common Mistakes and How to Avoid Them#
Body looks lumpy
Stuff gradually as you decrease
Break stuffing into small pieces
Smooth with your fingers as you fill
Color change looks jagged
Always change colors on the last yarn-over of the previous stitch
Carry yarn neatly inside or cut and reattach to avoid loose floats
Fins look uneven
Count rounds carefully
Flatten both fins the same way before sewing
Pin fins before sewing and check from the front
Whale won’t sit nicely
Flatten the bottom slightly while stuffing
Add a tiny bit more stuffing in the base
Position tail slightly higher so it doesn’t tip backward
Stitches show stuffing
Use a smaller hook
Keep tension tight
Don’t overstuff, especially with smooth yarn
Expert Tips for Better Results#
If using plush yarn, use stitch markers every 10 stitches in big rounds so you don’t lose count
For a super clean belly, crochet the body all blue and sew on a white belly patch
Want extra “kawaii”? Place eyes slightly lower and closer together and make the smile smaller
To make it gift-ready, weave ends inside and add a little ribbon tag at the fin seam
If you want a keychain whale, crochet in DK yarn, skip the spout, and add a top loop
Variations and Customization Ideas#
Mini whale keychain
Use DK yarn and a 2.75–3.0 mm hook, and add a chain loop on top.
Narwhal version
Add a small spiral horn on the forehead.
Mom and baby whales
Make one whale in worsted and a mini whale in DK to create a cute set.
Color variations
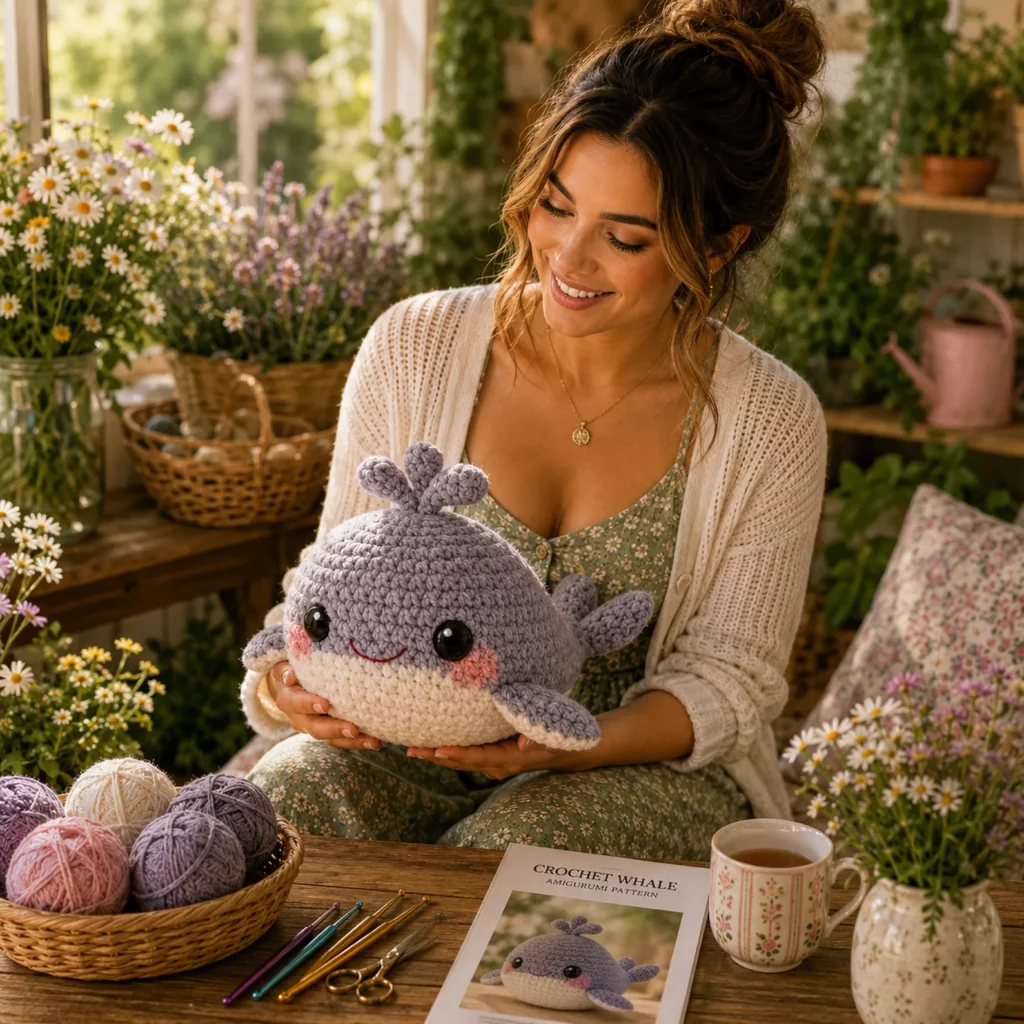
Gray + white for a classic whale
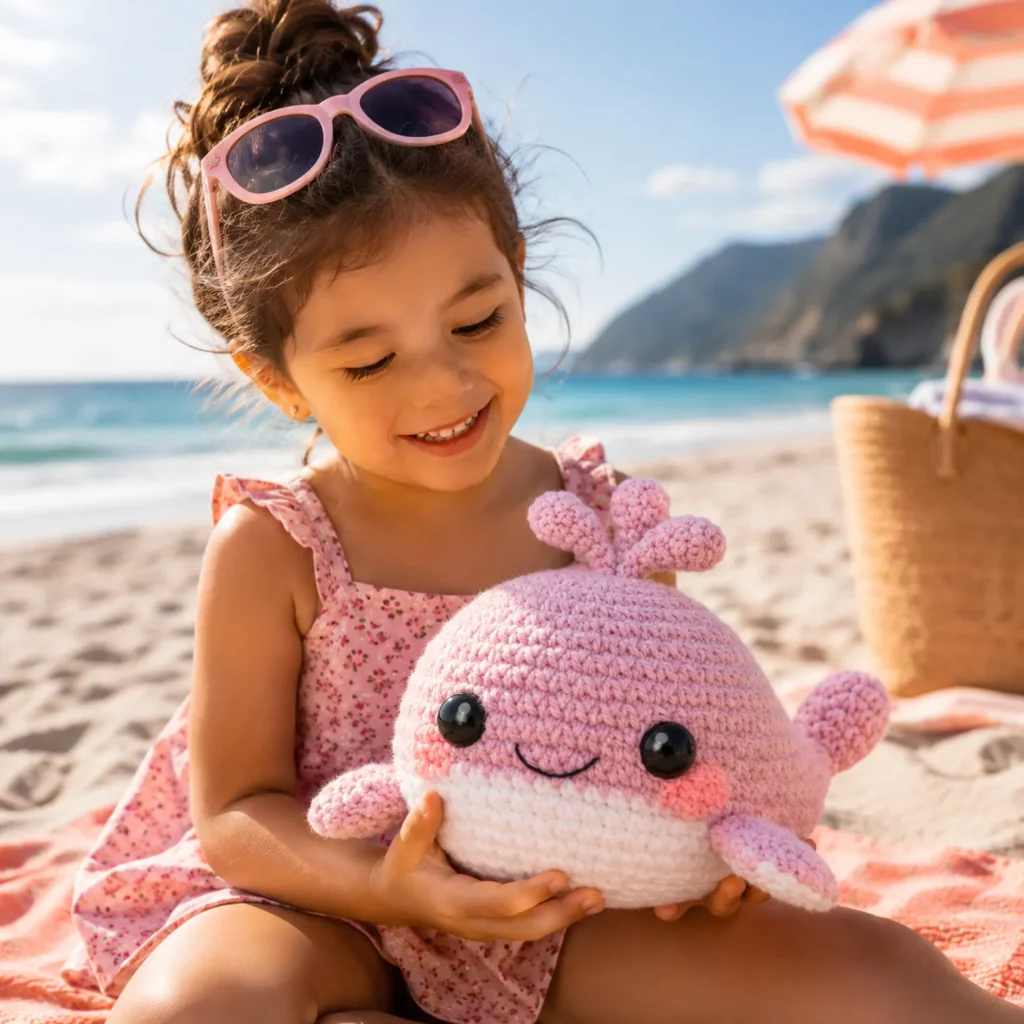
Pink + white for a pastel whale
Black + white for an orca-inspired whale (add a white eye patch)
Add a sleepy face
Embroider closed eyes and tiny lashes instead of safety eyes.
Benefits of This Crochet Project#
Quick and satisfying, great for weekends or gifts
Beginner-friendly crochet pattern with simple stitches
Perfect stash-buster for leftover yarn
Customizable colors and expressions
Great for nursery décor, desk buddies, and market makes
Teaches essential amigurumi shaping skills in a small project
Internal Linking Suggestions#
Beginner Guide to Amigurumi Increases and Decreases
How to Crochet a Magic Ring Step-by-Step
Best Yarn for Amigurumi: Cotton vs Plush Yarn
How to Place Safety Eyes for Cute Crochet Faces
Easy Crochet Sea Animal Patterns Collection
FAQ Section#
Is this crochet whale pattern beginner-friendly?
Yes. It uses basic single crochet shaping with simple add-on pieces.
What yarn is best for an amigurumi whale?
Worsted cotton or acrylic is easiest to work with. Plush yarn makes it extra squishy but can be harder to count.
How do I make the whale bigger or smaller?
Change yarn weight and hook size. You can also add one extra increase round for a bigger body before you start working straight.
Can I make it without safety eyes?
Yes. Embroider eyes with black yarn or thread, and add small white highlights for sparkle.
How do I keep the whale from tipping?
Stuff the base firmly and flatten it slightly. Make sure the tail isn’t too heavy or too low.
How do I get a clean two-tone belly?
Either do neat half-and-half color-change rounds or crochet a separate white belly patch and sew it on.
Conclusion#
This cute whale is the kind of crochet pattern that’s simple to make but looks instantly charming when finished. With its rounded body, tiny fins, little spout, and sweet face, it’s perfect for gifts, nursery décor, and beginner amigurumi practice. Once you make one, you’ll probably want a whole pod in different colors.
If you tell me whether you’re using worsted or plush yarn, I can suggest the best eye size and exactly where to place the color-change belly line for the cutest proportions.


