


Introduction#
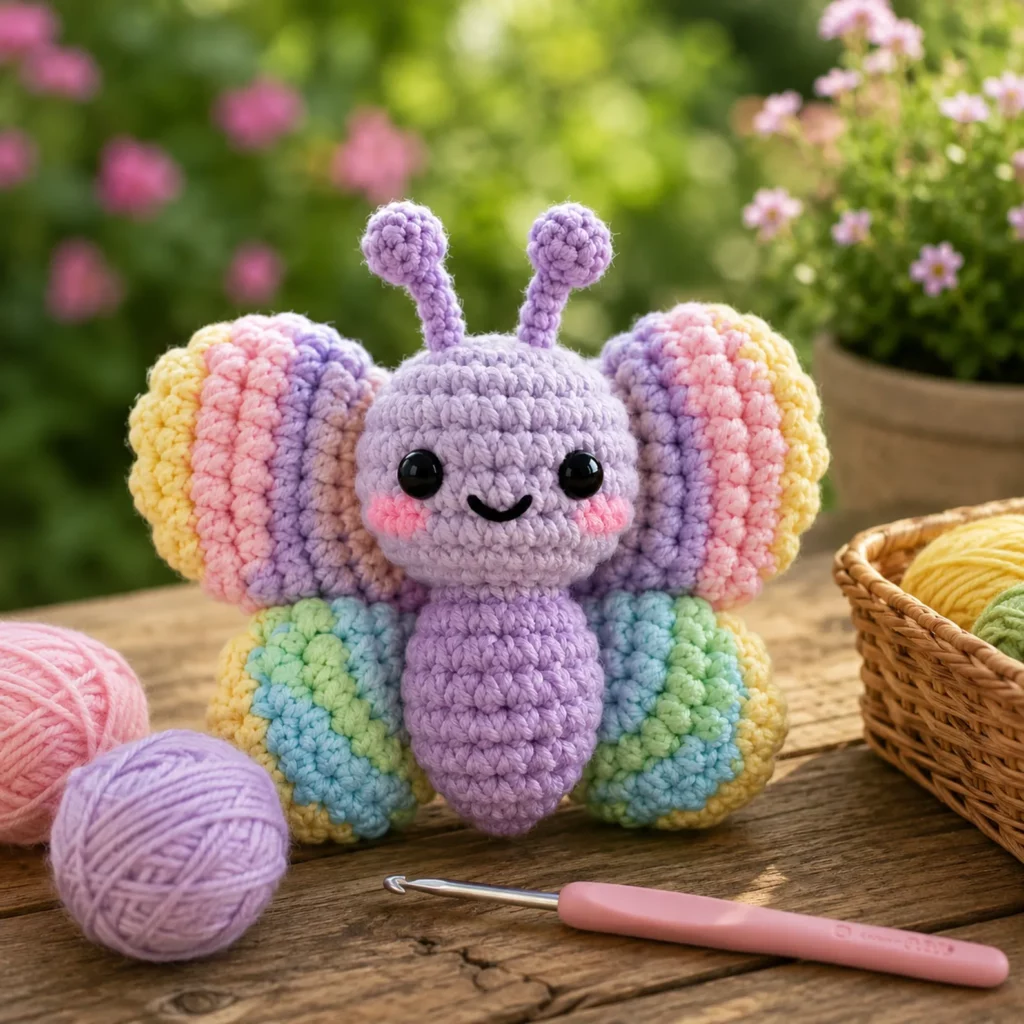
Tiny amigurumi projects have a special kind of charm: they’re quick to make, easy to gift, and they instantly brighten up a bag, shelf, or keychain. A mini butterfly is even better because it’s full of personality—soft rounded wings, a cute little face, and those tiny antennae that make it unmistakable.
Explore more beginner amigurumi crochet patterns in our pattern library.
This crochet pattern is designed to help you create a small, plush butterfly with a chubby body, a rounded head, and oversized wings in soft pastel tones. It’s beginner-friendly, works up fast, and uses simple shaping (mostly single crochet with increases and decreases). You can keep it as a pocket-sized plush, turn it into a keychain, or stitch it onto a baby blanket as a sweet appliqué-style plush accent.
If you’re looking for a free crochet pattern that’s adorable, practical, and perfect for scraps, this easy crochet pattern butterfly is a fun weekend (or even one-evening) make.

Detailed Description of the Crochet Pattern#
This mini butterfly amigurumi has four main elements:
- Head: a small rounded ball with safety eyes (or embroidered eyes)
- Body: a plump oval that’s slightly taller than the head
- Wings: two chunky “puff” wings that look like mini cloud pillows
- Antennae: two short stems with rounded tips
What makes it look polished
- Plush wing shaping: wings are made as rounded segments so they keep a puffy, stuffed look.
- Clean facial features: simple eyes + tiny smile + optional blush makes it cute without being busy.
- Balanced proportions: big wings + small face = that classic “kawaii” butterfly silhouette.
Finished size (approx.)
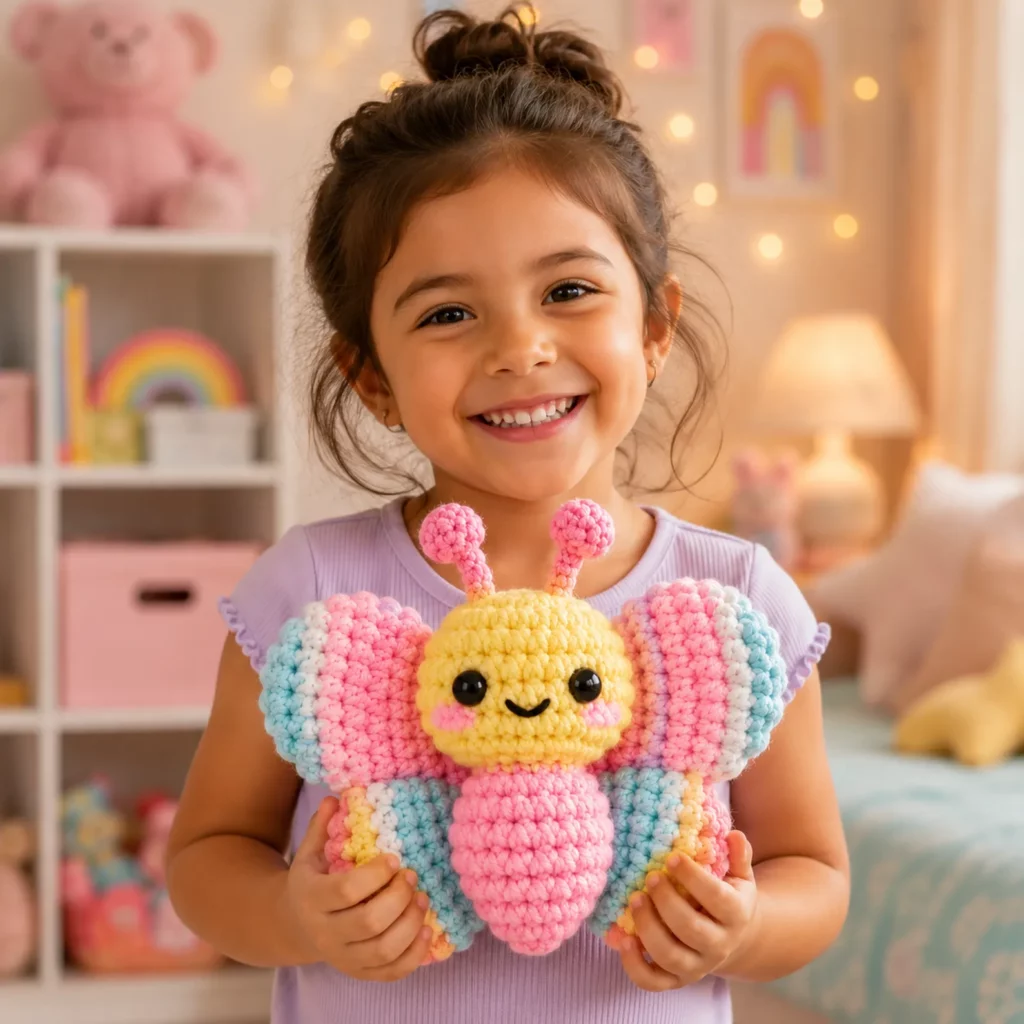
- With chunky plush/chenille yarn: 3–5 inches wide
- With worsted yarn: 2–3.5 inches wide
(Width depends mostly on wing size and yarn thickness.)
Skill Level Explanation#
This is an easy amigurumi project.
You’ll be comfortable if you can:
- work single crochet in the round
- increase and decrease
- count stitches (or use a stitch marker)
- sew pieces together securely
Beginner-friendly bonus: Because this project is small, it’s a great way to practice neat stitching and assembly without committing to a huge plush.
Materials Needed#
Yarn
You can make this butterfly with almost any yarn, but the soft “plush” look works especially well with chunky yarn.
Best yarn options:
- Plush/chenille yarn (super soft, squishy butterfly)
- Worsted cotton or acrylic (crisp stitches, easier to see)
Color palette ideas (super cute for butterflies):
- Pastel rainbow wings (pink/lavender/cream)
- Blue + mint wings (fresh and modern)
- Classic monarch style (orange/black) for a bolder look
- White face + contrasting body for a “character” vibe
Hook
Use a hook that creates tight stitches:
- Plush yarn: 4.5–6.0 mm
- Worsted yarn: 2.75–3.5 mm
Tip: If stuffing shows through, go down a hook size.
Notions
- Stitch marker
- Yarn needle
- Scissors
- Polyester fiberfill stuffing
Eyes and face
- Safety eyes: 6–10 mm for small butterflies, 10–14 mm for plush yarn
- Embroidery thread/yarn for smile and blush (optional)
Safety note: For babies and toddlers, skip safety eyes and embroider instead.
Stitches & Techniques Explained#
Abbreviations (US terms)
- MR = magic ring
- sc = single crochet
- inc = increase (2 sc in one stitch)
- dec = invisible decrease
- sl st = slip stitch
- ch = chain
- st(s) = stitch(es)
Invisible decrease (recommended)
This keeps your shaping smooth:
- Insert hook into front loop only of next stitch
- Insert hook into front loop only of following stitch
- Yarn over, pull through both front loops
- Yarn over, pull through remaining loops
Plush yarn tip (if using chenille)
Plush yarn hides stitches—so:
- count by feeling the “V” bumps
- mark the first stitch of every round
- keep tension steady (not too tight)
Step-by-Step Instructions#
Pattern notes
- Work in continuous rounds unless stated
- Use a stitch marker
- Stuff firmly but evenly
- Numbers in ( ) are stitch counts
Part 1: Head (Face Color)
Rnd 1: MR, 6 sc (6)
Rnd 2: inc around (12)
Rnd 3: (sc, inc) around (18)
Rnd 4: (2 sc, inc) around (24)
Rnd 5: sc around (24)
Rnd 6: sc around (24)
Place eyes now (if using safety eyes):
Place between Rnd 4–5, spaced about 6–8 stitches apart (adjust for your yarn size).
Start stuffing.
Rnd 7: (2 sc, dec) around (18)
Rnd 8: (sc, dec) around (12)
Rnd 9: dec around (6)
Fasten off, close, weave in end.
Optional face details:
- Embroider a tiny smile (simple curved line or small “U”)
- Add blush with pink yarn or a small touch of fabric blush
Part 2: Body (Body Color)
Rnd 1: MR, 6 sc (6)
Rnd 2: inc around (12)
Rnd 3: (sc, inc) around (18)
Rnd 4: (2 sc, inc) around (24)
Rnd 5–8: sc around (24) for 4 rounds
(This gives a longer, chubby body.)
Start stuffing firmly.
Rnd 9: (2 sc, dec) around (18)
Rnd 10: (sc, dec) around (12)
Rnd 11: dec around (6)
Fasten off, close, weave in end.
Part 3: Wings (Make 2, Wing Color)
Each wing is a rounded “puff” piece. You can make them solid or change colors every few rounds for a pastel stripe effect.
Rnd 1: MR, 6 sc (6)
Rnd 2: inc around (12)
Rnd 3: (sc, inc) around (18)
Rnd 4: (2 sc, inc) around (24)
Rnd 5: sc around (24)
Rnd 6: sc around (24)
Lightly stuff the wing so it stays puffy (don’t overstuff).
Rnd 7: (2 sc, dec) around (18)
Rnd 8: (sc, dec) around (12)
Do not close fully if you want an oval wing:
Flatten slightly and close opening by crocheting through both layers with 6 sc (or sew closed).
Fasten off leaving a long tail for sewing.
Repeat for second wing.
Optional “two-lobe” wing look:
If you want wings that look like two rounded segments, sew each wing slightly pinched at the center (one small stitch down the middle) so it creates a gentle indentation.
Part 4: Antennae (Make 2, Antennae Color)
Ch 6
Work back along the chain:
- sl st in 2nd ch from hook and in each ch back (5 sl sts)
For the rounded tip:
- MR, 4 sc (tiny nub), fasten off and sew nub to one end of antenna (optional)
Or keep it simple by making a small bobble:
- At the end of chain, work 3 sc into the same stitch to form a tiny bulb.
Fasten off leaving tails for sewing. Repeat.
Part 5: Assembly
- Attach head to body
- Sew head centered on top of the body
- Reinforce with a second pass if needed
- Attach wings
- Place wings on either side of the body, slightly behind the head line
- Sew securely along the inner edge of each wing
- For a “hug” shape, angle wings slightly forward
- Attach antennae
- Sew to top of head, spaced evenly
- Angle slightly outward for cute expression
Weave in all ends securely.
Common Mistakes and How to Avoid Them#
- Butterfly looks lopsided:
Pin wings first and check symmetry before sewing. - Stuffing shows through:
Use a smaller hook and tighten tension. Invisible decreases help too. - Eyes look uneven:
Place both eyes before locking them; measure stitch spacing from the center. - Wings go floppy:
Understuffing or too loose stitches. Lightly stuff and keep fabric dense. - Antennae fall off:
Sew them in with multiple anchor stitches and weave ends deep into the head.
Expert Tips for Better Results#
- Use a firm body, soft wings: Stuff the body more firmly than the wings so the butterfly keeps its shape.
- Add a hidden “wing seam”: One stitch down the center of each wing makes it look more shaped and professional.
- Make it keychain-ready: Add a small loop at the top of the head (ch 10, sl st back) and attach hardware.
- For plush yarn, keep pieces small: Overly large wings can sag—small, chunky wings look best.
- Add blush carefully: A tiny amount goes a long way on a small face.
Variations and Customization Ideas#
- Monarch butterfly: orange wings with black edging (surface crochet border is cute!)
- Pastel rainbow: change wing colors every 2 rounds
- Glitter wings: use sparkle yarn for wings only
- Mini bag charm: add a small strap loop and make wings slightly smaller
- Mobile-friendly: make 4–6 butterflies in different colors for a baby mobile
- Sleepy butterfly: embroider closed eyes instead of safety eyes
Benefits of This Crochet Project#
- Quick and satisfying (great for a single sitting)
- Perfect scrap-buster for small yarn amounts
- Great beginner practice for amigurumi shaping and sewing
- Easy to customize colors and size
- Makes adorable gifts, party favors, and craft-fair items
- Works as decor, keychains, bag charms, or baby accessories (with baby-safe eyes)
Internal Linking Suggestions#
You may also like…
- Free Crochet Pattern: Mini Heart Keychain
- Crochet Tutorial: Invisible Decrease for Amigurumi
- Crochet for Beginners: How to Crochet with Plush/Chenille Yarn
- DIY Crochet: How to Attach Keychain Hardware Securely
- Free Crochet Pattern: Tiny Bee Amigurumi
- Amigurumi Finishing Guide: Neat Sewing and Clean Placement
FAQ Section#
What yarn is best for a butterfly amigurumi crochet pattern?
Plush/chenille yarn makes a soft, squishy butterfly, while worsted cotton or acrylic gives crisp stitches and is easier for beginners to count.
Is this an easy crochet pattern for beginners?
Yes. It uses simple shapes (balls and puffs) and basic amigurumi techniques: single crochet, increases, decreases, and sewing parts together.
How do I make the butterfly bigger or smaller?
Use thicker yarn and a larger hook to size up, or thinner yarn and a smaller hook to size down. You can also add one extra increase round to wings for a larger look.
Can I embroider the eyes instead of using safety eyes?
Absolutely. Embroidered eyes are safer for babies and very durable for keychains. Simple vertical stitches or small ovals work well.
How do I keep the wings from flopping?
Use a smaller hook for tighter stitches and lightly stuff the wings. If you want extra structure, insert a small piece of felt inside the wing before closing.
Can I turn this into a keychain or bag charm?
Yes—add a crocheted loop at the top of the head or sew in a small jump ring before closing the head.
Conclusion#
This mini butterfly amigurumi is the kind of crochet pattern you’ll make again and again—fast, adorable, and endlessly customizable. With a sweet little face, plush wings, and tiny antennae, it’s perfect as a gift, a charm, or a cheerful handmade collectible.
If you tell me what yarn you’re using (plush vs worsted) and whether you want it keychain-sized or plush-sized, I can adjust the stitch counts and wing size so your butterfly comes out perfectly proportioned.


