


Introduction#
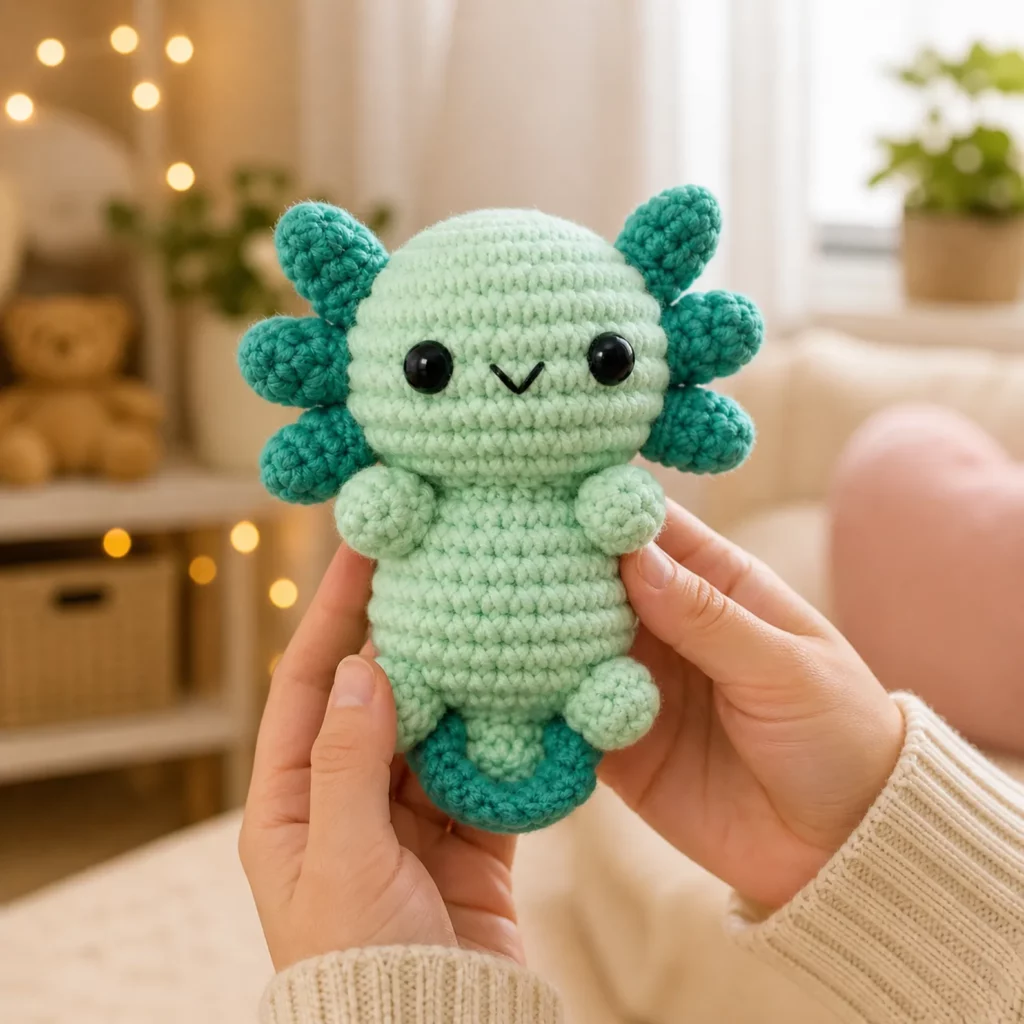
If you love amigurumi that’s quick to make but instantly recognizable, a mini axolotl is a perfect choice. It’s cute, beginner-friendly, and has that “collect them all” energy—because once you make one, you’ll want to try different colors, expressions, and sizes.
Explore more beginner amigurumi crochet patterns in our pattern library.
This crochet pattern is designed to create a tiny axolotl plush with a rounded head, a simple tapered body, little arms, and the signature fluffy side gills. The shaping is classic amigurumi (increases, even rounds, decreases), and the details are intentionally simple so you can get a clean finish even if you’re new.
If you’re searching for a free crochet pattern that makes a great gift, keychain-sized buddy, or desk companion, this easy crochet pattern is a fun, confidence-building project.
Detailed Description of the Crochet Pattern#
This project is a small axolotl amigurumi with:
- A rounded head that blends into the body (smooth silhouette)
- Side gills made from small puff-like bumps (the bright pink “frills”)
- Tiny arms and feet nubs
- A simple embroidered V-shaped smile and large eyes (safety eyes or embroidered)
Why it looks so cute (even with simple stitches)
- The head is slightly larger than the body, creating a “baby” proportion.
- The gills are placed high and wide, which frames the face.
- Minimal facial embroidery keeps the expression sweet and clean.
- The body is worked in tight single crochet so the shape stays firm.
Finished size (approx.)
- With DK/light worsted yarn: 4–6 inches tall
- With plush yarn: 6–9 inches tall
Size depends on yarn and hook, so it’s easy to customize.
Skill Level Explanation#
This is an easy amigurumi project with beginner-friendly shaping.
Great for beginners who can:
- crochet single crochet in the round
- increase and decrease
- count stitches using a stitch marker
- sew small pieces on securely
A little more advanced (still totally doable):
- attaching gills evenly on both sides
- placing safety eyes symmetrically
- shaping while stuffing for a smooth head/body line
This is a great crochet for beginners project because it’s small, forgiving, and doesn’t have complicated limbs or accessories.
Materials Needed#
Yarn
Choose a smooth yarn for clean stitch definition.
Recommended yarn options:
- DK (#3) or worsted (#4) acrylic or cotton (best for beginners)
- Plush/chenille yarn (for extra squishy “kawaii” look)
Colors:
- Main body: light pink (classic axolotl)
- Gills: bright pink (or coral)
- Optional: blush pink embroidery for cheeks
Hook
Use a hook size that creates tight stitches:
- DK yarn: 2.75–3.25 mm
- Worsted yarn: 3.0–3.5 mm
- Plush yarn: 4.5–6.0 mm
Tip: If stuffing shows, go down one hook size.
Notions
- Stitch marker
- Yarn needle
- Scissors
- Polyester fiberfill stuffing
Eyes + face options
- Safety eyes: 8–12 mm (depending on size)
- Or embroider eyes (recommended for baby-safe makes)
Important: If gifting to children under 3, skip safety eyes.
Stitches & Techniques Explained#
Abbreviations (US terms)
- MR = magic ring
- sc = single crochet
- inc = increase (2 sc in one stitch)
- dec = invisible decrease
- sl st = slip stitch
- ch = chain
- st(s) = stitch(es)
Magic Ring (MR)
Magic ring gives a tight start. If you struggle, chain 2 and place 6 sc in the second chain from hook.
Invisible Decrease (dec)
This keeps the fabric smooth and is especially important on the head.
How:
- Insert hook into front loop of next stitch
- Insert hook into front loop of following stitch
- Yarn over, pull through both loops
- Yarn over, pull through remaining loops
“Gills” as puff bumps
The gills can be made as little bobbles/puffs, then sewn on in a row. This creates that bouncy “frill” look without long curly pieces.
Step-by-Step Instructions#
Pattern notes
- Worked in continuous rounds
- Use a stitch marker to track rounds
- Stuff firmly as you go
Part 1: Head + Body (Main Color)
Rnd 1: MR, 6 sc (6)
Rnd 2: inc around (12)
Rnd 3: (sc, inc) around (18)
Rnd 4: (2 sc, inc) around (24)
Rnd 5: (3 sc, inc) around (30)
Rnd 6: (4 sc, inc) around (36)
Build head height:
Rnd 7–10: sc around (36) for 4 rounds
Start shaping down slightly (neck/body blend):
Rnd 11: (4 sc, dec) around (30)
Rnd 12: sc around (30)
Rnd 13: (3 sc, dec) around (24)
Continue body:
Rnd 14–18: sc around (24) for 5 rounds
Begin taper toward bottom:
Rnd 19: (2 sc, dec) around (18)
Rnd 20: sc around (18)
Rnd 21: (sc, dec) around (12)
Stuff firmly now—especially the head. Shape it smooth with your hands.
Rnd 22: dec around (6)
Fasten off, weave tail through front loops, pull tight to close.
Part 2: Arms (Make 2, Main Color)
Rnd 1: MR, 6 sc (6)
Rnd 2: sc around (6)
Rnd 3: sc around (6)
Lightly stuff or leave unstuffed. Flatten and close with sc across top (about 3 sc).
Fasten off leaving a tail for sewing.
Part 3: Feet Nubs (Optional, Make 2, Main Color)
If you want tiny bottom “feet” like the photo:
Rnd 1: MR, 5 sc (5)
Rnd 2: sc around (5)
Flatten and close. Fasten off leaving a tail.
Part 4: Gills (Make 6 “Puffs,” Gill Color)
Make small bobble-like pieces and sew them in a row on each side.
Gill Puff (make 6):
- MR, 6 sc
- sl st to join (optional), fasten off leaving a tail
Or, for a slightly bigger puff:
- MR, 8 sc, fasten off
You’ll place 3 puffs per side.
Part 5: Face (Eyes + Smile)
Safety eyes placement (suggested):
- Between Rnd 8 and Rnd 9
- About 6–8 stitches apart, centered
Insert eyes before closing the body if possible (easier to secure).
Smile:
- Use black yarn or embroidery floss
- Stitch a small “V” centered between the eyes
Optional: add blush dots with pink thread.
Part 6: Assembly
- Sew arms to the sides of the body, slightly below the head (around Rnd 13–15 area).
- Sew feet nubs near the bottom front if using.
- Attach gills:
- Pin 3 puffs in a vertical row on one side of the head
- Repeat on the other side at the same height
- Sew each puff securely with multiple passes
Weave in all ends firmly.
Common Mistakes and How to Avoid Them#
- Stuffing shows through:
Use a smaller hook and keep tension tight. - Eyes look uneven:
Measure from the centerline and test placement before locking backs. - Gills aren’t symmetrical:
Pin both sides first, then sew. Match the top puff placement on each side. - Head looks pointy:
Stuff earlier and shape as you go. Don’t over-decrease too quickly. - Arms fall off:
Use longer tails and sew through multiple stitches on the body, not just one spot.
Expert Tips for Better Results#
- Use cotton for crisp stitches: especially if you want a clean, tidy amigurumi look.
- Shape while stuffing: massage the head and body so the silhouette stays smooth.
- Reinforce gills: these get tugged; sew each puff down in at least 2–3 anchor points.
- Keep face minimal: tiny features look cuter and cleaner at small scale.
- Make it keychain-ready: add a loop at the top before closing (optional).
Variations and Customization Ideas#
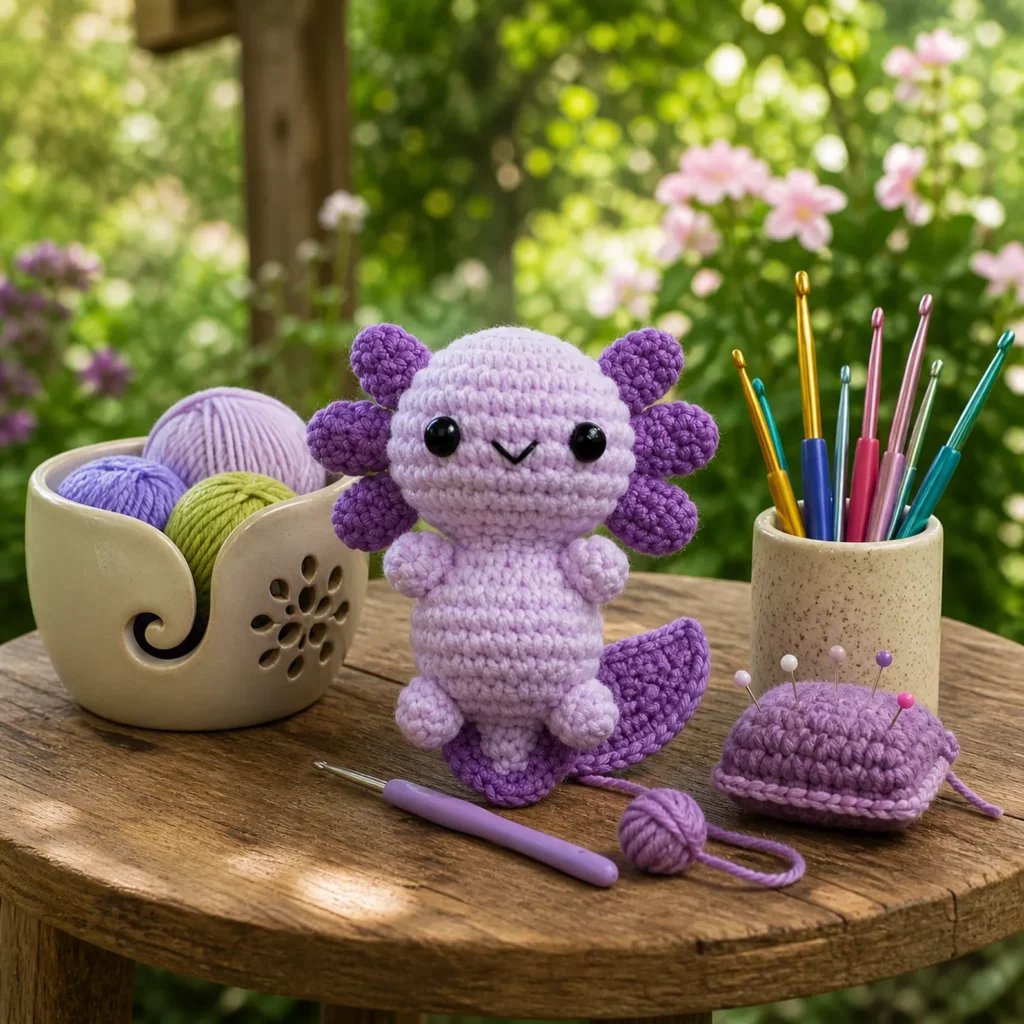
- Color swaps: lavender body + pink gills, mint body + peach gills, classic white + coral
- Bigger plush: use plush yarn and add 1 extra increase round (up to 42 sts)
- Tiny version: use sport yarn and a 2.25 mm hook for a pocket-sized axolotl
- Different expressions: sleepy eyes, sparkly eyes, or a tiny straight mouth
- Add a tail fin: crochet a small flat triangle and sew to the back bottom
Benefits of This Crochet Project#
- Quick, satisfying amigurumi make
- Great for practicing classic shaping and neat finishing
- Easy to customize with colors and expressions
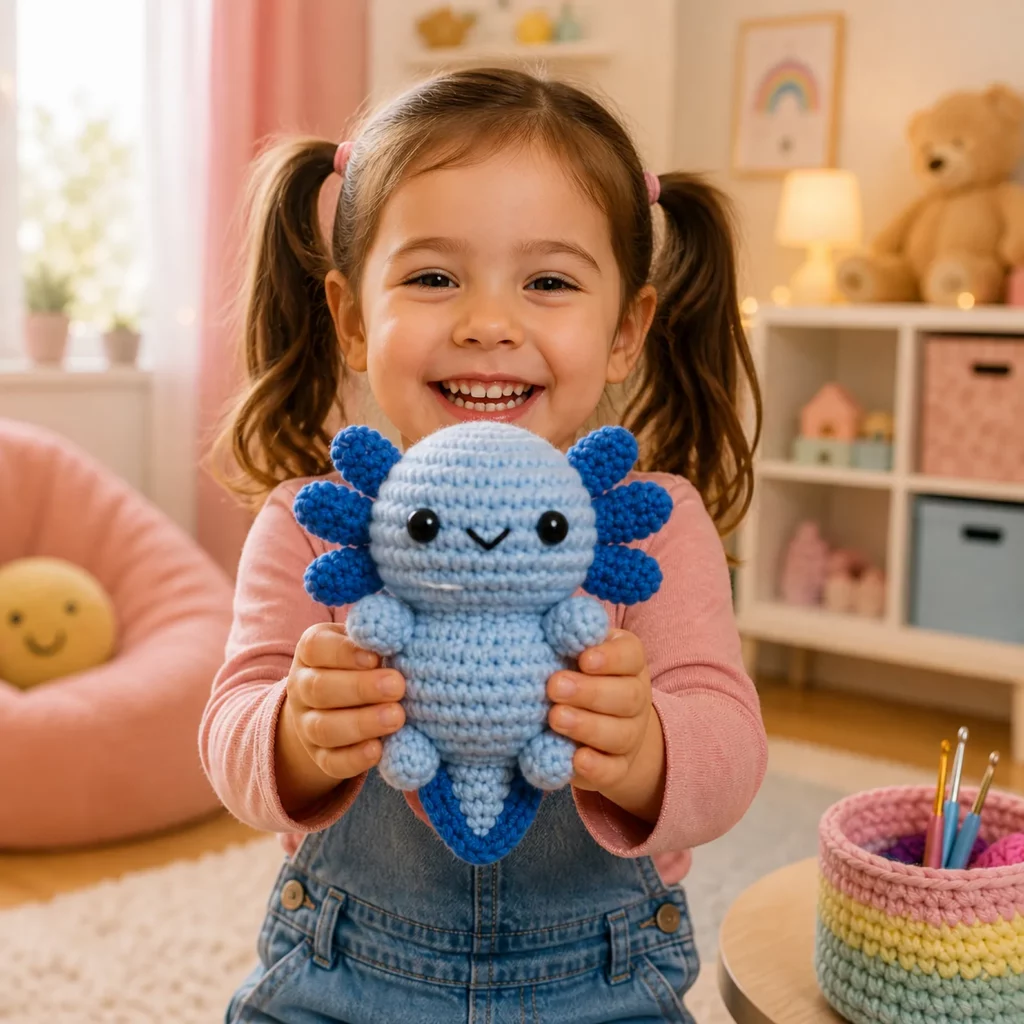
- Cute gift idea for kids, friends, and desk decor
- Small enough to make in batches (great for craft fairs)
- A fun crochet tutorial project that’s beginner-friendly
Internal Linking Suggestions#
You may also like…
- Free Crochet Pattern: Mini Octopus Amigurumi (Fast + Cute)
- Crochet Tutorial: How to Do Invisible Decrease (Amigurumi Must-Know)
- Crochet for Beginners: Safety Eyes vs Embroidered Eyes
- DIY Crochet: How to Stuff Amigurumi Smoothly
- Free Crochet Pattern: Tiny Heart Keychain
- Amigurumi Finishing Guide: Sewing Pieces Neatly
FAQ Section#
Is this an easy crochet pattern for beginners?
Yes. It uses basic single crochet in the round with simple increases and decreases. The details are small and forgiving, making it great for beginners.
What yarn is best for an axolotl crochet pattern?
DK or worsted yarn is easiest for stitch visibility. Plush yarn makes a super cuddly axolotl, but stitches are harder to see—use a marker and count carefully.
How do I make the axolotl bigger?
Use thicker yarn and a larger hook, or add one more increase round (up to 42 stitches) and a couple extra even rounds before decreasing.
Can I embroider the eyes instead of using safety eyes?
Absolutely. Embroidered eyes are more durable for keychains and safer for little kids. Simple vertical stitches work great.
How do I attach the gills evenly?
Pin three puffs on one side first, then mirror that placement on the other side at the same height. Sew each puff down securely with multiple anchor stitches.
Why does my head look pointy?
You may be decreasing too fast or stuffing too late. Add stuffing earlier, and shape the head with your hands as you close the final rounds.
Conclusion#
This mini axolotl is the perfect blend of simple and adorable: a smooth rounded body, sweet little arms, and those iconic fluffy gills that make it instantly recognizable. This free crochet pattern keeps the steps beginner-friendly while still giving you a clean, polished result.
If you tell me your yarn weight (DK, worsted, or plush) and the size you want (mini keychain or larger plush), I can adjust the stitch counts and rounds so your crochet pattern comes out perfectly proportioned.


