


Introduction#
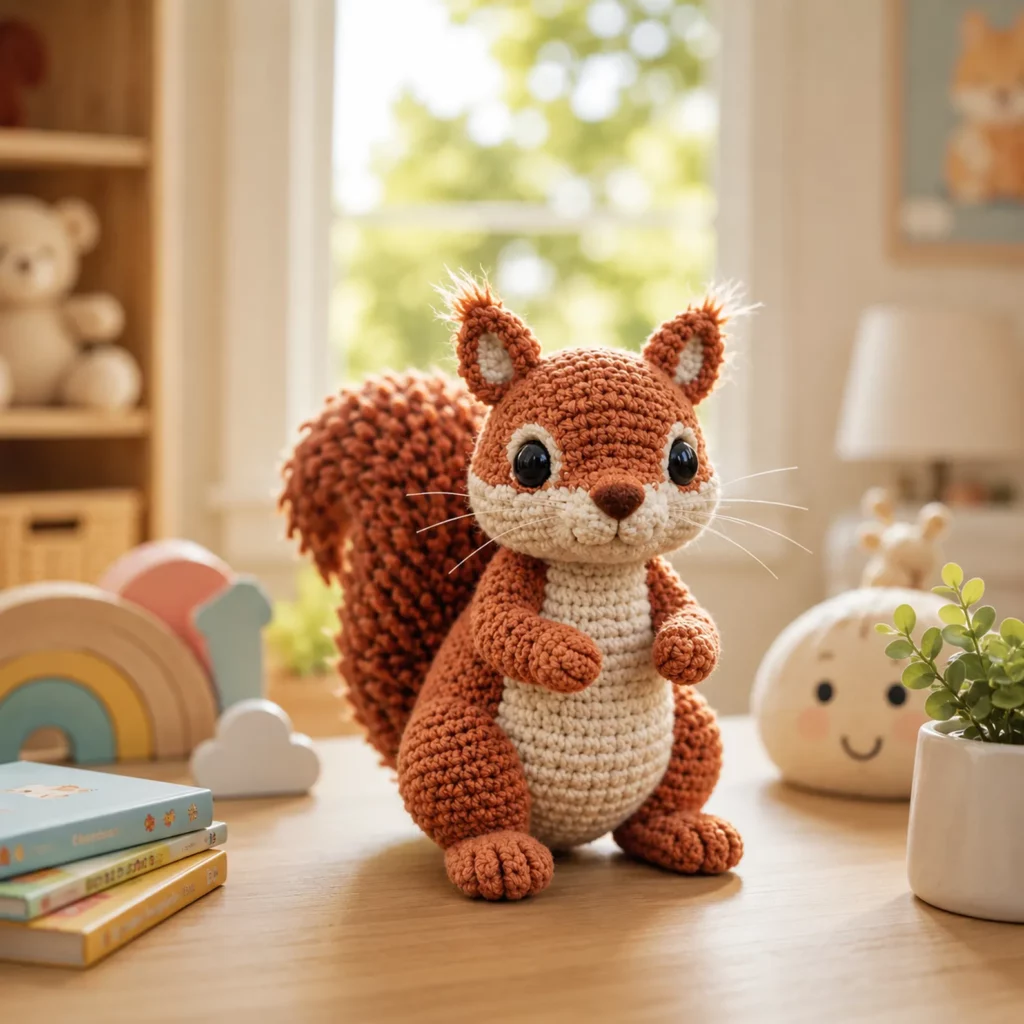
If you’re looking for a crochet project that’s small enough to finish in a weekend but detailed enough to feel truly special, an amigurumi squirrel is the perfect choice. It has that classic woodland charm, a round cuddly body, tiny paws, and the star of the show: a fluffy tail that instantly makes it look like a real little forest friend.
Explore more beginner amigurumi crochet patterns in our pattern library.
This crochet pattern is designed to be approachable for confident beginners while still teaching you the skills that make amigurumi look polished: clean shaping, tidy color changes, and assembly that gives your plush a balanced, professional silhouette. You can keep it simple with smooth yarn and a classic tail, or you can level it up with a brushed, fuzzy tail texture that adds so much personality.
Below you’ll find a full crochet tutorial style guide that covers materials, stitches, step-by-step instructions, finishing details (ears, muzzle, whiskers), and customization ideas so you can make your squirrel look exactly the way you want.
Detailed Description of the Crochet Pattern#
This is a seated amigurumi squirrel plush with a rounded head, plump body, small arms, sturdy feet, and a large upright tail attached at the back. The overall look is “cute realistic” rather than cartoonish, with a gentle face shape and a lighter belly/muzzle area for contrast.
How the squirrel is constructed
- Head: worked in continuous rounds with increases and invisible decreases for a smooth sphere
- Body: worked in continuous rounds, slightly oval and wider at the base to help it sit
- Belly patch: created using color changes or a sewn-on oval panel
- Arms: small tapered tubes, lightly stuffed and sewn to the upper body
- Feet: slightly wider base pieces that help stabilize the plush when seated
- Ears: small triangles or rounded ear shapes sewn to the top of the head
- Tail: a large, textured piece worked separately and sewn to the back, curved upward
Texture notes
The body is a tight single crochet fabric (classic amigurumi). The tail can be made in three beginner-friendly ways
- Smooth tail in single crochet for a clean, simple look
- Bobble or loop stitch tail for built-in fluff
- Brushed tail using a pet slicker brush on acrylic yarn for a fuzzy finish
The pattern below includes a reliable smooth tail plus optional fluff upgrades, so you can choose what fits your yarn and comfort level.
Skill Level Explanation#
Skill Level: Confident Beginner to Intermediate Beginner
You’ll do great if you already know
- Magic ring
- Single crochet (sc)
- Increase (inc) and decrease (dec)
- Working in continuous rounds (spiral)
- Basic sewing and assembly
Newer skills you’ll learn or practice
- Invisible decrease for clean shaping
- Optional color changes for belly and muzzle
- Tail texturing options (bobble, loop stitch, or brushing)
- Face detailing (nose shaping, whiskers, eye placement)
This is an “easy crochet pattern” in the sense that it uses simple stitches, but the finish looks much more detailed thanks to shaping and small features.
Materials Needed#
Yarn
A smooth yarn gives crisp stitches and a neat face, which is ideal for amigurumi.
Suggested yarn weights
- DK (Category 3) for a smaller squirrel
- Worsted (Category 4) for a medium plush
Recommended colors
- Main color A: medium brown (body, head, arms, feet, outer ears)
- Contrast color B: cream or beige (belly, muzzle, inner ears optional)
- Optional color C: darker brown (nose shading, tail tip shading)
Tail yarn options
- Use the same yarn as the body for a classic look
- Or use a fuzzy yarn for the tail only (bouclé, faux-fur, eyelash)
- Or brush acrylic yarn to create fluff (works best with acrylic)
Hook
Use a smaller hook than the yarn label suggests to avoid gaps
- DK yarn: 2.5–3.25 mm
- Worsted yarn: 3.0–4.0 mm
Pick the hook that makes stitches tight enough that stuffing won’t show.
Notions
- Stitch marker
- Yarn needle
- Scissors
- Fiberfill stuffing
- Safety eyes (8–12 mm depending on size) or embroidered eyes
- Black embroidery thread or thin black yarn (for nose/mouth)
- Optional: white thread (eye highlights)
- Optional: pet slicker brush for a fluffy brushed tail
- Optional: craft wire or pipe cleaner (only if you want a poseable tail, not recommended for small children)
Safety Note
If making for babies or toddlers, embroider the eyes and avoid wires. Secure all parts with extra stitching.
Stitches & Techniques Explained#
Common Abbreviations
- MR = magic ring
- sc = single crochet
- inc = increase (2 sc in same stitch)
- dec = decrease (use invisible decrease if possible)
- sl st = slip stitch
- ch = chain
- BLO = back loop only
- FLO = front loop only
- ( ) = repeat
- = stitch count
Invisible Decrease
Insert hook into the front loop of the next stitch, then the front loop of the following stitch, yarn over, pull through, yarn over, pull through two. This creates smoother shaping and fewer bumps.
Clean Color Change (If You Use a Belly Color Change)
On the last yarn-over of the stitch before the color switch, pull through with the new color. This makes the change look sharper and more intentional.
Optional Tail Fluff Methods
Brushed tail (best for acrylic yarn)
- After crocheting the tail, gently brush the surface with a pet slicker brush
- Brush in small sections, lightly at first
- The fibers will lift and look fluffy
Bobble tail (built-in texture)
- Replace some tail rounds with bobble stitches spaced evenly
- This creates a bumpy, plush tail texture without brushing
Loop stitch tail (most “fur-like”)
- Use loop stitch to form loops on the outside of the tail
- Trim loops lightly if desired
Step-by-Step Instructions#
Finished Size
With worsted yarn and a 3.25 mm hook, expect about 6–9 inches (15–23 cm) tall when seated. DK yarn makes a smaller squirrel.
Notes Before You Start
- Work in continuous rounds unless stated
- Use a stitch marker and move it each round
- Stuff firmly but do not overstuff (overstuffing can stretch stitches)
- For best results, sew pieces on using pins first to test placement
Color Key
- A = Brown (main)
- B = Cream/Beige (contrast)
Head (Color A)
Round 1: 6 sc in MR [6]
Round 2: inc around [12]
Round 3: (sc, inc) around [18]
Round 4: (2 sc, inc) around [24]
Round 5: (3 sc, inc) around [30]
Round 6: (4 sc, inc) around [36]
Rounds 7–10: sc around [36]
Eye placement
- Place eyes between Rounds 8–9
- Space about 6–8 stitches apart depending on size and the look you want
Round 11: (4 sc, dec) around [30]
Round 12: (3 sc, dec) around [24]
Round 13: (2 sc, dec) around [18]
Stuff firmly, shaping into a smooth sphere.
Round 14: (sc, dec) around [12]
Round 15: dec around [6]
Fasten off and close.
Muzzle Patch (Color B, optional but recommended)
This creates a soft lighter face area.
Ch 6
Row 1: sc in 2nd ch from hook, sc across (5), ch 1, turn
Row 2: sc across (5), ch 1, turn
Row 3: sc2tog, sc 1, sc2tog (3), ch 1, turn
Row 4: sc across (3)
Fasten off with a long tail for sewing.
Sew this centered below the eyes. Add a little stuffing behind it if you want a rounded muzzle.
Nose and Mouth Embroidery
- Use black embroidery thread or thin black yarn
- Stitch a small triangular or rounded nose at the top center of the muzzle
- Add a short vertical stitch down, then a small smile curve to each side
Optional whiskers
- Use thin thread or fishing line
- Insert from inside the head and pull out through the cheek area
- Tie off securely inside
Body (Start Color A)
Round 1: 6 sc in MR [6]
Round 2: inc around [12]
Round 3: (sc, inc) around [18]
Round 4: (2 sc, inc) around [24]
Round 5: (3 sc, inc) around [30]
Round 6: (4 sc, inc) around [36]
Round 7: (5 sc, inc) around [42]
Rounds 8–12: sc around [42]
Optional belly panel method 1 (color change belly)
If you want the belly built in rather than sewn on, you can work a front section in Color B for these rounds
- Identify the front center of the body
- For each round, work a block of 10–14 stitches in Color B at the front, and the rest in Color A
- Keep the Color B section centered each round
Shape down
Round 13: (5 sc, dec) around [36]
Round 14: sc around [36]
Round 15: (4 sc, dec) around [30]
Round 16: sc around [30]
Stuff firmly, especially the base. Add a small weight pouch if you want extra stability.
Round 17: (3 sc, dec) around [24]
Round 18: (2 sc, dec) around [18]
Round 19: (sc, dec) around [12]
Round 20: dec around [6]
Fasten off and close.
Optional belly panel method 2 (sewn-on oval)
If you prefer a cleaner look, crochet a simple oval in Color B and sew it onto the front of the body after stuffing
- Ch 7
- Work an oval around the chain with sc
- Add 1–2 more rounds until it fits the belly area
This method keeps the body fabric uninterrupted and looks very neat.
Arms (Make 2, Color A)
Round 1: 6 sc in MR [6]
Round 2: (sc, inc) around [9]
Rounds 3–6: sc around [9]
Lightly stuff the lower half only so the arms stay soft and poseable.
Flatten the opening and sc across to close. Fasten off with a long tail.
Feet (Make 2, Color A)
These are small rounded feet that help the squirrel sit.
Round 1: 6 sc in MR [6]
Round 2: inc around [12]
Round 3: (sc, inc) around [18]
Rounds 4–5: sc around [18]
Round 6: (4 sc, dec) around [15]
Round 7: sc around [15]
Stuff firmly. Flatten slightly so the base is stable.
Fasten off with a long tail for sewing.
Optional toe detail
Add 2–3 small embroidery stitches in a slightly darker brown to suggest toes.
Ears (Make 2, Color A with optional Color B inner)
Simple ear shape
Round 1: 6 sc in MR [6]
Round 2: (sc, inc) around [9]
Round 3: sc around [9]
Fasten off with a tail.
Pinch the bottom slightly to form a soft triangle and sew to head.
Optional inner ear
Make a smaller circle in Color B
- MR 6 sc
- Fasten off
Sew inside the ear before attaching to the head.
Tail (Color A)
This tail is designed to be large and upright. It’s worked in rows as an oval/leaf shape, then lightly stuffed (optional) and attached.
Ch 16
Row 1: sc in 2nd ch from hook and across (15), ch 1, turn
Row 2: sc across (15), ch 1, turn
Row 3: sc2tog, sc 11, sc2tog (13), ch 1, turn
Row 4: sc across (13), ch 1, turn
Row 5: sc2tog, sc 9, sc2tog (11), ch 1, turn
Row 6: sc across (11), ch 1, turn
Row 7: sc2tog, sc 7, sc2tog (9), ch 1, turn
Row 8: sc across (9), ch 1, turn
Row 9: sc2tog, sc 5, sc2tog (7), ch 1, turn
Row 10: sc across (7), ch 1, turn
Row 11: sc2tog, sc 3, sc2tog (5), ch 1, turn
Row 12: sc across (5)
Fasten off with a long tail.
Edging round (optional but recommended)
- Work sc evenly around the tail edge to smooth it
- Add 3 sc at the tip for a rounded point
Tail shaping options
- Leave flat for a simple tail silhouette
- Add a small amount of stuffing near the base only for structure
- Insert a pipe cleaner inside if you want it poseable (not for children)
Fluffy tail upgrade (brushed method)
- If using acrylic yarn, gently brush the tail surface after it’s sewn on
- Brush the outer edge and center more than the base
- Keep the base less brushed so stitches stay strong where it attaches
Fluffy tail upgrade (bobble method)
- Instead of plain sc rows, add bobbles every 3rd stitch on Rows 2, 4, 6, and 8
- Keep the decreases at row edges the same
This creates a naturally bumpy, fluffy look without brushing.
Assembly#
Assembly is where your squirrel really comes to life, so take your time and pin pieces first.
Attach head to body
- Position the head slightly forward so the squirrel looks upright and alert
- Sew securely around the neck edge
- Add a little extra stuffing at the neck if needed to prevent wobble
Attach muzzle
- Sew the muzzle patch centered below the eyes
- Add nose and mouth embroidery
- Add whiskers if using
Attach ears
- Place ears high on the head, slightly to the sides
- Angle them slightly outward for a cute woodland look
- Sew firmly
Attach arms
- Sew arms to the upper sides of the body, slightly forward
- Keep them level with each other so the squirrel looks balanced
Attach feet
- Sew feet at the lower front of the body
- Angle them outward slightly
- Check that the squirrel can sit without tipping
Attach tail
- Sew tail to the back of the body, starting near the lower back and going upward
- Angle it so it curves behind the head
- Stitch extra firmly at the base because the tail is a focal point
- If the tail flops, add a few hidden stitches from the tail edge into the upper back for support
Final shaping
- Use your hands to gently shape the body and head
- Press the base flatter if needed
- Adjust stuffing by pushing it into place
Common Mistakes and How to Avoid Them#
Safety eyes placed too high or too wide
- Before locking safety eyes, test placement with pins or by lightly inserting them and checking the face from multiple angles
- A slightly closer set of eyes often looks cuter for amigurumi
Gaps showing stuffing
- Use a smaller hook
- Keep tension tight and consistent
- Avoid overstuffing, which stretches stitches
Lopsided head or body
- Count every round
- Move your stitch marker correctly
- If your spiral drifts, that’s normal, but your stitch count must stay correct
Tail won’t stand up
- Stuff only the base area slightly
- Add extra attachment stitches
- Consider a hidden support stitch from tail edge into upper back
- Use brushed fluff carefully so you don’t weaken the base stitches
Seams look messy
- Use long yarn tails and small, even whip stitches
- Sew through stitch loops neatly instead of grabbing random strands
- Pin everything before sewing to avoid repositioning multiple times
Expert Tips for Better Results#
- Use invisible decreases everywhere you decrease for a smoother finish
- Embroider the face before attaching the head to the body if you like working on a flat piece
- Add a tiny white stitch to each eye as a highlight for instant charm
- If you brush the tail, brush gradually and stop before the yarn looks “thinned” at seams
- For extra realism, use a slightly lighter brown for the muzzle and inner ears instead of pure cream
- If you want a more “plush toy” feel, use a soft acrylic yarn for the body and a fuzzy yarn for the tail only
Variations and Customization Ideas#
- Add a tiny acorn accessory
- Crochet a small brown oval for the nut and a darker cap, then stitch into the squirrel’s hands
- Make it a keychain
- Use DK yarn and a smaller hook, skip the feet, and add a loop at the top of the head
- Change the vibe with colors
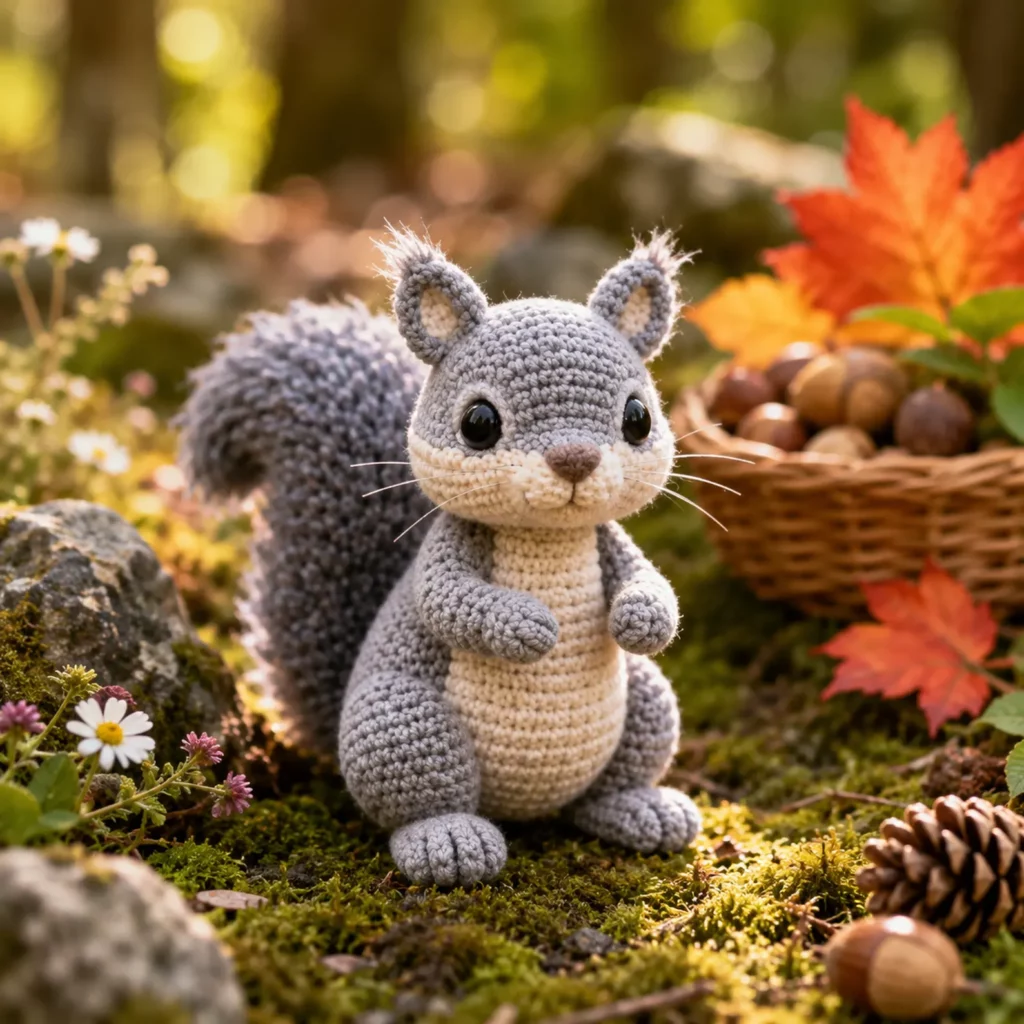
- Gray squirrel: gray body with white belly
- Red squirrel: warm orange-brown body with cream belly
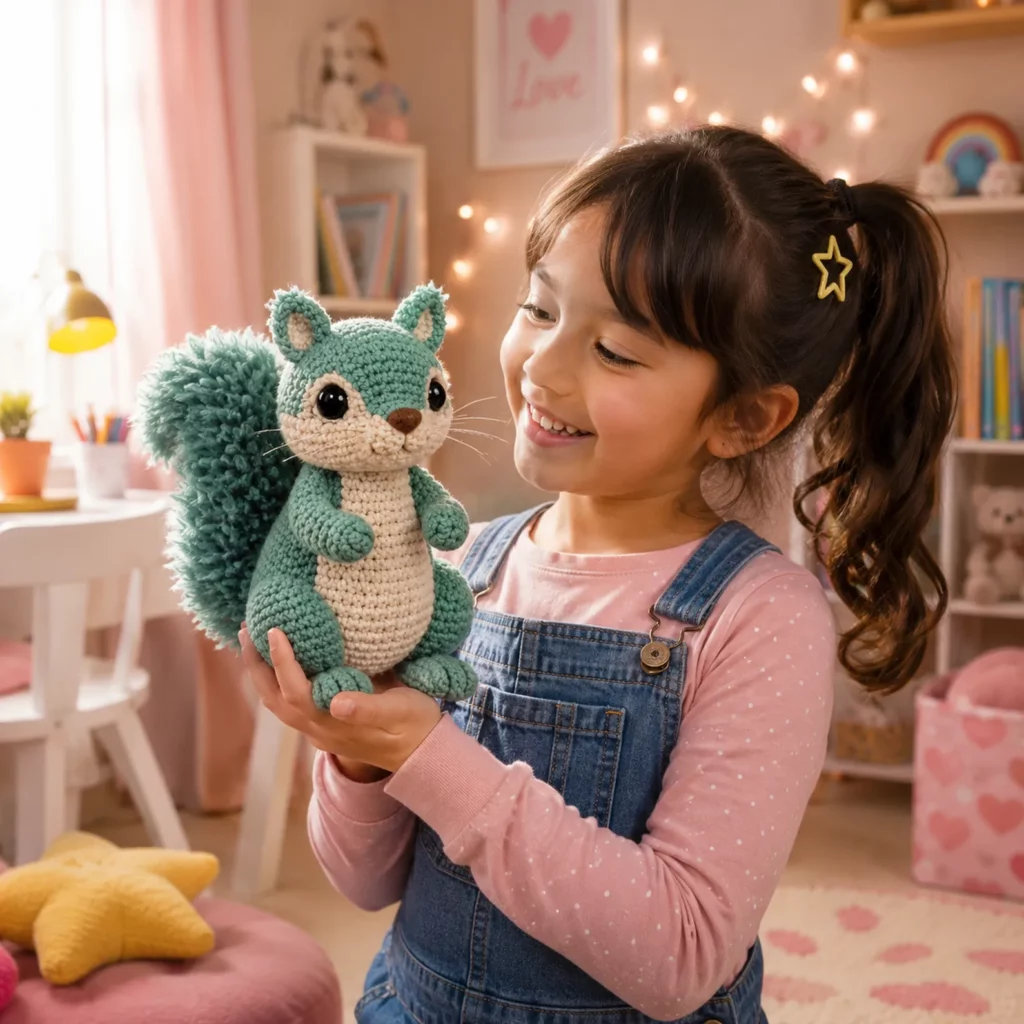
- Fantasy squirrel: pastel body with a sparkly tail
- Add a scarf
- A simple chain and row of sc makes a cute scarf and hides neck seams
- Add texture to the body
- Work a few rounds in hdc blo for subtle ridges, or add tiny bobbles on the tail base only
Benefits of This Crochet Project#
- Quick, satisfying make with big personality
- Builds core amigurumi skills like shaping and assembly
- Great stash-buster for small amounts of contrast yarn
- Customizable for many squirrel colorways
- Makes a charming gift for kids, nature lovers, and woodland-themed nurseries
- Offers multiple tail options, from simple to extra fluffy
Internal Linking Suggestions#
- How to Crochet a Magic Ring for Beginners
- Invisible Decrease Tutorial for Amigurumi
- Best Yarn for Amigurumi: Cotton vs Acrylic
- How to Attach Amigurumi Parts Neatly
- Easy Crochet Woodland Animals Collection
- How to Brush Acrylic Yarn for a Fluffy Finish
FAQ#
Is this crochet pattern suitable for beginners?
Yes, as long as you’re comfortable with single crochet, increasing, and decreasing. The shaping is straightforward and the pieces are small, which makes it a great beginner-friendly amigurumi project.
What yarn works best for amigurumi squirrels?
Smooth DK or worsted yarn gives clean stitch definition. Acrylic is especially good if you want to brush the tail for fluff.
How do I make the tail fluffy without fuzzy yarn?
Use acrylic yarn and gently brush the finished tail with a pet slicker brush. Brush lightly in sections until the fibers lift.
Can I make this squirrel baby-safe?
Yes. Embroider the eyes instead of using safety eyes, avoid wire supports, and stitch all parts very securely.
Why does my amigurumi look lopsided?
It’s usually from missed stitch counts or tension changes. Use a stitch marker, count each round, and keep your tension steady.
How do I keep the squirrel sitting upright?
Stuff the base firmly, flatten the bottom slightly, position the feet evenly, and attach the tail securely. Adding a small weight pouch inside the base also helps.
Conclusion#
An amigurumi squirrel is one of those crochet pattern projects that feels instantly lovable. The shapes are simple, the details are fun, and that big tail gives you lots of room to personalize the look, from smooth and classic to fluffy and extra cuddly. Take your time with eye placement and assembly, and you’ll end up with a woodland plush that looks polished and gift-worthy.
If you tell me your yarn weight and hook size, I can suggest the best safety-eye size and help you scale the pattern smaller or larger while keeping the proportions cute.


