


Introduction#
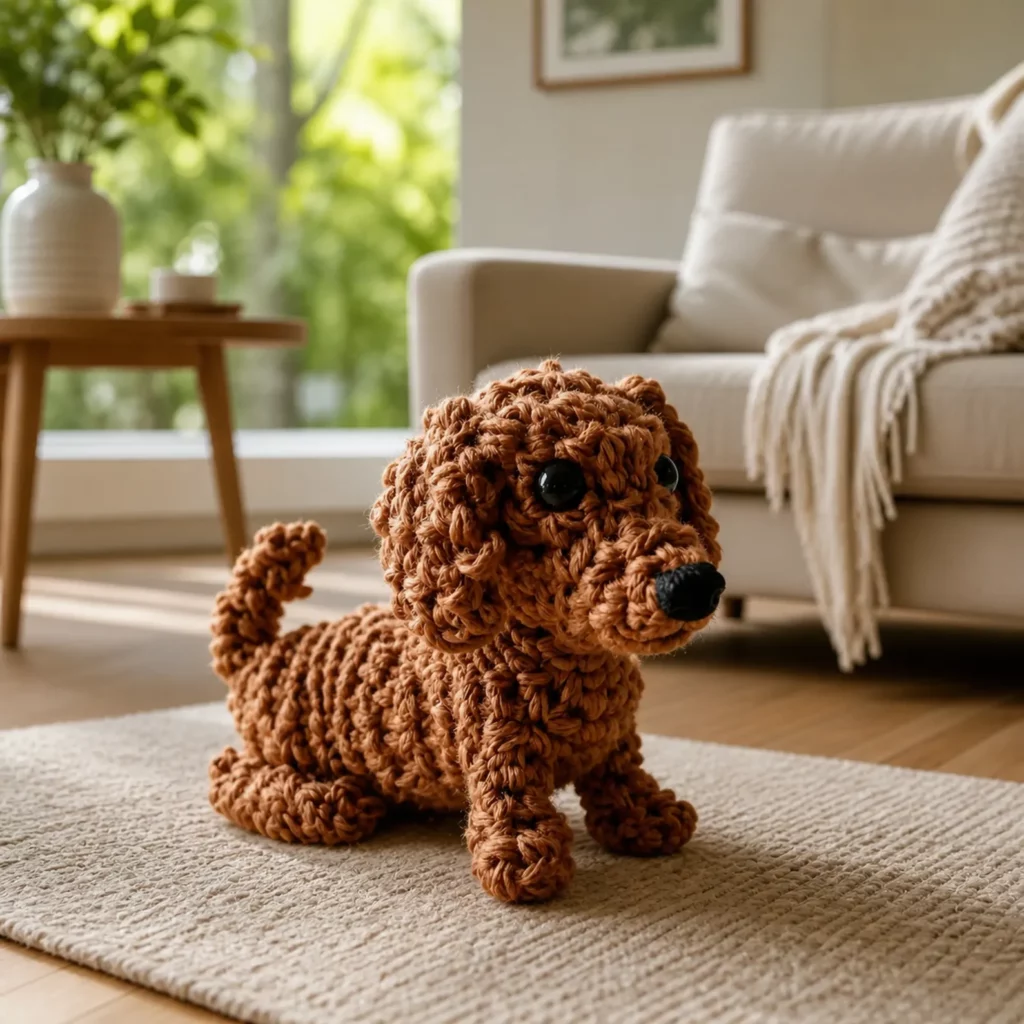
If you’ve ever wanted a crochet project that’s small, adorable, and instantly recognizable as a “puppy,” this one is a perfect pick. A curly-coated dog amigurumi is extra special because the texture does half the work—those little loops and bumps make the toy look fluffy and lifelike, even with a simple body shape.
Explore more beginner amigurumi crochet patterns in our pattern library.
This crochet pattern walks you through making a long-bodied, short-legged puppy with a rounded head, a sweet snout, and a perky tail. The style is great for dachshund lovers, doodle fans, or anyone who just wants a cute handmade dog for a shelf, gift basket, or craft fair table. Even better: you can use the same basic pattern to make lots of breeds by changing the ears, muzzle, and “fur” stitch.
You’ll find everything here: yarn and hook tips, stitch explanations, a beginner-friendly crochet tutorial, and detailed step-by-step instructions. Let’s make your own curly pup!
Detailed Description of the Crochet Pattern#
This puppy amigurumi uses a simple construction with a big payoff:
- Head: a classic amigurumi sphere with a slightly extended snout
- Body: a long oval “sausage” shape so the puppy looks stretched out and cuddly
- Legs: short cylinders that help it sit or stand low to the ground
- Tail: a small curved tube attached at the back
- Fur texture: created with either a loop-style stitch or puff-style stitch to mimic curls
- Face: safety eyes or embroidered eyes, plus a small nose (embroidered or safety nose)
The final look is plush and textured, but the shaping stays beginner-friendly because most pieces are simple tubes and rounds.
Skill Level Explanation#
This is an easy-to-intermediate crochet project.
Beginner-friendly skills:
- Working in the round
- Single crochet, increases, decreases
- Stuffing and shaping
- Basic sewing (assembly)
Intermediate element:
- The curly “fur” stitch (still very learnable!)
If you’re new to textured stitches, don’t worry—this pattern gives you two fur options:
- Option A (easiest): use a textured yarn (bouclé/chenille) and crochet in single crochet
- Option B (most defined): use a loop/puff-style stitch with smooth yarn to create curls
Materials Needed#
Yarn
You can make this puppy with standard yarn or with a novelty yarn for extra fluff.
Recommended yarn options:
- Worsted weight (#4) smooth yarn for clean stitch definition
- Worsted weight (#4) textured/bouclé yarn for instant “curly coat”
- Plush/chenille yarn works too (but use tight stitches to avoid gaps)
Colors:
- Main color: warm rust/brown
- Nose: black
- Optional: a tiny bit of pink for cheeks
Yardage estimate:
Most small-to-medium amigurumi dogs take 150–300 yards depending on size, stitch choice, and yarn thickness.
Hook
- Smooth worsted: 3.0–3.5 mm for tight fabric
- Textured yarn: 4.0–5.0 mm (or what gives you a dense fabric)
Amigurumi tip: pick a hook that makes fabric tight enough that stuffing won’t show.
Notions
- Fiberfill stuffing
- Stitch marker
- Yarn needle
- Scissors
- Safety eyes (optional): 8–12 mm depending on size
- Black embroidery floss or yarn for nose/mouth
- Optional: pet slicker brush (only if using acrylic and you want to gently “fuzz” the surface)
Stitches & Techniques Explained#
Abbreviations (US terms)
- MR = magic ring
- sc = single crochet
- inc = increase (2 sc in same stitch)
- dec = invisible decrease (sc2tog through front loops)
- sl st = slip stitch
- ch = chain
- BLO = back loop only
- ps = puff stitch (optional texture)
Curly fur options
Option A: Curly yarn + sc (fastest)
If you use bouclé or textured yarn, simple single crochet already looks curly.
Option B: Puff stitch texture (defined curls)
A puff stitch creates a raised “bump” that mimics curls when repeated.
Simple puff stitch (ps):
- Yarn over, insert hook, pull up a loop (3 loops)
- Yarn over, insert hook, pull up a loop (5 loops)
- Yarn over, insert hook, pull up a loop (7 loops)
- Yarn over, pull through all loops, ch 1 to close
You can sprinkle puff stitches in a pattern (like every other stitch) for a curly look without making the fabric too stiff.
Step-by-Step Instructions#
Notes:
- Work in continuous rounds unless stated
- Use a stitch marker in the first stitch of each round
- Stuff firmly but don’t stretch stitches
Head (main color)
R1: MR 6 sc [6]
R2: inc x6 [12]
R3: (sc, inc) x6 [18]
R4: (2 sc, inc) x6 [24]
R5: (3 sc, inc) x6 [30]
R6: (4 sc, inc) x6 [36]
R7–R10: sc around [36]
Place eyes:
- Insert safety eyes between R8–R9 about 7–9 stitches apart (adjust to taste).
Shape down:
R11: (4 sc, dec) x6 [30]
R12: (3 sc, dec) x6 [24]
Stuff head.
R13: (2 sc, dec) x6 [18]
R14: (sc, dec) x6 [12]
R15: dec x6 [6]
Fasten off, close, weave in.
Snout (main color)
R1: MR 6 sc [6]
R2: (sc, inc) x3 [9]
R3: sc around [9]
R4: (sc, dec) x3 [6]
Lightly stuff, sew to lower front of head.
Embroider nose:
- Stitch a small black oval/triangle at the tip of the snout.
Optional: add a tiny mouth line under the nose.
Body (main color, long shape)
This creates the “stretched out” puppy look.
R1: MR 6 sc [6]
R2: inc x6 [12]
R3: (sc, inc) x6 [18]
R4: (2 sc, inc) x6 [24]
R5–R12: sc around [24]
R13: (2 sc, dec) x6 [18]
Stuff firmly, shaping into an oval tube.
R14: sc around [18]
R15: (sc, dec) x6 [12]
R16: dec x6 [6]
Fasten off, close.
Curly texture add-on (optional):
If you’re using smooth yarn and want curls, replace some sc rounds in the body with:
- sc, ps repeated around, or ps in every other stitch for a bumpy coat effect.
Legs (make 4, main color)
R1: MR 6 sc [6]
R2: (sc, inc) x3 [9]
R3–R6: sc around [9]
Lightly stuff, flatten, sew closed. Leave tails for sewing.
Attach legs:
- Sew two legs near the front underside of the body
- Sew two legs near the back underside
Keep them low and slightly angled so the puppy looks “crouched” or “lying low.”
Tail (main color)
R1: MR 6 sc [6]
R2–R6: sc around [6]
Optional curve: lightly stuff and bend as you sew to the body.
Sew tail to the back top area.
Assembly
- Sew snout to head
- Sew head to the front of the body (slightly angled upward for a cute pose)
- Attach legs
- Attach tail
- Final shaping: add a bit more stuffing where needed and massage into place
Optional finishing:
- Add tiny blush marks with pink yarn
- Add a small collar (chain 25–35, slip stitch around neck, add a charm or bow)
Common Mistakes and How to Avoid Them#
Stuffing shows through the “fur” stitch
- Use a smaller hook and tighter tension
- If using puff stitches, don’t make them overly loose
- Use stuffing in small tufts (not big chunks)
Body looks uneven or lumpy
- Stuff gradually and shape often
- Add extra stuffing near the center so the body stays nicely rounded
Legs look crooked
- Pin all legs before sewing
- Count stitches from the center line so placement matches on both sides
Textured yarn is hard to see stitches
- Use stitch markers every few stitches
- Feel for stitch tops (the “V”) with your fingers
- Consider using smooth yarn for the structure and adding texture only in certain areas
Expert Tips for Better Results#
- For a truly curly look with smooth yarn: use puff stitches only on the head and back, and keep belly plain sc so it sits nicely.
- If you want the dog to stand better: slightly flatten the bottoms of the legs and sew them wider apart.
- Add a tiny pinch of stuffing behind the snout to “push” it forward for a cuter profile.
- Embroidered eyes can look extra sweet—try simple curved “sleepy” eyes for a calm puppy vibe.
Variations and Customization Ideas#
- Make it a dachshund: lengthen the body (add more plain rounds) and shorten legs slightly.
- Make it a poodle/doodle: add more puff stitches, and add floppy ears.
- Make it a puppy keychain: use DK yarn and a smaller hook, and add a loop on the head.
- Add spots: change color in a few rounds or sew small circles on the body.
- Holiday version: add a tiny scarf or a bow tie.
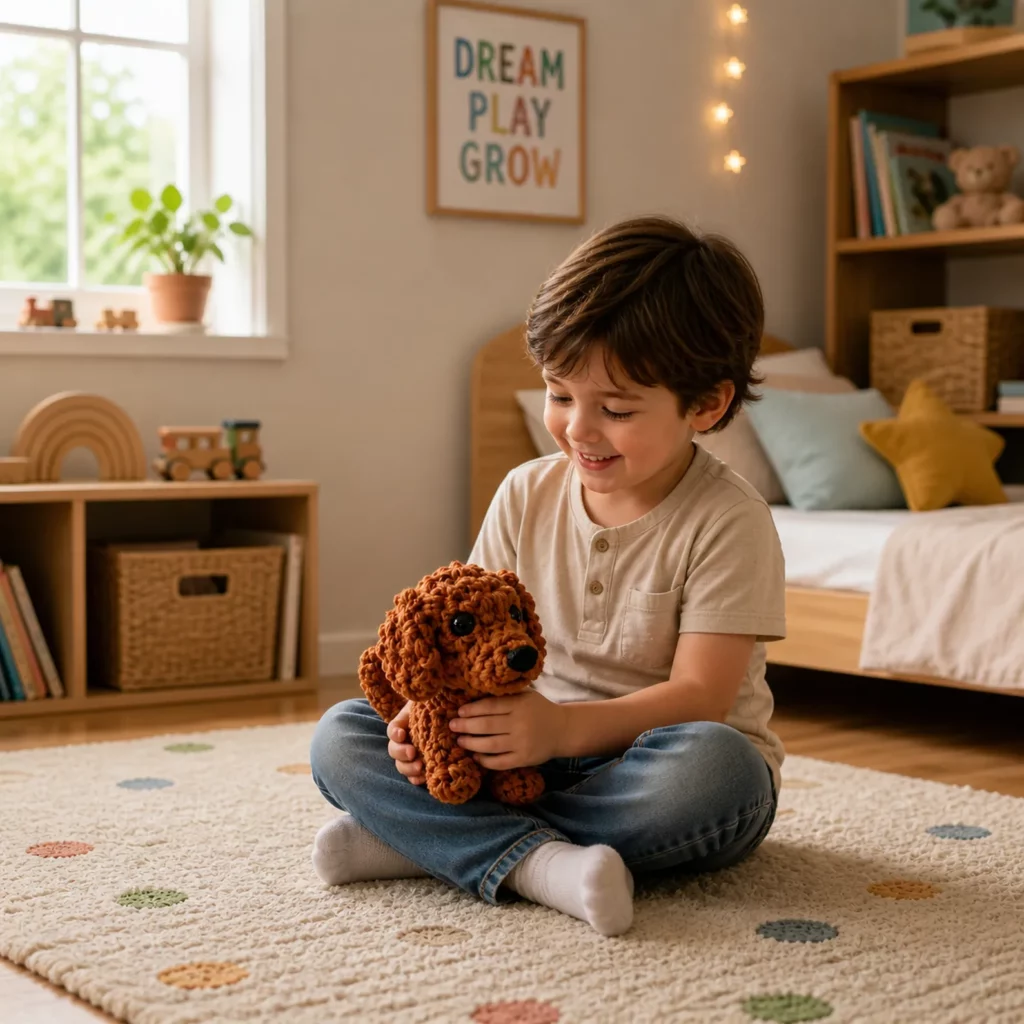
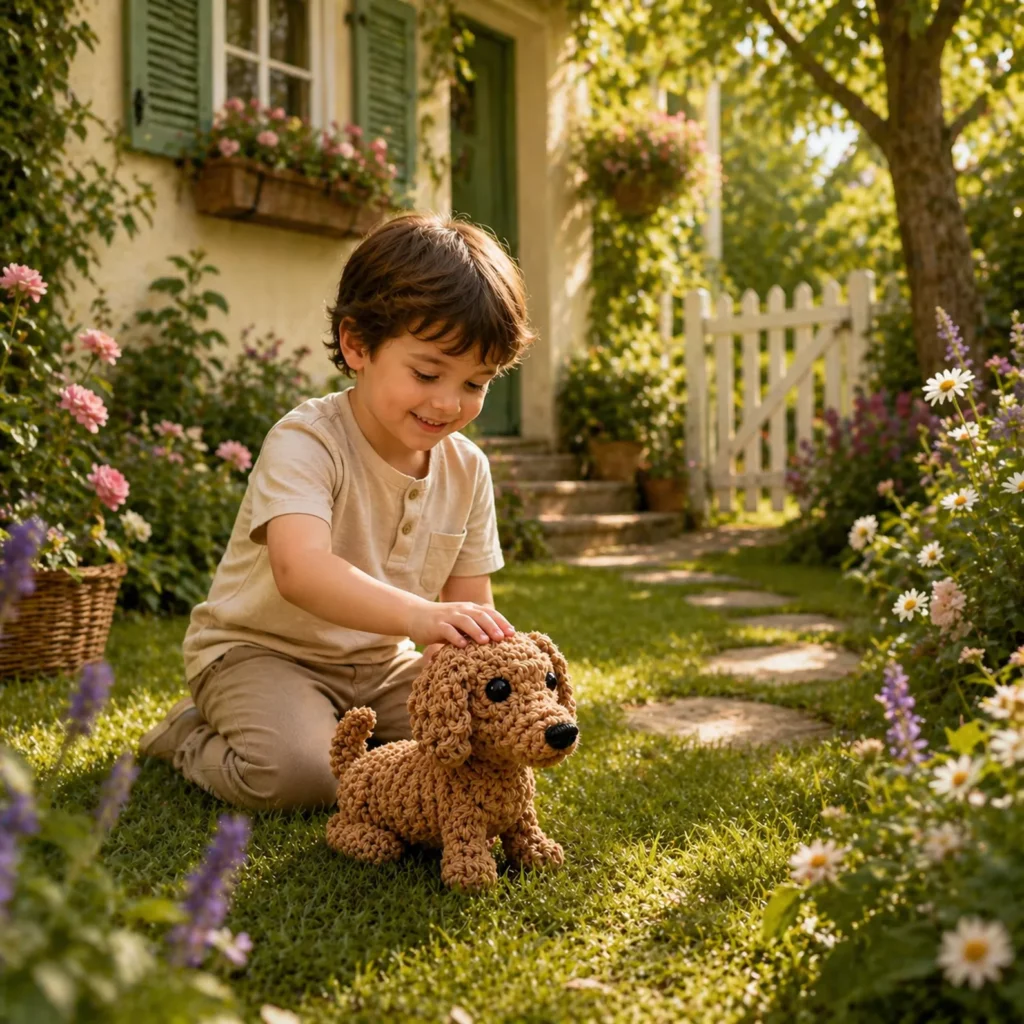
Benefits of This Crochet Project#
- A quick, giftable plush that appeals to all ages
- Teaches amigurumi shaping plus optional texture techniques
- Customizable into many dog “breeds”
- Great stash-buster for small yarn amounts
- Strong blog topic: “crochet pattern,” “free crochet pattern,” and “crochet for beginners” are evergreen search terms
Internal Linking Suggestions#
You may also like…
- Magic Ring Crochet Tutorial for Beginners
- How to Crochet an Invisible Decrease
- Beginner Amigurumi Patterns (Balls, Bears, Bunnies)
- Easy Crochet Pet Accessories (Collars, Bandanas)
- How to Sew Amigurumi Parts Neatly
FAQ Section#
What stitch makes amigurumi look curly?
Puff stitches and loop-style stitches create raised texture that looks like curls. You can also use bouclé yarn for instant curly fur.
Is this a good crochet pattern for beginners?
Yes. The shapes are simple (mostly tubes and rounds). The only optional challenge is the textured fur stitch.
What yarn is best for crochet dog amigurumi?
Worsted acrylic or cotton blend works well. Textured yarn creates fur easily but can be harder to see stitches.
Can I make this puppy without safety eyes?
Yes. Embroider eyes with black yarn or floss for a baby-safe option.
How do I resize the dog?
Use thicker yarn and a larger hook to size up, or DK yarn and a smaller hook to size down. Keep stitch counts the same.
Conclusion#
This curly puppy amigurumi is the perfect mix of simple shaping and high-impact texture. With a long body, short legs, and a sweet little face, it’s a crochet project you’ll want to make again and again—especially because you can customize it into so many different “puppy personalities.”
If you tell me whether you’re using smooth yarn or textured yarn, I can suggest the best hook size and the easiest fur option so your finished puppy looks as curly and cute as you want.


