


Introduction#
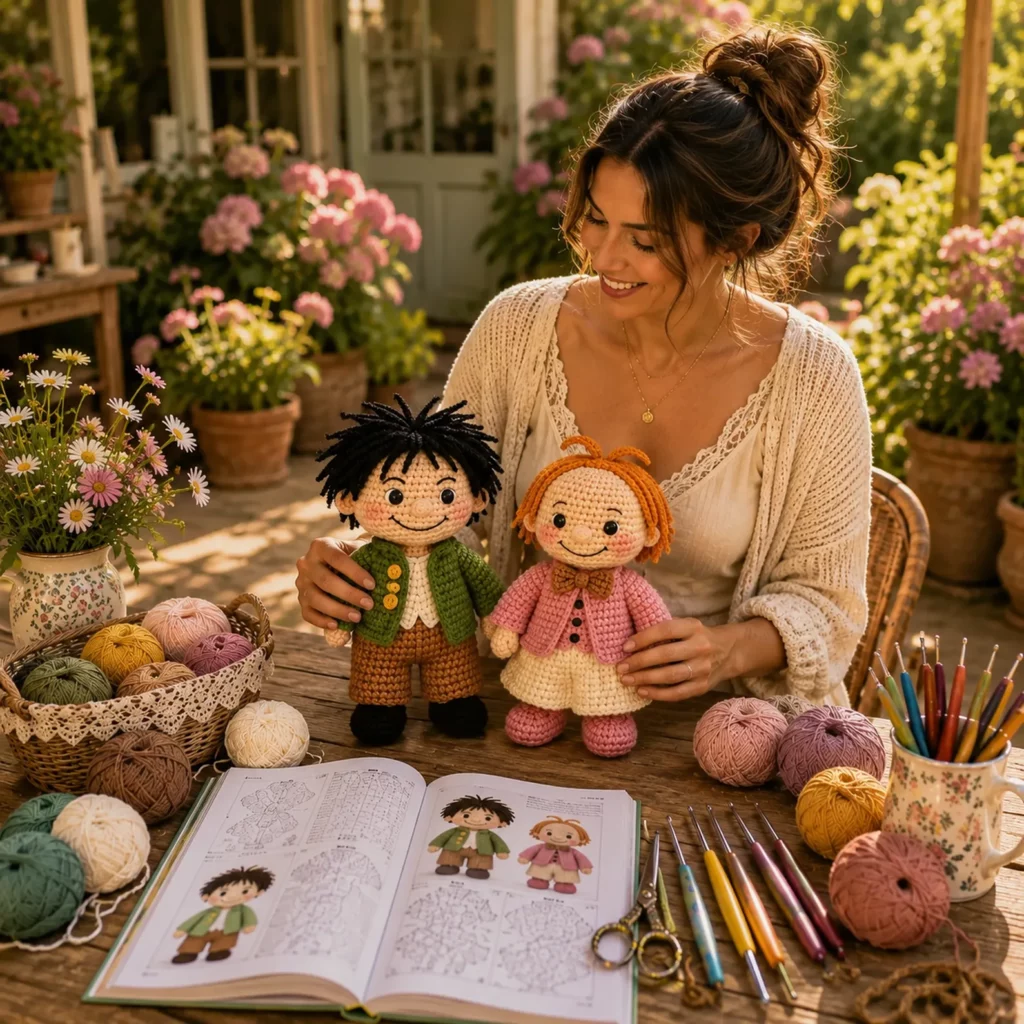
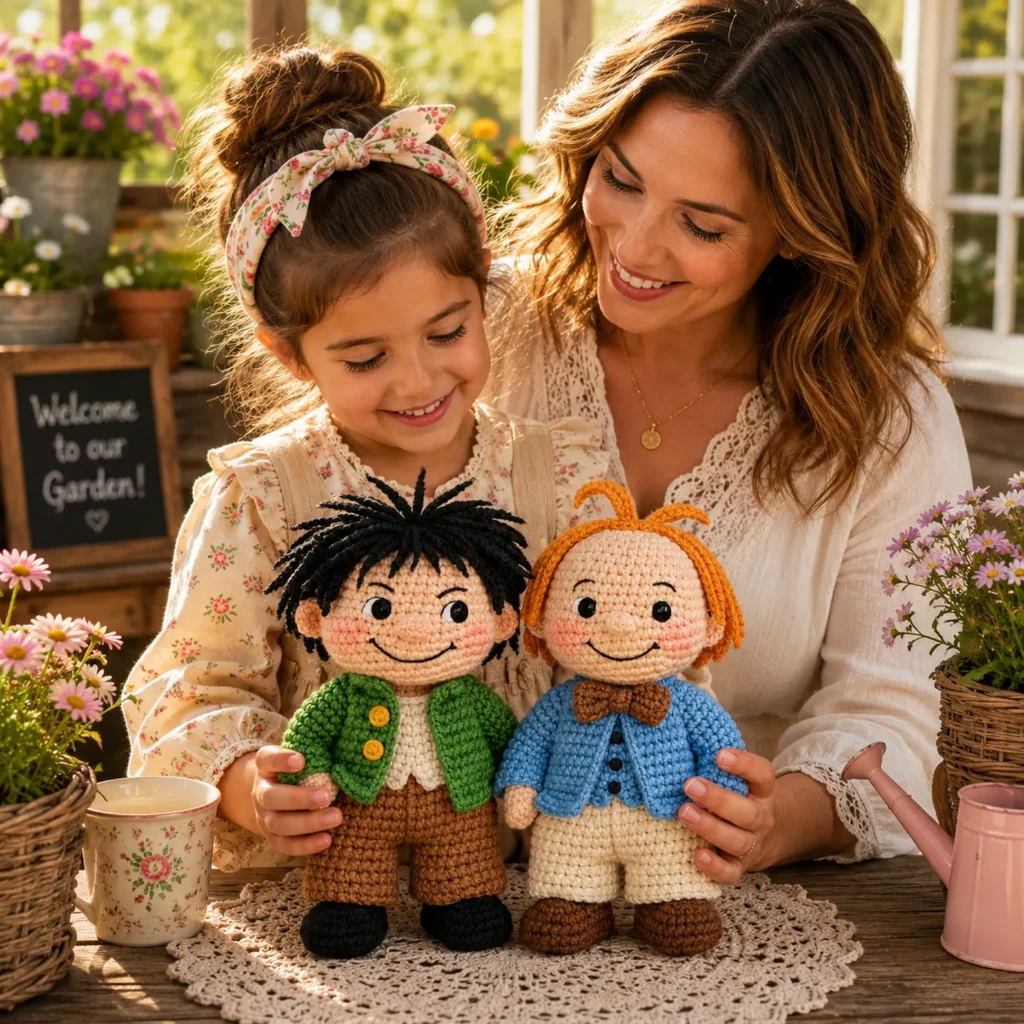
If you love crochet projects that feel personal, giftable, and full of charm, a pair of best friend amigurumi dolls is one of the most satisfying makes you can try. You get all the joy of classic amigurumi shaping, plus the extra fun of dressing your dolls in tiny outfits that look like real clothes: cozy cardigans, neat trousers, and even a sweet little bow tie.
Explore more beginner amigurumi crochet patterns in our pattern library.
This crochet pattern is also a great “confidence builder” because it teaches you how to create a clean base doll body and then add clothing pieces on top. Once you learn the method, you can mix and match colors, change hairstyles, swap cardigans for hoodies, or turn the pair into siblings, friends, or a custom gift set that matches someone you love.
In this crochet tutorial, I’ll walk you through a complete, beginner-friendly approach: a shared base pattern for both dolls, two outfit variations, and two hair styles (spiky short hair and side-swept strands). You’ll also learn how to keep faces symmetrical, how to get clothing to fit smoothly, and how to assemble everything so your dolls stand neatly and look polished.
Detailed Description of the Crochet Pattern#
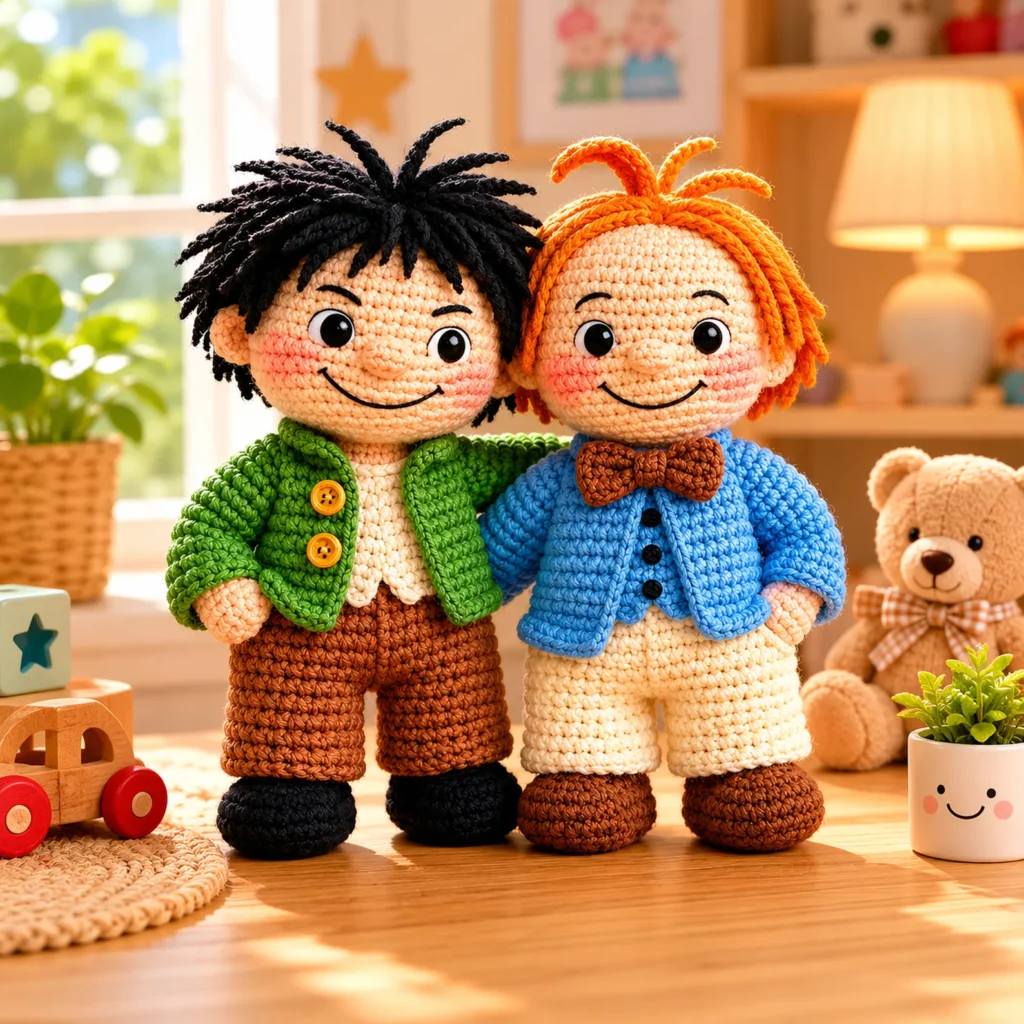
This project creates two human-style amigurumi dolls with oversized heads, stitched smiles, and simple expressive eyebrows. The bodies are slightly elongated so the dolls can stand or sit with support, and the outfits are made as separate pieces for a “real clothing” look rather than just color changes.
Doll set features
Round, smooth head with safety eyes and embroidered smile
Soft blush cheeks (optional)
Two hairstyle options: spiky short hair and side strand hair with a small curl detail
Outfit A: green cardigan with yellow buttons, cream shirt, brown pants, dark shoes
Outfit B: blue cardigan with small dark buttons, cream pants, brown shoes, and a brown bow tie
Construction overview
Crochet the head first, then embroider facial features
Crochet torso and legs, then attach arms
Make clothing pieces separately (cardigans, pants, bow tie)
Sew clothing on in a clean, fitted way
Add hair last so you can position it around the face perfectly
This is a crochet pattern you can repeat again and again because the base doll stays the same and only the styling changes.
Skill Level Explanation#
Skill level: Confident beginner to intermediate beginner
Perfect for
Crochet for beginners who’ve made at least one small amigurumi
Anyone who wants to learn doll clothing basics
Gift makers who want a thoughtful handmade set
Skills you’ll use
Magic ring and working in continuous rounds
Single crochet, increases, invisible decreases
Basic sewing and assembly
Simple garment panels (cardigans)
Hair attachment techniques (strand hair or crocheted hair pieces)
The stitches are simple. The “pro look” comes from neat shaping and careful assembly.
Materials Needed#
Yarn
Worsted weight (Category 4) yarn works well for dolls around 9–12 inches (23–30 cm).
Skin tone yarn (choose your preferred shade)
Cream/off-white yarn for shirts and pants
Green yarn for cardigan A
Blue yarn for cardigan B
Brown yarn for pants or shoes
Black or dark yarn for shoes and stitched facial details
Hair yarn: black for Doll A, orange/ginger for Doll B (or any colors you like)
Hook
3.0–3.75 mm for worsted yarn (use smaller than label suggests for tight stitches)
Notions
Safety eyes 10–14 mm (or embroider eyes for child-safe version)
Tapestry needle
Scissors
Fiberfill stuffing
Stitch marker
Optional: small buttons (if age appropriate) or crochet button dots
Optional: blush yarn or makeup for cheeks
Safety note
If these dolls are for very young children, skip small buttons and use embroidered or crocheted circles instead. Always secure eyes well or embroider them.
Stitches & Techniques Explained#
Abbreviations
MR magic ring
sc single crochet
inc increase (2 sc in one stitch)
dec invisible decrease (sc2tog using front loops)
sl st slip stitch
ch chain
BLO back loop only
FLO front loop only
st stitch
rep repeat
Invisible decrease
Use invisible decreases for smoother faces and cleaner doll shaping.
Clean color changes
Change color on the last yarn-over of the stitch before the new color begins.
Hair attachment options
Strand hair: fastest, very customizable, great for spiky or shaggy looks
Crocheted hair cap: neat and stable, good for smoother styles
This tutorial uses a simple hair cap plus strands so you get control and a tidy finish.
Step-by-Step Instructions#
Finished size
With worsted yarn and a 3.5 mm hook: approximately 10–12 inches (25–30 cm), depending on stuffing and leg length.
Notes
Work in continuous rounds unless stated
Use a stitch marker to track rounds
Stuff firmly but don’t overstuff the neck area
Pin pieces before sewing
Part 1: Head (make 2)
R1 6 sc in MR (6)
R2 inc around (12)
R3 (sc, inc) around (18)
R4 (2 sc, inc) around (24)
R5 (3 sc, inc) around (30)
R6 (4 sc, inc) around (36)
R7 (5 sc, inc) around (42)
R8–R12 sc around (42)
Place safety eyes between R10–R11, about 8–10 stitches apart.
R13 (5 sc, dec) around (36)
R14 sc around (36)
R15 (4 sc, dec) around (30)
R16 sc around (30)
Begin stuffing firmly.
R17 (3 sc, dec) around (24)
R18 (2 sc, dec) around (18)
R19 (sc, dec) around (12)
R20 dec around (6)
Fasten off, close, weave in.
Face details
Embroider a curved smile centered 2–3 rounds below the eyes.
Add simple eyebrows with a short curved stitch above each eye.
Optional cheeks: lightly blush the cheek area or stitch small pink ovals.
Part 2: Ears (make 4)
R1 6 sc in MR (6)
R2 (sc, inc) around (9)
R3 sc around (9)
R4 (2 sc, dec) around (6)
Flatten, fasten off with a sewing tail.
Sew ears slightly below eye line, 2–3 stitches back from the eyes.
Part 3: Body and Legs (make 2 bodies, 4 legs)
Legs (make 4, pants color or cream depending on doll)
R1 6 sc in MR (6)
R2 inc around (12)
R3 sc around (12)
R4 (4 sc, dec) around (10)
R5–R11 sc around (10)
Stuff firmly, flatten top, fasten off with tail.
Torso (make 2, shirt color)
R1 6 sc in MR (6)
R2 inc around (12)
R3 (sc, inc) around (18)
R4 (2 sc, inc) around (24)
R5–R9 sc around (24)
R10 (2 sc, dec) around (18)
R11 sc around (18)
R12 (sc, dec) around (12)
Stuff firmly, fasten off with long tail.
Attach legs
Sew two legs to the bottom of the torso. Angle them slightly forward so the doll can stand with better balance.
Part 4: Arms (make 4)
Hands (skin tone)
R1 6 sc in MR (6)
R2 (sc, inc) around (9)
R3 sc around (9)
Switch to sleeve color (match cardigan)
R4 sc around (9)
R5–R10 sc around (9)
Stuff lightly, flatten top, fasten off.
Sew arms to sides of torso just below the head line.
Part 5: Shoes (optional but recommended for a finished look)
Simple shoe cover (make 4, dark brown/black)
R1 6 sc in MR (6)
R2 inc around (12)
R3 (sc, inc) around (18)
R4 sc around (18)
R5 BLO sc around (18)
R6 sc around (18)
Fasten off with long tail.
Slip shoe onto the foot end of the leg and sew around the top edge.
Part 6: Cardigan A (green with yellow buttons)
This cardigan is a simple open-front jacket made as one piece, then sleeves are added.
Back and fronts (worked flat)
Ch 31 (adjust for torso width)
Row 1 sc in 2nd ch and across (30)
Row 2 ch 1, turn, sc across (30)
Repeat rows until the piece matches torso height (about 8–10 rows)
Shape front opening
On the next row, sc 7, ch 1, turn (left front)
Work 7 stitches wide for the same height, fasten off
Join yarn at the other side, work 16 stitches for the back, then 7 stitches for the right front
Sleeves (make 2)
Ch 16
Row 1 sc across (15)
Row 2 ch 1, turn, sc across (15)
Repeat until sleeve wraps around arm (about 6–8 rows)
Sew sleeve seam, attach to cardigan armhole
Finish cardigan
Sew cardigan to doll body at shoulders and sides, leaving front open
Add two crochet “button dots” in yellow (or sew on buttons if safe)
Crochet button dot: MR, 6 sc, sl st to join, fasten off
Part 7: Cardigan B (blue with bow tie)
Make the same cardigan shape but slightly shorter for a neat, tailored look. Use small dark crochet dots as buttons.
Buttons
Use black yarn to make 3 tiny dots down the center. You can sew them on as flat circles.
Part 8: Bow Tie (brown)
Center strip
Ch 6
Row 1 sc in 2nd ch and across (5)
Row 2 ch 1, turn, sc across (5)
Repeat 4–5 rows, fasten off
Pinch the rectangle in the middle
Knot wrap
Ch 4
Sc across (3), fasten off
Wrap around the pinched middle and stitch in place
Sew bow tie to shirt front under the chin
Part 9: Hair Styles
Hair cap base (make 2 in hair color)
R1 6 sc in MR (6)
R2 inc around (12)
R3 (sc, inc) around (18)
R4 (2 sc, inc) around (24)
R5 (3 sc, inc) around (30)
R6 (4 sc, inc) around (36)
R7 sc around (36)
R8 sc around (36)
Fasten off with tail. Sew cap to head, leaving a little forehead space.
Style A: Spiky short hair (black)
Cut 25–45 strands, 5–7 inches long
Latch through the cap mostly on the top and crown
Trim into uneven spikes for a playful look
Optional: leave a few longer strands near the front for bangs
Style B: Side strands with a small curl (orange)
Cut 20–35 strands, 6–8 inches long
Attach along one side and around the back for a swept look
Create a top curl by crocheting a thin strand: ch 18, sl st back down the chain to make it coil, sew to top front
Trim gently for a neat shape
Part 10: Final Assembly
Sew head to torso
Use strong stitches and attach firmly
Add a bit of extra stuffing at the neck before closing for stability
Check symmetry: eyes straight, smile centered, hair balanced
Weave in all ends securely
Common Mistakes and How to Avoid Them#
Heads look lumpy
Use invisible decreases
Stuff gradually and evenly
Massage the head lightly after stuffing to smooth bumps
Faces look uneven
Mark the center of the face with a pin
Place eyes first, then center smile and eyebrows
Clothes look bulky
Use a slightly smaller hook for clothing panels
Sew clothing flat at shoulders and side seams
Avoid thick seams right at the front opening
Hair looks messy
Attach fewer strands than you think, then add more if needed
Trim slowly and step back to check shape
Secure the hair cap tightly so it won’t shift
Dolls won’t stand
Angle legs slightly forward during sewing
Use firm stuffing in legs
Make shoes slightly wider for better balance
Expert Tips for Better Results#
Use cotton or smooth acrylic for crisp stitch definition, especially on clothing
Pin outfits in place before sewing so the cardigan sits evenly on both dolls
Embroider eyebrows and smiles with a single strand of yarn for a cleaner look
Add a tiny shirt collar by crocheting two small triangles and sewing them under the chin
If you want a more polished finish, lightly block cardigan pieces before attaching
Variations and Customization Ideas#
Outfit changes
Turn cardigans into hoodies by adding a small hood panel
Swap pants for a skirt and tights for a more “dressy” look
Add a tiny scarf, mini backpack, or handbag accessory
Make matching pajamas for a bedtime-themed set
Hair changes
Curly hair: attach strands and twist them around a pencil with a little steam (for acrylic, carefully)
Braids: create three strand bundles and braid, then stitch ends down
Short bob: attach strands evenly and trim straight
Personalization
Stitch initials on the cardigan
Change button colors to match a favorite palette
Make one doll taller by adding 2 extra leg rounds
Benefits of This Crochet Project#
A giftable crochet pattern that feels personal and high effort
Two dolls means more value from the same base pattern
Great for practicing clothing construction on amigurumi
Perfect use for leftover yarn in small amounts
Creates a collectible-style finished look with lots of charm
An easy crochet pattern to repeat for custom orders or themed gifts
Internal Linking Suggestions#
Free Crochet Pattern for Simple Amigurumi Doll Base
How to Crochet Hair for Amigurumi Dolls
Beginner-Friendly Crochet Clothing Patterns for Dolls
How to Sew Amigurumi Parts Neatly
Best Yarn for Amigurumi With Clean Stitch Definition
FAQ Section#
Is this a free crochet pattern suitable for beginners?
Yes, especially if you’ve made at least one amigurumi before. The stitches are simple, and the clothing is made from easy panels.
Can I make these dolls child-safe?
Yes. Embroider the eyes instead of using safety eyes, and avoid small buttons. Use crocheted circles or stitched details instead.
How do I change the doll size?
Use thicker yarn and a larger hook for a bigger doll, or thinner yarn and a smaller hook for a mini version. Keep stitches tight for best shaping.
Do I have to sew the clothing on?
You can. Sewing keeps the outfit tidy and display-ready. If you want removable clothes, crochet cardigans slightly larger and add real buttonholes or tie closures.
What’s the best yarn for doll outfits?
Smooth acrylic or cotton gives the cleanest “clothing” look. Plush yarn is not ideal for cardigans because it hides stitch detail.
How do I keep both dolls looking like a matching set?
Use the same head and body pattern, keep eye placement consistent, and vary only outfit colors and hair.
Can I make a girl doll version with this base?
Absolutely. Keep the same base body and swap the outfit for a skirt, dress, leggings, or a cardigan dress, and adjust the hair style.
Conclusion#
A pair of best friend amigurumi dolls is a joyful crochet pattern that combines classic doll shaping with the extra charm of real outfit details. With neat cardigans, tiny buttons, trousers, a bow tie, and customizable yarn hair, you can create a set that feels handmade, thoughtful, and truly special.
If you want, tell me the height you prefer (in inches or cm) and whether you want removable clothes, and I’ll adjust the stitch counts and cardigan sizing so your dolls fit perfectly.


