


Introduction#
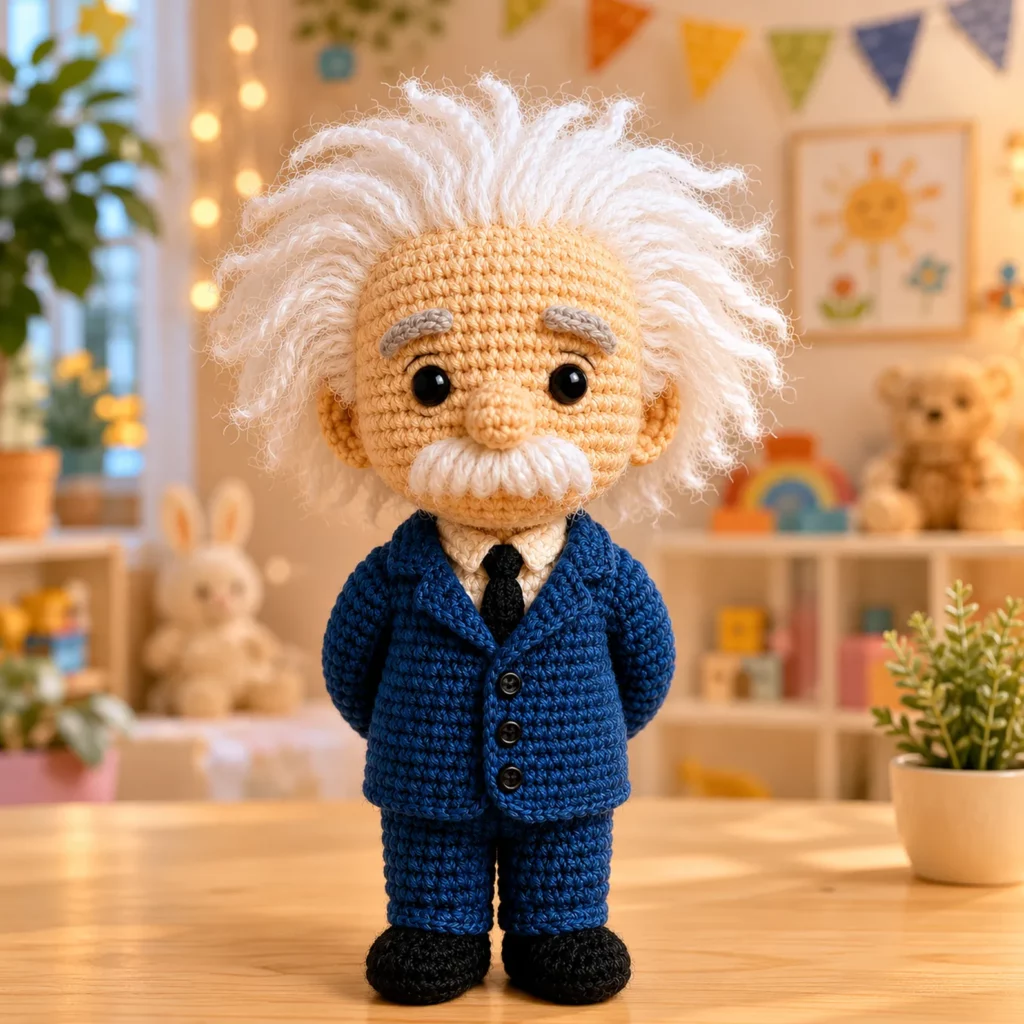
Some crochet projects are cute, some are impressive, and once in a while you find a crochet pattern that makes people smile the second they see it. A scientist-inspired amigurumi doll is one of those “instant conversation starter” makes. With its fluffy white hair, kind expression, and classic suit outfit, it’s perfect for gifting to teachers, science lovers, graduates, or anyone who appreciates clever handmade décor.
Explore more beginner amigurumi crochet patterns in our pattern library.
What I love about this DIY crochet project is that it teaches you several skills without feeling complicated. You’ll practice shaping a round head, building a neat body, making simple clothing pieces, and adding personality through details like eyebrows, mustache, and hair. And you can keep it beginner-friendly by working in basic single crochet rounds and using easy assembly methods that don’t require advanced shaping.
This crochet tutorial is written to feel approachable and practical. I’ll show you how to build the doll step by step, explain what each section is doing, and share pro tips for getting a polished finish that looks “store-quality” while still being handmade and full of charm.
Detailed Description of the Crochet Pattern#
This crochet pattern creates a standing amigurumi doll with a large head and a smaller body, designed in a classic “cute” proportion style. The head is worked as a smooth sphere in continuous rounds, with safety eyes and a small nose for a friendly face. The body is crocheted separately and includes legs and arms, then dressed with a suit-inspired outfit: pants, jacket, shirt front, and a small tie. The most distinctive feature is the fluffy, wild hair made from brushed yarn or individual strands attached around the head to create a full halo effect. A mustache and eyebrows add personality and bring the “professor/scientist” vibe to life.
The clothing is designed to be simple, not fussy. The jacket can be made as a removable piece or sewn on. The pants can be crocheted as one piece with legs joined, or as two legs stitched together. Shoes are simple ovals with a rounded toe.
This is the kind of free crochet pattern you can customize endlessly. Change hair color, swap the suit for a lab coat, add glasses, embroider a tiny smile, or even turn it into a keychain-sized mini doll.
Skill Level Explanation#
This is an easy-to-intermediate crochet pattern.
Easy skills used
Working in continuous rounds
Single crochet, increases, and decreases
Stuffing and shaping
Simple embroidery (eyebrows, mouth, details)
Basic sewing/assembly
Intermediate skills (optional but helpful)
Attaching hair evenly and neatly
Clothing shaping (small pieces like tie and jacket edges)
Keeping stitches tight and consistent for a smooth face
If you’re a confident beginner who has made at least one amigurumi ball before, you’ll do great. If this is your first doll, go slowly and follow the stitch counts carefully.
Materials Needed#
Yarn
Skin tone yarn: worsted (#4) cotton or acrylic for clean stitch definition
Hair yarn: white or silver yarn that can be brushed (acrylic works well) or fluffy yarn
Suit yarn: medium gray for jacket and pants
Shirt yarn: off-white or cream
Tie yarn: black
Shoes yarn: black
Eyebrows/mustache yarn: light gray or white (choose contrast that looks soft, not harsh)
Hook
2.75–3.5 mm for worsted yarn (smaller hook creates tight fabric so stuffing won’t show)
If you use DK yarn, a 2.5–3.0 mm hook works nicely
Notions
Safety eyes (8–12 mm depending on doll size)
Safety nose optional (or crochet/embroider nose)
Fiberfill stuffing
Stitch marker
Yarn needle
Scissors
Optional tools for hair
Pet slicker brush (to fluff yarn strands)
Small piece of felt (as a hair cap base, optional)
Fabric glue (tiny amount if you want extra security, optional)
Stitches & Techniques Explained#
Abbreviations (US terms)
MR = magic ring
ch = chain
sl st = slip stitch
sc = single crochet
inc = increase (2 sc in one stitch)
dec = invisible decrease
BLO = back loop only
FLO = front loop only
st(s) = stitches
Key techniques you’ll use
Invisible decrease: keeps the face and head smooth (important for a clean look)
Stuffing as you go: prevents lumps and helps shape the head nicely
Embroidery placement: eyebrows and mustache look best when placed symmetrically
Hair attachment: either latch-hook style (pull strands through) or sew-on hair cap method
Step-by-Step Instructions#
Pattern notes
Work in continuous rounds unless stated otherwise. Use a stitch marker to mark the first stitch of each round. Stuff firmly but not so hard that stitches stretch.
Size note
This recipe makes a medium display doll. If you want smaller, use DK yarn and a smaller hook. If you want bigger, use bulky yarn and increase eye size.
Part 1: Head
Rnd 1: MR, 6 sc (6)
Rnd 2: inc around (12)
Rnd 3: (sc, inc) around (18)
Rnd 4: (2 sc, inc) around (24)
Rnd 5: (3 sc, inc) around (30)
Rnd 6: (4 sc, inc) around (36)
Rnd 7: (5 sc, inc) around (42)
Rnd 8: (6 sc, inc) around (48)
Rnd 9–16: sc around (48) for 8 rounds
Place eyes
Insert safety eyes between Rnd 12 and Rnd 13, about 8–10 stitches apart. Adjust spacing based on the look you want: closer looks cuter, wider looks more “adult” style.
Continue shaping
Rnd 17: (6 sc, dec) around (42)
Rnd 18: (5 sc, dec) around (36)
Rnd 19: (4 sc, dec) around (30)
Rnd 20: (3 sc, dec) around (24)
Begin stuffing firmly, shaping into a smooth sphere.
Rnd 21: (2 sc, dec) around (18)
Rnd 22: (sc, dec) around (12)
Rnd 23: dec around (6)
Fasten off, close hole, weave in end.
Nose (simple and cute)
Option A: Embroider a small nose between the eyes using skin-tone yarn, 2–3 horizontal stitches.
Option B: Crochet a tiny nose: MR 4 sc, sl st to close, sew on.
Mouth (optional)
Embroider a short curved smile 1–2 rounds below the nose with a thin strand of dark gray or black.
Part 2: Body and Legs (one-piece method)
Leg 1
Rnd 1: MR, 6 sc (6)
Rnd 2: inc around (12)
Rnd 3: (sc, inc) around (18)
Rnd 4–6: sc around (18) for 3 rounds
Fasten off after Leg 1.
Leg 2
Work same as Leg 1 but do not fasten off.
Join legs
With Leg 2 still on hook, ch 3, join to Leg 1 with sc into a stitch on Leg 1.
Now you’ll work around both legs and the chain bridge.
Join round
Rnd 7: sc around Leg 1 (18), sc across ch 3 (3), sc around Leg 2 (18), sc across other side of ch 3 (3) = (42)
Body shaping
Rnd 8: sc around (42)
Rnd 9: (5 sc, dec) around (36)
Rnd 10: sc around (36)
Rnd 11: (4 sc, dec) around (30)
Rnd 12–14: sc around (30) for 3 rounds
Stuff legs and lower body firmly.
Rnd 15: (3 sc, dec) around (24)
Rnd 16–17: sc around (24)
Rnd 18: (2 sc, dec) around (18)
Rnd 19–20: sc around (18)
Add stuffing to upper body.
Rnd 21: (sc, dec) around (12)
Rnd 22: sc around (12)
Fasten off leaving long tail for sewing head to body.
Part 3: Arms (make 2)
Rnd 1: MR, 6 sc (6)
Rnd 2: inc around (12)
Rnd 3–5: sc around (12) for 3 rounds
Rnd 6: (2 sc, dec) around (9)
Rnd 7–14: sc around (9) for 8 rounds
Lightly stuff only the hand area. Keep the upper arm soft so it sits naturally.
Flatten opening and sc 4–5 across to close. Leave tail for sewing.
Part 4: Suit Jacket (simple sewn-on style)
This jacket is designed as a wrap piece that gives the “suit” look without complicated shaping.
Jacket back panel
Ch 26 (adjust for your body width)
Row 1: sc in 2nd ch from hook and across (25)
Row 2–14: ch 1, turn, sc across (25)
Fasten off.
Front panels (make 2)
Ch 14
Row 1: sc across (13)
Row 2–14: ch 1, turn, sc across (13)
Fasten off.
Assembly jacket
Sew front panels to the sides of back panel at the shoulders, leaving a neck opening.
Sew underarm area slightly to create armholes, or simply tack the jacket onto the doll body and leave armholes open and loose.
Jacket collar (optional but cute)
Join yarn around neckline and work one round of sc, then fold outward and stitch down lightly.
Part 5: Pants (if you want a stronger suit look)
If you used gray yarn for the body, you may skip separate pants.
If your body is skin tone or another color, crochet pants as a tube.
Simple pants tube
Ch enough to fit around waist snugly (example ch 30), join to round.
Work sc around for 6–8 rounds to cover waist/hip.
Sew or slip stitch onto the body.
Optional: add a BLO round at the top to mimic a waistband.
Part 6: Shirt Front and Tie
Shirt front (small panel)
With off-white yarn, ch 10
Row 1: sc across (9)
Row 2–8: ch 1, turn, sc across (9)
Sew onto chest area under jacket.
Tie
Ch 8 with black yarn
Row 1: sc across (7)
Row 2: ch 1, turn, sc across (7)
Fasten off, sew a tiny knot shape at top or pinch the tie slightly and stitch to form a “tie knot.” Sew onto shirt.
Part 7: Shoes (make 2, simple slippers)
Rnd 1: MR, 6 sc (6)
Rnd 2: inc around (12)
Rnd 3: (sc, inc) around (18)
Rnd 4: sc around (18)
Rnd 5: sc 6, dec 3, sc 6 (15)
Rnd 6: sc around (15)
Lightly stuff toe area, flatten opening, sew to bottom of legs.
Part 8: Hair, Mustache, and Eyebrows
Hair method A (strand-by-strand, fluffy halo)
Cut many strands of white yarn, about 4–6 inches each (longer if you want wild hair).
Attach strands around the head starting at the crown and moving outward in rings.
To attach: pull strand through a stitch, bring ends through the loop, tighten.
Once attached, brush gently with a slicker brush to fluff.
Trim to shape.
Hair method B (hair cap, neat control)
Crochet a hair cap in white:
MR 6, then increase like a mini hat until it fits the head top.
Sew cap to head.
Attach strands only to cap edge and top, then brush and trim.
Eyebrows (make 2)
Ch 5
Row 1: sc in 2nd ch and across (4)
Fasten off, sew above eyes slightly angled for expression.
Mustache
Ch 10
Row 1: sc in 2nd ch and across (9)
Fasten off, pinch center and stitch to form a mustache shape, sew under nose.
Part 9: Final Assembly
Sew head to body securely with the long tail. Make sure it faces forward and sits centered.
Sew arms to sides of body slightly below neck.
Dress the doll: attach shirt panel, tie, jacket.
Sew shoes if not already attached.
Do final grooming: fluff hair, trim ends, adjust eyebrows for a friendly look.
Common Mistakes and How to Avoid Them#
Lumpy head shape
Stuff gradually and use small pieces of fiberfill. Roll the head between your hands to smooth it before closing.
Eyes look uneven
Count stitches from the center line. Mark the center of the face first, then place eyes equally spaced.
Hair looks messy in a bad way
Messy hair can be cute, but keep it intentional. Attach strands evenly, then trim into a balanced shape. Brush lightly, not aggressively.
Jacket looks bulky
Use a thinner yarn or go down a hook size for the jacket. Also, avoid thick seams—mattress stitch helps.
Arms stick straight out
Don’t overstuff arms. Leave the upper arm soft so it drapes naturally.
Mustache falls off shape
Pinch and stitch the center securely, then tack the ends lightly so it keeps a gentle curve.
Expert Tips for Better Results#
Use a smaller hook than the yarn label suggests for the face. Tight stitches make the doll look professional and keep stuffing hidden.
Insert a small neck support if desired: a rolled piece of felt or a short cotton swab stick inside the neck area can help the head stay upright.
Blend hair textures: attach a few strands of pale gray mixed with white for a more realistic, dimensional hair look.
If you want super fluffy hair, brush the yarn before attaching it and again after attaching. Always brush gently.
Take a photo mid-assembly. Sometimes you’ll spot uneven eyebrows or a slightly off-center nose faster in a photo than in real life.
Variations and Customization Ideas#
Lab coat version: swap the gray jacket for a white coat with pockets and add a tiny embroidered “pen.”
Teacher gift version: add a mini crocheted book, tiny chalk, or a small heart patch on the jacket.
Graduation version: make a small cap and add a tassel.
Mini keychain version: use thinner yarn and a smaller hook, and skip the jacket buttons to reduce bulk.
Different personalities: change eyebrow angle and mouth shape to make the doll look surprised, smiling, or thoughtful.
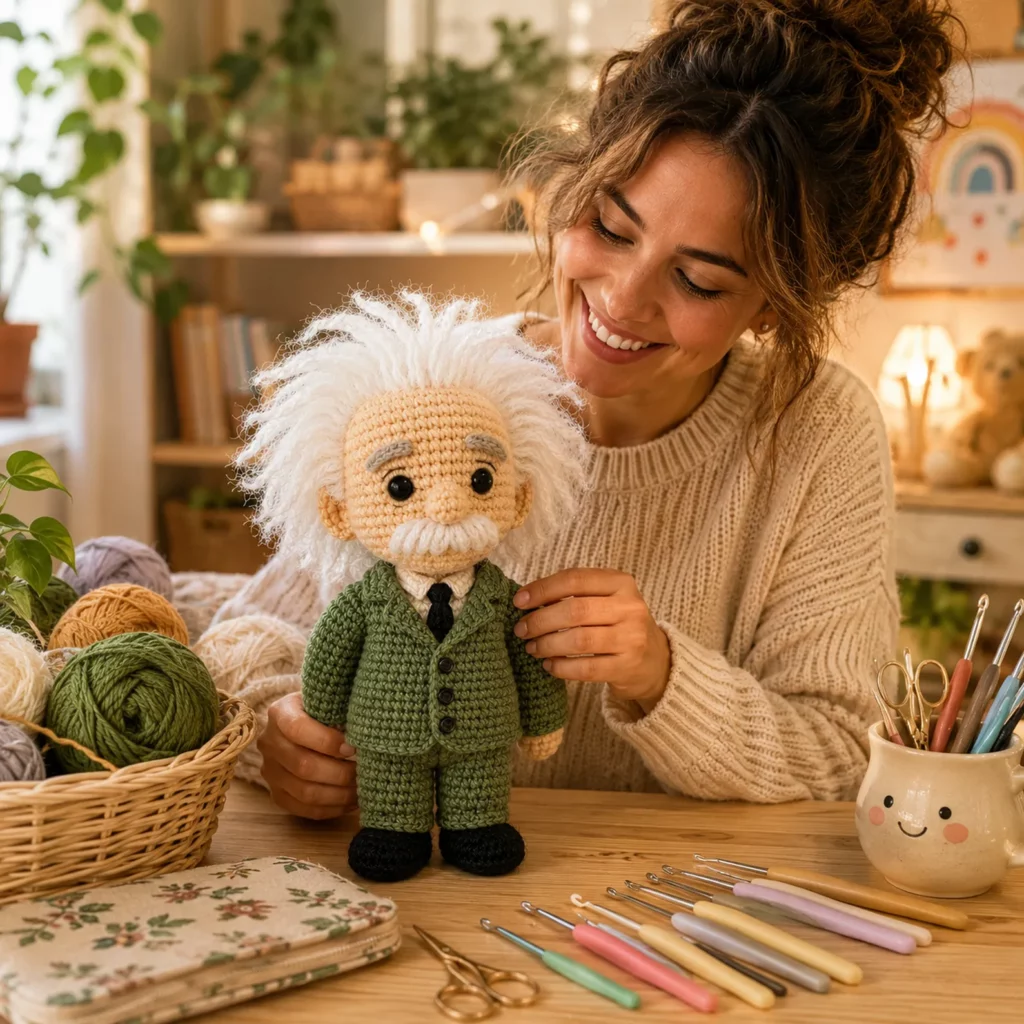
Color themes: navy suit, brown suit, or pastel suit for a playful look.
Benefits of This Crochet Project#
It’s a unique crochet pattern that stands out from typical animals and basic dolls
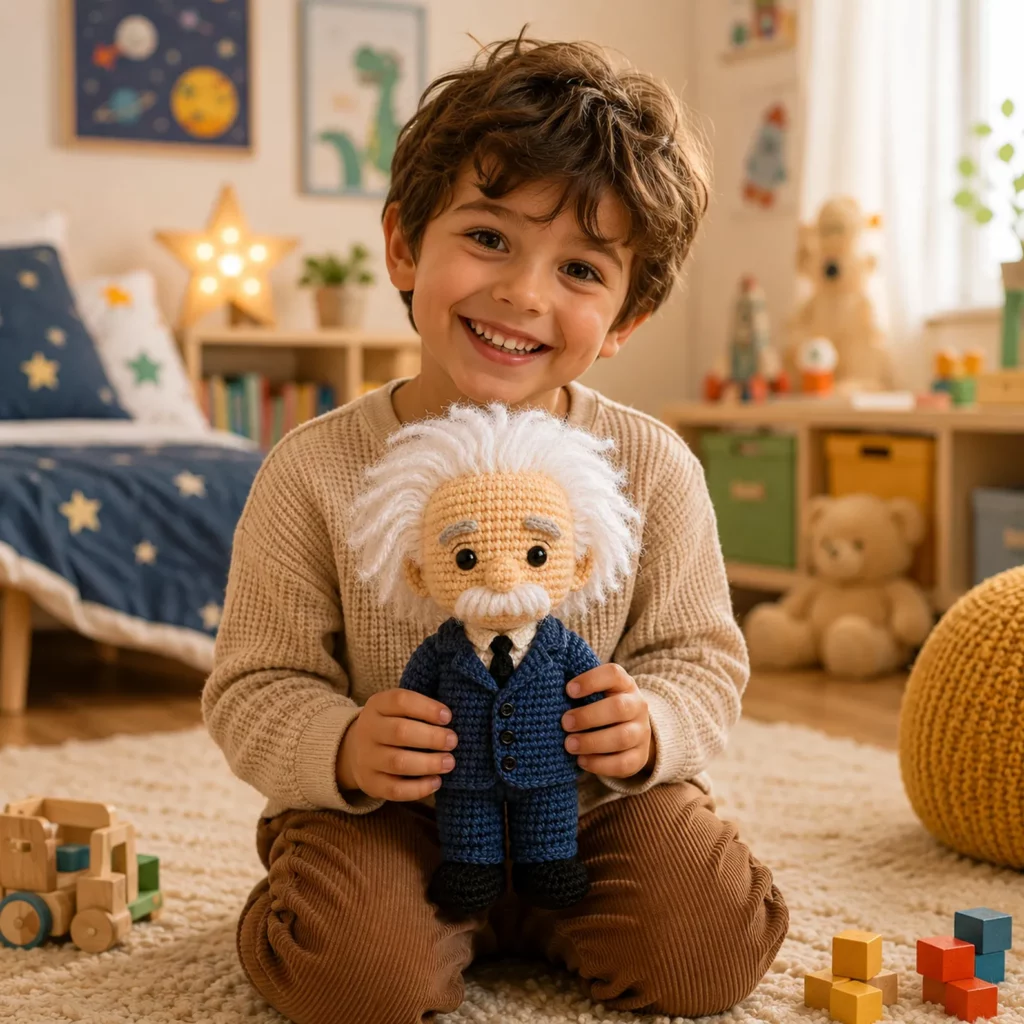
Great gift idea for teachers, science fans, and collectors
Teaches multiple useful skills: shaping, assembly, hair work, clothing layers
Perfect for using yarn scraps for details like tie, eyebrows, and mustache
Looks amazing as shelf décor, desk buddy, or special handmade keepsake
Internal Linking Suggestions#
You may also like these related posts
Free Crochet Pattern: Beginner Amigurumi Doll Base Body
Crochet Tutorial: How to Attach Amigurumi Hair Without Gaps
DIY Crochet: Easy Mini Jacket and Coat Patterns for Dolls
Crochet for Beginners: Invisible Decrease Step-by-Step
Free Crochet Pattern: Tiny Accessories for Amigurumi Dolls
How to Sew Amigurumi Parts Neatly for a Professional Finish
FAQ Section#
Is this crochet pattern suitable for beginners?
Yes, especially if you’ve made at least one amigurumi ball before. The doll is mostly single crochet with simple increases and decreases. Hair and clothing are the “extra” parts, but they’re totally doable with patience.
What yarn is best for amigurumi dolls?
Cotton or a smooth acrylic in worsted weight is ideal for clean stitches. Cotton gives crisp definition, while acrylic is soft and budget-friendly.
How do I keep the doll standing?
Stuff the legs firmly and keep the shoes slightly wider than the ankles. If you want extra stability, add a small flat insert (felt or plastic) in the base of each foot.
Can I wash the finished doll?
Hand washing is safest, especially if you used brushed hair. Gently spot clean, reshape, and air dry. Avoid aggressive scrubbing on the hair.
How do I make the hair fluffy?
Use a yarn that brushes well (many acrylics do). Attach strands, then lightly brush with a pet slicker brush. Trim gradually until you like the shape.
Can I crochet the outfit as part of the body instead of separate pieces?
Yes. You can crochet the body in suit color and add only a small shirt panel, tie, and jacket collar. This reduces sewing and makes the doll sturdier for play.
Conclusion#
This scientist-inspired amigurumi doll is the kind of crochet project that feels meaningful and fun at the same time. You get the satisfaction of a full character build—head, face, outfit, and hair—without needing complicated shaping or advanced techniques. With a neat stitch texture, carefully placed features, and that signature fluffy hair, you’ll end up with a finished doll that looks polished, giftable, and truly memorable.
If you tell me the yarn weight you’re using and your target finished height (for example 6 inches, 10 inches, or 14 inches), I can adjust the stitch counts and eye size recommendations so your doll turns out exactly the size you want.


