


Introduction#
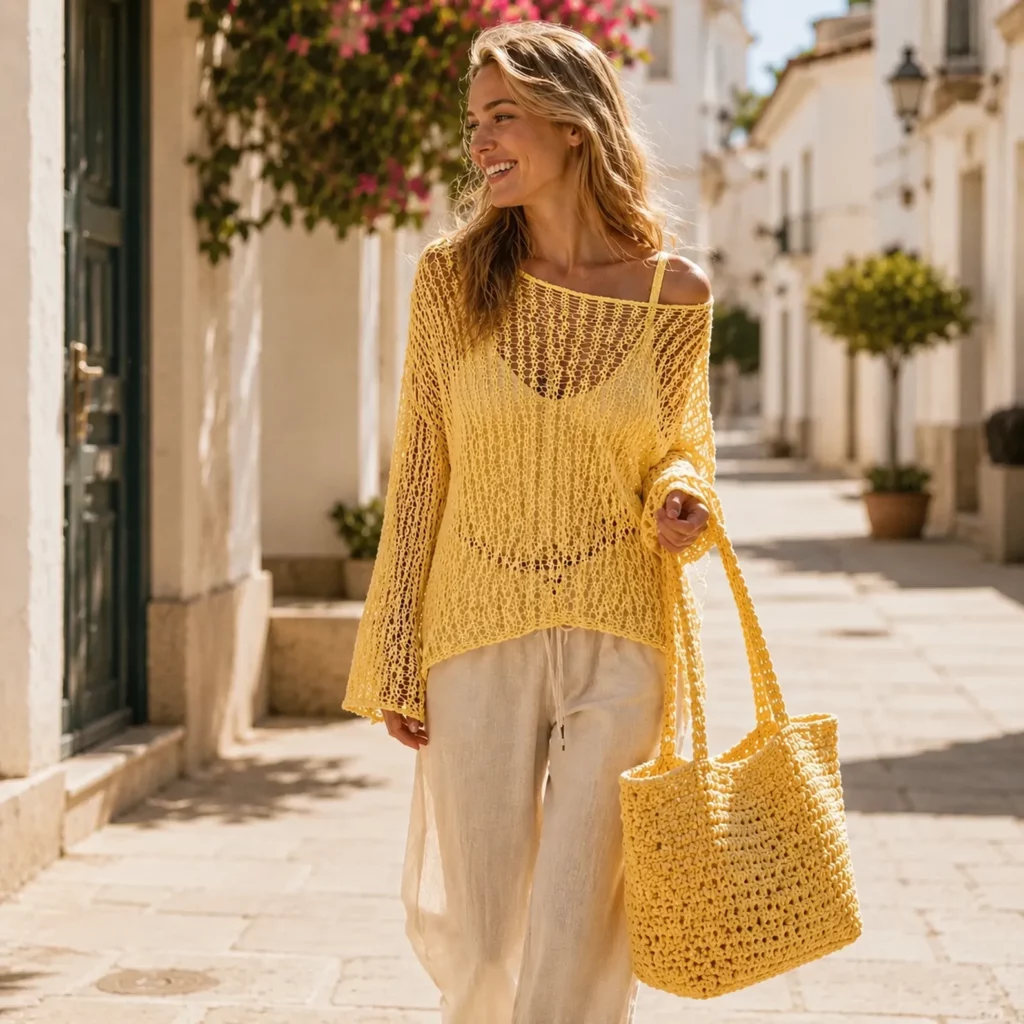
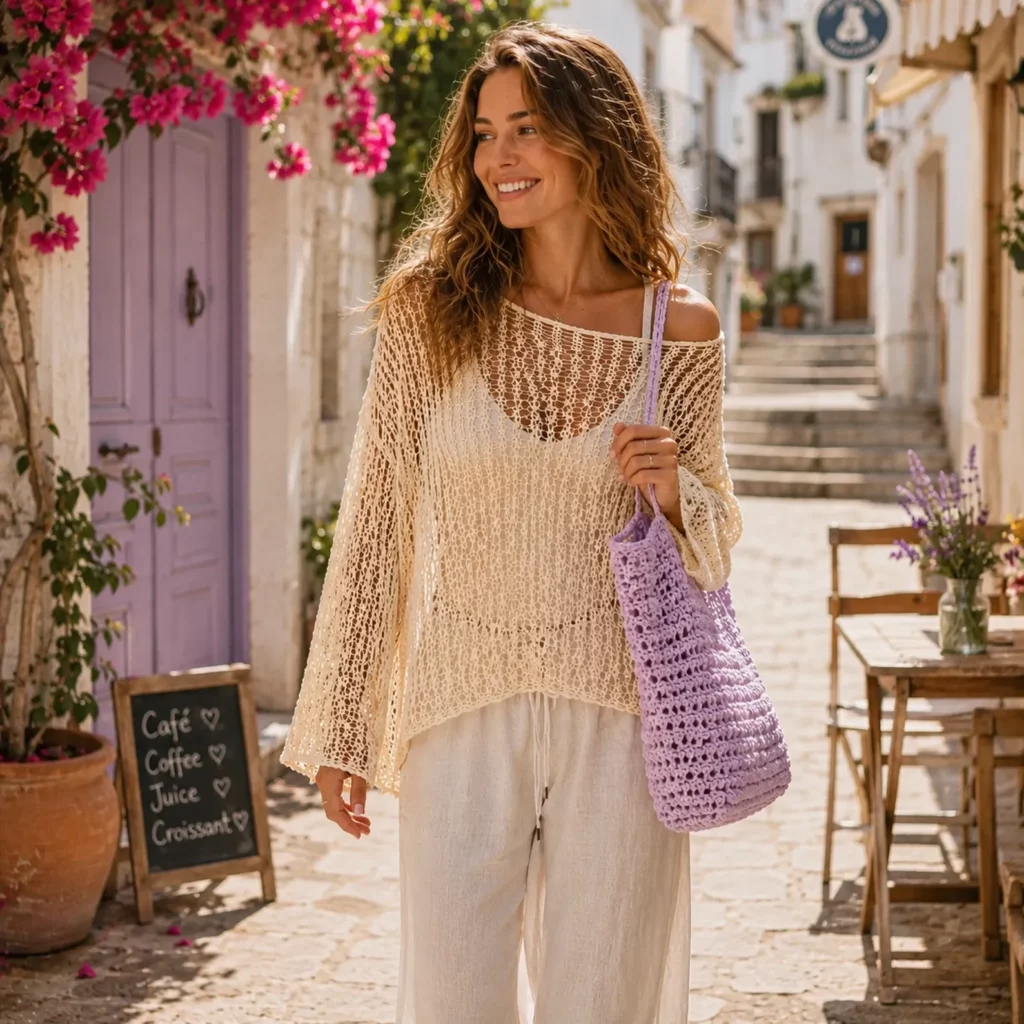
When the weather turns warm, most of us still want something cozy to throw on—but not anything heavy or clingy. That’s where a summer mesh crochet sweater cover-up becomes a true wardrobe hero. It’s light, breathable, and effortlessly stylish over a tank, bralette, swimsuit, or simple tee. The best part is that it looks “fancy” while using very beginner-friendly stitches and a simple construction method you can repeat for years.
Explore more beginner sweaters crochet patterns in our pattern library.
This crochet pattern focuses on an airy, open mesh fabric with a relaxed silhouette: drop shoulders, loose sleeves, and a drapey body. The neckline sits wide and comfortable, and the overall look is casual in the best way—like something you’d pack for a beach trip, a summer brunch, or a sunset walk.
In this detailed crochet tutorial, you’ll learn how to choose yarn that stays cool on the skin, how to crochet a consistent mesh without gaps that look messy, how to size your sweater for a flattering oversized fit, and how to finish it so it looks polished. If you’ve been searching for an easy crochet pattern that feels wearable and modern, this one is it.
Detailed Description of the Crochet Pattern#
This project is a loose, long-sleeve mesh sweater cover-up designed for warm weather layering. The fabric is created with a repeating mesh stitch pattern (typically a combination of chains and double crochet or treble crochet) that forms vertical “columns” and open spaces. The texture has a slightly rustic, handmade look while still feeling clean and elegant.
Construction is simple and beginner-friendly: two rectangles (front and back) plus two long sleeve panels. You seam the shoulders, attach sleeves, then seam down the sides and sleeves in one continuous line. Because the fabric is open and drapey, it is forgiving in sizing and especially flattering when worn slightly oversized.
The neckline is finished with a simple border round to stabilize the opening without making it tight. The cuffs and hem can be left raw for a relaxed look or finished with a few rows of single crochet or half double crochet for a tidier edge.
This crochet pattern is ideal for summer because the mesh allows airflow, the yarn can be chosen for cool comfort, and the design is easy to customize—longer, shorter, more fitted, extra oversized, or even turned into a tunic-style cover-up.
Skill Level Explanation#
This is an easy crochet pattern with a few intermediate “finishing” moments.
Great for crochet beginners because
The stitch repeat is simple and easy to memorize
The shape is mostly rectangles (minimal shaping)
Seaming is straightforward
Sizing is flexible due to the open fabric
What may feel intermediate
Keeping mesh tension consistent so the holes look even
Measuring as you go to hit your preferred length and sleeve width
Joining pieces neatly so seams don’t feel bulky
If you can chain, double crochet, and count stitches, you can absolutely make this sweater. It’s a perfect “wearable beginner” project.
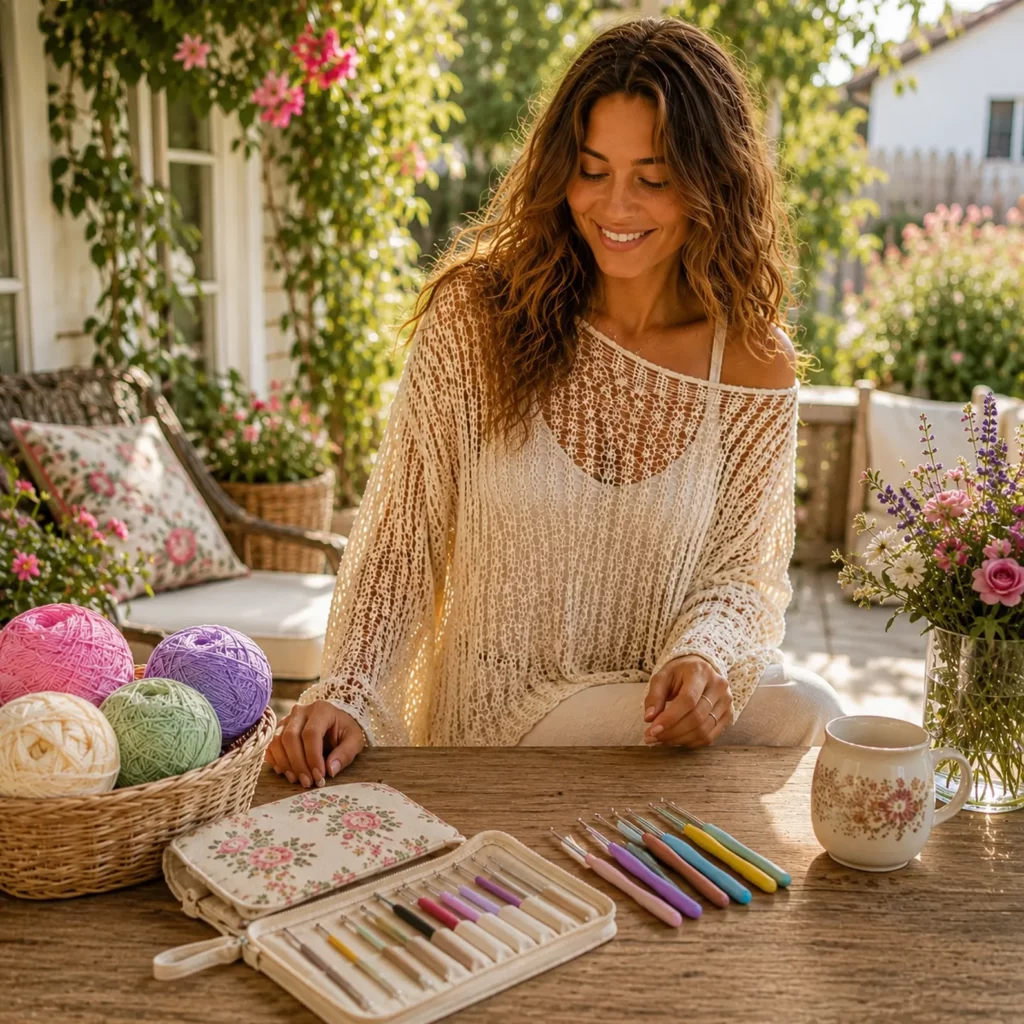
Materials Needed#
Yarn choice matters a lot for summer wear. You want something breathable, soft, and not too heavy.
Recommended yarn types for summer
Cotton (best stitch definition, breathable, great for warm weather)
Cotton-bamboo blend (extra drape and softness, very “summer luxury” feel)
Linen blend (cool and crisp, beautiful texture, softens with wear)
Lightweight acrylic can work, but it may feel warmer and less breathable
Suggested yarn weight
DK (#3) for a lighter, more delicate mesh
Worsted (#4) for a slightly thicker, more “sweater” look
If you choose worsted, the top will feel more substantial and the mesh holes will be larger with a bigger hook.
Hook
For DK yarn: 4.0–5.0 mm
For worsted yarn: 5.0–6.5 mm
Mesh looks best when your hook is slightly larger than usual, but not so large that the fabric becomes unstable.
Notions
Measuring tape
Stitch markers (helpful for edges and sleeve placement)
Yarn needle for weaving ends and seaming
Scissors
Optional (but helpful)
Blocking tools (pins and a mat or towel)
A smaller hook (one size down) for finishing borders
Stitches & Techniques Explained#
Abbreviations (US terms)
ch = chain
sc = single crochet
hdc = half double crochet
dc = double crochet
tr = treble crochet
sl st = slip stitch
st(s) = stitch(es)
Mesh stitch concept
Most mesh crochet is built using “posts” (dc or tr stitches) separated by chain spaces. The chain spaces create the airy look. The key to a clean mesh is consistent chain tension and consistent post height.
Turning chains
Turning chains count as a stitch in many mesh patterns. Decide early whether your turning chain counts and stay consistent. This keeps your edges straight.
Seaming mesh
For an invisible seam, mattress stitch works well on mesh edges. For a decorative seam, you can slip stitch or single crochet seams on the outside.
Blocking
Blocking is a secret weapon for mesh wearables. It opens up the stitch pattern evenly and helps the sweater drape beautifully.
Step-by-Step Instructions#
Pattern notes
This is a flexible free crochet pattern written in a “recipe” style so you can size it easily. You will crochet four panels: back, front, and two sleeves. Then you will seam them together.
Sizing approach (simple and accurate)
Measure a sweater you like or measure your body with ease. This style looks best with positive ease (extra width). Aim for 6–12 inches of ease depending on how oversized you want it.
Example finished widths (approximate)
Small: 38–42 in bust circumference
Medium: 42–46 in
Large: 46–50 in
XL: 50–56 in
2XL+: 56–62 in
Because it’s mesh, you don’t need perfect precision—just aim for a comfortable drape.
Mesh Stitch Pattern (simple, beginner-friendly)
This pattern creates vertical mesh columns.
Foundation
Ch a multiple of 2 + 1 (example: 81, 91, 101 depending on width).
Row 1
Dc in 4th ch from hook, ch 1, skip 1 ch, dc in next ch. Repeat across.
Turn.
Row 2
Ch 3 (counts as dc), dc in first dc (this helps keep edge stable), ch 1, dc in next dc. Repeat across placing dc into each dc from previous row, with ch 1 between.
Turn.
Repeat Row 2 for the entire panel height.
If you want a more open mesh
Replace dc with tr and use ch 1 or ch 2 between posts. This will make the fabric even breezier and more drapey.
Part 1: Back Panel
Step 1: Decide back width
Take your desired finished bust circumference and divide by 2 (because front + back). Add extra width if you want oversized.
Step 2: Chain to match width
Crochet a small swatch of the mesh pattern for 4–5 rows, measure how many mesh repeats per 4 inches, and estimate your chain. If you prefer not to swatch, start with a chain that looks wide enough and adjust by adding or removing repeats.
Step 3: Crochet to length
Work mesh rows until the back panel reaches your desired length. For a classic summer sweater, 22–26 inches from shoulder to hem is common. For a cover-up style, go 28–34 inches.
Optional shaping (not required)
You can leave it as a rectangle. The relaxed fit is part of the style.
Part 2: Front Panel
Make the front panel the same width and length as the back for the easiest construction.
Optional neckline shaping
If you want a slightly lower neckline, crochet the front panel 1–2 inches shorter and add extra border rows later around the neckline. Many summer mesh sweaters look great with a wide, simple neckline, so shaping is optional.
Part 3: Sleeves (make 2)
Sleeves are long rectangles that will be folded and seamed.
Step 1: Sleeve width
Decide how loose you want the sleeves. A relaxed sleeve might be 14–18 inches wide when laid flat. If you want bell sleeves, make them wider.
Step 2: Chain to width
Use the same mesh stitch pattern. Keep it consistent so the sleeves match the body.
Step 3: Crochet to sleeve length
Measure from your shoulder point to wrist, then subtract a little if you want slightly shorter sleeves. Typical sleeve panel length is 16–20 inches for a drop-shoulder sweater (because the shoulder seam drops down the arm).
Part 4: Assembly and Seaming
Step 1: Seam shoulders
Lay front and back panels flat, right sides together.
Seam each shoulder from the outer edge inward, leaving a neckline opening in the center.
A good neckline opening is 10–14 inches wide, depending on how wide you want it.
Step 2: Attach sleeves
Open the sweater body so it lies flat like a “T” shape.
Place the center of a sleeve along the shoulder seam.
Pin or clip, then seam the sleeve to the armhole edge.
Repeat for the other sleeve.
Step 3: Seam sides and sleeves
Fold the sweater with right sides together.
Seam from the bottom hem up to the underarm, then continue down the sleeve to the cuff.
Repeat for the other side.
Part 5: Neckline, Cuffs, and Hem Finish
Neckline border (recommended)
Join yarn at the back neckline.
Work 1 round of sc evenly around the opening.
If you want a firmer neckline, do 2 rounds.
If it starts to ripple, you have too many stitches; skip stitches occasionally.
If it pulls tight, add a few extra stitches by placing 2 sc in some spaces.
Cuff finish (optional)
Work 1–3 rounds of sc or hdc around each cuff to give a clean edge.
Hem finish (optional)
Work 1–3 rounds of sc or hdc around the bottom hem.
A simple hem border helps the sweater hang nicely and prevents excessive stretching.
Part 6: Block for a Professional Finish
Blocking makes mesh look even and intentional.
How to block
Soak or mist lightly (follow yarn label guidance).
Lay flat and gently stretch edges to straighten.
Open the mesh evenly with your hands.
Pin if needed.
Let dry fully before wearing.
Common Mistakes and How to Avoid Them#
My edges are wavy
This usually happens when the turning chain and edge stitch aren’t consistent. Always place your last dc in the final stitch space and keep chain tension steady.
The mesh holes look uneven
Focus on making your chain-1 spaces the same size every time. If your chains are tight, the fabric looks stiff; if chains are loose, holes look sloppy.
Seams look bulky
Use mattress stitch for a cleaner seam. Or seam with a slip stitch through back loops only for a flatter join.
Neckline feels too wide
Add an extra round or two of sc. You can also use a smaller hook for the neckline border to tighten it slightly.
Sleeves feel too short
This happens in drop-shoulder designs because the shoulder seam sits lower. Make sleeve panels a little longer than you think, or add a cuff border to extend length.
The sweater stretches a lot after wearing
Cotton and bamboo can relax. A border on neckline and hem helps stabilize. You can also use a slightly smaller hook for the body stitch to reduce stretch.
Expert Tips for Better Results#
Choose a lighter yarn than you think. DK cotton gives the most “summer-ready” fabric and keeps the sweater from feeling heavy.
Try the sweater on as you go. Because it’s mesh, you can pin seams temporarily and check fit before final seaming.
Use stitch markers to keep sleeve placement symmetrical. Mark the center of each sleeve and the shoulder seam.
For a more polished look, seam with the same yarn but one strand thinner (split the yarn ply if possible) so seams disappear.
If you want a more elegant drape, use treble crochet mesh. If you want a more casual, sturdy feel, use double crochet mesh.
Variations and Customization Ideas#
Make it a summer tunic cover-up by adding 4–8 inches to the body length.
Add side slits by seaming the sides only up to mid-hip and leaving the lower portion open.
Create a boat neck by leaving a wider neckline opening and adding a firm sc border.
Make bell sleeves by increasing sleeve width and skipping cuff borders.
Add stripes by changing yarn colors every 4–6 rows. This looks stunning with beachy neutrals and soft pastels.
Turn it into a cropped version by shortening the body to 16–18 inches and adding a snug hem border.
Benefits of This Crochet Project#
It’s breathable and comfortable for warm weather layering
The construction is simple and beginner-friendly
It’s easy to customize for any size and style
It looks modern and wearable without complicated shaping
Perfect for vacations, beach days, and casual summer outfits
A great way to practice consistent tension in openwork stitches
Internal Linking Suggestions#
You may also like these related posts
Free Crochet Pattern: Easy Mesh Beach Bag for Summer
Crochet Tutorial: How to Seam Crochet Panels Neatly
Best Yarn for Summer Crochet Wearables
DIY Crochet: How to Block Lace and Mesh Projects
Easy Crochet Pattern: Lightweight Summer Shrug for Beginners
Crochet for Beginners: Understanding Turning Chains and Straight Edges
FAQ Section#
Is this an easy crochet pattern for beginners?
Yes. It’s mostly repeating mesh rows and simple rectangles. The main beginner challenge is keeping tension consistent.
What yarn is best for a summer crochet sweater?
Cotton, cotton-bamboo blends, and linen blends are excellent because they’re breathable and comfortable in warm weather.
How much yarn do I need?
It depends on size and length. A cropped version may take 800–1200 yards. A longer cover-up style may take 1200–1800 yards, especially with longer sleeves.
How do I adjust the size without complicated math?
Crochet the panels to your desired measurements. Because the stitch is open and stretchy, you can aim for approximate width and still get a great fit.
Will the neckline stretch out?
Mesh can stretch. Add 1–2 rounds of single crochet around the neckline (often with a smaller hook) to stabilize it.
Can I make this sweater in one piece instead of panels?
You can, but panel construction is easier and cleaner for beginners. Once you’re comfortable, you can explore top-down raglan mesh versions.
Conclusion#
A lightweight mesh crochet sweater is one of the most satisfying summer crochet projects because it’s wearable, breathable, and surprisingly simple to make. With just a few basic stitches and easy rectangular construction, you can create a cover-up you’ll reach for all season long—over tanks, dresses, and swimwear. The key is choosing the right yarn, keeping your mesh tension consistent, and finishing the edges with a neat border so the piece looks polished.
If you tell me your preferred fit (slightly oversized or very oversized) and the yarn weight you’re using (DK or worsted), I can suggest exact starting chain counts and panel measurements to match your size goal perfectly.


