


Introduction#
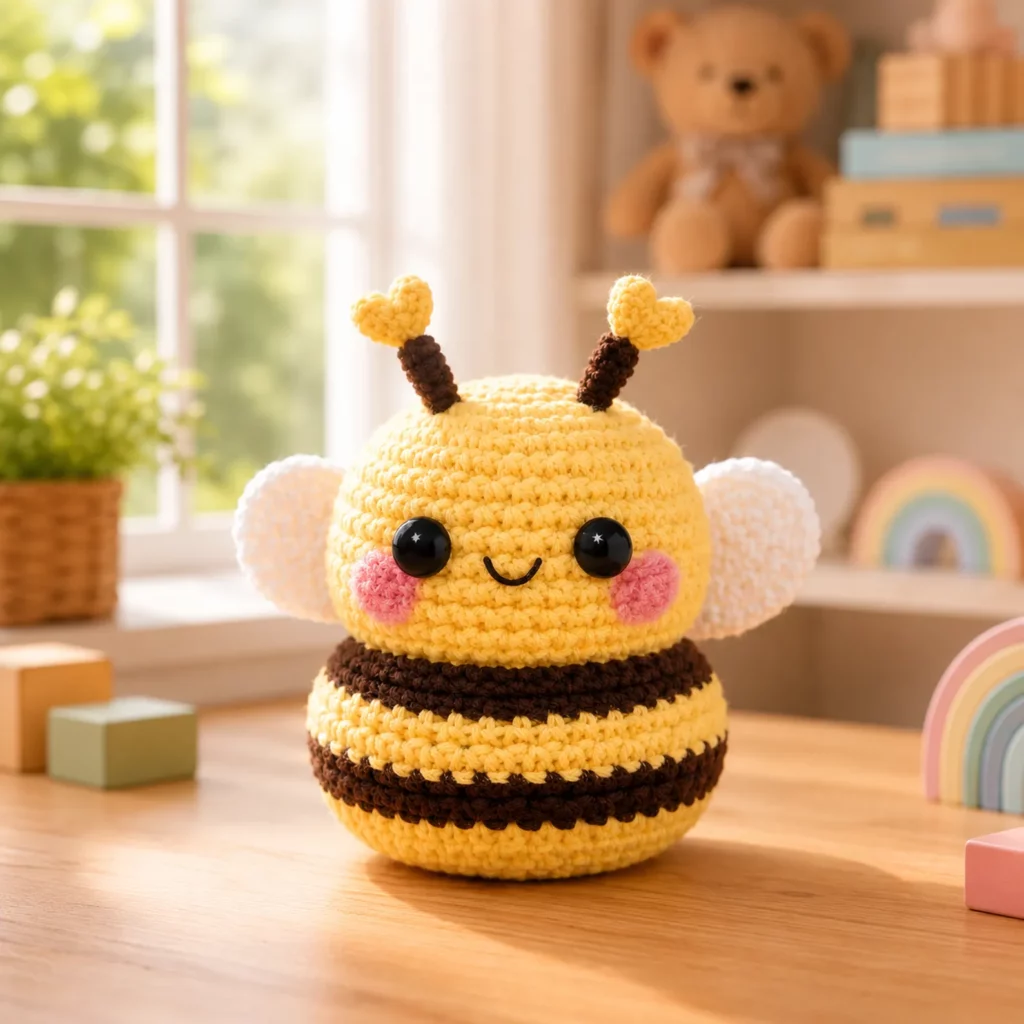
If you love amigurumi that’s quick, cheerful, and impossible not to smile at, a chubby bumblebee is the perfect project. This crochet pattern creates a palm-sized plush bee with a round body, bold stripes, soft wings, and adorable heart-tipped antennae. It’s the kind of “one-sitting” make that still looks polished enough to gift, sell at craft fairs, or display on a shelf as cute décor.
Explore more beginner amigurumi crochet patterns in our pattern library.
What makes this bee especially beginner-friendly is its simple construction. The body and head are essentially one smooth, rounded shape worked in continuous rounds. The details (wings, antennae, cheeks, and face) are small add-ons you can personalize easily. You’ll also learn foundational amigurumi techniques like invisible decreases, color changes that look neat, and how to place facial features so your plush looks balanced.
Below you’ll find a full crochet tutorial with a free crochet pattern, clear stitch counts, and practical tips for getting that perfectly round “squishy” look.
Detailed Description of the Crochet Pattern#
This crochet pattern makes a classic amigurumi bumblebee plush with these features
A chubby round body with clean horizontal stripes
A soft, slightly flattened head-to-body shape (no complicated shaping)
Two small wings crocheted separately and attached to the upper back
Two antennae with cute heart tips for a playful look
Simple embroidered smile and optional blush cheeks for extra character
Construction overview
The bee body is worked from the top down in continuous rounds. You increase to form a dome, work even rounds to create the belly, then decrease to close. Stripes are made with clean color changes between rounds. Wings are worked flat in rows and sewn on. Antennae are small tubes topped with mini hearts. Face details are embroidered last so you can adjust expression.
Finished size
With worsted yarn and a 3.0–3.5 mm hook, expect about 10–13 cm tall (4–5 in).
With plush/velvet yarn and a larger hook, the bee can be much bigger and extra squishy.
Skill Level Explanation#
Skill level: Easy / Advanced Beginner
This is a great easy crochet pattern if you already know
How to chain and single crochet
How to work in the round
How to count stitches and use a stitch marker
You’ll learn or practice
Invisible decrease for smooth shaping
Color changes between rounds for crisp stripes
Stuffing and shaping for a round plush look
Basic assembly and face placement
If you’re truly brand-new to amigurumi, you can still do it. Just work slowly, count carefully, and place a stitch marker at the start of every round.
Materials Needed#
Yarn
Main color (bee body): yellow
Stripe color: dark brown or black
Wings: white or cream
Antennae: dark brown or black
Optional cheeks: pink yarn or pink felt
Recommended yarn types
Worsted cotton or acrylic for crisp stitches and defined stripes
Plush/chenille yarn for a super soft “kawaii” look (use tight tension to avoid holes)
Hook
For worsted yarn: 3.0–3.5 mm
For plush yarn: 4.5–6.0 mm depending on thickness
Tip: Amigurumi looks best when you go down 0.5–1.0 mm from the yarn label’s suggested hook size.
Notions
Safety eyes (8–12 mm for worsted size) or black yarn for embroidered eyes
Fiberfill stuffing
Tapestry needle
Scissors
Stitch marker
Optional
Blush (cosmetic) + cotton swab for cheeks
Felt circles for blush cheeks
Strong sewing thread (if you want extra secure wing attachment)
Stitches & Techniques Explained#
Abbreviations
MR magic ring
sc single crochet
inc increase (2 sc in same stitch)
dec invisible decrease (sc2tog using front loops)
sl st slip stitch
ch chain
BLO back loop only
st stitch
rnd round
Key techniques
Magic ring: creates a tight center so stuffing won’t show
Invisible decrease: makes decreases smoother and less “bumpy”
Color change: change yarn on the last pull-through of the final sc in the old color
Stuffing as you go: add small amounts, shape with fingers, then add more
How to do a clean color change for stripes
Work the last sc of the round until you have 2 loops on the hook
Yarn over with the new color and pull through
Continue the next round in the new color
This keeps the “jump” minimal and makes stripes look sharper.
Step-by-Step Instructions#
Notes before you start
Work in continuous rounds unless stated otherwise
Use a stitch marker in the first stitch of each round
Stuff firmly but not so hard that stitches stretch open
Free crochet pattern: Chubby Bumblebee Plush
Body and head (worked as one piece, top down)
Start with yellow
R1 6 sc in MR (6)
R2 inc around (12)
R3 (sc, inc) around (18)
R4 (2 sc, inc) around (24)
R5 (3 sc, inc) around (30)
R6 (4 sc, inc) around (36)
R7 (5 sc, inc) around (42)
R8 (6 sc, inc) around (48)
This creates a nice chubby size. If you want a smaller bee, stop increasing earlier. If you want bigger, continue the increase pattern.
R9–R10 sc around (48)
Stripe section
Switch to dark color (brown/black)
R11–R12 sc around (48)
Switch to yellow
R13–R14 sc around (48)
Switch to dark color
R15–R16 sc around (48)
Switch to yellow
R17–R19 sc around (48)
Begin decreasing (keep yellow unless you want a final dark band near the bottom)
R20 (6 sc, dec) around (42)
R21 (5 sc, dec) around (36)
R22 (4 sc, dec) around (30)
R23 (3 sc, dec) around (24)
Start stuffing firmly here. Shape into a rounded “bee ball.”
R24 (2 sc, dec) around (18)
Add more stuffing, especially around sides to prevent dents.
R25 (sc, dec) around (12)
R26 dec around (6)
Fasten off, close the hole with a needle, weave in end.
Face placement
Place eyes between R6 and R8 (counting from the top), about 7–9 stitches apart depending on eye size.
Embroider a small smile centered between eyes, 1–2 rounds below the eyes.
Optional: add pink cheeks slightly below and outside each eye.
Wings (make 2, white/cream, worked flat)
Ch 6
Row 1 sc in 2nd ch from hook and across (5)
Row 2 ch 1, turn, inc, sc 3, inc (7)
Row 3 ch 1, turn, sc across (7)
Row 4 ch 1, turn, inc, sc 5, inc (9)
Row 5 ch 1, turn, sc across (9)
Row 6 ch 1, turn, dec, sc 5, dec (7)
Row 7 ch 1, turn, sc across (7)
Row 8 ch 1, turn, dec, sc 3, dec (5)
Fasten off, leave a long tail for sewing.
Lightly pinch the wing base to create a curved “petal” shape before sewing.
Wing placement
Sew wings on the upper back, centered over the top yellow section, slightly behind the face line.
Angle them outward so they look like they’re ready to flutter.
Antennae (make 2, dark color)
Antenna stem
R1 6 sc in MR (6)
R2–R4 sc around (6)
Fasten off, leave tail for sewing to head. Lightly stuff if using larger yarn, or leave unstuffed for a softer bend.
Heart tips (make 2, yellow)
Ch 4
In first ch from hook (the one closest to the start), work 3 dc
Ch 1
In same ch, work 3 dc
Ch 2
Sl st into same ch
Fasten off, leave tail for sewing to antenna stem.
Assemble antennae
Sew one heart to the top of each antenna stem.
Then sew antennae to the top of the head, about 2–3 stitches apart, slightly forward of center so they’re visible from the front.
Optional blush cheeks (simple yarn circles)
If you want crocheted cheeks
MR
6 sc in MR
Sl st to join, fasten off
Sew lightly onto the face.
Final shaping
Roll the plush gently between your palms to even out stuffing
Push a bit of stuffing toward the “front” if you want a slightly bigger face area
Adjust wings and antennae so everything looks symmetrical
Common Mistakes and How to Avoid Them#
Stripes look jagged
Make sure you change color on the last pull-through of the last stitch
Keep the start-of-round marker consistent
If needed, “jogless join” by slip stitching one stitch at the start of the new color round (optional)
Holes show stuffing
Use a smaller hook
Stuff more gradually and avoid over-stretching
Choose yarn with a bit of structure (cotton is great)
Bee looks lumpy
Stuff in small amounts and shape frequently
Pay attention to the sides, where dents can form
Add more stuffing near the bottom before fully closing
Eyes look uneven
Count stitches between eyes
Use pins or stitch markers to test placement before inserting safety eyes
Check from multiple angles before committing
Wings flop too much
Use cotton yarn for wings
Sew along the entire wing base, not just one point
If you want firmer wings, add a second layer by crocheting two wings and sewing them together
Expert Tips for Better Results#
Use a “face line” trick
Before adding eyes, run a scrap yarn line across the round where you want the eyes. It helps keep features straight.
Make the smile tiny
A small curved smile reads cuter than a wide grin on round amigurumi.
Add a subtle belly curve
When stuffing, push more stuffing into the front lower half to create a cute “bee belly.”
Neat finishing for plush yarn
If using chenille, weave ends through multiple stitches and tie a small knot hidden inside. Chenille can slip if not secured.
Make it baby-friendly
Avoid safety eyes for little ones. Embroider eyes with black yarn instead and stitch firmly.
Variations and Customization Ideas#
Mini keychain bee
Stop increasing at 36 stitches
Add a small loop at the top for a keyring
Sleepy bee
Embroider closed eyes (two curved lines)
Add tiny eyelash stitches
Rainbow bee
Swap yellow for pastel stripes
Use cream body with colorful bands for a whimsical look
Queen bee style
Add a tiny crown or a small bow between antennae
Make wings slightly larger
Striped dress look
Use soft yellow and chocolate brown for a “cozy” palette
Add a tiny crocheted collar as a fashion detail (cute for gift sets)
Benefits of This Crochet Project#
Fast and satisfying make with a big “cute” payoff
Perfect stash-buster for small leftover yarn amounts
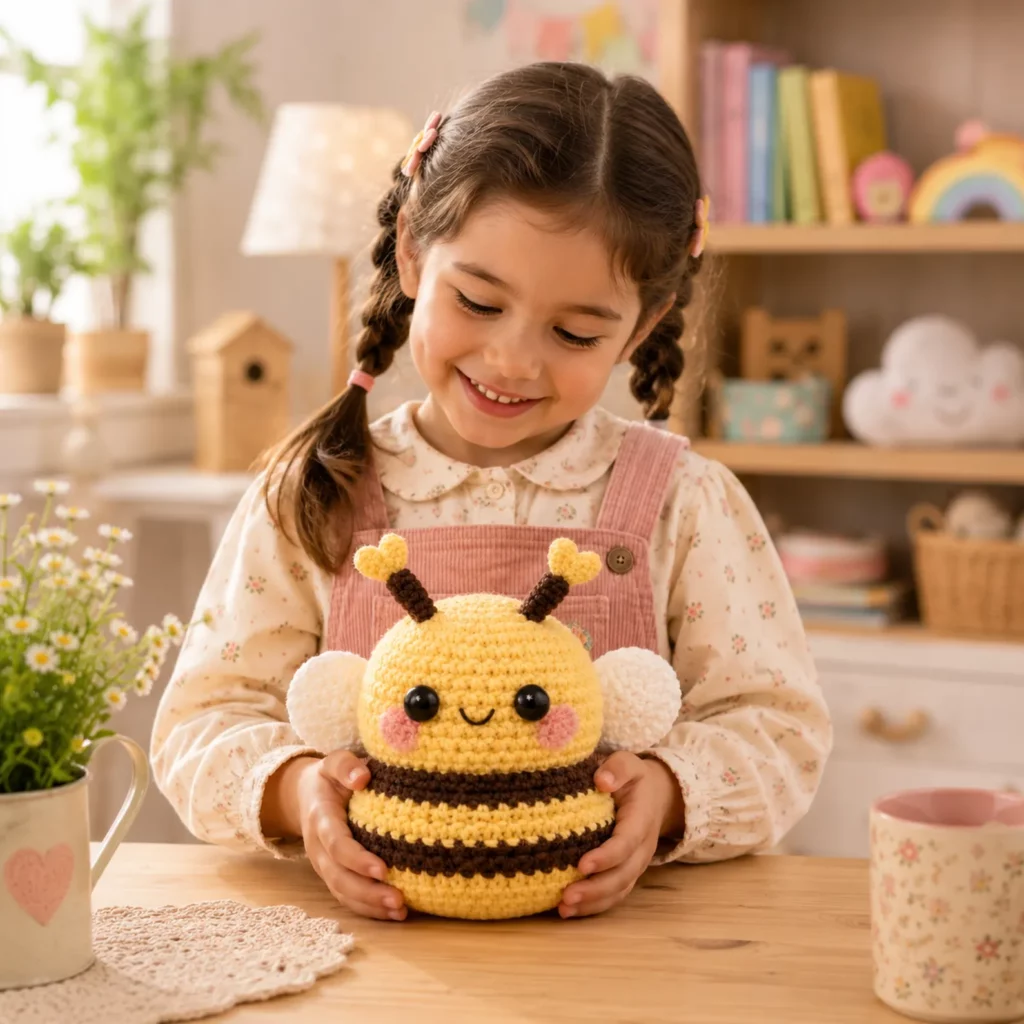
Great gift for birthdays, nursery décor, and springtime themes
Teaches core amigurumi skills in one simple project
Easy to customize into different sizes and styles
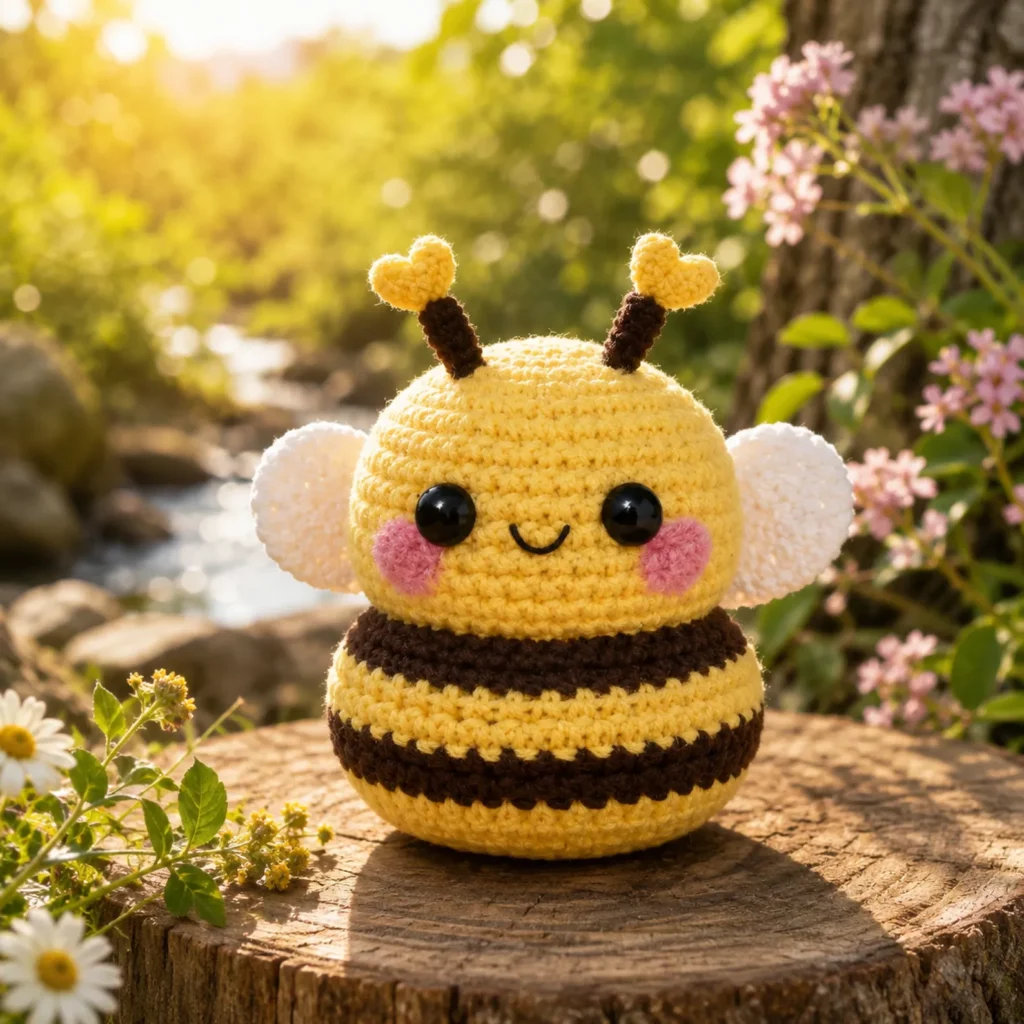
Looks great photographed for a crochet blog or shop listing
Internal Linking Suggestions#
Easy Amigurumi Patterns for Beginners
How to Make Clean Color Changes in Crochet
Best Yarn for Amigurumi (Cotton vs Plush)
Beginner Guide to Safety Eyes and Embroidered Faces
Free Crochet Appliqué Patterns (Hearts, Flowers, Wings)
FAQ Section#
How long does it take to crochet this bee?
With worsted yarn, many crocheters finish in 1–2 hours. With plush yarn, it can be even faster because the stitches are bigger.
Is this an easy crochet pattern for beginners?
Yes. It uses mostly single crochet in the round and simple attachments for wings and antennae.
What yarn is best for an amigurumi bee?
Cotton yarn gives the cleanest stitches and crisp stripes. Plush yarn makes a softer toy but needs tighter tension.
Can I make the bee bigger?
Yes. Keep increasing the base rounds (up to 54 or 60 stitches) and add a few extra even rounds before decreasing.
Can I wash the finished plush?
If you use cotton or washable acrylic and embroidered eyes, gentle hand washing is usually best. Always check your yarn label.
Do I have to use safety eyes?
No. You can embroider eyes with black yarn, which is also safer for small children.
Why does my bee look more oval than round?
That’s usually stuffing distribution. Add a bit more stuffing to the sides and roll the plush gently to shape it.
Conclusion#
This chubby bumblebee crochet pattern is a perfect mix of simple and adorable. The round striped body is classic amigurumi, while the heart antennae and soft wings give it a unique, playful personality. Once you make one, you’ll probably want a whole little swarm in different colors and sizes.
If you tell me what yarn you’re using (cotton worsted or plush chenille) and what hook size you prefer, I can adjust the stitch counts so your bee turns out exactly the size you want.


