


Introduction#
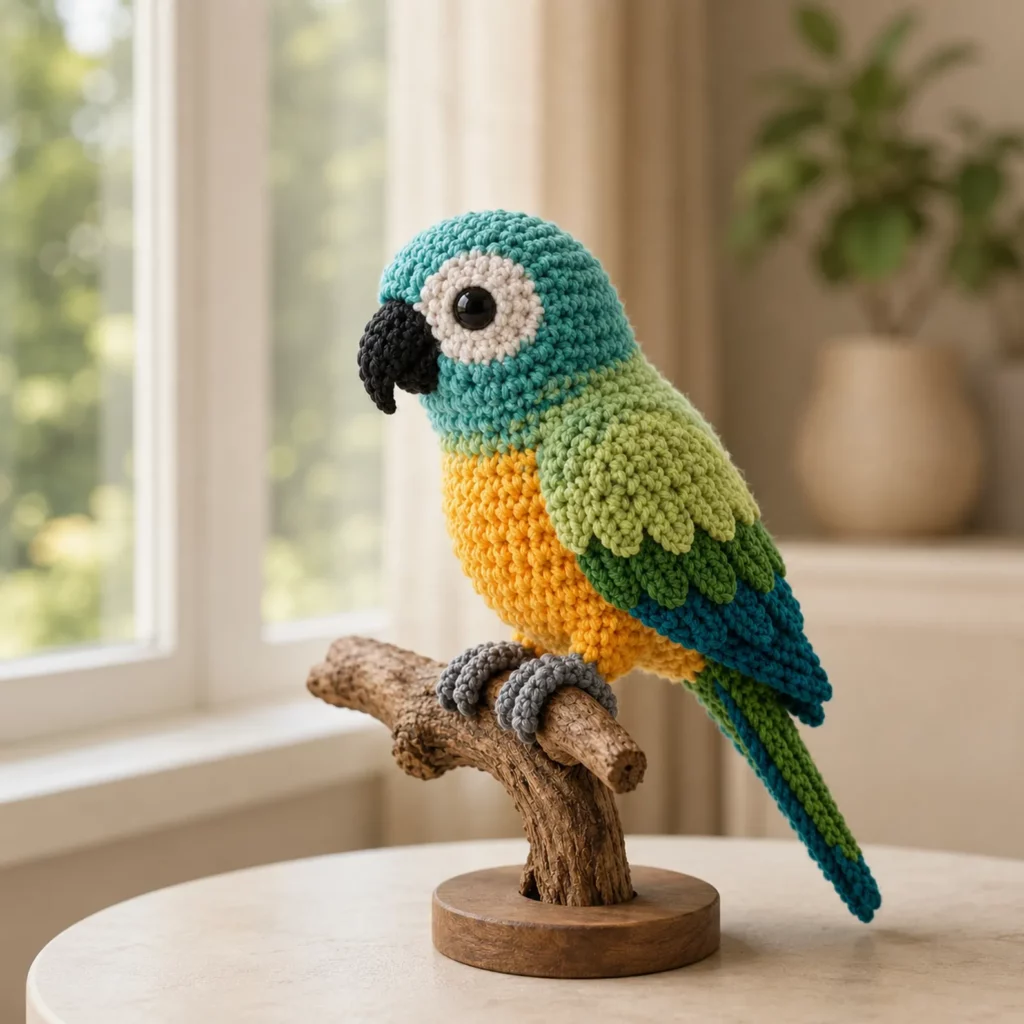
If you want a crochet project that feels cheerful the moment you pick up your hook, a colorful parrot amigurumi is the perfect make. Bright birds are naturally eye-catching, and in crochet they look especially adorable because the stitches create a soft “feather” texture. This parrot design has everything you want in a statement amigurumi: a bold body color, a chunky beak, a big expressive eye, layered wings, and a long tail that finishes the silhouette beautifully.
Explore more beginner amigurumi crochet patterns in our pattern library.
This crochet pattern is written as a detailed crochet tutorial so you can confidently build the bird step-by-step. You’ll learn how to shape a smooth body, create clean color transitions, crochet wing layers that look like stacked feathers, and attach claw feet so the parrot can perch on a branch.
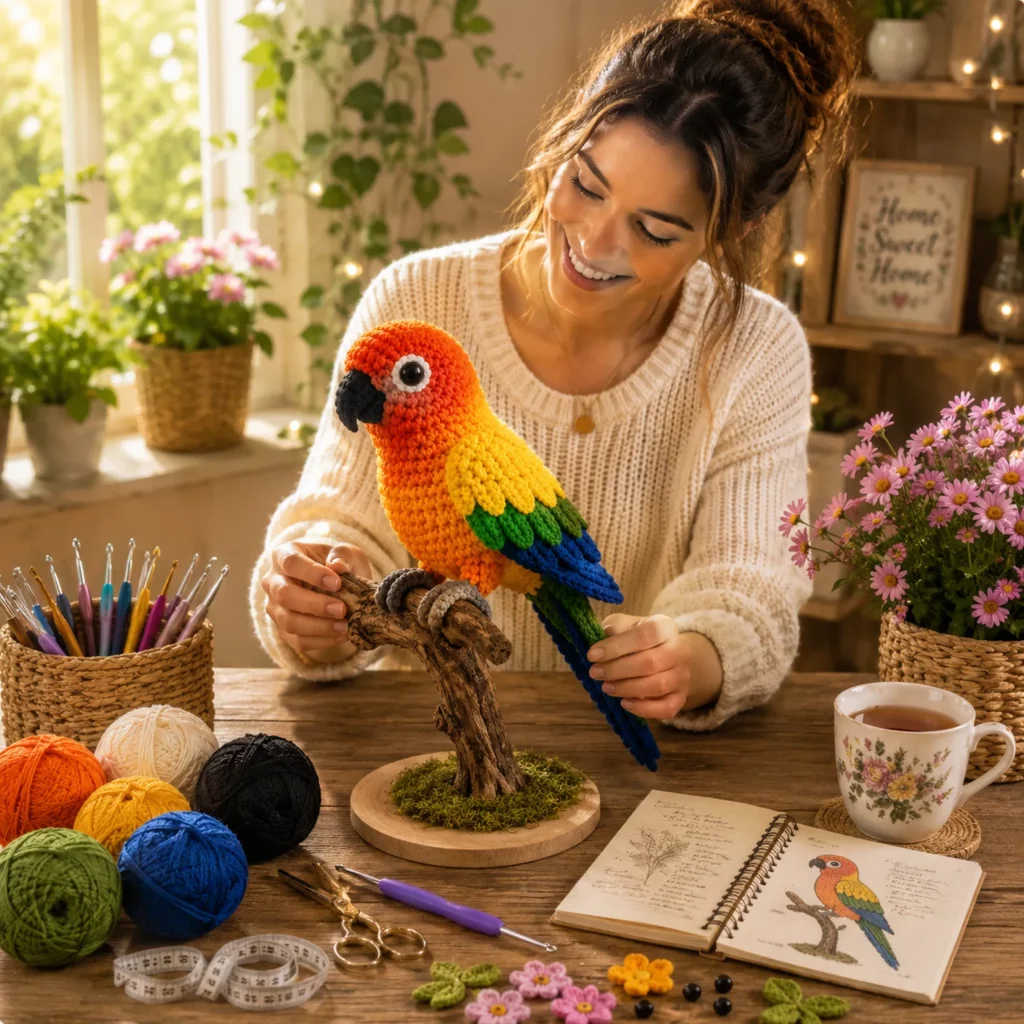
The result is a giftable, display-worthy DIY crochet project that looks polished and professional, even though it uses mostly basic stitches.
Detailed Description of the Crochet Pattern#
This parrot is designed in a perched pose. The head is rounded and blends naturally into the body, creating a sleek silhouette. The beak is large and curved, which is the defining feature of parrots and gives the toy personality right away. The wings are worked as separate pieces with layered color sections so they resemble feather groups. The tail is long, narrow, and tapered, with a strong contrast color at the tip.
Main parts you will crochet
- Head and body as one smooth piece for a clean finish
- Large curved beak sewn securely to the face
- Eye ring detail in white for an expressive “bright-eyed” look
- Wings made as flat pieces with layered “feather” sections
- Long tail feathers in two or three colors
- Claw feet that wrap around a perch
- Optional perch base or branch attachment stitches for stability
Color layout that creates the signature tropical look
- Warm orange head/body fading into bright yellow on the belly
- Wings layered in yellow, green, and blue
- Tail tip in deep blue to balance the bright body
- Dark beak for strong contrast
Skill Level Explanation#
This is a confident beginner to intermediate crochet pattern.
You’ll be comfortable if you can
- Crochet single crochet in continuous rounds
- Increase and decrease evenly
- Change colors cleanly
- Sew parts neatly and symmetrically
You’ll practice
- Shaping a curved beak
- Layering wing pieces for a feathered look
- Attaching feet in a “gripping” position
- Using stuffing to create smooth curves without lumps
If you’ve made a basic amigurumi animal before, you can definitely make this parrot.
Materials Needed#
Yarn
Smooth yarn helps colorwork look crisp and prevents fuzzy edges around the eye ring and beak.
Recommended yarn weight
- DK weight for a detailed, refined bird
- Worsted weight for a larger plush bird
Suggested colors
- Orange for head and upper body
- Yellow for belly and wing top layer
- Green for wing middle layer and tail accents
- Blue for wing tips and tail tip
- White for eye ring
- Black for beak (and optional embroidered details)
- Gray for feet/claws
Yarn tips
- Cotton gives the sharpest stitch definition and cleanest color changes
- Acrylic is softer and still looks great with tight tension
- Keep all colors the same yarn weight so pieces match in size
Hook
Use a smaller hook than the label suggests for tight amigurumi fabric.
- DK yarn: 2.75 mm to 3.25 mm
- Worsted yarn: 3.25 mm to 4.0 mm
Notions
- Stitch marker
- Tapestry needle
- Scissors
- Fiberfill stuffing
- Safety eyes (8 to 12 mm) or embroidery floss for eyes
- Optional: thin craft wire for feet to grip a perch (display only)
- Optional: a real branch or crocheted perch base
Safety note
For children under three, embroider eyes and skip wire.
Stitches & Techniques Explained#
Abbreviations in US terms
- MR magic ring
- ch chain
- sl st slip stitch
- sc single crochet
- inc increase (2 sc in same stitch)
- dec decrease (sc two stitches together)
- st stitch
Invisible decrease
For smooth shaping, use invisible decreases by picking up the front loops of the next two stitches and sc them together.
Clean color changes
Change yarn on the last yarn-over of the stitch before the new color. Pull the new color snugly to avoid gaps.
Layered wing look
Instead of crocheting complicated feather textures, you create separate wing “layers” and sew them stacked. This gives a realistic layered effect with simple shapes.
Perching feet
The easiest crochet feet for a perched bird are three front toes and one back toe, sewn so they wrap around a branch. You can also lightly bend the toes after sewing for a more gripping look.
Step-by-Step Instructions#
Work in continuous rounds unless stated. Use a stitch marker. This is a free crochet pattern written in a tutorial style so you can adjust size easily.
Finished size
- DK yarn: about 16 to 24 cm tall depending on tail length
- Worsted yarn: about 22 to 32 cm tall
Notes
- Place eyes before you fully stuff the head
- Stuff firmly for a smooth finish
- Pin wings, tail, and feet before sewing
Head and body (one piece)
Start with orange.
Round 1
- 6 sc in MR (6)
Round 2
- inc around (12)
Round 3
- (sc, inc) around (18)
Round 4
- (2 sc, inc) around (24)
Round 5
- (3 sc, inc) around (30)
Round 6
- (4 sc, inc) around (36)
Rounds 7 to 11
- sc around (36)
Eye placement
- Place eyes between rounds 9 and 10
- Space them about 7 to 9 stitches apart
Begin body shaping
Round 12
- (5 sc, inc) around (42)
Rounds 13 to 18
- sc around (42)
Switch gradually to yellow for belly
Simplest method is to change to yellow at the lower body for a clean belly.
Round 19 (yellow)
- sc around (42)
Rounds 20 to 26 (yellow)
- sc around (42)
Begin taper toward the bottom
Round 27
- (5 sc, dec) around (36)
Round 28
- sc around (36)
Round 29
- (4 sc, dec) around (30)
Round 30
- sc around (30)
Stuff firmly now
Shape the chest and belly smoothly.
Round 31
- (3 sc, dec) around (24)
Round 32
- sc around (24)
Round 33
- (2 sc, dec) around (18)
Round 34
- (sc, dec) around (12)
Round 35
- dec around (6)
Fasten off and close. Flatten the base slightly so it sits well.
White eye ring (optional but makes it pop)
With white
Round 1
- 6 sc in MR (6)
Round 2
- inc around (12)
Fasten off and sew around the eye to create a crisp ring. If you prefer a softer look, make it only one round (6 sc ring) instead.
Beak (curved)
Use black. Crochet two pieces and sew together for a chunky curved beak.
Beak top (make one)
Row 1
- Ch 8, sc in second ch and across (7)
Row 2
- Ch 1, turn, sc across (7)
Row 3
- Ch 1, turn, sc2tog, sc 3, sc2tog (5)
Row 4
- Ch 1, turn, sc across (5)
Row 5
- Ch 1, turn, sc2tog, sc, sc2tog (3)
Row 6
- Ch 1, turn, sc across (3)
Fasten off.
Beak bottom (make one, slightly shorter)
Row 1
- Ch 6, sc in second ch and across (5)
Row 2
- Ch 1, turn, sc across (5)
Row 3
- Ch 1, turn, sc2tog, sc, sc2tog (3)
Row 4
- Ch 1, turn, sc across (3)
Fasten off.
Assemble beak
- Place bottom piece under the top piece
- Whip stitch around the edges, lightly stuffing the base if you want extra firmness
- Sew beak to the face centered under the eyes, slightly forward for a parrot profile
Wings (make two)
Wings are layered to create the feather look. You’ll make a base wing and sew color layers on top.
Base wing (yellow)
Round 1
- 6 sc in MR (6)
Round 2
- (sc, inc) around (9)
Round 3
- (2 sc, inc) around (12)
Rounds 4 to 7
- sc around (12)
Round 8
- (2 sc, dec) around (9)
Round 9
- sc around (9)
Flatten
Do not stuff. Fold and sc across to close. Fasten off with tail.
Feather layer strip (green, make two)
- Ch 10
- In second ch from hook: sl st, sc, hdc, dc, dc, hdc, sc, sl st (creates a tapered strip)
Fasten off and sew onto the base wing.
Feather tip strip (blue, make two)
- Ch 8
- Work the same tapered strip pattern
Sew onto the bottom edge of the wing for a blue tip look.
Attach wings
- Sew wings to the sides of the body
- Place them slightly back and angled downward so the bird looks perched
- Make sure both wings sit at the same height
Tail (long, tapered)
Tail can be made as two long feathers or one wider tail piece. Here’s the simple two-feather method.
Tail feather (make two)
Start with green.
Round 1
- 6 sc in MR (6)
Round 2
- sc around (6)
Round 3
- (sc, inc) around (9)
Rounds 4 to 18
- sc around (9)
Switch to blue for the tip
Rounds 19 to 24
- sc around (9)
Stuff lightly near the base only. Keep the tail mostly flat.
Fasten off leaving a tail for sewing.
Sew tail feathers
- Attach to the lower back of the body
- Angle slightly apart so they form a V shape
- Add a few stitches to keep them from twisting
Feet and claws (make two)
Use gray.
Leg cuff (optional)
- Ch 6, join to make a ring
- Work one round sc around
Fasten off.
Toes
Make three front toes and one back toe per foot.
Front toe (make six total)
- Ch 7, sc in second ch and across (6)
Fasten off.
Back toe (make two total)
- Ch 5, sc in second ch and across (4)
Fasten off.
Assemble feet
- Sew three front toes together at the base
- Sew one back toe behind
- Sew the finished foot to the underside front of the body
Perch pose tip
Sew toes slightly curved around the branch. If you want extra grip for display, sew a few hidden stitches from toes onto the branch itself.
Common Mistakes and How to Avoid Them#
Beak looks flat
- Crochet two layers and lightly stuff the base
- Sew tightly around the edges
- Anchor the beak deeply into the face with strong stitches
Wings look uneven
- Count rounds carefully on both wings
- Pin both wings before sewing
- Match height from the base so they sit symmetrically
Tail twists
- Keep tail mostly unstuffed
- Use multiple anchor stitches at the base
- Tack the tail lightly to the body at one point to control the angle
Color changes look jagged
- Change color on the last yarn-over
- Pull new yarn snugly
- Avoid carrying dark yarn under bright colors if it shows through
Bird won’t perch nicely
- Move feet slightly forward
- Stuff the lower body firmly
- Add a few stitches from the belly to the branch for stability
Expert Tips for Better Results#
- Use invisible decreases for the smoothest finish
- Place eyes before stuffing the head
- Add a tiny white highlight stitch on the eye for extra life
- Sew the eye ring after the eye is inserted so it stays perfectly centered
- Make wing layers first, then sew them in stacks so both wings match
- Steam-block feather strips lightly so they lay flat before sewing
- Weave ends as you go, especially on multi-color wings
Variations and Customization Ideas#
- Make a mini version with sport yarn and a smaller hook
- Create a rainbow parrot by changing wing colors each row
- Add a crest on the head with small chain strands
- Make a “sleepy” parrot by embroidering closed eyes
- Turn it into a keychain by shortening the tail and adding a hanging loop
- Make a pair as “lovebirds” with different body colors
- Add a small perch base so it stands on a shelf without support
Benefits of This Crochet Project#
- A bright, high-impact crochet pattern that looks impressive and giftable
- Great stash buster for small amounts of multiple colors
- Teaches clean color changes and layered construction
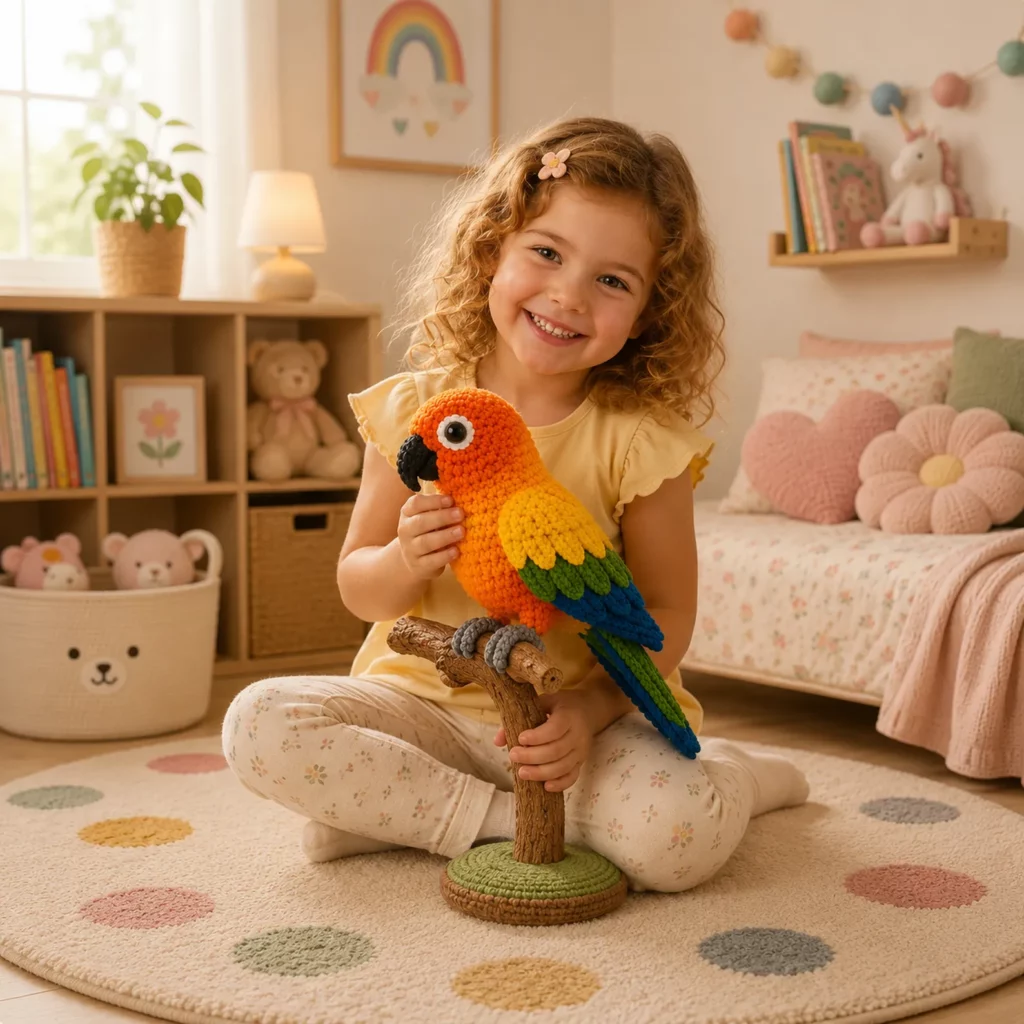
- Makes adorable décor for plant shelves, desks, and nurseries
- Fun to customize into different parrot species color palettes
- Mostly simple stitches, so it’s relaxing once you’re in rhythm
Internal Linking Suggestions#
- How to Crochet Invisible Decrease for Amigurumi
- Clean Color Change Tutorial for Crochet
- Best Yarn for Amigurumi With Tight Stitches
- How to Sew Amigurumi Parts Neatly
- Crochet Bird Feet and Perch Posing Tips
- Free Crochet Bird Patterns Collection
- How to Add Layered Wings to Amigurumi
FAQ#
Is this crochet pattern beginner-friendly
Yes if you’re comfortable with single crochet, increases, and decreases. The shaping is simple, and the detail work is mostly sewing layered pieces.
Can I make this without safety eyes
Absolutely. Embroider eyes with black thread and add a tiny white highlight stitch for a lively look.
How do I make the wings look like layered feathers
Use separate feather strips in different colors and sew them stacked on top of the base wing. This gives a dimensional look without complicated stitches.
What yarn works best for crisp color changes
Smooth cotton or smooth acrylic works best. Avoid fuzzy yarn because it blurs the edges between colors.
How do I keep the bird stable on a perch
Stuff the belly firmly, sew feet slightly forward, and tack the feet or belly to the branch with a few hidden stitches for display.
How can I resize the parrot
Use thicker yarn and a larger hook for a bigger parrot, or thinner yarn and a smaller hook for a mini version. Keep stitches tight so stuffing doesn’t show.
Conclusion#
This colorful parrot amigurumi crochet pattern is such a fun way to combine basic amigurumi shaping with bright, tropical style. The smooth body gives it a clean, professional finish, while the layered wings and long tail add the detail that makes it look truly special. With careful stuffing, neat sewing, and crisp color changes, you’ll end up with a perched parrot that feels like a handmade collectible.
If you tell me your yarn weight and the size you want your finished parrot to be, I can suggest the best eye size and quick adjustments to tail length and body rounds so your proportions look perfect.


