


Introduction#
If you’re looking for a crochet project that’s small, comforting, and ridiculously cute when it’s finished, a little mouse amigurumi is hard to beat. It’s the kind of plush you can make in a weekend, gift in a tiny box, or keep on your desk as a cheerful companion. And because the shape is mostly simple rounds, this crochet pattern is also a wonderful way to practice neat tension, smooth decreases, and clean finishing.
Explore more beginner amigurumi crochet patterns in our pattern library.
This crochet tutorial walks you through making a sitting mouse amigurumi with a round belly patch, soft pink paws, and a slim tail. The design has a gentle, “baby animal” look: big round ears, sweet eyes, and a simple nose that gives the face instant personality. You’ll also learn a few pro-style tricks—like shaping with stuffing, placing features symmetrically, and choosing yarn that makes your stitches look crisp and polished.
Whether you’re crocheting for beginners or you’ve made amigurumi for years and want a quick feel-good project, this DIY crochet mouse is a keeper.
Detailed Description of the Crochet Pattern#
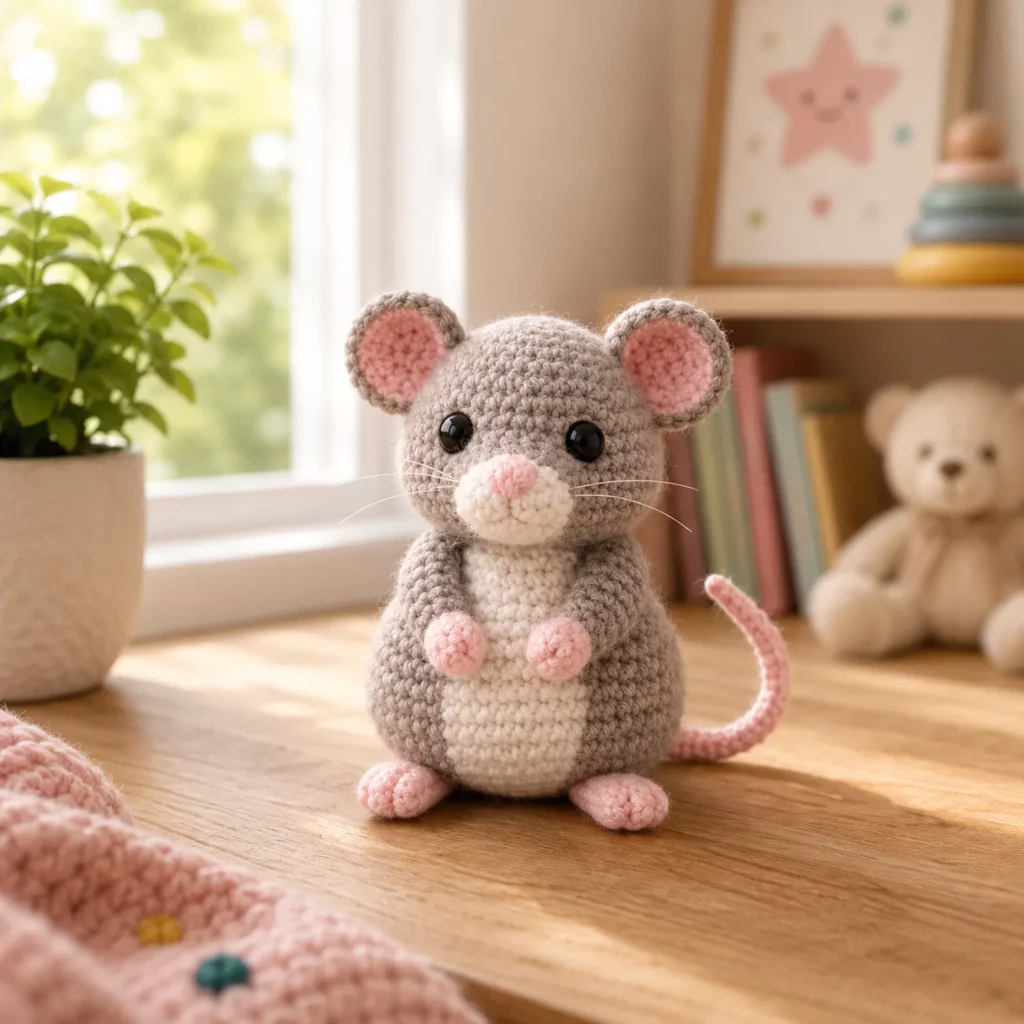
This mouse is designed in a stable sitting pose with a slightly larger head and a plump body—classic amigurumi proportions that make it extra adorable. The body is rounded and slightly pear-shaped so it sits naturally, and the belly patch is a separate piece sewn on for clean color lines. The ears are round with a soft pink inner ear. The paws have pink “pads” and a slightly flattened shape, giving the mouse a cuddly, gentle look.
Key features you will crochet
- Round head with a soft snout area
- Big ears with inner ear circles
- White belly patch that frames the front
- Tiny arms held close to the belly
- Small feet that support a sitting pose
- Long skinny tail that curves behind
- Optional whiskers and blush cheeks for extra charm
This crochet pattern is built in separate parts for easier assembly and cleaner shaping. The stitches are simple, but the finished look feels detailed because of the careful color placement and thoughtful proportions.
Skill Level Explanation#
This is an easy-to-intermediate crochet pattern.
You’ll be comfortable if you can
- Crochet single crochet in continuous rounds
- Increase and decrease evenly
- Count stitches and rounds
- Sew parts together neatly
- Add basic embroidery details
You’ll practice
- Clean shaping with stuffing
- Symmetrical placement (eyes, ears, paws)
- Sew-on applique (belly patch) for crisp color blocking
If you’re a beginner, this is a great “level-up” project after your first basic ball. If you’re more experienced, it’s a relaxing make with a super cute result.
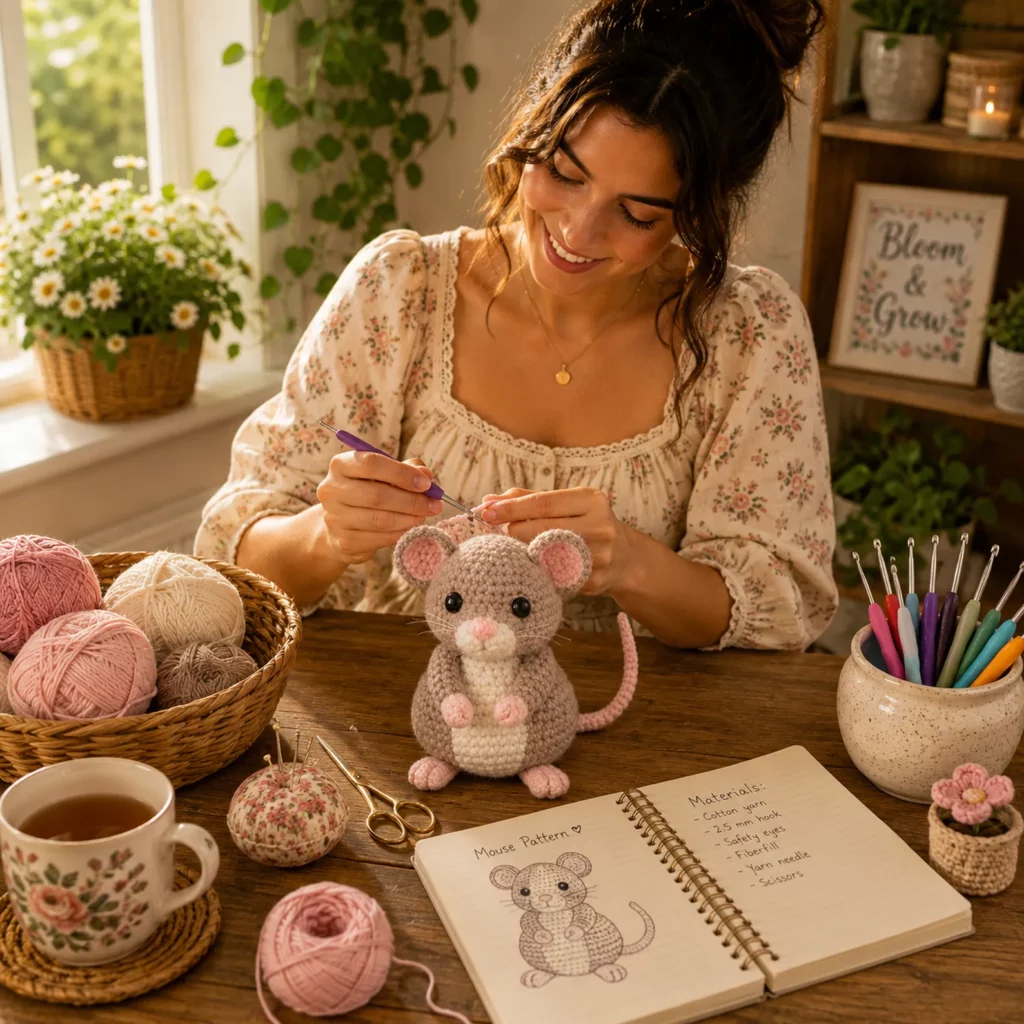
Materials Needed#
Yarn
Smooth yarn gives the cleanest stitch definition and the nicest facial details.
Recommended yarn weight
- DK weight for a smaller, detailed mouse
- Worsted weight for a medium plush mouse
Suggested colors
- Main body: beige, taupe, or soft gray
- Belly patch and muzzle: cream or white
- Inner ears and paws: soft pink
- Nose embroidery: pink
- Optional: thin white thread or fishing line for whiskers (display only)
Yarn tips
- Cotton gives crisp stitches and a polished look
- Acrylic is softer and often easier to wash
- Avoid fuzzy yarn because it hides shaping and makes embroidery harder
- If your mouse looks “holey,” go down a hook size and tighten tension
Hook
Use a smaller hook than the yarn label suggests to create tight amigurumi fabric.
- DK: 2.75 mm to 3.25 mm
- Worsted: 3.25 mm to 4.0 mm
Notions
- Stitch marker
- Tapestry needle
- Scissors
- Fiberfill stuffing
- Safety eyes (6 mm to 10 mm depending on size) or embroidery floss
- Optional blush or pink yarn for cheeks
Safety note
If making for babies or toddlers, embroider the eyes and skip whiskers made from fishing line.
Stitches & Techniques Explained#
US terms
Abbreviations
- MR magic ring
- ch chain
- sl st slip stitch
- sc single crochet
- inc increase (2 sc in one stitch)
- dec decrease (sc 2 stitches together)
- st stitch
Invisible decrease
For a smoother finish, use invisible decrease: pick up the front loops of the next two stitches and sc them together.
Stuffing for smooth shaping
Stuff in small amounts and shape often with your fingers. A plush mouse looks best when the head is firm and round, while the belly is slightly softer but still supportive.
Clean sewing for appliques
When sewing a belly patch, use small stitches and catch only the back loop of the patch edge plus the top loop of the body stitches. This keeps your seam nearly invisible.
Step-by-Step Instructions#
This free crochet pattern is written in a crochet tutorial style. Work in continuous rounds unless stated. Use a stitch marker to track the first stitch.
Finished size
Varies by yarn and hook, but this style usually lands around palm-sized to hand-sized.
Pattern notes
- Numbers in parentheses are stitch counts at the end of the round
- Insert eyes before fully closing the head
- Stuff firmly for a clean finish
Head
Use main body color.
Round 1
- 6 sc in MR (6)
Round 2
- inc around (12)
Round 3
- (sc, inc) around (18)
Round 4
- (2 sc, inc) around (24)
Round 5
- (3 sc, inc) around (30)
Round 6
- (4 sc, inc) around (36)
Rounds 7 to 10
- sc around (36)
Eye placement
- Place eyes between rounds 8 and 9
- Space them about 7 to 9 stitches apart depending on your preferred expression
Round 11
- (4 sc, dec) around (30)
Round 12
- sc around (30)
Round 13
- (3 sc, dec) around (24)
Round 14
- sc around (24)
Begin stuffing
Stuff firmly, shaping the face slightly forward.
Round 15
- (2 sc, dec) around (18)
Round 16
- (sc, dec) around (12)
Round 17
- dec around (6)
Fasten off, close, and weave in end.
Muzzle patch (optional but very cute)
Use cream/white.
Round 1
- 6 sc in MR (6)
Round 2
- inc around (12)
Round 3
- (sc, inc) around (18)
Fasten off leaving a long tail. Flatten slightly and sew to the lower front of the head under the eyes.
Nose and mouth
- Embroider a small pink triangle nose
- Add a tiny vertical stitch down and a soft curved smile
- Optional: add tiny whisker dots with black thread
Ears (make two)
Outer ear in main body color.
Round 1
- 6 sc in MR (6)
Round 2
- inc around (12)
Round 3
- (sc, inc) around (18)
Round 4
- sc around (18)
Fasten off leaving a tail.
Inner ear (make two, pink)
Round 1
- 6 sc in MR (6)
Round 2
- (sc, inc) around (9)
Round 3
- sc around (9)
Fasten off leaving a tail.
Assemble ears
- Sew pink inner ear onto the center of each outer ear
- Slightly pinch the ear base so it curves like a real ear
- Sew ears to the top sides of the head, symmetrical and slightly forward
Body (sitting shape)
Use main body color.
Round 1
- 6 sc in MR (6)
Round 2
- inc around (12)
Round 3
- (sc, inc) around (18)
Round 4
- (2 sc, inc) around (24)
Round 5
- (3 sc, inc) around (30)
Round 6
- (4 sc, inc) around (36)
Rounds 7 to 11
- sc around (36)
Round 12
- (5 sc, inc) around (42)
Rounds 13 to 16
- sc around (42)
Begin taper for the bottom
Round 17
- (5 sc, dec) around (36)
Round 18
- sc around (36)
Round 19
- (4 sc, dec) around (30)
Round 20
- sc around (30)
Stuff firmly
Flatten the base slightly with your hands as you stuff so it sits nicely.
Round 21
- (3 sc, dec) around (24)
Round 22
- (2 sc, dec) around (18)
Round 23
- (sc, dec) around (12)
Round 24
- dec around (6)
Fasten off, close, weave in end.
Belly patch
Use cream/white.
Row 1
- Ch 8, sc in second ch from hook and across (7)
Rows 2 to 10
- Ch 1, turn, sc across (7)
Shape top slightly
Row 11
- Ch 1, sc2tog, sc 3, sc2tog (5)
Row 12
- Ch 1, sc across (5)
Fasten off leaving a long tail. Sew centered on the front of the body.
Arms (make two)
Use main body color.
Round 1
- 6 sc in MR (6)
Round 2
- (sc, inc) around (9)
Rounds 3 to 6
- sc around (9)
Lightly stuff. Flatten top slightly and fasten off leaving a sewing tail. Sew arms to the upper front sides of the body so they rest near the belly patch.
Optional pink paws
Make a tiny pink circle (6 sc in MR) and sew to the end of each arm.
Feet (make two)
Start with pink, then main body color if you want a paw tip look.
Pink toe base
Round 1
- 6 sc in MR (6)
Round 2
- inc around (12)
Round 3
- sc around (12)
Switch to main body color
Rounds 4 to 7
- sc around (12)
Stuff lightly and flatten. Fasten off leaving a sewing tail. Sew to the bottom front of the body, spaced evenly so the mouse sits stable.
Tail
Use pink (or main body color if you prefer).
Option one simple tail tube
Round 1
- 4 sc in MR (4)
Rounds 2 to 22
- sc around (4)
Do not stuff, or stuff very lightly. Fasten off leaving a tail for sewing. Sew to the back of the body, slightly above the base so it curves naturally.
Option two cord tail (fast and neat)
- Ch 28 to 40
- Sl st back down the chain
Fasten off and sew to the back.
Assembly
Assembly order
- Sew muzzle patch and embroider nose/mouth
- Sew inner ears to outer ears, then attach ears to head
- Sew belly patch to body
- Attach arms
- Attach feet and test sitting balance
- Sew head to body with strong stitches (multiple passes)
- Attach tail
- Add optional blush and whiskers
Head attachment tip
Pin the head in place first. A slight forward tilt looks extra cute.
Common Mistakes and How to Avoid Them#
Mouse won’t sit flat
- Stuff the base more firmly
- Flatten the base while stuffing
- Move feet slightly forward or widen the spacing
Head looks lopsided
- Count rounds and keep tension consistent
- Insert eyes symmetrically
- Pin head before sewing and check from front view
Belly patch looks crooked
- Pin the patch first and sew the top edge before the sides
- Use small stitches and keep the patch centered
Stuffing shows through stitches
- Use a smaller hook
- Tighten tension
- Avoid overstuffing which stretches stitches
Tail droops too much
- Use the cord tail method
- Or crochet the tube tail with tighter tension
- Add a few extra anchor stitches at the tail base
Expert Tips for Better Results#
- Use invisible decreases for the smoothest finish
- Add a tiny white highlight stitch to each eye for extra sparkle
- For a softer expression, place eyes slightly lower and farther apart
- Lightly steam-block the belly patch before sewing so it lies flat
- Keep embroidery simple and centered—tiny details make the face feel “alive”
- If you want extra “chubby cheeks,” add two small shaping stitches pulling from the muzzle edge toward the sides of the face
Variations and Customization Ideas#
- Turn it into a holiday mouse by adding a tiny scarf
- Make a sleepy mouse by embroidering closed eyes
- Add a little cheese accessory (small yellow triangle)
- Change colors for a “field mouse” (brown), “fancy mouse” (gray), or “pastel nursery mouse”
- Make it a keychain mini by using sport yarn and a smaller hook (embroidered eyes recommended)
- Add a tiny backpack or heart patch for gift-giving
Benefits of This Crochet Project#
- A classic crochet pattern that’s fast, cute, and giftable
- Great scrap buster for small amounts of pink and white yarn
- Builds confidence in shaping, sewing, and facial details
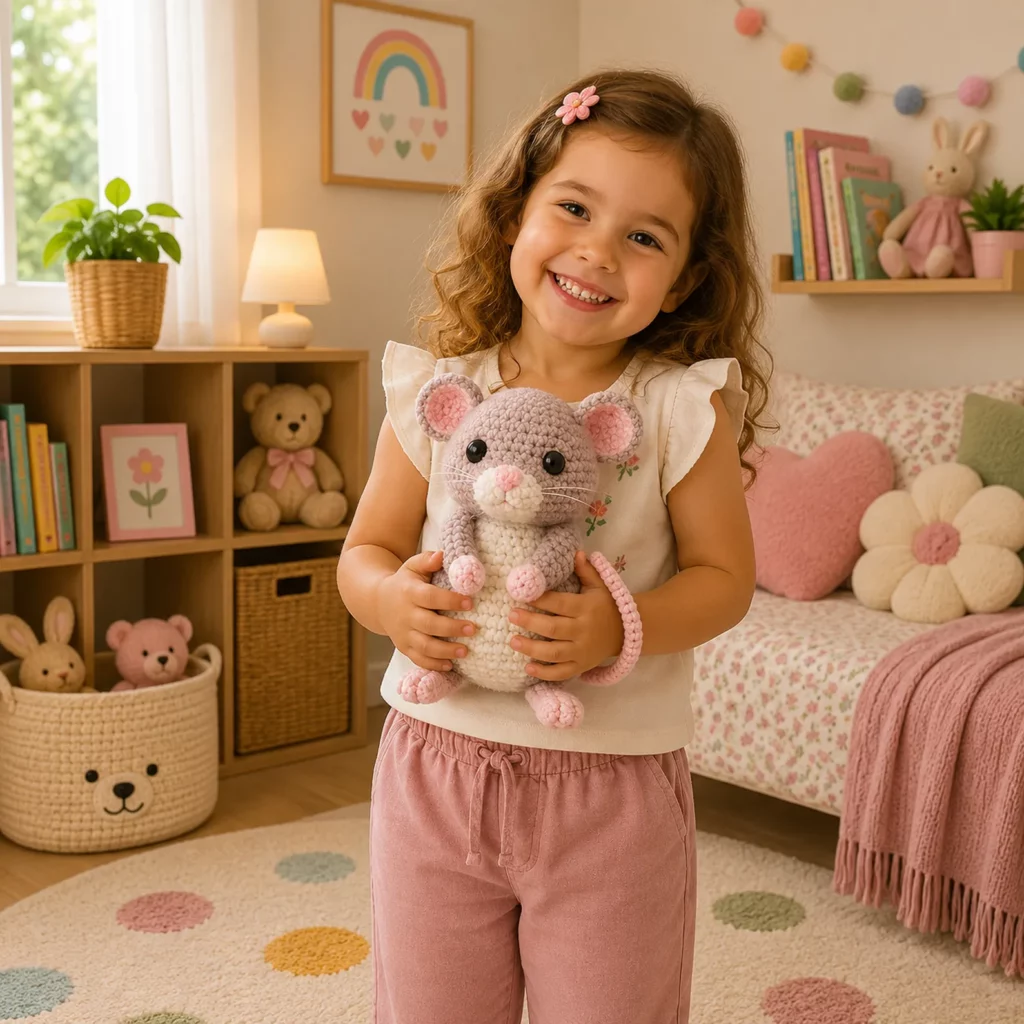
- Perfect for nursery décor, desk buddies, or handmade gifts
- Customizable in size and personality with simple changes
- Beginner-friendly but looks polished when finished neatly
Internal Linking Suggestions#
- How to Crochet a Magic Ring for Amigurumi
- Invisible Decrease Tutorial for Smooth Amigurumi
- How to Place Safety Eyes Symmetrically
- How to Sew Amigurumi Parts Neatly
- Easy Crochet Animal Patterns for Beginners
- DIY Crochet Mini Accessories for Amigurumi
FAQ#
Is this crochet pattern suitable for beginners
Yes. The stitches are simple, and the parts are small. The main skill is careful assembly, which is great practice.
Can I make this without safety eyes
Absolutely. Embroider eyes with black floss for a baby-safe version.
What yarn is best for a crochet mouse
Smooth cotton or acrylic is ideal. Cotton gives crisp stitch definition; acrylic is softer and often easier to wash.
How do I make the mouse bigger or smaller
Use thicker yarn and a larger hook for a bigger mouse, or thinner yarn and a smaller hook for a mini. Keep stitches tight so stuffing doesn’t show.
How do I keep the mouse sitting upright
Stuff the base firmly, flatten the bottom slightly, and place the feet a bit forward as little supports.
Can I skip the belly patch
Yes. You can make the whole body one color, or crochet color changes into the body, but the sewn patch is the cleanest for beginners.
Conclusion#
This mouse amigurumi crochet pattern is simple, sweet, and incredibly satisfying to make. The round belly, tiny paws, and soft pink details give it a gentle personality, while the basic construction keeps it approachable for crochet for beginners. With neat stitching, careful stuffing, and symmetrical placement, you’ll end up with a polished plush that looks like a handmade keepsake.
If you tell me whether you’re using DK or worsted yarn, I can suggest the best safety eye size and a quick adjustment to the body rounds to match the exact size you want.


