


Introduction#
If you love amigurumi that feels extra special the moment you finish it, a lion is the ultimate “wow” project. Lions have such a recognizable look—round friendly face, soft muzzle, and that big fluffy mane—and crochet is perfect for capturing all of it. The best part is that you don’t need complicated stitches to get an impressive result. With tight single crochet, thoughtful shaping, and a fun mane technique, you can create a lion plush that looks like a boutique handmade toy.
Explore more beginner amigurumi crochet patterns in our pattern library.
This crochet pattern is designed to help you make a cuddly lion amigurumi with a sweet expression, soft paws, and a shaggy mane that frames the face beautifully. It’s a great DIY crochet project for gifts, nursery décor, or adding to your crochet animal collection.
In this crochet tutorial, you’ll learn how to build the lion step-by-step, choose the best yarn for a plush finish, create the mane using beginner-friendly methods, and assemble everything neatly so your lion looks polished from every angle.
Detailed Description of the Crochet Pattern#
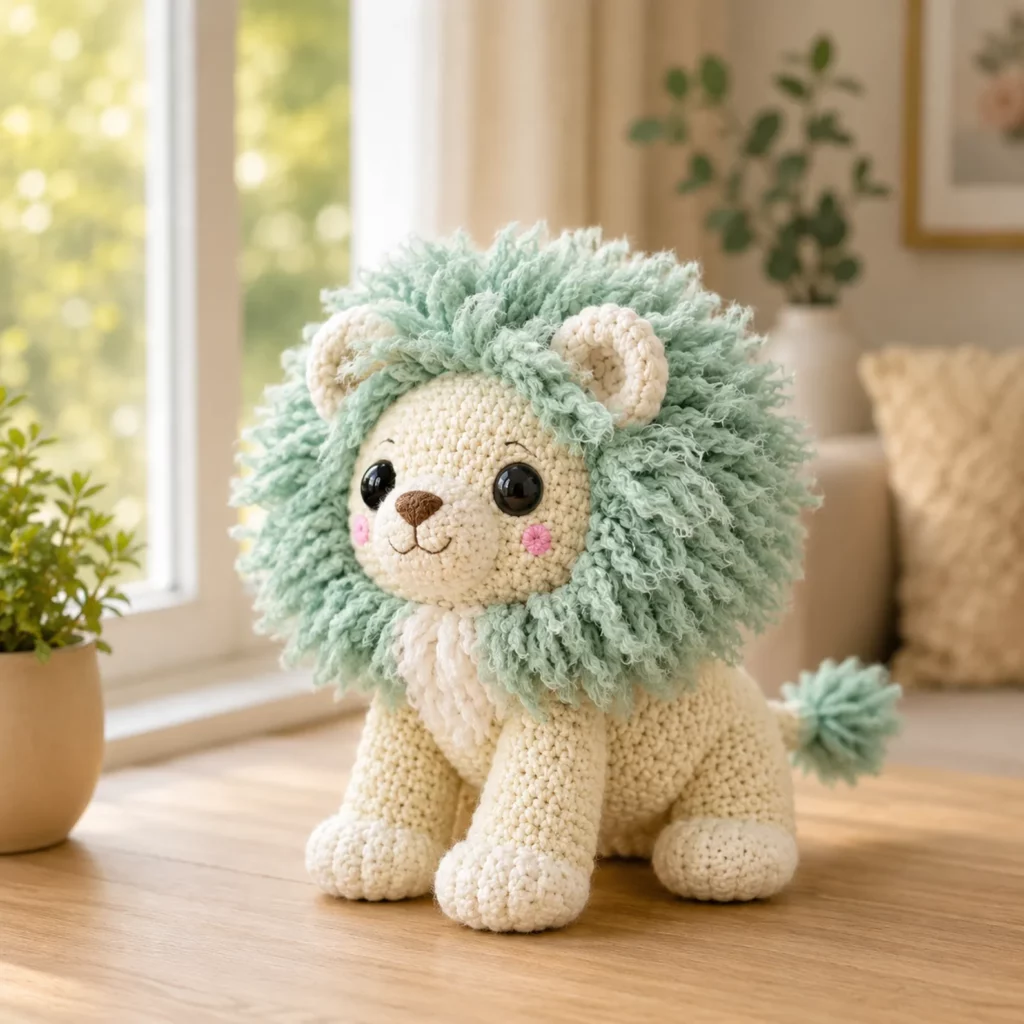
This lion plush has a cute, rounded style rather than a super realistic one, which makes it extra huggable and kid-friendly. The body is a soft oval with short sturdy legs and chunky paws. The head is slightly larger than the body (classic amigurumi proportions), giving the lion that sweet “baby animal” look. The muzzle is a separate piece, creating dimension and making it easier to add a tiny embroidered nose and mouth.
The mane is the signature feature. It’s full and fluffy, surrounding the head like a halo. You can create it with yarn loops, a latch-hook style fringe, or crocheted “tufts” sewn around the head. This pattern includes an easy method that doesn’t require special tools—just a hook, yarn, and a little patience.
Key features you will crochet
- Rounded head with a sweet face and big eyes
- Soft muzzle with embroidered nose and smile
- Two small rounded ears
- Four paws with a contrasting paw color
- A fluffy mane around the head and neck area
- A tail with a tuft at the end
- Optional cheek blush and tiny eyebrow stitches for extra personality
This crochet pattern can be made in multiple sizes depending on yarn weight and hook size. It also looks beautiful in different mane colors—classic golden lion, warm caramel mane, or even a pastel fantasy lion.
Skill Level Explanation#
This is a confident beginner to intermediate crochet pattern.
You’ll be comfortable if you can
- Crochet single crochet in continuous rounds
- Increase and decrease evenly
- Count stitches and rounds consistently
- Sew amigurumi parts together neatly
- Embroider simple facial details
You’ll practice
- Making a plush stand or sit with balanced legs
- Creating a fluffy mane using loops or fringe
- Shaping a muzzle that sits smoothly on the face
- Pinning and checking symmetry during assembly
If you have made a simple amigurumi bear, bunny, or cat, this lion is a fun next step because it introduces “hair” and texture while still using mostly basic stitches.
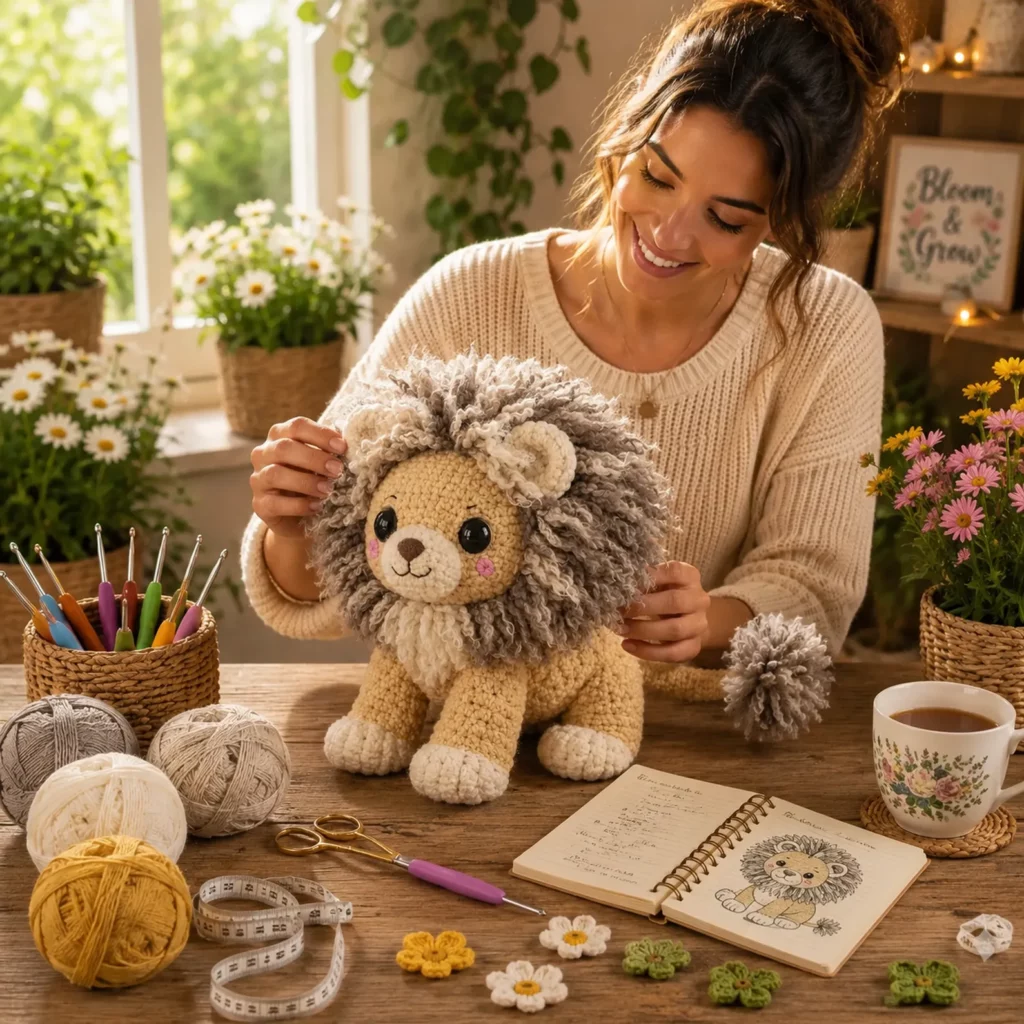
Materials Needed#
Yarn
Smooth yarn works best for the body and face because it gives clean stitch definition and makes embroidery easier. For the mane, you can use either the same smooth yarn (cut into strands) or a slightly fluffier yarn if you want extra volume.
Recommended yarn weights
- DK weight for a smaller, detailed lion
- Worsted weight for a medium plush lion
- Chunky yarn for a larger cuddle-size lion (keep stitches tight)
Suggested colors
- Main body color: golden yellow, honey, or light tan
- Mane color: rust, copper, warm brown, or multi-tone orange/brown
- Muzzle and paw pads: cream or light beige
- Nose and mouth embroidery: dark brown or black
- Optional blush: pink yarn or cosmetic blush (display only)
Yarn tips for the best plush look
- Use a smooth cotton or smooth acrylic for the face so stitches look even
- If you use fuzzy yarn for the mane, keep it only on the mane so the face stays clean
- Choose a mane color with contrast so the “hair” pops against the face
- If you want a super soft toy, use a soft acrylic for body and a brushed yarn for mane strands
Hook
Use a smaller hook than the yarn label suggests so stuffing doesn’t show through.
Typical hook sizes
- DK yarn: 2.75 mm to 3.25 mm
- Worsted yarn: 3.25 mm to 4.0 mm
- Chunky yarn: 5.0 mm to 6.0 mm (test tension)
Notions
- Stitch marker
- Tapestry needle
- Scissors
- Fiberfill stuffing
- Safety eyes (10 to 14 mm depending on size) or embroidery floss for eyes
- Embroidery floss or yarn for nose and mouth
- Optional: pet slicker brush (to fluff mane strands if using brushed yarn)
- Optional: small weights or pellets pouch for stability (display only)
Safety note
For babies and toddlers, embroider eyes instead of using safety eyes and avoid any loose yarn fringe that could be pulled out easily. If the lion is for a child, consider crocheted mane tufts instead of long cut fringe.
Stitches & Techniques Explained#
Abbreviations in US terms
- MR magic ring
- ch chain
- sl st slip stitch
- sc single crochet
- inc increase (2 sc in same stitch)
- dec decrease (sc 2 stitches together)
- st stitch
- BLO back loop only
- FLO front loop only
Invisible decrease
For a smoother finish, especially on the head and muzzle area, use invisible decreases. Pick up the front loops of the next two stitches and single crochet them together.
Tight amigurumi fabric
Tight stitches are important so the lion looks neat and stuffing doesn’t show. If you see gaps, go down a hook size or tighten tension.
Mane techniques
You have three great options for the lion mane. Choose the one that fits your goal.
Cut-strand fringe (fullest, fluffiest)
- Cut yarn strands and attach them around the head using a simple loop method
- Trim to shape and fluff gently
Loop stitch mane (built-in texture)
- Use loop stitch (pull up loops) on a mane collar piece
- Creates a fuzzy look without loose strands
Crocheted tufts (child-friendly)
- Crochet small curved tufts and sew around the head
- More secure for children and still very cute
This tutorial focuses on the cut-strand method because it matches the fluffy look best, but you’ll also get tuft and loop alternatives.
Step-by-Step Instructions#
Work in continuous rounds unless stated. Use a stitch marker.
Finished size
- DK yarn: about 15 to 22 cm tall (depending on pose)
- Worsted yarn: about 20 to 30 cm tall
- Chunky yarn: larger cuddle size
Notes before you start
- Insert safety eyes before you close the head
- Stuff firmly but avoid stretching stitches
- Pin pieces first before sewing to keep everything symmetrical
Head
Use main body color.
Round 1
- 6 sc in MR (6)
Round 2
- inc around (12)
Round 3
- (sc, inc) around (18)
Round 4
- (2 sc, inc) around (24)
Round 5
- (3 sc, inc) around (30)
Round 6
- (4 sc, inc) around (36)
Round 7
- (5 sc, inc) around (42)
Rounds 8 to 13
- sc around (42)
Eye placement
- Place eyes between rounds 10 and 11
- Space them about 8 to 10 stitches apart for a sweet expression
- If you want a “baby” look, place eyes slightly lower and closer together
Begin shaping down
Round 14
- (5 sc, dec) around (36)
Round 15
- sc around (36)
Round 16
- (4 sc, dec) around (30)
Round 17
- sc around (30)
Round 18
- (3 sc, dec) around (24)
Stuff head firmly now. Shape it round and smooth.
Round 19
- (2 sc, dec) around (18)
Round 20
- (sc, dec) around (12)
Round 21
- dec around (6)
Fasten off and close. Weave in end.
Muzzle
Use cream or light beige.
Round 1
- 6 sc in MR (6)
Round 2
- inc around (12)
Round 3
- (sc, inc) around (18)
Round 4
- (2 sc, inc) around (24)
Rounds 5 to 6
- sc around (24)
Round 7
- (2 sc, dec) around (18)
Round 8
- sc around (18)
Stuff lightly so it stays rounded.
Fasten off with a long tail for sewing.
Attach muzzle
- Center muzzle below eyes
- The top edge should sit just below eye line
- Pin first, then sew with small stitches
- Add a tiny bit more stuffing right before closing if needed
Nose and mouth embroidery
- Nose: small triangle or oval in dark brown/black
- Mouth: a short vertical line down from nose, then a gentle curved smile
- Optional: add tiny whisker dots with a few stitches
Ears (make two)
Use main body color.
Round 1
- 6 sc in MR (6)
Round 2
- (sc, inc) around (9)
Round 3
- sc around (9)
Round 4
- (2 sc, inc) around (12)
Round 5
- sc around (12)
Flatten slightly and sc across the top to close.
Fasten off with a tail.
Sew ears
- Place on top sides of head
- Angle slightly outward
- Keep symmetrical by measuring from the center top
Body
Use main body color.
Round 1
- 6 sc in MR (6)
Round 2
- inc around (12)
Round 3
- (sc, inc) around (18)
Round 4
- (2 sc, inc) around (24)
Round 5
- (3 sc, inc) around (30)
Round 6
- (4 sc, inc) around (36)
Rounds 7 to 14
- sc around (36)
Make the belly a little fuller
Round 15
- (5 sc, inc) around (42)
Rounds 16 to 20
- sc around (42)
Begin tapering
Round 21
- (5 sc, dec) around (36)
Round 22
- sc around (36)
Round 23
- (4 sc, dec) around (30)
Round 24
- sc around (30)
Stuff firmly now, shaping the base slightly flatter so it sits nicely.
Round 25
- (3 sc, dec) around (24)
Round 26
- (2 sc, dec) around (18)
Round 27
- (sc, dec) around (12)
Round 28
- dec around (6)
Fasten off and close.
Legs and paws (make four)
Start with cream for paw tips, then switch to main body color.
Paw (cream)
Round 1
- 6 sc in MR (6)
Round 2
- inc around (12)
Round 3
- sc around (12)
Round 4
- (2 sc, inc) around (18)
Round 5
- sc around (18)
Switch to main body color
Round 6
- sc around (18)
Taper slightly into leg
Round 7
- (4 sc, dec) around (15)
Rounds 8 to 14
- sc around (15)
Stuff firmly. Flatten the bottom slightly so it sits stable.
Fasten off leaving a long tail.
Leg placement
- Pin all four legs before sewing
- Front legs slightly forward under chest
- Back legs slightly back under body
- Angle outward slightly for stability
- Test on a flat surface before final stitches
Tail
Use main body color with a mane-colored tuft at the end.
Tail base
Round 1
- 6 sc in MR (6)
Rounds 2 to 10
- sc around (6)
Stuff lightly. Fasten off leaving a tail for sewing.
Tail tuft options
Simple tuft (cut strands)
- Cut 6 to 10 short strands of mane yarn
- Fold and tie through the tail tip
- Trim to shape
Tuft ball (crocheted)
- 6 sc in MR, inc around (12), sc around (12), dec around (6)
- Stuff lightly and sew to tail tip
Sew tail to body
- Attach to back of body, slightly upward
Mane
This is where your lion becomes extra adorable.
Option one cut-strand mane (most fluffy)
Where to attach
- Around the head like a circle frame
- Concentrate more around cheeks and top for a full mane
- Keep the muzzle area clear
How to attach strands with a crochet hook
- Cut strands about 10 to 14 cm long (longer if you want extra fluff)
- Fold a strand in half
- Insert hook into a stitch on the head (around the mane area)
- Pull the folded loop through
- Pull the two loose ends through the loop and tighten
Repeat around the head.
Shaping the mane
- Trim gently so it’s rounded and even
- Use fingers to fluff and separate strands
- If using brushed yarn, lightly brush the ends only (do not tug hard)
Option two loop stitch mane collar (no loose strands)
- Crochet a collar ring that fits around the neck
- Work loop stitches for 2 to 4 rounds
- Sew collar to head/body join
Option three crocheted mane tufts (child-friendly)
- Crochet small “leaf” or “petal” shapes in mane color
- Sew in overlapping rows around the head like scales
- This looks plush and is very secure
Assembly
Suggested order
- Sew muzzle to head and embroider face
- Sew ears to head
- Attach head to body
- Sew legs to body (test standing)
- Attach tail
- Add mane last so sewing stays easy
Sew head to body
- Center head on the front of body
- Sew firmly with multiple passes to prevent wobble
- If you want a sitting lion, angle the head slightly downward
Common Mistakes and How to Avoid Them#
Mane looks patchy
- Add more strands closer together
- Use shorter strands for the top and longer strands around cheeks
- Trim gradually, not all at once
Mane sheds or pulls out
- Tighten each strand firmly
- For child toys, choose crocheted tufts instead of fringe
- Avoid very slippery yarn for mane strands
Lion won’t sit or stand evenly
- Stuff legs and base more firmly
- Pin legs and test before sewing
- Flatten paw bottoms slightly while stuffing
Muzzle looks crooked
- Pin muzzle and check symmetry from front and side
- Sew the top edge first, then sides evenly
- Add stuffing right before closing so it stays centered
Gaps show stuffing
- Use a smaller hook
- Keep tension tighter
- Avoid overstuffing, which stretches stitches
Head wobbles
- Sew with strong repeated stitches
- Stuff the neck area firmly
- For larger sizes, consider a small internal support (display only)
Expert Tips for Better Results#
- Use invisible decreases for a smooth face
- Insert eyes before you stuff the head fully
- Slightly shape the muzzle with your hands after sewing for a soft “smile” look
- Add tiny eyebrow stitches above eyes for extra expression
- For extra-cute cheeks, add a tiny blush circle with pink yarn or blush (display only)
- If your mane is too wild, lightly dampen hands and smooth strands down, then let dry
- Weave in ends as you go so finishing stays stress-free
Variations and Customization Ideas#
- Baby lion version with shorter mane and bigger eyes
- Girl lion with a small bow or flower accessory (crocheted)
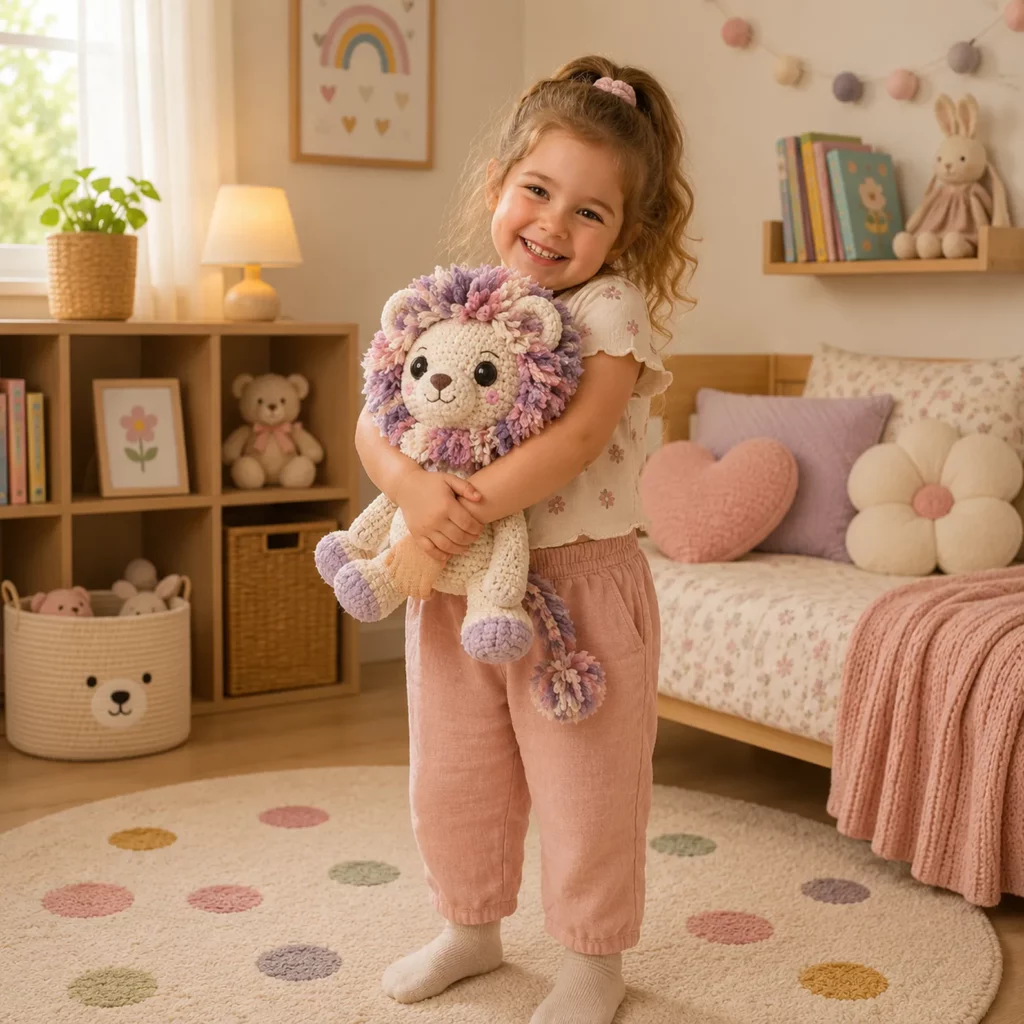
- Pastel lion for nursery décor (cream body, peach mane)
- Jumbo cuddly lion using chunky yarn and a larger hook
- Keychain mini lion using sport yarn and embroidered eyes
- Add a tiny heart patch on the belly for a gift theme
- Make a whole safari set by matching style with elephants, giraffes, and zebras
Benefits of This Crochet Project#
- A high-impact crochet pattern that looks boutique and gift-ready
- Great practice for shaping, assembly, and adding texture
- Mane technique teaches a fun skill you can reuse for other animals
- Easy to customize with colors and expression
- Makes a perfect nursery plush, desk buddy, or handmade gift
- Mostly simple stitches, so it’s relaxing once the parts are underway
Internal Linking Suggestions#
- How to Crochet Invisible Decrease for Amigurumi
- Best Yarn for Amigurumi With Tight Stitches
- How to Attach Yarn Fringe for Amigurumi Hair
- How to Sew Amigurumi Parts Neatly
- How to Place Safety Eyes Symmetrically
- Free Crochet Safari Animal Patterns Collection
- Beginner Crochet Plush Toy Finishing Tips
FAQ#
Is this crochet pattern beginner-friendly
Yes, especially if you’ve made amigurumi before. The shapes are simple, and the main “new” part is the mane, which is repetitive once you get started.
What is the easiest way to make the lion mane
Cut-strand fringe is the easiest for a fluffy look. If you want a child-safe option, use crocheted tufts sewn around the head.
Can I make this lion without safety eyes
Absolutely. Embroider eyes with black thread or yarn for a baby-safe plush.
How do I keep the mane from looking messy
Attach strands evenly, then trim slowly in small amounts to shape. Fluff with fingers, and avoid over-brushing which can thin the strands.
How do I make the lion sit instead of stand
Sew back legs slightly farther forward and angle them outward. Also flatten the base and stuff firmly so it holds a sitting pose.
How do I resize the lion
Use thicker yarn and a larger hook for a bigger lion, or thinner yarn and a smaller hook for a mini lion. Keep stitches tight so stuffing doesn’t show.
Conclusion#
This lion amigurumi crochet pattern is the perfect mix of cuddly and impressive. The sweet face and soft paws make it instantly lovable, while the fluffy mane adds the special detail that makes it look like a high-end handmade plush. With tight stitches, firm stuffing, and careful assembly, you’ll end up with a lion that’s ready to gift, display, or hug forever.
If you tell me your yarn weight and the size you want your finished lion to be, I can suggest the best safety-eye size and a simple strand-count plan so your mane looks perfectly full and balanced.


