


Introduction#
Few crochet projects feel as instantly joyful as a ladybug. The bright red shell, the cute little black head, and those classic spots make it recognizable in one glance—and in amigurumi form it becomes even sweeter. A crochet ladybug is also a fantastic project when you want something quick and satisfying: it uses simple shapes, minimal sewing, and it looks polished even if you’re still building confidence.
Explore more beginner amigurumi crochet patterns in our pattern library.
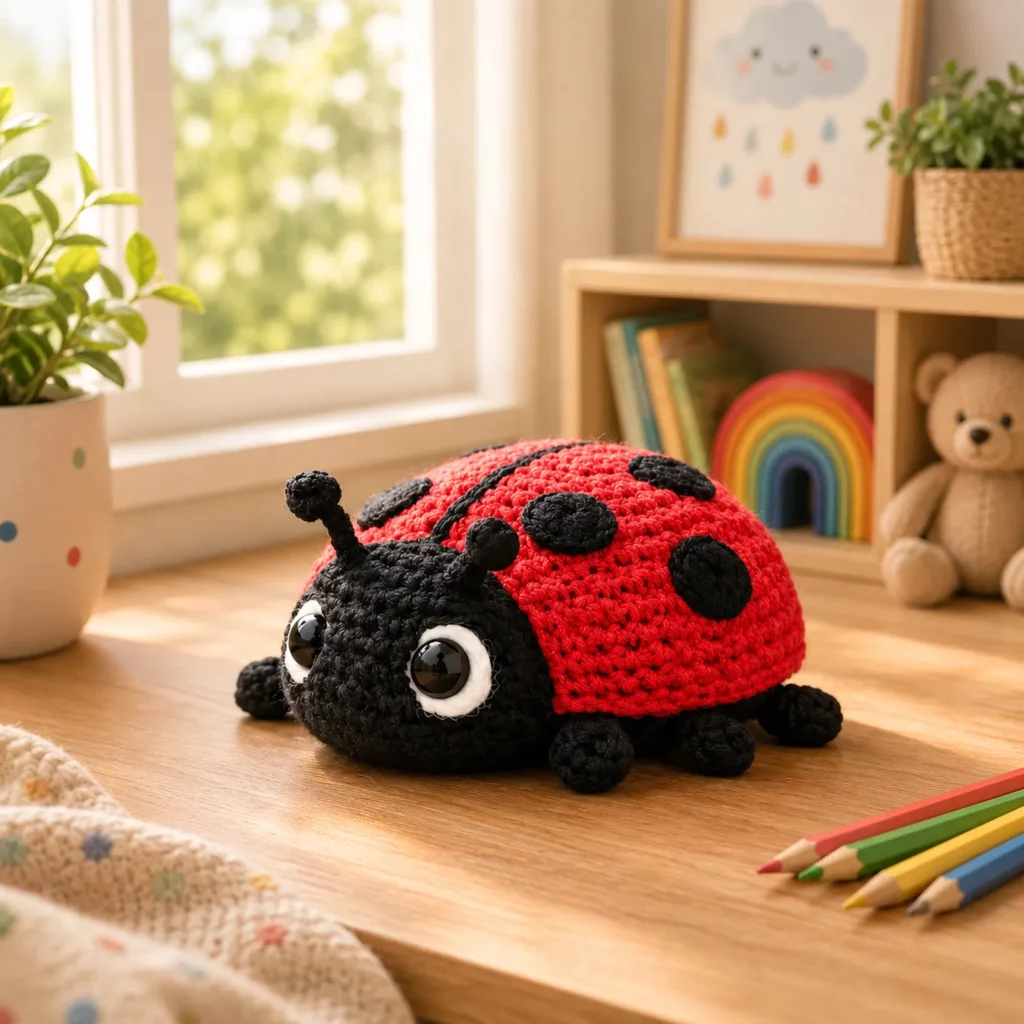
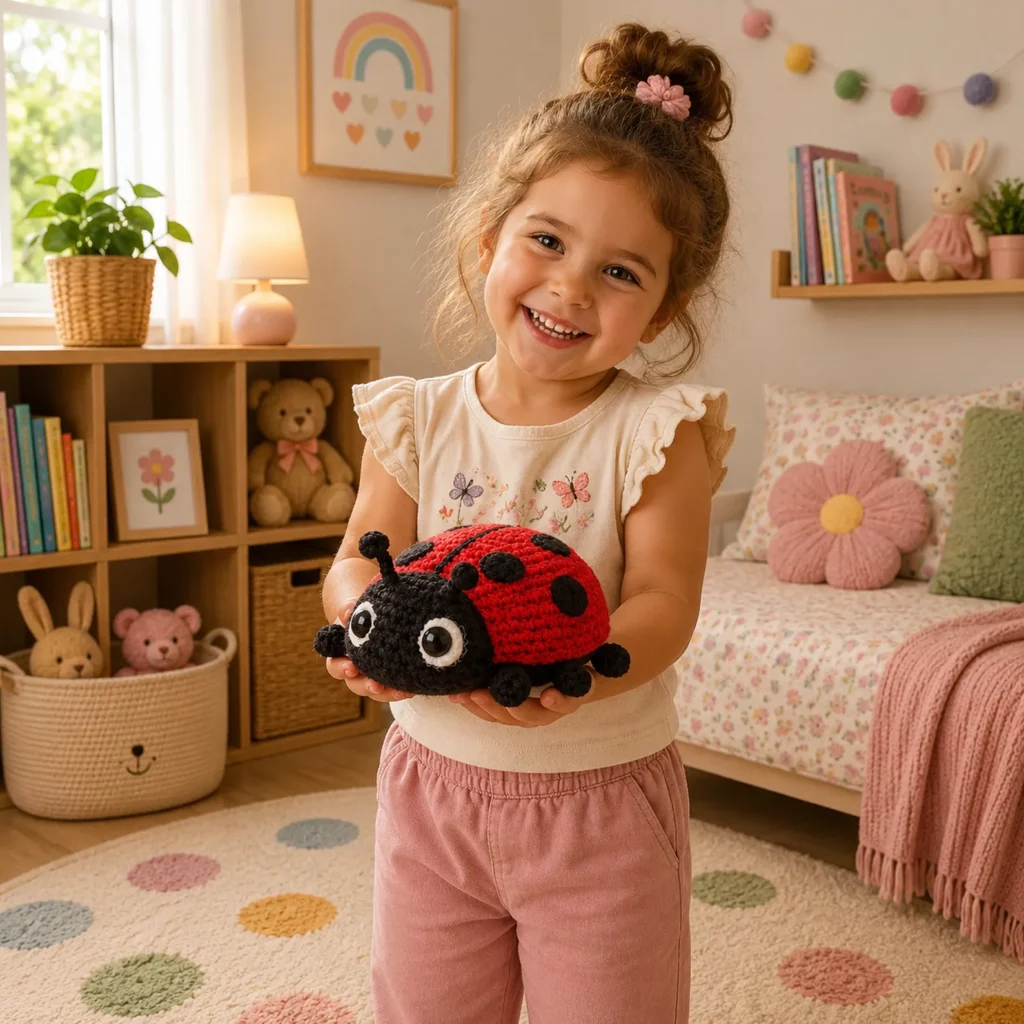
This crochet pattern is designed to create a low, chubby ladybug plush with oversized eyes, tiny antennae, and a smooth red “shell” top decorated with black spots. The body is soft and squishy, making it perfect for nursery décor, springtime gifts, classroom rewards, party favors, or a cheerful desk buddy.
In this crochet tutorial, you’ll learn how to build the ladybug step-by-step, how to keep the shell shape smooth and even, how to place the spots so they look balanced, and how to assemble everything neatly so your finished ladybug looks professional and adorable.
Detailed Description of the Crochet Pattern#
This ladybug amigurumi has a classic “pillow plush” look. The body sits low to the ground with a rounded, slightly flattened base. The head is integrated into the silhouette so it feels like one cohesive toy rather than separate pieces that wobble. The red shell is domed and smooth, and the black spots are added as small circles to create a crisp, clean contrast.
Design features you’ll crochet
- Rounded black head with a friendly, wide-eyed expression
- Simple antennae with tiny rounded tips
- Red shell shaped as a dome and attached to the black body base
- Black spots that are sewn onto the shell for a crisp finish
- Small side “legs” or nubs that give the ladybug a plush character look
- Optional center seam line on the shell to mimic real ladybug wings
This crochet pattern is easy to customize: you can make a tiny ladybug keychain, a medium plush, or a bigger cuddle-sized version just by changing yarn weight and hook size.
Skill Level Explanation#
This is an easy crochet pattern for beginners.
You’ll be comfortable if you can
- Crochet single crochet in the round
- Increase and decrease
- Count stitches and rounds
- Sew a few small pieces (spots, antennae, legs)
- Attach safety eyes or embroider eyes
You’ll also practice helpful amigurumi skills
- Shaping a smooth dome without ripples
- Stuffing evenly so the plush looks round, not lumpy
- Symmetrical placement of spots and facial features
- Using small details (white eye rings) to make the toy look expressive
If you’ve made a simple ball or basic animal before, this ladybug is a perfect next project.
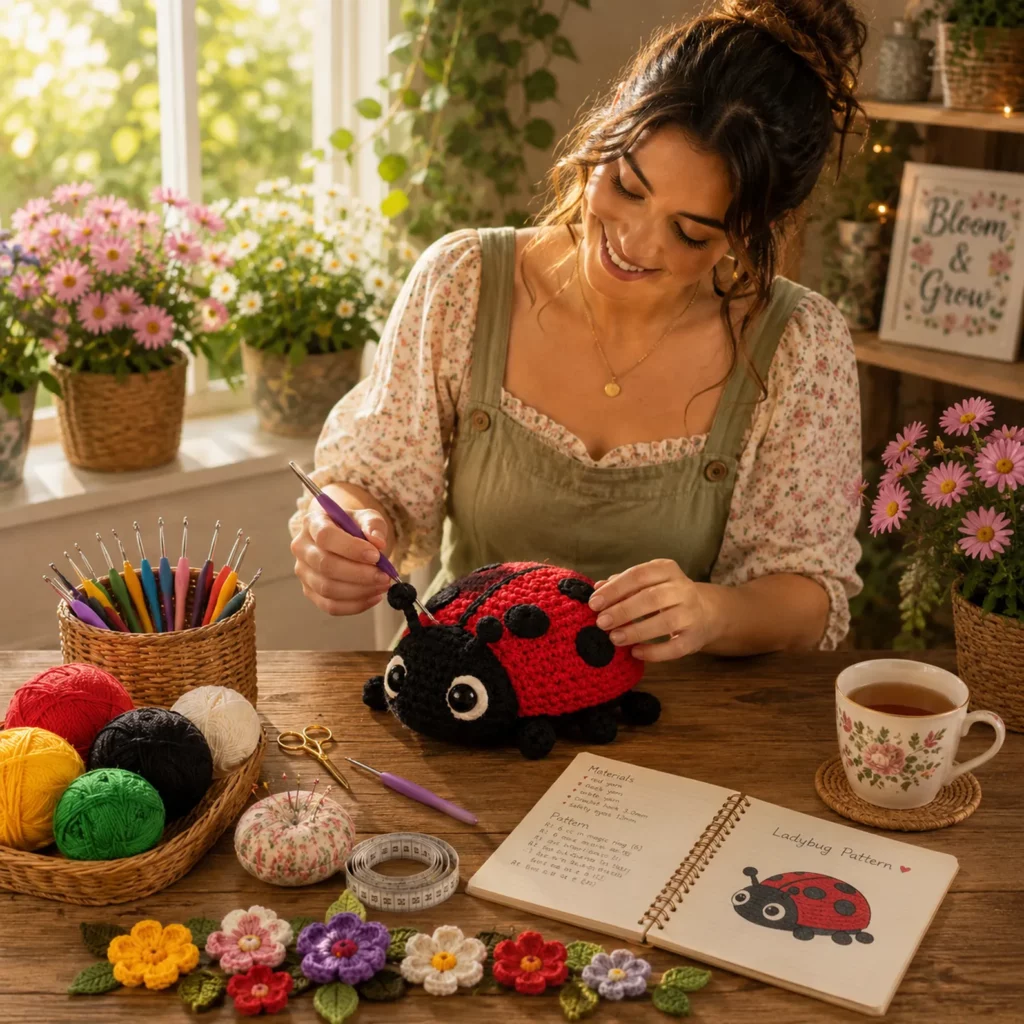
Materials Needed#
Yarn
Smooth yarn gives the cleanest stitch definition for the shell and spots, but plush yarn also works if you want extra squish.
Recommended yarn weights
- DK weight yarn for a neat, detailed ladybug
- Worsted weight yarn for a medium plush
- Plush/chenille yarn for a super soft, chunky ladybug (stitches may be harder to see)
Suggested colors
- Black for head, body base, antennae, and legs
- Red for the shell
- White for eye rings (optional but very cute)
- Small amount of pink for cheeks (optional)
Yarn tips
- Cotton yarn gives crisp stitches and sharp color contrast
- Acrylic yarn is soft and washable, great for toys
- If you use plush yarn, use stitch markers often and count carefully because rounds are harder to track
Hook
Use a slightly smaller hook than the label suggests so stuffing doesn’t show.
- DK: 2.75 mm to 3.25 mm
- Worsted: 3.25 mm to 4.0 mm
- Plush yarn: 4.5 mm to 6.0 mm depending on thickness
Notions
- Stitch marker
- Tapestry needle
- Scissors
- Fiberfill stuffing
- Safety eyes (10 mm to 14 mm depending on size) or embroidery floss
- Optional felt circles for spots (display only)
- Optional blush for cheeks (display only)
Safety note
If making for babies or toddlers, embroider eyes and skip any felt pieces. Sew all parts extra securely.
Stitches & Techniques Explained#
Abbreviations in US terms
- MR magic ring
- ch chain
- sl st slip stitch
- sc single crochet
- inc increase (2 sc in one stitch)
- dec decrease (sc 2 stitches together)
- st stitch
Invisible decrease
For smoother shaping, use invisible decreases: pick up the front loops of the next two stitches and sc them together.
Clean dome shaping
A smooth dome happens when increases are spaced evenly and your tension stays consistent. If your shell starts to ripple, you likely increased too quickly or your tension loosened.
Stuffing for a pillow-plush shape
This ladybug looks best with firm stuffing in the center but slightly softer stuffing near the edges. That creates a rounded top with a flatter base.
Sew-on spots vs crocheted-in spots
Sew-on spots are recommended because they look crisp and are easier than colorwork. They also let you rearrange placement until it looks perfect.
Step-by-Step Instructions#
This free crochet pattern is written as a crochet tutorial. Work in continuous rounds unless stated. Use a stitch marker.
Finished size
Size depends on yarn and hook. With worsted yarn, a ladybug like this is often palm-sized to hand-sized.
Notes before you start
- Place eyes before closing the head if using safety eyes
- Stuff gradually and shape often
- Pin spots before sewing to ensure balanced placement
Head and body base (black)
This creates the underside and head area.
Round 1
- 6 sc in MR (6)
Round 2
- inc around (12)
Round 3
- (sc, inc) around (18)
Round 4
- (2 sc, inc) around (24)
Round 5
- (3 sc, inc) around (30)
Round 6
- (4 sc, inc) around (36)
Rounds 7 to 9
- sc around (36)
Eye placement
- Place eyes between rounds 7 and 8
- Space them about 7 to 9 stitches apart
- If adding white eye rings, you’ll sew them on later
Continue for a wider base
Round 10
- (5 sc, inc) around (42)
Rounds 11 to 13
- sc around (42)
Optional flattening trick
To make the base sit flatter, you can crochet one round in BLO.
- Next round: sc BLO around (42)
Begin slight taper (optional)
If you want the underside to tuck slightly under the shell, do one decrease round.
- (5 sc, dec) around (36)
Then one round sc around (36)
Fasten off leaving a long tail if you plan to sew the shell to this piece. Set aside for now.
Shell top (red dome)
This is the iconic red ladybug back.
Round 1
- 6 sc in MR (6)
Round 2
- inc around (12)
Round 3
- (sc, inc) around (18)
Round 4
- (2 sc, inc) around (24)
Round 5
- (3 sc, inc) around (30)
Round 6
- (4 sc, inc) around (36)
Round 7
- (5 sc, inc) around (42)
Rounds 8 to 12
- sc around (42)
This creates a smooth dome. If you want a taller, puffier shell, add one or two more plain rounds.
Optional center seam line
Real ladybugs have a line down the shell where the wings meet. You can add this later with surface slip stitches or embroidery in black.
Do not close the shell. You’ll join it to the base.
Join shell to base
Place the red shell on top of the black base, right sides facing outward.
Joining method
- Match stitch counts around the opening edges
- Use stitch markers at four points (front, back, left, right) to align
- With black base and red shell aligned, single crochet through both layers around the edge
As you join, start stuffing
- Add stuffing in small amounts
- Shape the top into a smooth dome
- Keep the underside slightly flatter
When you reach the last few stitches
- Add final stuffing and check symmetry
- Finish joining and fasten off
- Weave in ends
Spots (make several)
Most ladybugs look great with 6 to 10 spots depending on size. The image style shows multiple large spots.
Spot circle (black)
Round 1
- 6 sc in MR (6)
Round 2
- inc around (12)
Round 3
- (sc, inc) around (18)
Fasten off leaving a long tail for sewing.
For smaller spots, stop after round 2 (12 stitches). For larger spots, add another round:
- (2 sc, inc) around (24)
Spot placement tips
- Place spots in pairs on each side of the center line
- Keep the front spots slightly smaller for a cute “face-forward” look
- Avoid placing spots too close to the edge seam
Pin all spots first, step back and look, then sew them down.
Antennae (make two)
Antennae give the ladybug extra character.
Antenna stem (black)
- Ch 10
- Sc in second ch from hook and across (9)
Fasten off leaving a tail.
Antenna tip (optional little ball)
- 6 sc in MR (6)
Fasten off. Sew to the antenna tip.
Sew antennae to the top of the head area
- Angle outward slightly
- Add extra stitches at the base so they don’t flop
Legs (optional nubs, make six)
This style uses tiny side legs that peek out.
Leg nub (black)
Round 1
- 6 sc in MR (6)
Round 2
- sc around (6)
Fasten off leaving a tail.
Sew three on each side along the seam line, evenly spaced. Keep them low so the ladybug stays stable.
White eye rings (optional, very cute)
If you want the wide-eyed look, add small white rings.
Round 1
- 6 sc in MR (6)
Round 2
- inc around (12)
Fasten off. Cut yarn, then carefully cut a small hole in the center (or stitch around the safety eye post if eyes are installed). Sew around each eye for a crisp cartoon look.
Optional cheeks and smile
- Cheeks: embroider small pink circles under each eye
- Smile: a tiny curved stitch in black yarn gives a sweet expression
Common Mistakes and How to Avoid Them#
Shell looks wavy or ruffled
- Your increases may be too frequent or tension too loose
- Fix by removing a round of increases or using a smaller hook
Shell and base don’t align
- Always match stitch counts before joining
- Use stitch markers at quarter points to keep alignment
Ladybug looks lopsided
- Stuff gradually and rotate the plush while stuffing
- Add stuffing evenly and shape with your hands
Spots look uneven
- Pin spots first and measure spacing
- Make sure left and right sides mirror each other
Antennae droop
- Use tighter stitches
- Sew bases firmly
- For display only, you can add a small piece of craft wire inside
Stuffing shows through stitches
- Use a smaller hook
- Tighten tension
- Avoid overstuffing which stretches stitches
Expert Tips for Better Results#
- Use invisible decreases and consistent tension for the smoothest finish
- Stuff in layers and shape frequently rather than stuffing all at once
- Sew spots with small stitches around the edge so they lie flat
- Add a subtle center line with surface crochet for a realistic ladybug touch
- Weave in ends as you go so finishing doesn’t become overwhelming
- If you want a super plush look, use a slightly softer yarn for the red shell and a firmer yarn for the black base
Variations and Customization Ideas#
- Mini ladybug keychain by using sport yarn and a small hook
- Jumbo plush ladybug using chunky yarn and fewer, larger spots
- Pink ladybug with black spots for a cute nursery theme
- Glitter-edged shell using sparkly thread held with your red yarn
- Sleeping ladybug by embroidering closed eyes instead of safety eyes
- Ladybug rattle by inserting a rattle into the center (securely and safely)
- Add little wings by crocheting a small black oval and sewing under the shell edge (display only)
Benefits of This Crochet Project#
- A beginner-friendly crochet pattern with high “cute factor”
- Quick to crochet and satisfying because it’s mostly simple rounds
- Great stash buster for red, black, and small scraps of white
- Perfect handmade gift for spring, birthdays, and baby showers
- Builds confidence with shaping, stuffing, and simple assembly
- Looks polished and professional with just a few small details
Internal Linking Suggestions#
- How to Crochet a Magic Ring for Amigurumi
- Invisible Decrease Tutorial for Smooth Amigurumi
- How to Attach Safety Eyes Securely
- Best Yarn for Amigurumi Toys
- How to Sew Amigurumi Pieces Neatly
- Easy Crochet Bug Patterns for Beginners
- Cute Crochet Animal Patterns for Gifts
FAQ#
How do I make the ladybug bigger or smaller
Change yarn weight and hook size. Thicker yarn makes a larger plush, thinner yarn makes a smaller one. Keep stitch counts the same for the easiest resizing.
Can I make this without safety eyes
Yes. Embroider eyes with black thread and add small white highlights for sparkle. This is best for baby-safe toys.
How many spots should I add
Most ladybugs look balanced with 6 to 10 spots. Use fewer large spots for a modern look or more smaller spots for a classic look.
Why is my shell not smooth
This usually comes from uneven tension or too many increases. Use a smaller hook, count carefully, and keep increases evenly spaced.
How do I keep the ladybug from rolling
Flatten the underside slightly while stuffing and add small leg nubs low on the sides. A slightly oval base also helps stability.
What’s the easiest way to add the center wing line
Surface crochet a straight line of slip stitches down the middle of the red shell, or embroider a line with black yarn.
Conclusion#
This ladybug amigurumi crochet pattern is the perfect mix of simple and adorable. The round pillow-like shape works up quickly, the spotted shell makes it instantly recognizable, and the big eyes add that irresistible cute factor. With careful stuffing, neat spot placement, and a few tiny details like antennae and eye rings, you’ll end up with a polished plush that looks gift-ready and professional.
If you tell me what yarn weight you’re using and how big you want your ladybug to be, I can suggest the ideal eye size and the best number of spots for perfectly balanced proportions.


