


Introduction#
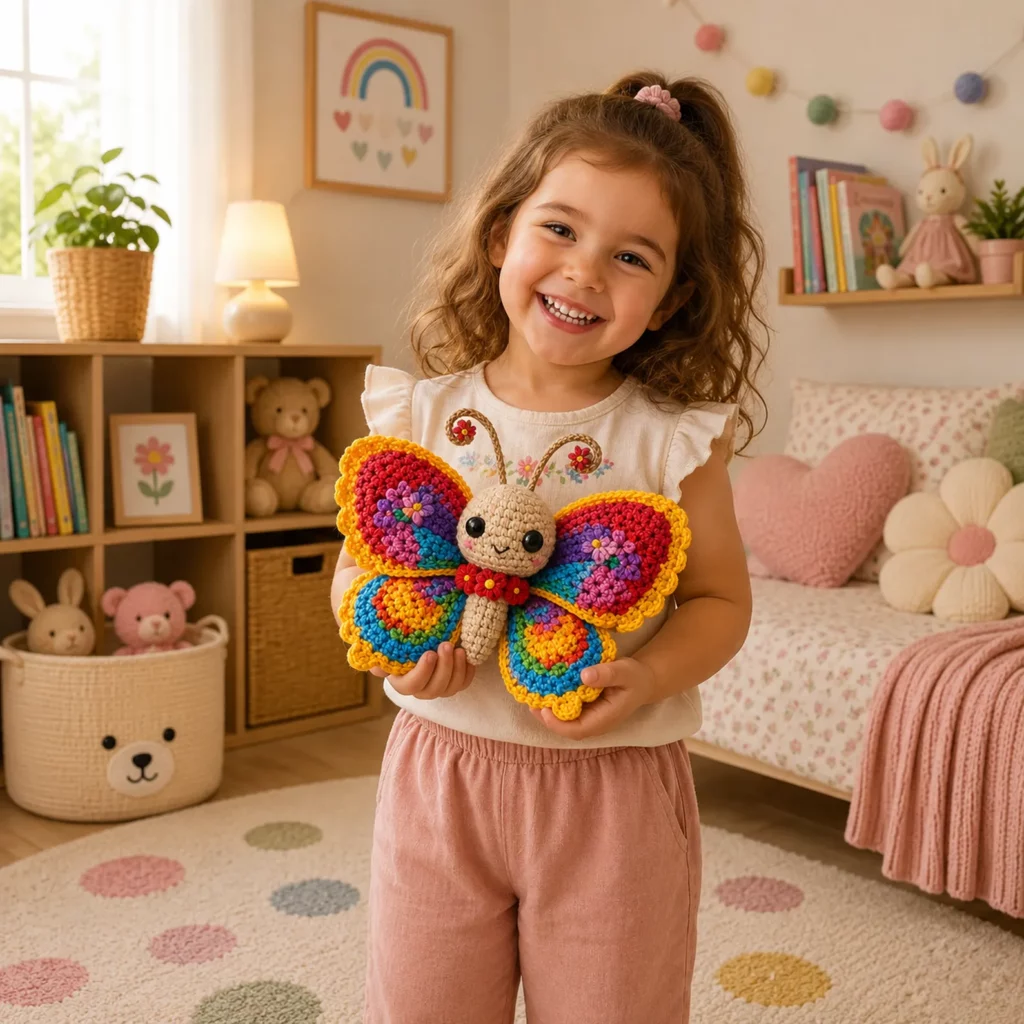
If you want a crochet project that feels happy, colorful, and instantly giftable, a butterfly amigurumi is a perfect choice. It’s one of those makes that works for almost everything—nursery décor, spring baskets, birthday gifts, baby showers, and even as a cheerful desk buddy. The best part is that butterflies look “fancy” because of the wings, but the construction can stay beginner-friendly when you break it into simple parts.
Explore more beginner amigurumi crochet patterns in our pattern library.
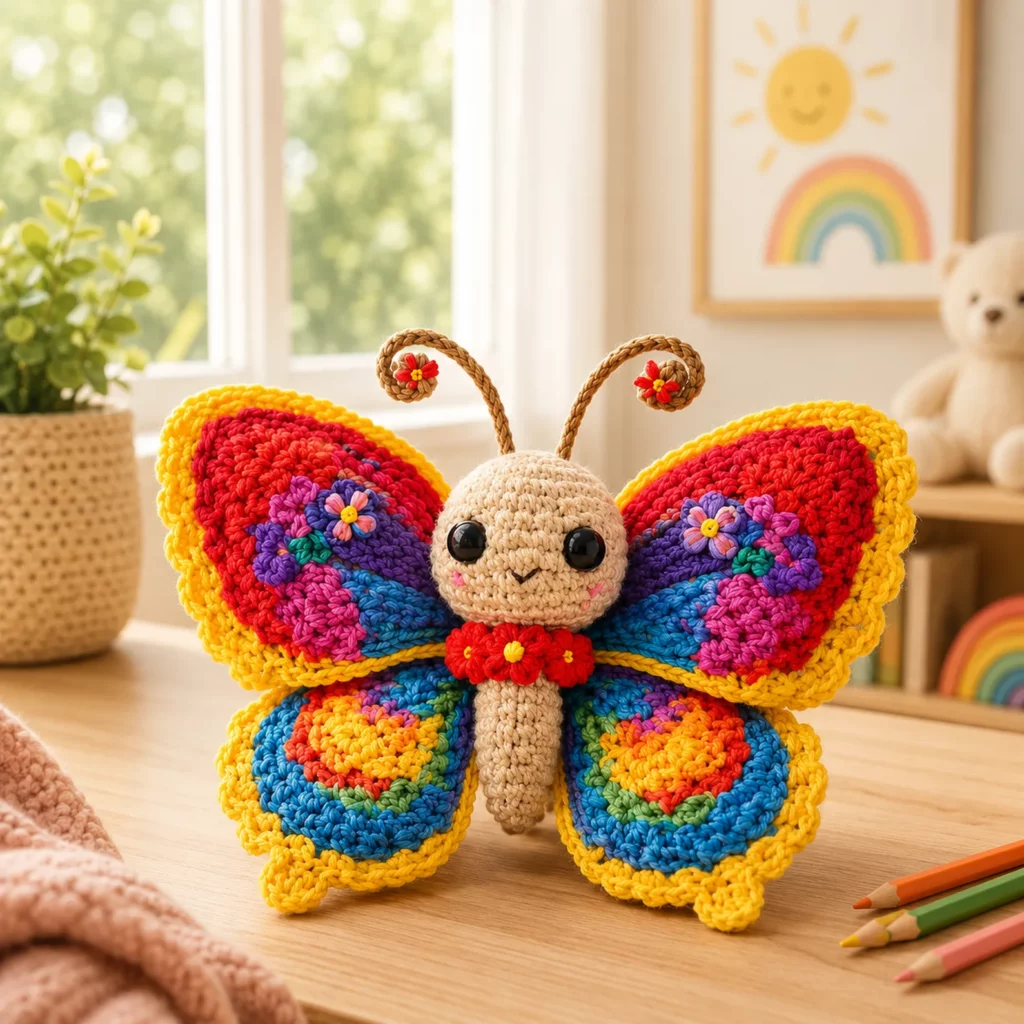
This crochet pattern shows you how to create a cute butterfly plush with a soft body, big expressive eyes, and oversized rainbow wings finished with a scalloped yellow edge. The wings have a playful patchwork look, and you can add tiny flower accents for extra charm. Everything is built from approachable shapes, and you’ll learn how to keep the wings symmetrical and flat so your butterfly looks polished and professional.
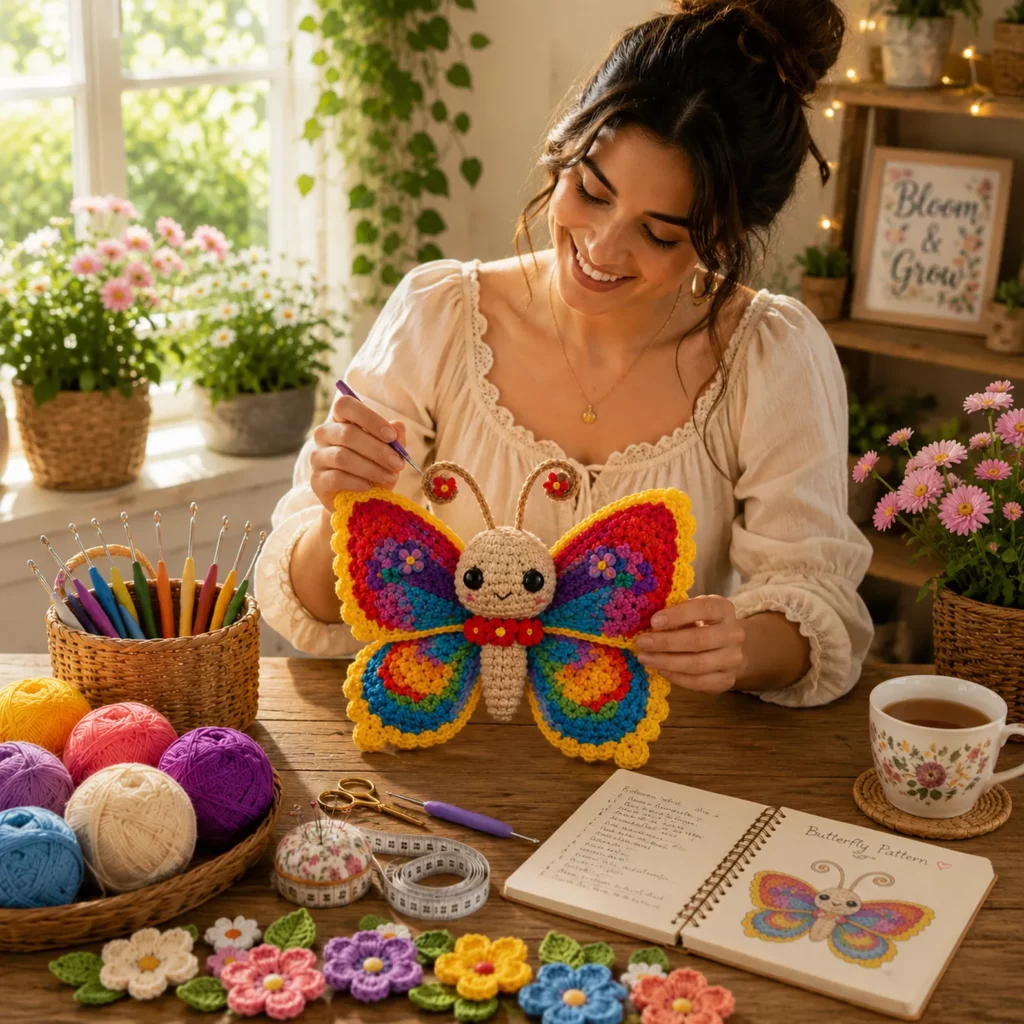
In this crochet tutorial, you’ll get step-by-step instructions, stitch explanations, and lots of tips for color changes and assembly—so even if you’re newer to amigurumi, you can confidently make this bright little butterfly.
Detailed Description of the Crochet Pattern#
This butterfly is designed in a “front-facing” display pose with wings spread open. The body is a simple vertical shape with a rounded head and a slightly tapered lower body. The face is sweet and minimal—big eyes, a tiny smile, and optional blush cheeks.
The wings are the star of the crochet pattern. They are made as four wing pieces: two upper wings and two lower wings. Each wing has bold color sections (rainbow-style) and is finished with a bright scalloped edging that frames the wings beautifully. The wings are attached to the body at the center, and a small bow or flower cluster can be sewn at the neck area as a decorative accent.
Key features you will crochet
- Round head with large eyes and a soft expression
- Simple body tube that supports the wings
- Two curly antennae for a whimsical look
- Four wing pieces with colorful panels
- Scalloped wing edge for a decorative border
- Optional flowers and cheeks for extra cuteness
This pattern is very customizable—change the colors, add glitter yarn for edging, or simplify the wings for a more minimal butterfly.
Skill Level Explanation#
This is an easy crochet pattern for confident beginners.
You’ll be comfortable if you can
- Crochet single crochet in the round
- Crochet in rows for flat pieces
- Increase and decrease
- Change colors (basic level)
- Sew pieces together neatly
You’ll practice
- Keeping wing pairs symmetrical
- Adding a clean scalloped border
- Weaving in ends neatly when using multiple colors
- Shaping antennae curls
If you’ve made a basic amigurumi animal before, this is a fun next project. If you’re brand new, it’s still doable—just take your time with the wings and follow the steps in order.
Materials Needed#
Yarn
Smooth yarn is best for crisp colorwork and clean wing edges.
Recommended yarn weight
- DK or worsted weight yarn for a medium plush butterfly
- You can also use plush yarn, but the wing details will be less crisp
Suggested colors
- Beige or light tan for head and body
- Multiple bright colors for wings (red, purple, blue, green, yellow, orange)
- Yellow for the scalloped wing border
- Brown for antennae
- Red for tiny flowers (optional)
- Pink for cheeks (optional)
Yarn tips
- Choose smooth cotton or smooth acrylic for clean stitches
- Try to keep all wing colors in the same yarn brand/weight so the wing size stays consistent
- If you want fewer ends, use self-striping yarn for the wing panels and keep the border solid
Hook
Use a hook that matches your yarn while still keeping stitches neat.
- DK yarn: 3.0 mm to 3.5 mm
- Worsted yarn: 3.5 mm to 4.0 mm
Notions
- Stitch marker
- Tapestry needle
- Scissors
- Fiberfill stuffing
- Safety eyes (10 to 14 mm) or embroidery floss
- Optional blush or pink yarn for cheeks
- Optional craft wire for antennae posing (display only)
Safety note
For babies and toddlers, embroider eyes instead of using safety eyes.
Stitches & Techniques Explained#
Abbreviations in US terms
- MR magic ring
- ch chain
- sl st slip stitch
- sc single crochet
- hdc half double crochet
- dc double crochet
- inc increase
- dec decrease
- st stitch
Color changes for wing panels
Change colors on the last yarn-over of the stitch before the new color to keep transitions clean. For flat wings, weave in ends neatly along the edge where the border will later hide them.
Scalloped edging
A scallop is typically a cluster of stitches (like 5 dc) worked into one stitch or space, with skipped stitches between scallops. The scalloped edge is what makes this butterfly look fancy without being hard.
Curly antennae
Curly antennae are easiest when you crochet a chain and work multiple stitches into each chain, forcing it to curl naturally.
Step-by-Step Instructions#
Work in continuous rounds for the body and in rows for wings. Use a stitch marker.
Finished size
Size varies by yarn and hook, but this butterfly is usually a hand-sized plush with wide wings.
Notes
- Make both wings in matching pairs (upper pair, lower pair)
- Weave in wing ends as you go, because colorful wings create many ends
- Block wings lightly if needed so they lay flat
Head (body color)
Round 1
- 6 sc in MR (6)
Round 2
- inc around (12)
Round 3
- (sc, inc) around (18)
Round 4
- (2 sc, inc) around (24)
Round 5
- (3 sc, inc) around (30)
Rounds 6 to 8
- sc around (30)
Eye placement
- Place eyes between rounds 6 and 7
- Space them about 7 to 8 stitches apart
Round 9
- (3 sc, dec) around (24)
Round 10
- sc around (24)
Round 11
- (2 sc, dec) around (18)
Stuff firmly.
Round 12
- (sc, dec) around (12)
Round 13
- dec around (6)
Fasten off and close.
Body (body color)
The body is a simple tube that can be slightly tapered.
Round 1
- 6 sc in MR (6)
Round 2
- inc around (12)
Round 3
- sc around (12)
Rounds 4 to 14
- sc around (12)
Optional taper
- For a slight taper at the bottom, do one decrease round near the end
- (4 sc, dec) around (10) then sc around for a few rounds
Stuff lightly so it stays soft but holds shape.
Fasten off leaving a long tail for sewing.
Sew head to body
- Center head on top of body and sew firmly
- Add a small shaping stitch under the chin if you want the head to tilt slightly forward
Antennae (make two)
Use brown.
Curly antenna method
- Ch 20 to 26
- Work 2 sc in each chain across (this will curl naturally)
Fasten off.
Optional flower tip
- Crochet a tiny flower and sew to antenna tip, or sew a small decorative knot in red yarn.
Sew antennae to the top of the head
- Angle outward for a cute look
- Add a couple extra stitches at the base so they don’t wobble
Upper wings (make two)
These wings are larger and more rounded.
Base wing shape in rows (use any wing color)
Row 1
- Ch 2, 6 sc in second ch from hook (6)
Row 2
- Ch 1, turn, inc in each st (12)
Row 3
- Ch 1, turn, (sc, inc) across (18)
Row 4
- Ch 1, turn, sc across (18)
Row 5
- Ch 1, turn, (2 sc, inc) across (24)
Row 6
- Ch 1, turn, sc across (24)
Row 7
- Ch 1, turn, (3 sc, inc) across (30)
Row 8
- Ch 1, turn, sc across (30)
This creates a rounded triangle/teardrop wing base.
To match the patchwork look, change colors in bands across rows (for example every one or two rows).
Fasten off and weave in ends.
Lower wings (make two)
These wings are slightly smaller and more rounded at the bottom.
Row 1
- Ch 2, 5 sc in second ch from hook (5)
Row 2
- Ch 1, turn, inc in each st (10)
Row 3
- Ch 1, turn, (sc, inc) across (15)
Row 4
- Ch 1, turn, sc across (15)
Row 5
- Ch 1, turn, (2 sc, inc) across (20)
Row 6
- Ch 1, turn, sc across (20)
Row 7
- Ch 1, turn, (3 sc, inc) across (25)
Row 8
- Ch 1, turn, sc across (25)
Fasten off and weave in ends.
Scalloped wing border (yellow)
Add a border to each wing piece.
Border round
- Attach yellow yarn at the bottom inner corner of the wing
- Work sc evenly around the wing edge
- Place 2 sc in corners to prevent curling
Scallop round
- Skip 1 stitch, 5 dc in next stitch, skip 1 stitch, sl st in next stitch
Repeat around the wing edge.
Fasten off and weave in ends.
If scallops ripple
- Use 4 dc instead of 5 dc
If scallops pull tight - Skip fewer stitches or add an extra sc base round
Optional wing flowers
If you want the floral accents, add tiny flowers.
Tiny flower
- MR, (ch 2, sl st) repeated 5 times into ring
Fasten off and sew onto wing.
Assemble the wings to the body
Lay wings behind the body like a bow.
Assembly order
- Sew upper wings to the sides of the body first
- Sew lower wings slightly underneath, overlapping the upper wings
- Add a few stitches at the center so the wings stay spread
Optional bow/flower cluster at the center
Crochet a small bow strip
- Ch 10, sc across for 2 rows
Pinch in the center and wrap with yarn to form a bow
Sew at the wing center.
Common Mistakes and How to Avoid Them#
Wings don’t match size
- Count rows carefully and repeat the same color row plan for each wing pair
- Use the same hook and tension for all wings
Wings curl or flop
- Add a base sc border round before scallops
- Steam-block wings lightly and lay flat to dry
- Sew wings to the body with multiple anchor stitches at the center
Scalloped edge looks uneven
- Keep stitch spacing consistent
- If needed, switch to a smaller hook for the scallop round for cleaner curves
Too many yarn ends
- Weave ends along edges that will be covered by the yellow border
- Consider using fewer color bands or a self-striping yarn for wings
Antennae droop
- Sew bases tightly
- Use tighter stitches on antennae
- For display only, add a tiny wire inside the antenna cord
Expert Tips for Better Results#
- Make all wing pieces first and lay them out to plan color placement before you crochet the second pair
- Use stitch markers on wing corners so your border stays even
- Hide color-change ends under the border whenever possible
- Add a tiny smile stitch and blush cheeks for extra personality
- If you want “puffy” wings, you can add a thin layer of felt behind each wing (display only)
- Take a photo of one finished wing and use it as a guide to replicate the second wing
Variations and Customization Ideas#
- Pastel butterfly in nursery tones like mint, peach, and lavender
- Monarch-inspired butterfly with orange, black, and white edging
- Mini butterfly keychain using sport yarn and embroidered eyes
- Add glitter yarn for the scalloped border for a magical look
- Make it a butterfly fairy by adding a tiny skirt and wand
- Create a butterfly mobile set by making smaller versions in different colors
- Add a rattle insert to the body for a baby gift (securely, and only when appropriate)
Benefits of This Crochet Project#
- A colorful crochet pattern that looks impressive and joyful
- Great stash buster because wings use small amounts of many colors
- Beginner-friendly body with fun creative wing work
- Perfect for gifts, nurseries, and spring décor
- Teaches useful skills like borders, scallops, and flat shaping
- Highly customizable for themes, seasons, and color palettes
Internal Linking Suggestions#
- How to Crochet a Magic Ring for Amigurumi
- Clean Color Change Tutorial for Crochet
- How to Crochet Scalloped Edging
- Best Yarn for Amigurumi Toys
- How to Sew Amigurumi Pieces Neatly
- Easy Crochet Butterfly and Bug Patterns Collection
- Beginner Crochet Plush Patterns for Gifts
FAQ#
Is this crochet pattern good for beginners
Yes. The body is simple, and the wings are flat pieces that you crochet in rows. The only tricky part is keeping wing pairs symmetrical, which is easy if you count rows.
Can I simplify the wings
Yes. Use fewer color changes or make wings in a single color with only the yellow scalloped edge.
How do I stop the wings from curling
Add a base sc border round, then scallops. Light steam blocking also helps wings lay flat.
Can I make this baby-safe
Yes. Embroider eyes and avoid any small sewn-on decorations like beads. Consider crocheted flowers instead of anything detachable.
What yarn is best for colorful wings
Smooth cotton or acrylic works best so the colors stay crisp. Fuzzy yarn can blur the wing edges.
How do I resize the butterfly
Use thinner yarn and a smaller hook for a mini butterfly, or thicker yarn for a bigger plush. Keep the same wing row structure and simply adjust yarn weight.
Conclusion#
This butterfly amigurumi crochet pattern is pure happiness in yarn form. The sweet face makes it instantly lovable, and the bold rainbow wings with scalloped edging give it that magical, handmade charm that looks boutique and gift-ready. With a simple body and creative wings, it’s a project that feels relaxing yet rewarding—especially when you see those wings come together.
If you tell me your yarn weight and the size you want your butterfly to be, I can suggest the best eye size and an easy color-row plan so your wings look perfectly balanced and symmetrical.


