


Introduction#
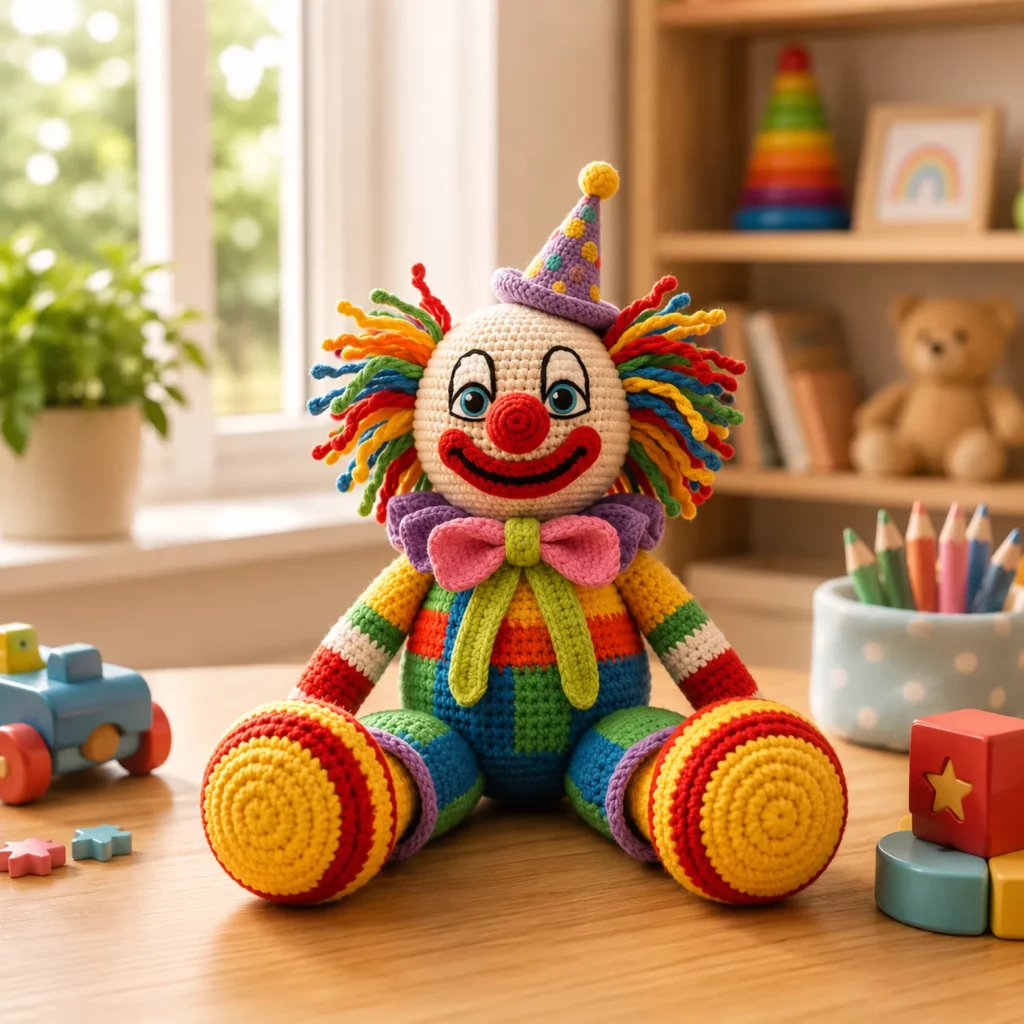
If you’re looking for a crochet pattern that’s bursting with personality, a cheerful clown doll is hard to beat. It’s colorful, cuddly, and instantly nostalgic, with all the fun details that make handmade toys feel extra special: a big smile, a round nose, playful hair, and a little party hat that seals the look.
Explore more beginner amigurumi crochet patterns in our pattern library.
This free crochet pattern is designed to be approachable even if you’re still building confidence with amigurumi. The shaping is simple (mostly single crochet in the round), and the “wow factor” comes from easy add-ons like yarn hair and bold color blocking. You can keep it bright and classic, or customize it into a softer pastel clown for a nursery-friendly vibe.
Below you’ll find a detailed crochet tutorial-style guide: materials, stitch explanations, step-by-step instructions, assembly, and pro finishing tips so your clown doll looks neat, sturdy, and gift-worthy.
Detailed Description of the Crochet Pattern#
This crochet clown doll is a seated amigurumi plush made from classic parts that are crocheted separately and sewn together.
You’ll create:
Head: a smooth sphere in a light skin-tone yarn
Face details: safety eyes or embroidered eyes, a round nose, and a curved smile
Hair: loops or yarn strands attached around both sides of the head for a bright, “frizzy” clown look
Hat: a small cone hat with a brim and a pom-pom
Body: a rounded torso with color-block “patchwork” sections (easy to customize)
Arms: short tubes with striped sleeves
Legs: thicker tubes for stability
Shoes: oversized round shoes with bold stripes for that classic clown silhouette
Bow tie: a big, soft bow with a center wrap and optional hanging ribbons
The doll’s style is intentionally bold and chunky. That means it works well in worsted yarn, holds shape nicely, and stitches are easy to see as you crochet.
Skill Level Explanation#
Skill Level: Confident Beginner
You’ll do great with this easy crochet pattern if you know:
Single crochet (sc)
Increase (inc) and decrease (dec)
Working in continuous rounds (spiral)
Basic sewing/assembly for amigurumi
Newer skills you’ll practice:
Clean color changes for stripes and patchwork
Shaping facial details with embroidery
Attaching hair evenly
Optional: surface slip stitch for outlining details
This is also a fun “next step” project for crochet for beginners because the parts are forgiving and you can personalize colors to hide minor imperfections.
Materials Needed#
Yarn
Worsted weight (Category 4) is ideal for a sturdy plush with good stitch definition. DK can work too, but the doll will be smaller.
Suggested colors (swap freely):
Skin tone (head)
Red (nose + smile accent, optional)
Bright mix for hair (yellow, orange, blue, green, red, purple)
Body colors (choose 3–5 brights for patchwork)
White or cream (accent stripes)
Hat color (purple looks great)
Bow tie colors (two contrasting brights)
Yarn tips:
Acrylic is soft, washable, and great for toys
Cotton gives crisp stitches (excellent for facial details)
Try to keep all colors in the same yarn brand/weight for consistent sizing
Hook
Use a hook slightly smaller than the yarn label suggests to avoid gaps.
Worsted weight: 3.5 mm to 4.0 mm
DK weight: 3.0 mm to 3.5 mm
If you see stuffing through stitches, go down a hook size.
Notions
Stitch marker
Yarn needle
Scissors
Fiberfill stuffing
Safety eyes 10–14 mm (or embroidery floss for baby-safe eyes)
Black embroidery floss or thin black yarn (face details)
Optional: felt circles for cheeks, or a tiny bit of blush/pastel chalk
Structure Options (Recommended for Stability)
Pipe cleaners or craft wire (for arms/legs if you want poseable limbs)
A small amount of poly pellets (placed in a sealed pouch) to weight the body so it sits nicely
Safety Note
If this toy is for a baby or toddler, skip safety eyes and use embroidered eyes instead. Make sure all embellishments are firmly sewn (no glued parts).
Stitches & Techniques Explained#
Common Abbreviations
MR = magic ring
sc = single crochet
inc = increase (2 sc in same stitch)
dec = decrease (single crochet 2 together)
sl st = slip stitch
ch = chain
BLO = back loop only
FLO = front loop only
( ) = repeat
[ ] = stitch count
Invisible Decrease (Recommended)
Insert hook into the front loop of the next stitch, then into the front loop of the following stitch, yarn over and pull through, yarn over and sc. This makes decreases look cleaner.
Clean Color Change (For Stripes)
On the last yarn-over of the final stitch in the old color, switch to the new color and pull through to finish the stitch. Then continue with the new color.
Attaching Yarn Hair
For strand hair, you’ll cut lengths of yarn, fold in half, and attach with a lark’s head knot through stitches on the head. Then trim to shape.
Step-by-Step Instructions#
Finished Size
With worsted weight yarn and a 3.75–4.0 mm hook: approximately 10–14 inches (25–35 cm) tall depending on leg length and shoe size.
Notes Before You Start
Work in continuous rounds unless stated
Use a stitch marker to mark the first stitch of each round
Stuff firmly as you go, especially the head and body
Keep tension consistent so the face stays smooth
Color Key (Optional)
A = Skin tone
B = Main body color (choose bright)
C/D/E = Accent body colors
H = Hair colors (mix)
R = Red (nose/smile)
P = Hat color (purple)
G = Green (bow tie center or ribbons)
Head (A)
Round 1: 6 sc in MR [6]
Round 2: inc around [12]
Round 3: (sc, inc) around [18]
Round 4: (2 sc, inc) around [24]
Round 5: (3 sc, inc) around [30]
Round 6: (4 sc, inc) around [36]
Round 7: (5 sc, inc) around [42]
Round 8: (6 sc, inc) around [48]
Rounds 9–16: sc around [48]
Place eyes between Rounds 12–13, about 8–10 stitches apart (adjust to your preferred expression).
Round 17: (6 sc, dec) around [42]
Round 18: (5 sc, dec) around [36]
Round 19: (4 sc, dec) around [30]
Round 20: (3 sc, dec) around [24]
Stuff firmly, shaping into a smooth sphere.
Round 21: (2 sc, dec) around [18]
Round 22: (sc, dec) around [12]
Round 23: dec around [6]
Fasten off and close.
Face embroidery (do now, before hair):
Nose placement: centered, a few rounds below the eyes
Smile: a wide curve under the nose
Optional: add eyebrows with thin black yarn for a friendly look
Nose (R)
Round 1: 6 sc in MR [6]
Round 2: inc around [12]
Round 3: sc around [12]
Fasten off leaving a long tail. Lightly stuff and sew to center of face.
Smile (R or black outline with red fill)
Simplest option: embroider a curved smile with black floss, then add a second red line slightly below for a bold clown grin.
Crocheted smile option (advanced but tidy):
Ch 18–22 (adjust width), sl st in 2nd ch from hook and across.
Fasten off and sew in a curve.
Hair (H, multiple colors)
Cut 30–60 strands of yarn, each 10–12 inches long (25–30 cm). Use more for thicker hair.
Attach strands:
Fold strand in half
Insert hook into a stitch on the side of the head
Pull folded loop through
Pull both tails through loop and tighten
Hair placement tip:
Create two “puffs” on each side rather than covering the entire head. Leave the top mostly clear for the hat.
Trim hair to shape so it flares outward.
Curly look option:
Instead of strands, crochet curl spirals in multiple colors:
Ch 25–35, 2 sc in each chain across to create a spiral.
Make 20–30 spirals and sew/attach around the sides.
Body (Patchwork Look, worked bottom-up)
This body is simple shaping with color blocks. The patchwork effect comes from changing colors in sections.
Start with B.
Round 1: 6 sc in MR [6]
Round 2: inc around [12]
Round 3: (sc, inc) around [18]
Round 4: (2 sc, inc) around [24]
Round 5: (3 sc, inc) around [30]
Round 6: (4 sc, inc) around [36]
Round 7: (5 sc, inc) around [42]
Round 8: (6 sc, inc) around [48]
Rounds 9–12: sc around [48]
Patchwork color blocking (Rounds 13–20):
Work sc around, but change colors every 6–10 stitches to create bold blocks.
Example for one round: 8 sc in C, 8 sc in D, 8 sc in E, 8 sc in B, repeat to reach 48.
Repeat this style for several rounds, staggering color changes so blocks don’t stack perfectly.
Round 21: (6 sc, dec) around [42]
Round 22: sc around [42]
Round 23: (5 sc, dec) around [36]
Round 24: sc around [36]
Stuff firmly. Optional: place a small weighted pouch at the bottom center before fully stuffing.
Round 25: (4 sc, dec) around [30]
Round 26: (3 sc, dec) around [24]
Round 27: (2 sc, dec) around [18]
Round 28: (sc, dec) around [12]
Fasten off leaving a long tail to sew head to body. Do not close completely if you want a flatter neck opening for easier attachment.
Arms (Make 2, striped sleeves)
Start with sleeve color (choose a bright).
Round 1: 6 sc in MR [6]
Round 2: (sc, inc) around [9]
Rounds 3–5: sc around [9]
Change to second stripe color.
Rounds 6–7: sc around [9]
Change to third color or back to first.
Rounds 8–9: sc around [9]
Round 10: sc around [9]
Lightly stuff. Flatten top and sc across to close (4–5 sc).
Fasten off with a long tail.
Optional hands:
Add a tiny cuff in white using FLO round and a small ruffle, or embroider simple glove lines.
Legs (Make 2)
Start with leg base color (often matches pants).
Round 1: 6 sc in MR [6]
Round 2: inc around [12]
Round 3: (sc, inc) around [18]
Rounds 4–6: sc around [18]
Add stripes: change color every 2 rounds for a playful look.
Rounds 7–14: sc around [18] (change colors as desired)
Stuff firmly.
Flatten top and close with sc across (8–9 sc).
Fasten off with a long tail.
Oversized Shoes (Make 2, classic clown style)
Shoes are worked as flat circles, then built into a shallow “cup.”
Start with yellow or shoe base color.
Round 1: 6 sc in MR [6]
Round 2: inc around [12]
Round 3: (sc, inc) around [18]
Round 4: (2 sc, inc) around [24]
Round 5: (3 sc, inc) around [30]
Round 6: (4 sc, inc) around [36]
Build the side wall:
Round 7: sc BLO around [36]
Rounds 8–10: sc around [36]
Add stripes (red/yellow):
Round 11: change color, sc around [36]
Round 12: change back, sc around [36]
Lightly stuff the shoe toe for a rounded front.
Insert the bottom of the leg into the shoe opening and sew securely around, shaping the shoe so it looks wide and flat.
If you want an extra “clown shoe” look:
Add one more increase round before the BLO round (go to 42 stitches) and work the walls taller.
Bow Tie (Big and Soft)
Make two bow loops and a center wrap.
Bow loop (make 2):
Ch 10–14 (adjust width).
Row 1: sc in 2nd ch from hook and across, ch 1, turn
Rows 2–6: sc across, ch 1, turn
Fasten off leaving a tail.
Pinch each rectangle at the center and stitch to cinch into a bow shape.
Center wrap:
Ch 6, sc in 2nd ch from hook across.
Wrap around both pinched centers and sew in place.
Optional hanging ribbons (2 strands):
Ch 18–25, sl st back down or sc back down for thicker ribbons. Sew under the bow.
Attach bow tie to the neck area after head is sewn on.
Hat (Cone + Brim + Pom)
Cone (P):
Round 1: 4 sc in MR [4]
Round 2: inc around [8]
Round 3: (sc, inc) around [12]
Round 4: sc around [12]
Round 5: (2 sc, inc) around [16]
Round 6: sc around [16]
Round 7: (3 sc, inc) around [20]
Round 8: sc around [20]
Round 9: (4 sc, inc) around [24]
Round 10: sc around [24]
Stop when cone height looks right (about 8–10 rounds total for a small hat).
Brim:
Round 1: sc FLO around the last round, inc every 3–4 stitches to flare slightly.
Pom-pom (yellow or contrasting):
Round 1: 6 sc in MR [6]
Round 2: inc around [12]
Round 3: sc around [12]
Fasten off, lightly stuff, sew to top of hat.
Add decorative dots:
Embroider small colorful polka dots using leftover yarn.
Sew hat to top of head, slightly tilted for character.
Assembly
- Sew head to body
Center the head on the body opening. Use strong stitches and go around twice for stability. - Attach legs
Sew legs to the lower front of the body so the doll sits naturally. Angle them slightly outward. - Attach arms
Sew arms to the sides of the body around the upper-middle area. Make sure both are even. - Add shoes (if not already attached)
If you crocheted shoes separately, sew them to the foot/leg base firmly. - Add bow tie
Sew bow at the neck seam. Add hanging ribbons if using. - Final face details
Adjust smile, add cheek blush (optional), and secure any loose ends.
Common Mistakes and How to Avoid Them#
Gaps showing stuffing
Use a smaller hook and tighter tension
Stuff in small amounts and shape as you go
Lopsided head or body
Count stitches every round
Use a stitch marker
Rotate work carefully so increases stay even
Hair looks uneven
Place hair in mirrored sections on both sides
Mark anchor points with pins before attaching strands
Trim gradually instead of cutting a lot at once
Color changes look jagged
Change colors on the last yarn-over of the previous stitch
Weave in ends with a needle in the same color path
Shoes won’t sit flat
Make the shoe base wider (add an increase round)
Stuff lightly in the toe only
Sew the leg deeper into the shoe opening
Expert Tips for Better Results#
Embroider the face before adding hair and hat so it’s easier to center everything
Use invisible decreases on the head for a smooth, professional finish
Add a tiny weighted pouch in the body so the doll sits without tipping
For cleaner stripes, keep color changes on the “back” side of arms and legs
If you want a super polished look, outline the eyes with surface slip stitch using black yarn
Variations and Customization Ideas#
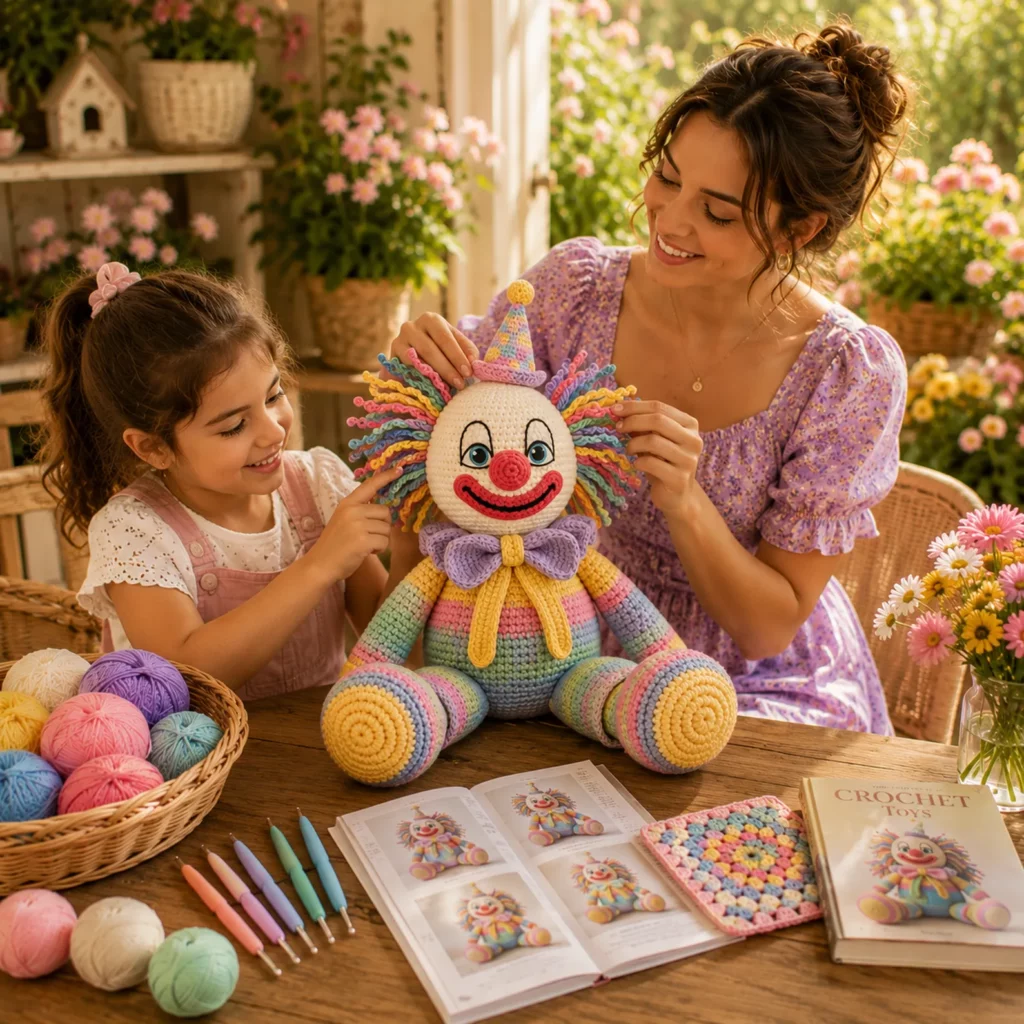
Pastel clown: swap brights for blush, mint, lavender, butter yellow
Classic circus clown: red, yellow, blue with a big ruffle collar instead of a bow tie
Rainbow hair: use a different color for every strand and trim into a round halo
Sleepy clown: embroidered closed eyes and a smaller smile
Mini version: use DK yarn and a 3.0 mm hook to make a smaller plush
Keychain topper: make only the head and hat, add a loop at the top
Benefits of This Crochet Project#
A fun, high-value crochet tutorial that teaches assembly and embellishment skills
Great stash-buster for small leftovers (especially hair and patchwork body)
Bold colors make it forgiving for beginners
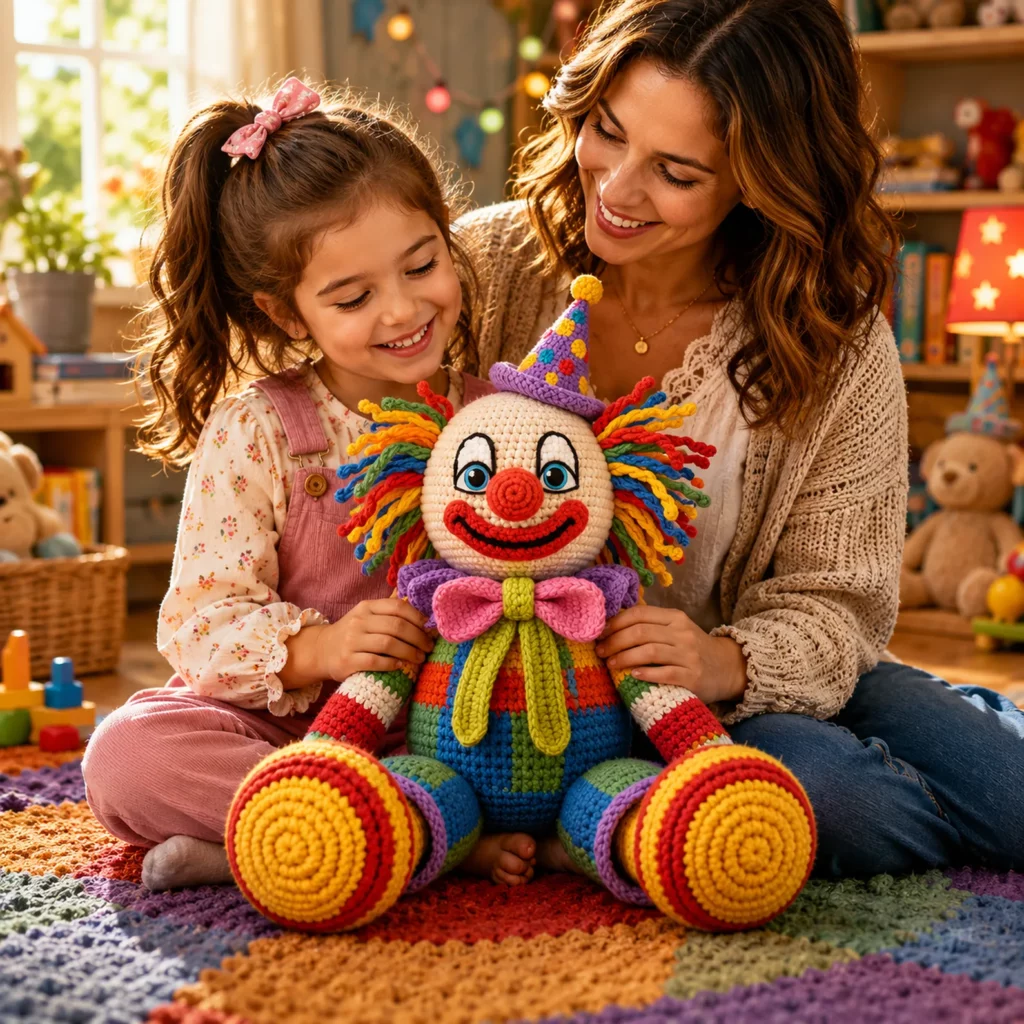
Makes a memorable handmade gift or playful shelf decor
Helps you practice clean rounds, shaping, and confident sewing
Internal Linking Suggestions#
How to Crochet a Magic Ring (Beginner Tutorial)
Invisible Decrease for Amigurumi (Step-by-Step)
How to Attach Safety Eyes Securely
Amigurumi Assembly Tips: Sewing Heads, Arms, and Legs Neatly
How to Change Colors Cleanly in Crochet
Best Yarn for Amigurumi and Plush Toys
FAQ#
Is this crochet pattern suitable for beginners?
Yes. This is an easy crochet pattern if you’re comfortable with single crochet, increases, and decreases. The extra details (hair, hat, bow) are simple add-ons.
What size safety eyes should I use?
For worsted yarn, 10–14 mm usually looks right. If you want a cuter, more “baby-like” face, go slightly larger. If making for a child under 3, embroider eyes instead.
How do I make it child-safe?
Embroider eyes and any small details, stitch everything tightly, and avoid glue. Double-knot and weave in ends securely.
Can I make the doll poseable?
Yes. Add pipe cleaners or craft wire inside the arms and legs (and optionally the body). Make sure wire ends are curled and padded so nothing sharp can poke through.
Why does my head look bumpy?
This usually happens from uneven stuffing or loose tension. Stuff gradually, push filling into low spots, and use a smaller hook to make stitches tighter.
How do I get the shoes oversized like a classic clown?
Increase the shoe base one extra round (for a wider circle), then keep the side walls a bit taller. Light stuffing in the toe also helps create that rounded clown shoe shape.
Conclusion#
A colorful clown doll crochet pattern is the kind of project that feels joyful from start to finish. The simple amigurumi shapes make it approachable, while the bright hair, bold stripes, and cute accessories create a finished toy that looks detailed and professional.
If you tell me what yarn weight you’re using (DK or worsted) and whether you want the doll to sit or stand, I can adjust the stitch counts and give you a perfectly sized shoe and leg recipe for your exact version.


