


Introduction#
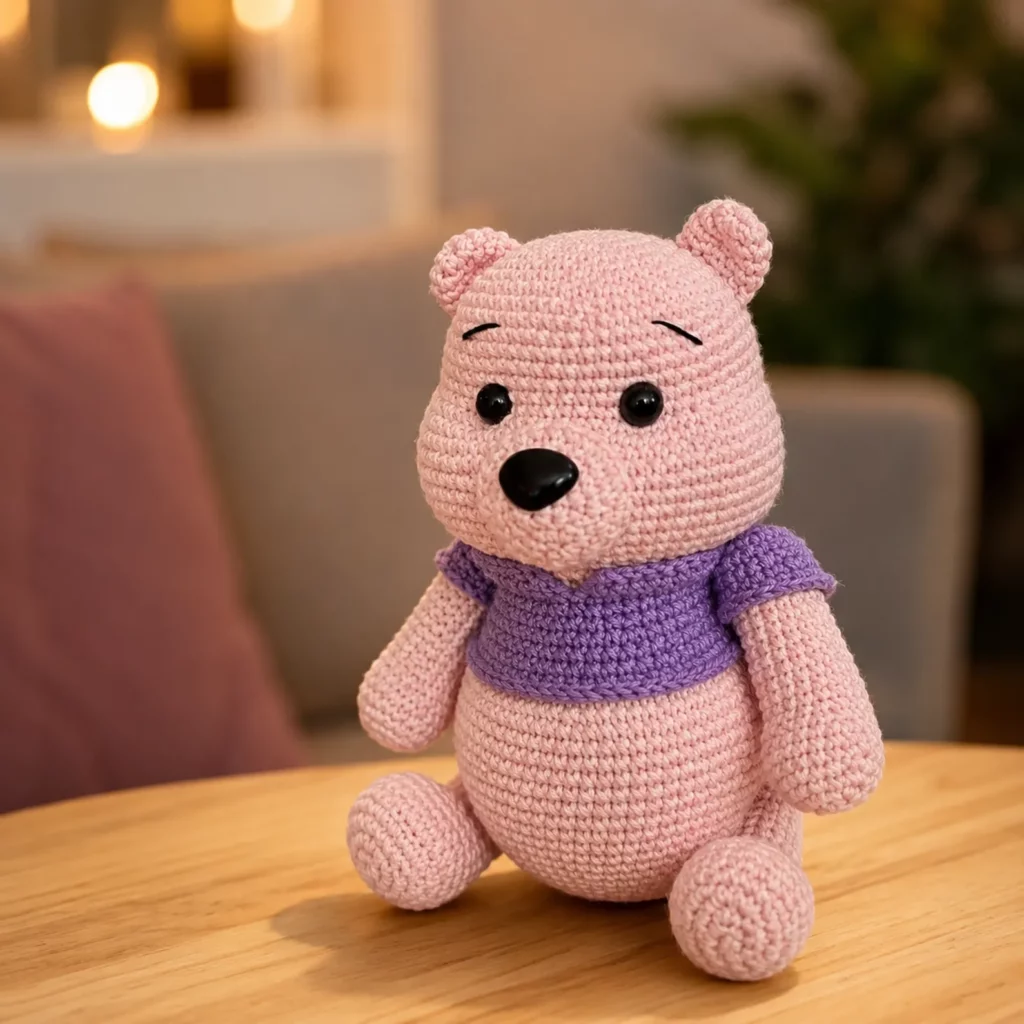
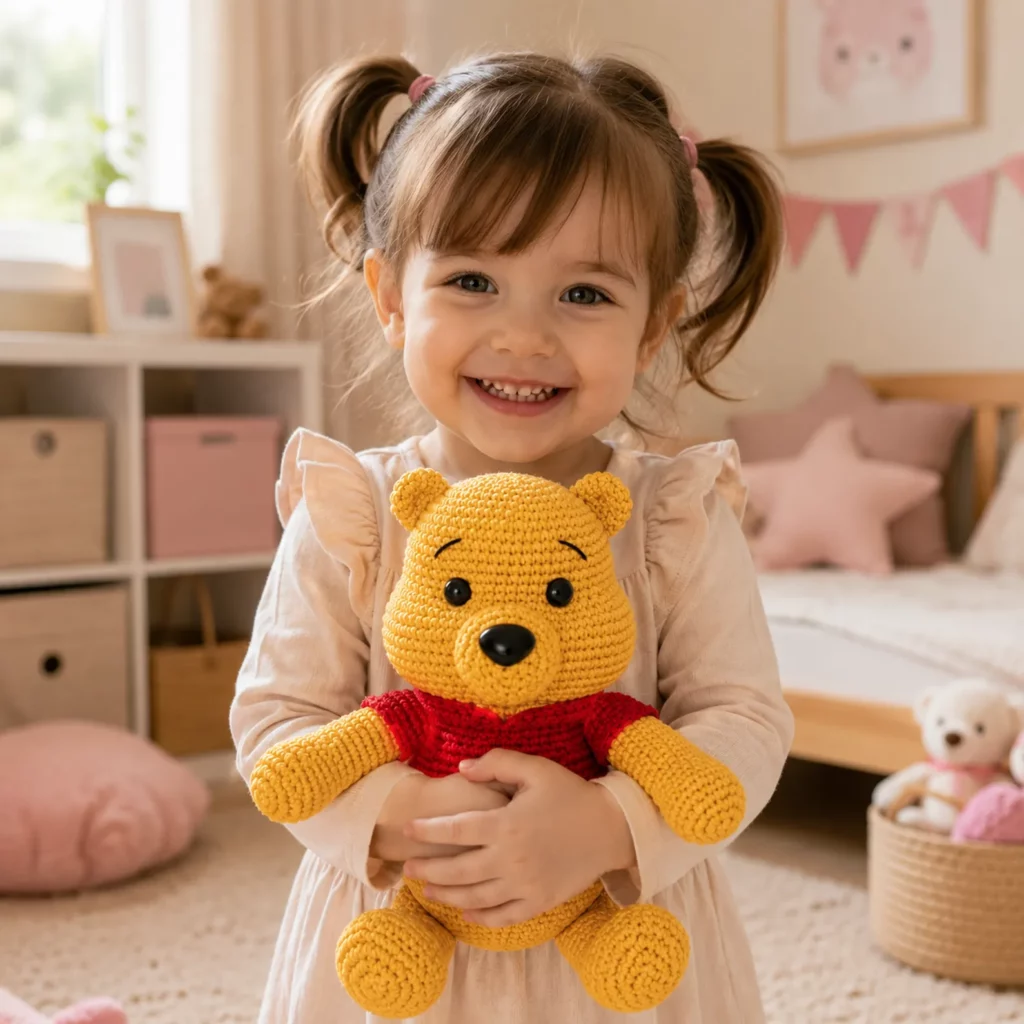
There’s something instantly comforting about a small, golden teddy bear in a simple red shirt. It’s nostalgic, warm, and the kind of handmade plush that feels like it belongs on a nursery shelf, a reading nook, or tucked into a gift bag for someone you love.
Explore more beginner amigurumi crochet patterns in our pattern library.
This crochet pattern is designed to help you create that classic “honey bear” look with beginner-friendly shaping and clean, modern finishing. You’ll crochet a rounded head, a plump seated body, simple arms and legs, and a fitted red shirt that gives the whole plush its signature style. The construction is straightforward (mostly single crochet in the round), and the pieces are made in manageable sections so you can take your time and get neat results.
If you’re searching for a free crochet pattern that feels timeless and giftable, this is a wonderful easy crochet pattern to build your amigurumi confidence.
Detailed Description of the Crochet Pattern#
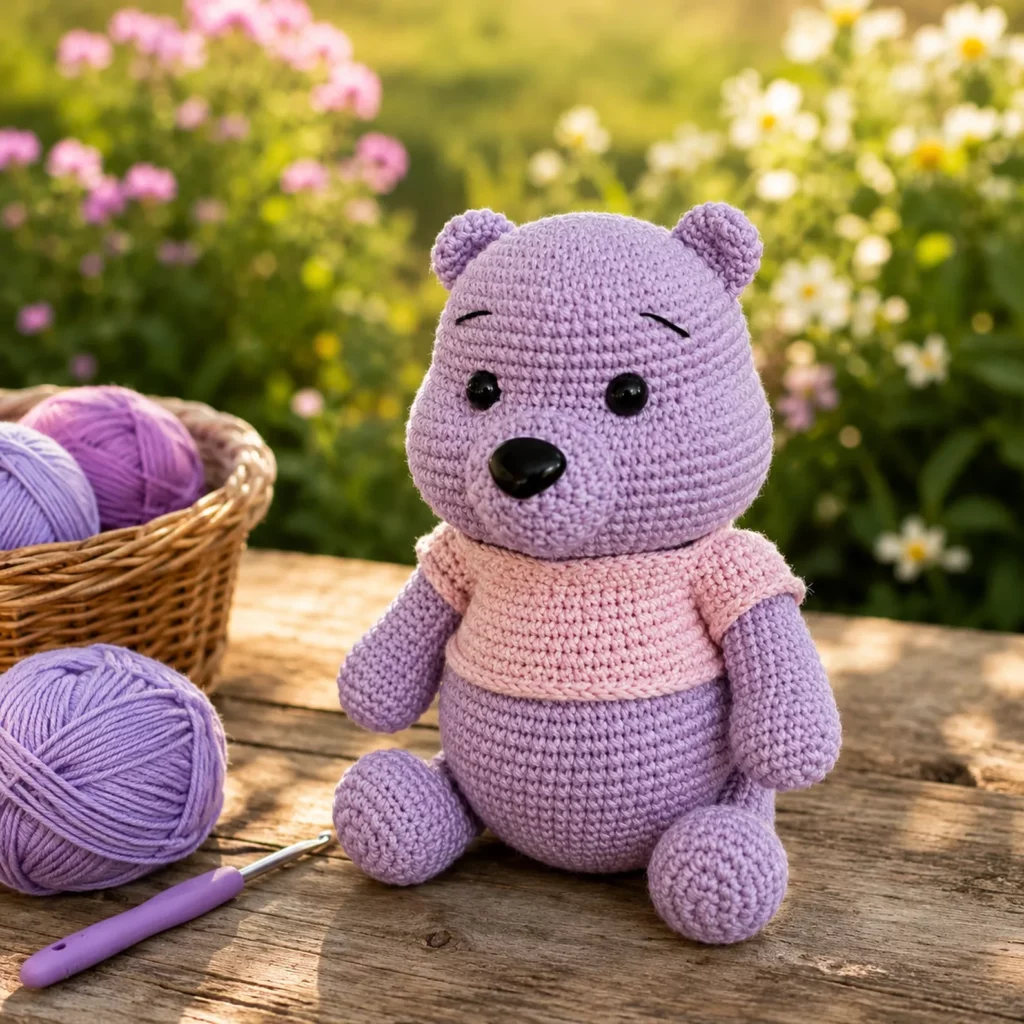
This project creates a seated bear amigurumi with:
- A round head and small rounded ears
- A plump body with a stable base for sitting
- Simple tube arms and rounded legs/feet
- A fitted red shirt (crocheted separately as a top piece or as an attached color section, depending on your preference)
- A sweet face with safety eyes (or embroidery option)
Why this pattern looks polished
- The shapes are classic and symmetrical, which makes the plush look “professional” even with simple stitches.
- The shirt is designed to sit smoothly—no bulky seams or awkward gaps.
- Tight stitches + even stuffing create a clean, smooth finish that photographs beautifully.
Finished size (approx.)
- With worsted yarn and a 3.0–3.5 mm hook: 8–11 inches tall (depending on tension)
- With DK yarn: 6–9 inches
- With plush yarn: 10–14 inches (super cuddly)
Skill Level Explanation#
This is an easy-to-intermediate amigurumi project.
Great for confident beginners who can:
- single crochet in the round
- increase and decrease
- count stitches with a stitch marker
- sew pieces on neatly
Intermediate (optional) upgrades:
- clean color transitions (if you attach the shirt directly)
- shaping the muzzle area slightly with stuffing
- adding a weighted base so it sits perfectly upright
If you’ve made a simple ball amigurumi before, this crochet for beginners plush is a really satisfying next step.
Materials Needed#
Yarn
Choose smooth yarn for crisp stitch definition.
Recommended yarn options:
- Worsted weight (#4) cotton or acrylic (best beginner choice)
- Cotton blend (excellent stitch clarity)
- DK (#3) for a smaller plush
Colors:
- Body: golden yellow or warm honey
- Shirt: red
- Face details: black (and optional brown for subtle shading)
Yardage estimate:
- Yellow: 200–300 yards
- Red: 60–120 yards
- Black: small scrap amount
Hook
- Worsted: 2.75–3.5 mm
- DK: 2.25–3.0 mm
Tip: Amigurumi should feel dense. If you see gaps, go down a hook size.
Notions
- Stitch marker
- Yarn needle
- Scissors
- Polyester fiberfill stuffing
Eyes + safety
- Safety eyes: 10–14 mm (depending on size)
- OR embroider eyes (recommended for baby-safe gifting)
Optional:
- A small pouch of poly pellets (for weighted sitting base)
- Felt circles behind eyes (extra security)
Stitches & Techniques Explained#
Abbreviations (US terms)
- MR = magic ring
- sc = single crochet
- inc = increase (2 sc in one stitch)
- dec = invisible decrease
- sl st = slip stitch
- ch = chain
- st(s) = stitch(es)
- Rnd = round
Invisible Decrease (recommended)
This keeps your decreases smooth and less “bumpy”:
- Insert hook into front loop only of next st
- Insert into front loop only of following st
- Yarn over, pull through both loops
- Yarn over, pull through remaining loops
Clean color change (for shirt)
Change colors on the final yarn-over of the stitch before the new color. That keeps the transition crisp.
Stuffing tips (the secret to a smooth plush)
- Stuff in small pieces.
- Shape frequently with your hands.
- Avoid overstuffing the head near the closing rounds (prevents pointy tops).
Step-by-Step Instructions#
Pattern notes
- Work in continuous rounds unless stated.
- Use a stitch marker in the first stitch of each round.
- Stuff as you go for the smoothest shape.
- Counts are in ( ).
Part 1: Head (Yellow)
Rnd 1: MR, 6 sc (6)
Rnd 2: inc around (12)
Rnd 3: (sc, inc) around (18)
Rnd 4: (2 sc, inc) around (24)
Rnd 5: (3 sc, inc) around (30)
Rnd 6: (4 sc, inc) around (36)
Rnd 7: (5 sc, inc) around (42)
Rnd 8: (6 sc, inc) around (48)
Rnd 9–14: sc around (48) for 6 rounds
Place eyes now (if using safety eyes):
Suggested placement between Rnd 11–13, spaced 8–10 stitches apart.
Start stuffing firmly.
Rnd 15: (6 sc, dec) around (42)
Rnd 16: (5 sc, dec) around (36)
Rnd 17: (4 sc, dec) around (30)
Rnd 18: (3 sc, dec) around (24)
Rnd 19: (2 sc, dec) around (18)
Rnd 20: (sc, dec) around (12)
Rnd 21: dec around (6)
Fasten off, close, weave in ends.
Part 2: Ears (Make 2, Yellow)
Rnd 1: MR, 6 sc (6)
Rnd 2: inc around (12)
Rnd 3: sc around (12)
Fasten off leaving a tail. Do not stuff. Sew to top sides of head.
Part 3: Snout/Muzzle (Optional but cute)
If you want a subtle muzzle shape, make a small oval patch in yellow (or a slightly lighter honey shade).
Ch 6
Rnd 1 (oval): starting in 2nd ch: 4 sc, 3 sc in last ch. Other side: 3 sc, 2 sc in last ch (12)
Rnd 2: inc, 3 sc, inc x3, 3 sc, inc x2 (18)
Fasten off leaving tail. Sew centered below eyes.
Embroider a small nose and mouth in black.
Part 4: Body (Yellow)
Rnd 1: MR, 6 sc (6)
Rnd 2: inc around (12)
Rnd 3: (sc, inc) around (18)
Rnd 4: (2 sc, inc) around (24)
Rnd 5: (3 sc, inc) around (30)
Rnd 6: (4 sc, inc) around (36)
Rnd 7: (5 sc, inc) around (42)
Rnd 8: (6 sc, inc) around (48)
Rnd 9–12: sc around (48) for 4 rounds
Optional taper near chest:
Rnd 13: (6 sc, dec) around (42)
Rnd 14: sc around (42)
Rnd 15: (5 sc, dec) around (36)
Begin stuffing. Add more stuffing at the bottom for stability.
Rnd 16: sc around (36)
Rnd 17: (4 sc, dec) around (30)
Rnd 18: (3 sc, dec) around (24)
Rnd 19: (2 sc, dec) around (18)
Rnd 20: (sc, dec) around (12)
Rnd 21: dec around (6)
Fasten off, close, weave in ends.
Part 5: Arms (Make 2, Yellow)
Rnd 1: MR, 6 sc (6)
Rnd 2: (sc, inc) around (9)
Rnd 3–9: sc around (9) for 7 rounds
Lightly stuff the bottom only (optional). Flatten and close with 4–5 sc through both layers. Fasten off leaving tail.
Part 6: Legs/Feet (Make 2, Yellow)
Rnd 1: MR, 6 sc (6)
Rnd 2: inc around (12)
Rnd 3: (sc, inc) around (18)
Rnd 4–6: sc around (18) for 3 rounds
Rnd 7: (4 sc, dec) around (15)
Rnd 8: sc around (15)
Stuff firmly. Flatten and close with 6–7 sc through both layers. Fasten off leaving tail.
Part 7: Shirt (Red)
You have two options:
Option A: Removable shirt (easy + clean)
Crochet a simple tube.
Measure around the body at the widest chest point.
Foundation: ch to fit (typically 30–42 ch depending on size). Join.
Rnd 1–? sc around until shirt reaches desired length (usually 8–12 rounds).
Armholes:
When shirt reaches arm level:
- sc to armhole spot
- ch 6–10 (skip same number of stitches)
- sc around
Repeat for second armhole.
Finish with 1–2 rounds sc for a neat hem. Fasten off.
Option B: Attached shirt (no removable piece)
Instead of a separate shirt, crochet the body with a red “shirt section” by switching to red yarn for a band of rounds in the upper body, then back to yellow at the waist. This looks great but requires careful color changes.
Part 8: Assembly
- Sew ears to head.
- Sew muzzle (optional).
- Sew head to body (strong seam—go around twice if needed).
- Sew legs to lower front of body for a seated pose.
- Sew arms to sides near the top of the shirt line.
Add shirt last (either put it on or sew it in place).
Common Mistakes and How to Avoid Them#
- Head looks pointy: Stuff earlier, and don’t overstuff near the last decreases.
- Eyes uneven: Mark a center line and measure stitch spacing before locking backs.
- Muzzle sits crooked: Pin with 4 markers (top/bottom/left/right) before sewing.
- Plush won’t sit: Add extra stuffing at the bottom or use a small pellet pouch.
- Shirt looks tight: Add a few more chains to the shirt tube or use one larger hook size for the shirt only.
- Seams look bulky: Mattress stitch and smaller sewing stitches help.
Expert Tips for Better Results#
- Use a smaller hook than you would for garments for a tight, smooth fabric.
- Sew the head on with multiple passes—the neck seam is the stress point.
- Keep facial features minimal. Tiny details look cleaner at this scale.
- If you want perfect sitting balance, add a weighted base (pellets in fabric) inside the body.
- Weave ends in several directions—plushies get handled a lot.
Variations and Customization Ideas#
- Mini version: use DK yarn and a smaller hook, reduce increase rounds (stop at 36 sts).
- Jumbo version: use plush yarn, scale up eye size, add extra even rounds.
- Different outfit: swap shirt color, add a scarf, or crochet tiny shorts.
- Sleepy face: embroider curved “closed” eyes for a cozy bedtime bear.
- Gift set: make a matching tiny honey pot accessory (small brown cylinder).
Benefits of This Crochet Project#
- A timeless plush that looks nostalgic and giftable
- Beginner-friendly shapes with high “wow” payoff
- Great practice for amigurumi basics: shaping, sewing, stuffing
- Customizable size and outfit options
- Perfect for nursery decor, birthdays, and handmade keepsakes
Internal Linking Suggestions#
You may also like…
- Beginner Crochet Tutorial: Invisible Decrease for Amigurumi
- How to Place Safety Eyes Evenly (Amigurumi Guide)
- Best Yarn for Amigurumi (Cotton vs Acrylic)
- How to Stuff Amigurumi Smoothly (No Lumps!)
- Free Crochet Pattern: Tiny Amigurumi Hat
- Free Crochet Pattern Roundup: Easy Crochet Plushies
FAQ Section#
What yarn is best for this crochet pattern?
Worsted cotton or acrylic is ideal because it shows stitch definition and holds shape well. Plush yarn works too if you want a bigger cuddly version.
Is this a good easy crochet pattern for beginners?
Yes. The shapes are classic and forgiving, and you can keep details simple (embroidered face, removable shirt) for an easier finish.
Can I embroider the eyes instead of using safety eyes?
Absolutely. Embroidered eyes are safer for babies and also very durable for frequently handled plush toys.
How do I make the bear bigger or smaller?
Use thicker yarn and a larger hook to size up, or thinner yarn and a smaller hook to size down. You can also add one extra increase round (to 54 sts) for a bigger head/body.
Why doesn’t my plush sit upright?
Add more stuffing to the bottom half, attach the legs slightly forward, or add a small pellet pouch inside the base.
How do I keep the shirt from sliding up?
Make the shirt a little longer, add a snug hem round, or tack the shirt to the body with a few hidden stitches at the sides.
Conclusion#
This classic honey bear plush is the kind of amigurumi you’ll want to make more than once—simple construction, big personality, and a clean finished look thanks to the iconic red shirt. This free crochet pattern is beginner-friendly, customizable, and perfect for gifting.
If you tell me your yarn weight (DK, worsted, or plush) and your target height (small, medium, jumbo), I can adjust the stitch counts and shirt sizing so your crochet pattern comes out perfectly proportioned.


