


Introduction#
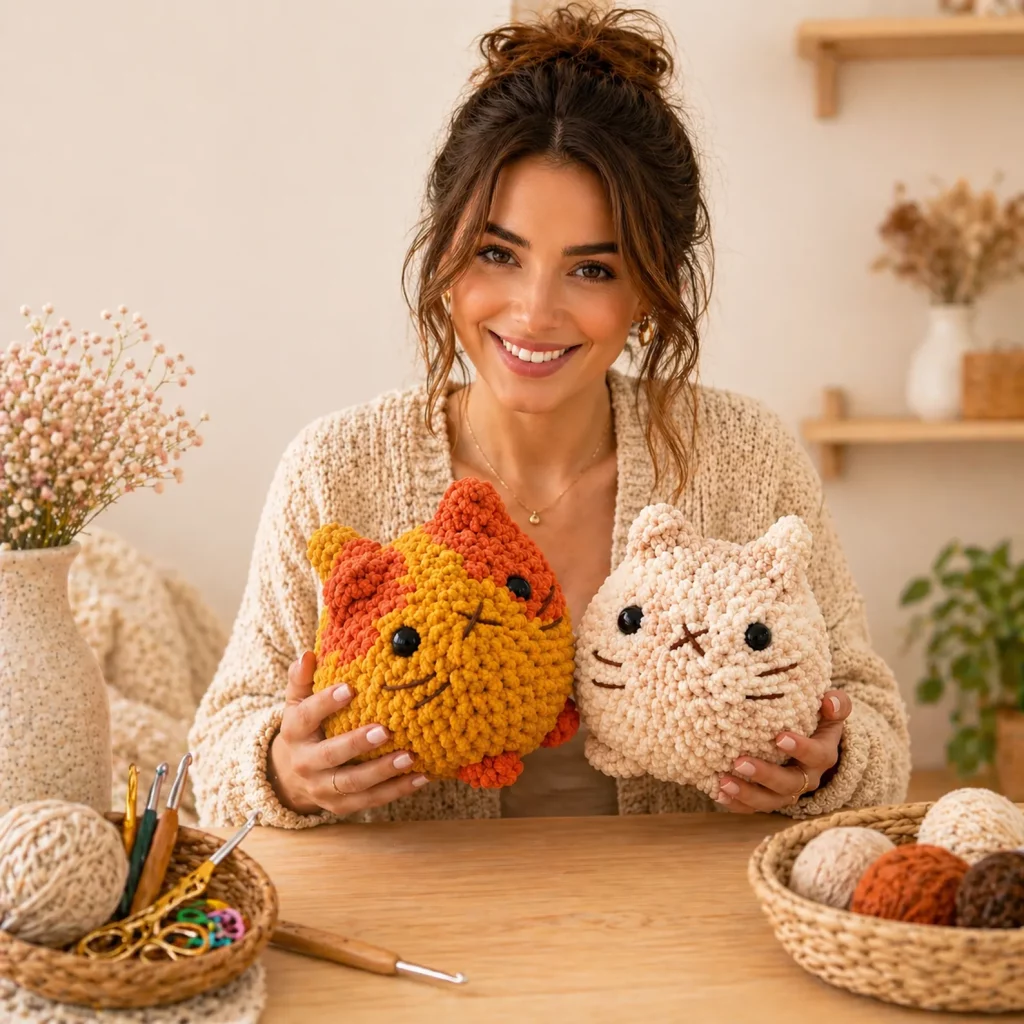
If you’re in your “I want to crochet something that feels like a marshmallow” era, a chubby plush cat is the perfect project. It’s cute, fast, and unbelievably huggable—plus it looks amazing in photos, which makes it ideal for gifts, craft fairs, and crochet blog content. The best part is that this style of plush amigurumi doesn’t require complicated shaping. It’s mostly a big round body, tiny ears, little paws, and a simple face that you can customize in endless ways.
Explore more beginner amigurumi crochet patterns in our pattern library.
This crochet pattern teaches you how to make a round, squishy cat plush using plush/chenille yarn (or any yarn you prefer). You’ll learn the easiest way to build a smooth sphere, how to add tiny paws that help the plush sit nicely, and how to create whiskers and a small mouth that give the cat that classic, sweet expression. I’ll also share practical tips for crocheting with plush yarn—because yes, it can hide stitches, but once you know a few tricks, it’s one of the most relaxing yarns to work with.
This is a true free crochet pattern with a crochet tutorial style explanation, designed to be AdSense-friendly and genuinely helpful for anyone who wants to make the item—not just skim keywords.
Detailed Description of the Crochet Pattern#
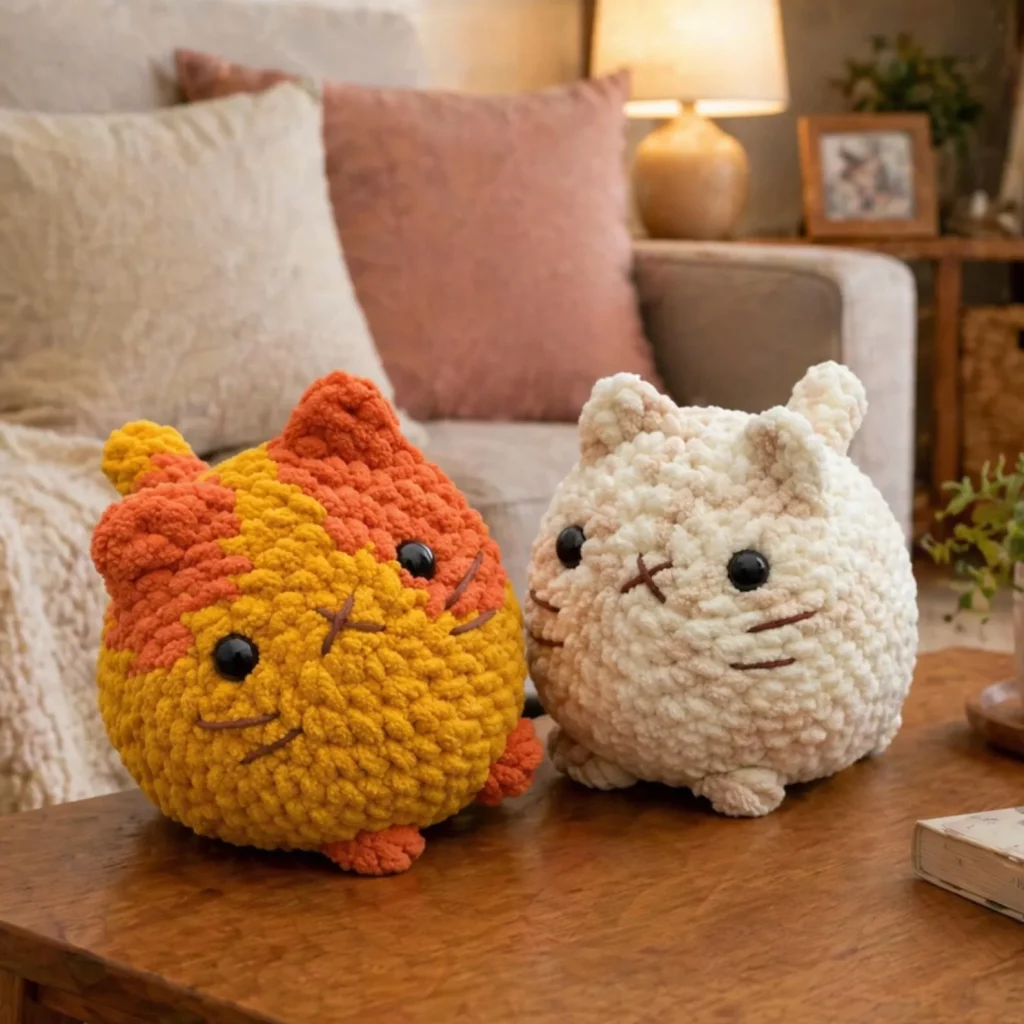
This project creates a chubby, rounded cat plush with a minimal, modern look and a super soft texture. The defining features are:
- Extra round “dumpling” body that’s the main character
- Small triangular ears placed close to the top
- Tiny paws/feet nubs that help it sit upright
- Safety eyes or embroidered eyes (your choice)
- Simple stitched mouth and whiskers for expression
- Optional color blocking (solid cat, two-tone cat, calico-style patches, stripes)
Because the body is essentially a big sphere, this pattern is beginner-friendly and works well as a “repeatable make.” Once you finish one, you’ll want to make a whole set in different colors.
Skill Level Explanation#
This is an easy crochet pattern for confident beginners and a great “feel-good” project for experienced crocheters.
You should be comfortable with:
- working in continuous rounds
- single crochet, increases, decreases
- stuffing evenly
- basic sewing for ears and paws
- simple embroidery (whiskers and mouth)
Plush yarn adds one small challenge: stitch visibility. I’ll include simple methods to keep your stitch count accurate even when the yarn is fluffy.
Materials Needed#
Yarn
This plush cat looks best with super bulky (#6) chenille/blanket yarn, but you can also use bulky (#5) or worsted (#4).
Recommended yarn types:
- Chenille/blanket yarn (#6): ultra soft, plush look, fast finish
- Bulky acrylic (#5): sturdy and warm
- Worsted (#4): smaller cat, more stitch definition (use a smaller hook)
Color ideas:
- Solid cream/white for a classic plush cat
- Two-tone “ginger and cream” or “gray and white”
- Fun colors like pastel pink, lavender, or teal for a kawaii set
Yarn amounts (approximate, depends on size):
- Plush yarn: 1–2 skeins for the body color, small amount for face embroidery
- Worsted: under 1 skein total
Hook
Use a hook that makes a tight fabric (especially important for stuffing):
- Plush yarn (#6): 6.0–7.0 mm
- Bulky (#5): 5.5–6.5 mm
- Worsted (#4): 3.0–4.0 mm (amigurumi-style tightness)
Notions
- Fiberfill stuffing
- Stitch marker (must-have for plush yarn)
- Yarn needle
- Scissors
- Safety eyes (recommended): 12–18 mm for plush yarn size
- Embroidery yarn/floss in brown or black for whiskers + mouth
- Optional: blush (cosmetic blush or pink yarn for cheeks)
- Optional: poly pellets (inside fabric pouch) for extra weight at the base
Stitches & Techniques Explained#
Abbreviations (US terms)
- MR = magic ring
- sc = single crochet
- inc = increase (2 sc in same stitch)
- dec = invisible decrease (sc2tog through front loops)
- sl st = slip stitch
- ch = chain
- ( ) = repeat
- = stitch count
Plush yarn stitch tips
- Count by feel: use your fingers to find the “V”
- Use multiple markers: place a marker every 10–12 stitches
- Slow down on decreases: invisible decreases disappear into plush yarn (great), but they’re easy to skip if you rush
Invisible decrease
For smooth shaping:
- Insert hook into front loop only of next stitch, then front loop only of the next stitch, yarn over, pull through, yarn over, pull through two.

Step-by-Step Instructions#
Notes:
- Work in continuous rounds.
- Use a stitch marker at the first stitch of each round.
- Stuff firmly but don’t overstretch stitches.
Body (main color)
This is the big round “chubby cat” body.
R1: MR, 6 sc [6]
R2: inc x6 [12]
R3: (sc, inc) x6 [18]
R4: (2 sc, inc) x6 [24]
R5: (3 sc, inc) x6 [30]
R6: (4 sc, inc) x6 [36]
R7: (5 sc, inc) x6 [42]
R8: (6 sc, inc) x6 [48]
R9: (7 sc, inc) x6 [54]
R10: (8 sc, inc) x6 [60]
R11–R18: sc around [60]
(If you want an extra chubby/taller cat, add 2–4 more even rounds here.)
Eye placement (if using safety eyes):
Place eyes between R14–R16 (adjust based on your yarn), about 10–14 stitches apart.
Tip: Wider spacing looks cute and calm; closer spacing looks more “baby” style.
Begin closing:
R19: (8 sc, dec) x6 [54]
R20: (7 sc, dec) x6 [48]
R21: (6 sc, dec) x6 [42]
Start stuffing heavily now.
R22: (5 sc, dec) x6 [36]
R23: (4 sc, dec) x6 [30]
R24: (3 sc, dec) x6 [24]
R25: (2 sc, dec) x6 [18]
Stuff more and shape into a round ball.
R26: (sc, dec) x6 [12]
R27: dec x6 [6]
Fasten off, close hole, weave in.
Ears (make 2, main color)
Small ears keep the silhouette cute and simple.
R1: MR, 4 sc [4]
R2: (sc, inc) x2 [6]
R3: sc around [6]
R4: (2 sc, inc) x2 [8]
R5: sc around [8]
Flatten (do not stuff). Fasten off with a long tail.
Paws/Feet Nubs (make 4, main color or contrast)
These are tiny “bumps” that suggest paws.
R1: MR, 6 sc [6]
R2: inc x6 [12]
R3: sc around [12]
Lightly stuff. Fasten off with a tail for sewing.
Make 2 for front paws and 2 for back paws (or skip back paws if you want a simpler look).
Optional Tail (main color)
A small tail adds extra charm.
R1: MR, 5 sc [5]
R2–R7: sc around [5]
Lightly stuff or leave unstuffed for a softer tail. Fasten off with tail.
Face Details#
Nose and Mouth (embroidery)
Use brown or black yarn/floss.
- Nose: a tiny triangle or short horizontal stitch
- Mouth: a small “Y” shape or a soft curved smile
Easy “Y” mouth:
Stitch a short vertical line down, then two small diagonals outward.
Whiskers (embroidery)
Stitch 2–3 whisker lines on each side of the face. Keep them short and slightly curved.
Pro tip: Whiskers look best when they sit a little lower than the eyes, not level with them.
Optional cheeks
Lightly dab blush below each eye, or embroider small pink ovals for cheeks.
Assembly#
Take your time here—plush toys look “pro” when pieces are symmetrical.
Attach ears
- Pin ears on top of the body, slightly forward.
- Space them evenly.
- Sew securely with small whip stitches.
Attach paws
- Front paws: pin low on the front, slightly angled inward.
- Back paws: pin underneath near the base, spaced so the cat sits balanced.
Sew firmly.
Attach tail (optional)
Sew tail to the back, slightly off-center for a playful look.
Final face check
If you embroidered the face before assembly, double-check it still looks centered with ears on. If you haven’t embroidered yet, do it last—this is the easiest way to ensure the face looks balanced.
Common Mistakes and How to Avoid Them#
- Cat isn’t round: you likely under-stuffed. Stuff in small tufts and shape as you go.
- Stuffing shows through: use a smaller hook or tighter tension, especially with non-plush yarn.
- Eyes look uneven: pin/mark placements first. For safety eyes, test placement before locking backs.
- Ears look lopsided: pin both ears, step back, and compare angles before sewing.
- Whiskers look messy: fewer stitches is better. Simple lines look cleaner than many tiny stitches.
Expert Tips for Better Results#
- Use a weight pouch inside the bottom if you want a perfect sit. Put pellets in a fabric pouch and bury it in stuffing.
- Keep decreases consistent: invisible decreases create the smoothest finish.
- Shape with your hands: after stuffing, roll the plush gently between your palms to smooth lumps.
- Weave ends deep: plush yarn can loosen; long woven tails keep seams secure.
- Make it gift-ready: add a tiny tag or ribbon bow at the neck.
Variations and Customization Ideas#
- Ginger tabby: alternate orange and cream stripes by changing colors every few rounds in the body.
- Calico patches: sew small colored patches onto the body for a patchwork cat look.
- Sleepy face: embroider closed eyes (curved arcs) instead of safety eyes.
- Mini version: use worsted yarn + 3.0 mm hook; keep stitch counts the same for a smaller plush.
- Keychain: make a smaller version and add a chain loop between ears.
- Different animals: change ears and whiskers and this base becomes a bear, hamster, or bunny-style plush.
Benefits of This Crochet Project#
- Very fast with plush yarn (great weekend project)
- Beginner-friendly shaping using basic amigurumi techniques
- Highly customizable colors and facial expressions
- Great for gifts, decor, and craft fairs
- Uses minimal pieces (easy assembly)
- Produces a high “wow” result without complex stitches
Internal Linking Suggestions#
If you’re building a crochet blog, link this pattern to:
- Magic Ring Tutorial for Beginners
- Invisible Decrease Tutorial for Amigurumi
- How to Crochet with Plush/Chenille Yarn
- How to Attach Safety Eyes Securely
- How to Stuff Amigurumi Without Lumps
- Easy Beginner Amigurumi Patterns
FAQ Section#
Is this a good crochet pattern for beginners?
Yes. The body is a simple sphere, and the pieces are minimal. It’s a great first plush amigurumi.
What yarn is best for a chubby plush cat?
Chenille/blanket yarn gives the softest result. Worsted cotton or acrylic works too for a smaller, more defined look.
Can I make this without safety eyes?
Absolutely. Embroidered eyes are adorable and are often preferred for child-safe plush toys.
How do I keep my plush cat sitting upright?
Stuff the base firmly, position paws evenly, and consider adding a small weight pouch inside the bottom.
Why do my stitches look uneven with plush yarn?
Plush yarn hides stitches, so it’s common to miss increases/decreases. Use stitch markers, count by touch, and slow down at shaping rounds.
Can I sell finished cats made from this free crochet pattern?
Finished handmade items are typically okay to sell. If you publish the pattern, keep your wording and photos original for unique, AdSense-friendly content.
Conclusion#
A chubby plush cat is one of those crochet patterns that never gets old—because it’s quick, cozy, and instantly lovable. Once you master the basic body shape, you can create an entire collection: ginger cats, cream cats, pastel cats, sleepy cats, and everything in between. It’s the perfect project for gifts and for building a crochet blog with high-value tutorials people will actually use.
If you tell me what yarn weight you’re using (worsted, bulky, or plush) and how big you want the finished cat, I can adjust the round counts and eye size recommendations so your plush comes out exactly the way you pictured.


