


Introduction#
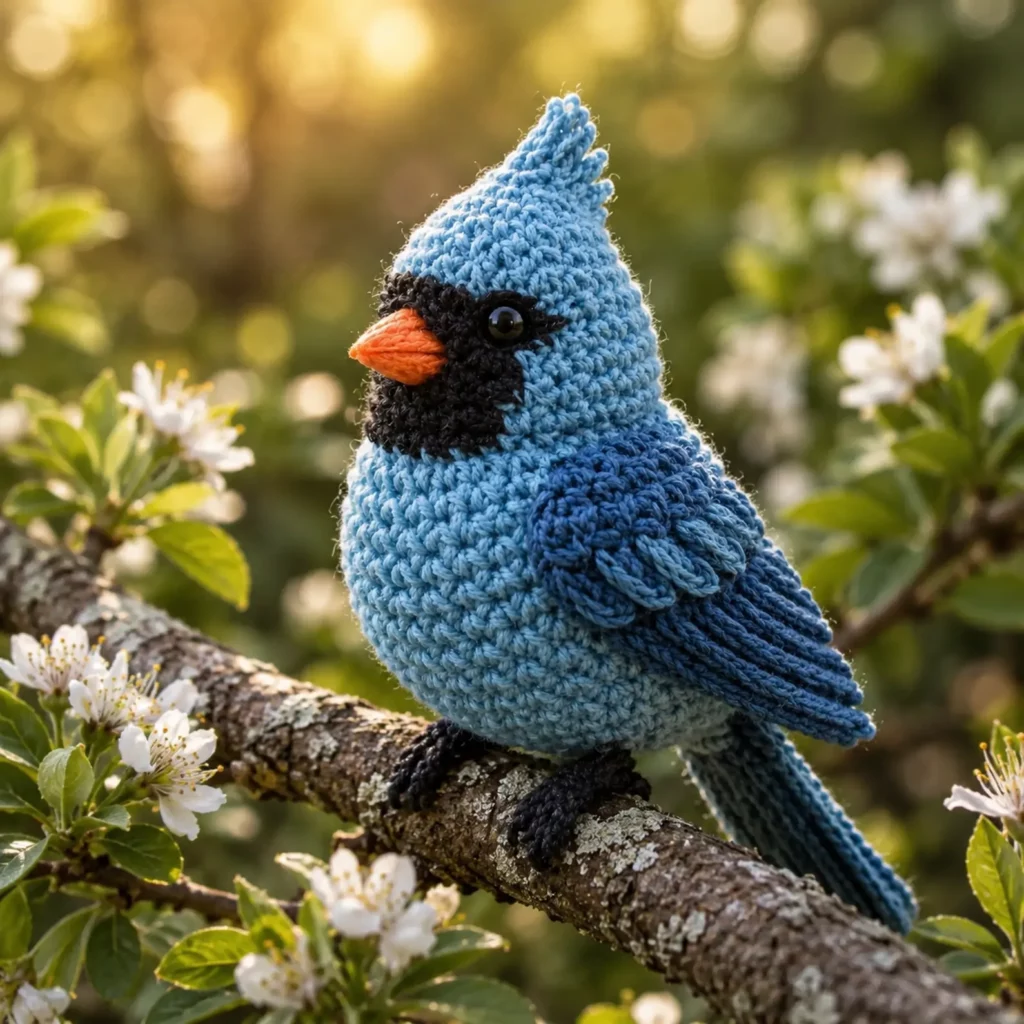
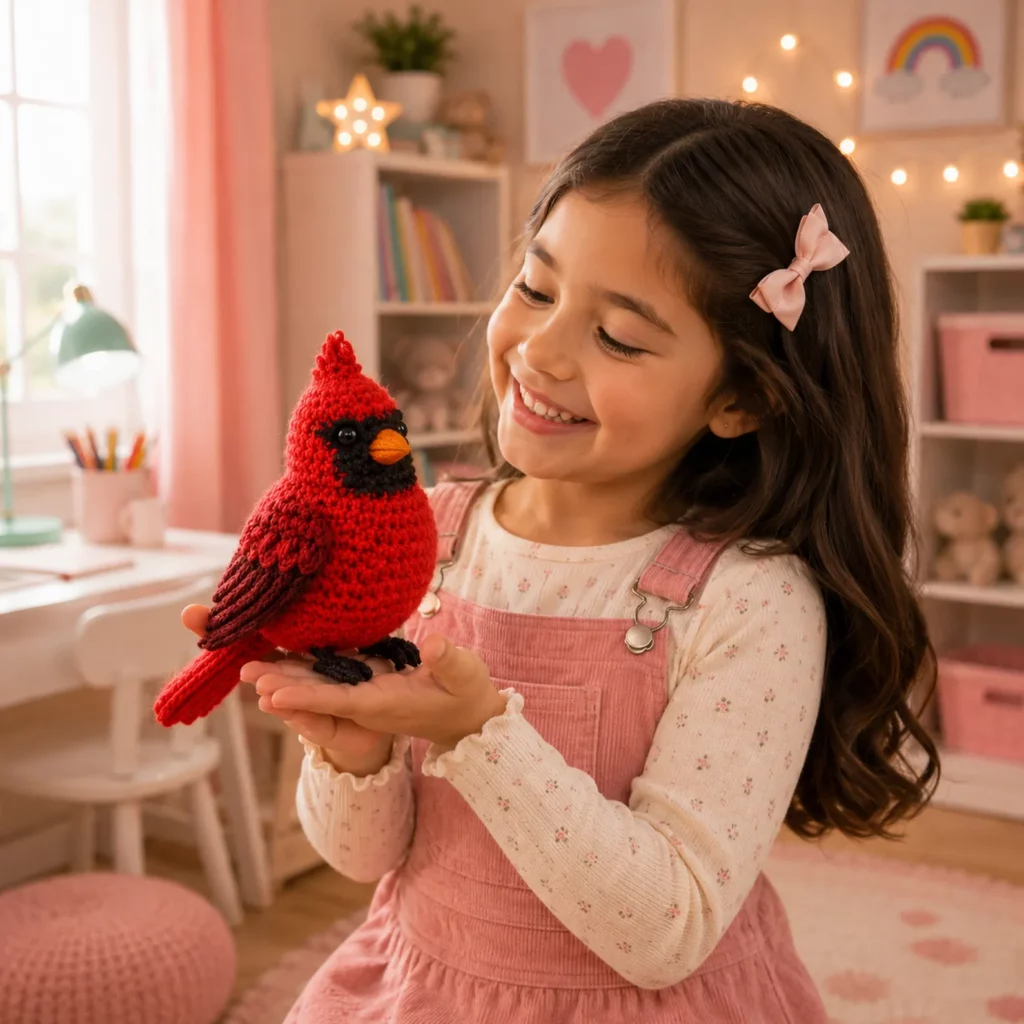
If you want a small amigurumi project that looks instantly recognizable and full of personality, a crochet cardinal is a perfect choice. That bold red body, the little pointed crest, and the dark face “mask” make it one of those birds that doesn’t need extra accessories to look special. It’s bright, cheerful, and makes a beautiful handmade gift for bird lovers, winter décor, or a charming desk buddy.
Explore more beginner amigurumi crochet patterns in our pattern library.
This crochet pattern is written as a crochet tutorial you can follow step by step, with beginner-friendly shaping and clear assembly instructions. The stitches stay simple, but the finished look feels detailed thanks to thoughtful color placement, a slightly rounded belly, and layered wing and tail texture.
Detailed Description of the Crochet Pattern#
This crochet cardinal amigurumi is a small perched-style plush with an upright posture. The body is rounded and slightly egg-shaped, the head has a subtle crest, the face includes a dark mask patch, and the wings and tail are made from layered stitches to mimic feathers.
What you’ll make
- Body and head (red): worked in continuous rounds as one piece for a smooth silhouette
- Crest (red): a small pointed accent at the top of the head
- Face mask (black): a separate patch sewn on for a clean edge
- Beak (orange): small cone beak stitched to the center of the mask
- Wings (dark red/burgundy): layered feather look using loops or scallops
- Tail (dark red/burgundy): longer feathered piece for balance
- Feet (black): small feet that help the bird perch or sit stably
This is an easy crochet pattern to repeat if you want to make multiple birds for holiday ornaments, garlands, or gifts.
Skill Level Explanation#
Skill Level: Confident Beginner
You’ll do great if you already know
- Magic ring
- Single crochet (sc)
- Increase (inc) and decrease (dec)
- Working in continuous rounds
- Basic sewing/assembly
Newer skills you’ll practice
- Sewing a face patch neatly
- Adding a small crest shape
- Creating simple feather texture for wings and tail
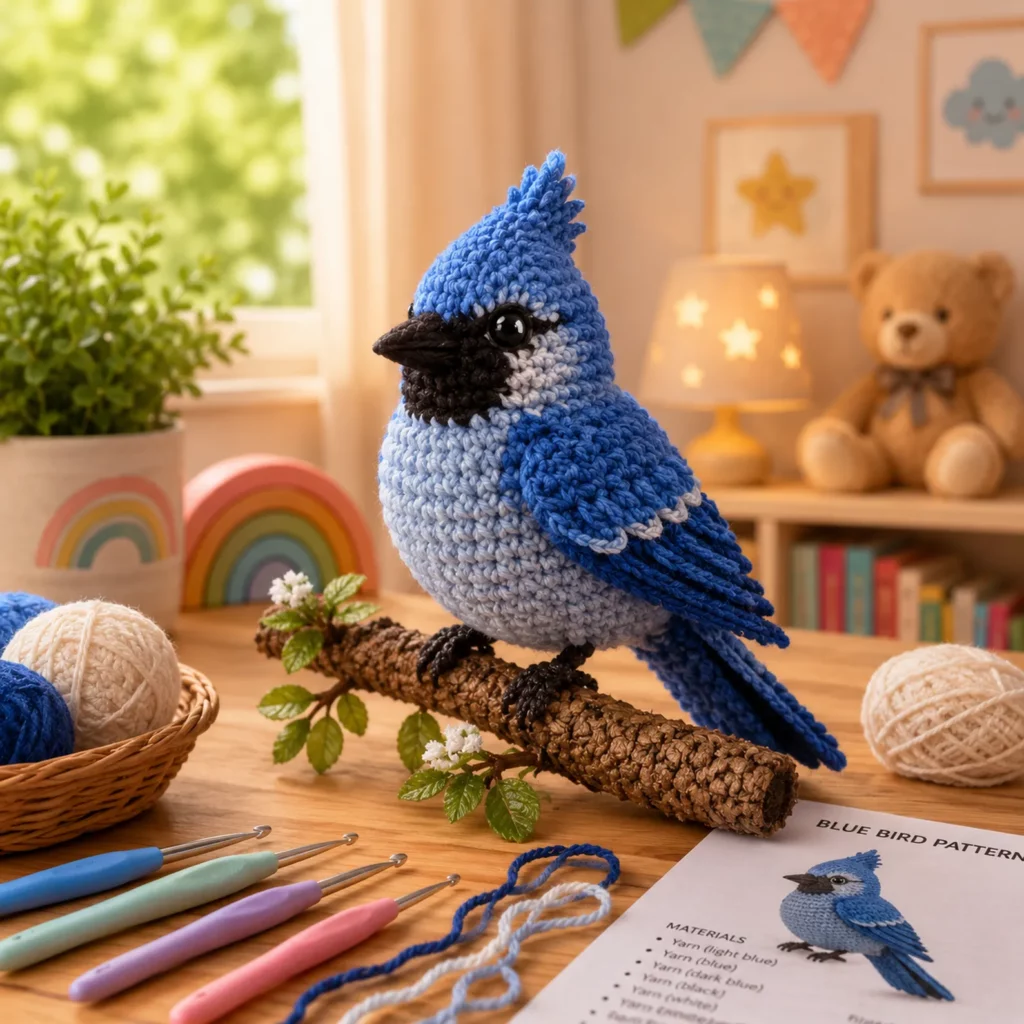
Materials Needed#
Yarn
Use smooth yarn so the stitches look crisp and the face details are clean.
Suggested yarn weight
- DK (Category 3) for a small cardinal
- Worsted (Category 4) for a medium plush
Colors
- A: Bright red (body/head/crest)
- B: Black (mask + feet)
- C: Orange (beak)
- D: Dark red/burgundy (wings + tail)
Yarn tip
Cotton gives sharp stitch definition. Acrylic is softer and more plush. Either works well.
Hook
Use a smaller hook than the yarn label suggests to avoid gaps.
- DK: 2.75–3.25 mm
- Worsted: 3.0–4.0 mm
Notions
- Stitch marker
- Yarn needle
- Scissors
- Fiberfill stuffing
- Safety eyes (8–12 mm depending on size) or embroidered eyes
- Optional: white thread for eye highlight stitch
Safety Note
For babies/toddlers, embroider eyes instead of using safety eyes and stitch parts extra securely.
Stitches & Techniques Explained#
Common Abbreviations
- MR = magic ring
- sc = single crochet
- inc = increase
- dec = decrease (invisible decrease recommended)
- sl st = slip stitch
- ch = chain
- dc = double crochet
- ( ) = repeat
- = stitch count
Invisible Decrease
Insert hook into front loop of next stitch, then front loop of following stitch, yarn over, pull through, yarn over, pull through two. This makes shaping smooth and professional.
Feather Texture Options for Wings
Loop feather method (closest to the look)
- Use loop stitch or long-loop single crochet to create layered feather strands
Easy scallop method (beginner-friendly)
- Work (sl st, skip 1, 3 dc in next stitch, skip 1) along the edge
This gives a feathered edge without special stitches.
This pattern uses the easy scallop method as the default, with a loop-feather upgrade option included.
Step-by-Step Instructions#
Finished Size
With worsted yarn and a 3.25–3.5 mm hook, expect about 5–7 inches (13–18 cm) tall depending on stuffing and tail length.
Notes Before You Start
- Work in continuous rounds unless stated
- Move your stitch marker every round
- Stuff firmly but don’t overstuff
- Pin parts before sewing for best symmetry
Color Key
- A = Red
- B = Black
- C = Orange
- D = Dark red/burgundy
Body and Head (Color A)#
Round 1: 6 sc in MR [6]
Round 2: inc around [12]
Round 3: (sc, inc) around [18]
Round 4: (2 sc, inc) around [24]
Round 5: (3 sc, inc) around [30]
Round 6: (4 sc, inc) around [36]
Rounds 7–10: sc around [36]
This forms the round belly and lower head area.
Round 11: (4 sc, dec) around [30]
Round 12: (3 sc, dec) around [24]
Round 13: (2 sc, dec) around [18]
Start stuffing. Keep the belly firm and rounded.
Round 14: (sc, inc) around [27]
Round 15: (2 sc, inc) around [36]
Rounds 16–18: sc around [36]
This creates a slightly fuller chest so the bird looks perched and plump.
Eye placement
- Place eyes between Rounds 16–17
- Space about 6–8 stitches apart
- If you want a cuter look, place them slightly lower and closer together
Round 19: (4 sc, dec) around [30]
Round 20: (3 sc, dec) around [24]
Round 21: (2 sc, dec) around [18]
Stuff firmly.
Round 22: (sc, dec) around [12]
Round 23: dec around [6]
Fasten off and close.
Crest (Color A)#
A simple crest can be made as a small triangle that you sew to the top of the head.
Ch 5
Row 1: sc in 2nd ch, sc in next 3, ch 1, turn
Row 2: sc2tog, sc 1, sc2tog, ch 1, turn
Row 3: sc3tog
Fasten off with a tail.
Sew the crest on top of the head slightly forward of center.
Crest upgrade option
If you want a taller crest, start with ch 6 and add one extra row before the final decrease.
Face Mask Patch (Color B)#
This is sewn onto the face for a crisp edge.
Ch 8
Row 1: sc in 2nd ch from hook and across (7), ch 1, turn
Row 2: sc across (7), ch 1, turn
Row 3: sc2tog, sc 3, sc2tog (5), ch 1, turn
Row 4: sc across (5)
Fasten off with a long tail.
Pin the patch centered around the eyes area and sew neatly.
Beak (Color C)#
Round 1: 4 sc in MR [4]
Round 2: (sc, inc) around [6]
Round 3: sc around [6]
Round 4: (2 sc, inc) around [8]
Round 5: sc around [8]
Fasten off with a long tail.
Flatten the base slightly and sew to the center of the mask.
Beak shaping tip
Sew the top edge slightly tighter than the bottom edge to create a natural pointed beak angle.
Wings (Make 2, Color D)#
Ch 12
Row 1: sc in 2nd ch and across (11), ch 1, turn
Row 2: sc across (11), ch 1, turn
Row 3: sc2tog, sc 7, sc2tog (9), ch 1, turn
Row 4: sc across (9), ch 1, turn
Row 5: sc2tog, sc 5, sc2tog (7), ch 1, turn
Row 6: sc across (7)
Fasten off.
Feather edging (easy scallop)
Attach yarn along the longer outer edge.
Work (sl st, skip 1, 3 dc in next stitch, skip 1) repeat along the edge.
Fasten off and leave a tail for sewing.
Loop-feather upgrade option
Instead of scallops, work long-loop sc along the outer edge, pulling loops to the outside for a feathery fringe.
Tail (Color D)#
Ch 14
Row 1: sc in 2nd ch and across (13), ch 1, turn
Row 2: sc across (13), ch 1, turn
Row 3: sc2tog, sc 9, sc2tog (11), ch 1, turn
Row 4: sc across (11), ch 1, turn
Row 5: sc2tog, sc 7, sc2tog (9), ch 1, turn
Row 6: sc across (9), ch 1, turn
Row 7: sc2tog, sc 5, sc2tog (7), ch 1, turn
Row 8: sc across (7)
Fasten off with a long tail.
Optional feather edge
Add the same scallop edging along both sides of the tail for a more layered feather look.
Feet (Make 2, Color B)#
Simple perch feet are small and sturdy.
Ch 6
Round 1: sc in 2nd ch, sc in next 3, 3 sc in last ch, sc back along underside, 2 sc in last stitch [14]
Round 2: sc around [14]
Fasten off with a long tail.
Optional toe detail
Add 2–3 short embroidery stitches to suggest toes.
Assembly#
Attach face mask
- Pin first so it’s centered and level
- Sew with small stitches around the edge
Attach beak
- Center on the mask
- Sew firmly, then add a few anchor stitches at the top edge
Attach crest
- Sew to the top of the head, slightly forward
- Secure with extra stitches so it stands up
Attach wings
- Place wings on the sides, slightly back from center
- Angle slightly downward
- Sew the top edge firmly and leave feather edge free
Attach tail
- Sew at the back lower body
- Angle slightly downward
- Add extra stitches at the base for strength
Attach feet
- Sew feet to the underside front area so the bird balances
- If it tips forward, move feet slightly forward
- If it tips backward, move feet slightly back or add a bit more stuffing to the belly
Final shaping
- Press the belly to round it nicely
- Adjust stuffing by pushing it into place
- Add a tiny white stitch highlight on the eye for extra charm
Common Mistakes and How to Avoid Them#
Mask looks crooked
- Pin and check from multiple angles before sewing
- Use small whip stitches and adjust as you go
Bird won’t stand or sit nicely
- Stuff base firmly
- Position feet slightly forward
- Add a small weight pouch inside the bottom if needed
Wings look uneven
- Count rows carefully for both wings
- Pin wings in place before sewing
- Match the angle on both sides
Beak looks too flat
- Flatten the base but keep the tip slightly rounded
- Sew the top edge tighter so it naturally points forward
Gaps show stuffing
- Use a smaller hook
- Keep tension consistent
- Avoid overstuffing
Expert Tips for Better Results#
- Use invisible decreases everywhere for a smooth finish
- Weave ends as you go to keep the inside neat
- Add a second tail feather layer by crocheting a slightly smaller tail piece and sewing it on top
- For a more realistic cardinal, use a slightly darker red for wings and tail and keep the body brighter
- If you want a “winter ornament” look, add a tiny scarf or holly leaf applique
Variations and Customization Ideas#
- Make a mini ornament version using DK yarn and a smaller hook
- Add a hanging loop at the top of the crest
- Create a female cardinal by switching to warm tan/brown body with red accents
- Add a small branch perch base by crocheting a short brown cylinder
- Make a whole backyard bird set with matching bluebird, robin, and chickadee styles
Benefits of This Crochet Project#
- Quick, giftable, and instantly recognizable
- Beginner-friendly stitches with a high-impact finished look
- Great practice for appliqué patches and assembly
- Perfect stash-buster for small amounts of black and orange yarn
- Cute décor for winter, holidays, and bird lovers year-round
- Easy to repeat for craft fairs or sets
Internal Linking Suggestions#
- How to Crochet a Magic Ring for Beginners
- Invisible Decrease Tutorial for Amigurumi
- How to Sew Amigurumi Parts Neatly
- Easy Crochet Bird Patterns Collection
- How to Add Feather Texture With Scallops or Loops
FAQ#
Is this crochet pattern suitable for beginners?
Yes, for confident beginners. The stitches are basic, and the details are sewn on rather than complicated colorwork.
What yarn works best for a crochet cardinal?
Smooth worsted or DK yarn works best. Cotton gives crisp details; acrylic gives a softer plush.
How do I make the crest stand up?
Sew it with extra stitches at the base and use a slightly tighter tension. You can also insert a tiny felt triangle inside the crest for structure if desired.
Can I make it baby-safe?
Yes. Embroider the eyes instead of using safety eyes and stitch all pieces very securely.
How do I make the wings look more feathered?
Use the scallop edging or the loop-feather upgrade option. You can also layer a second smaller wing piece on top.
Can I scale this pattern bigger or smaller?
Yes. Change yarn weight and hook size. The stitch counts stay the same and the bird scales naturally.
Conclusion#
A crochet cardinal is one of the most satisfying bird amigurumi projects because the shapes stay simple while the final look feels bold and polished. With the bright red body, crisp black mask, and cute little crest, this crochet pattern creates a plush that feels instantly recognizable and full of charm.
If you tell me your yarn weight and hook size, I can suggest the best safety-eye size and how many rounds to add if you want a larger, more “plush toy” cardinal.


