


Introduction#
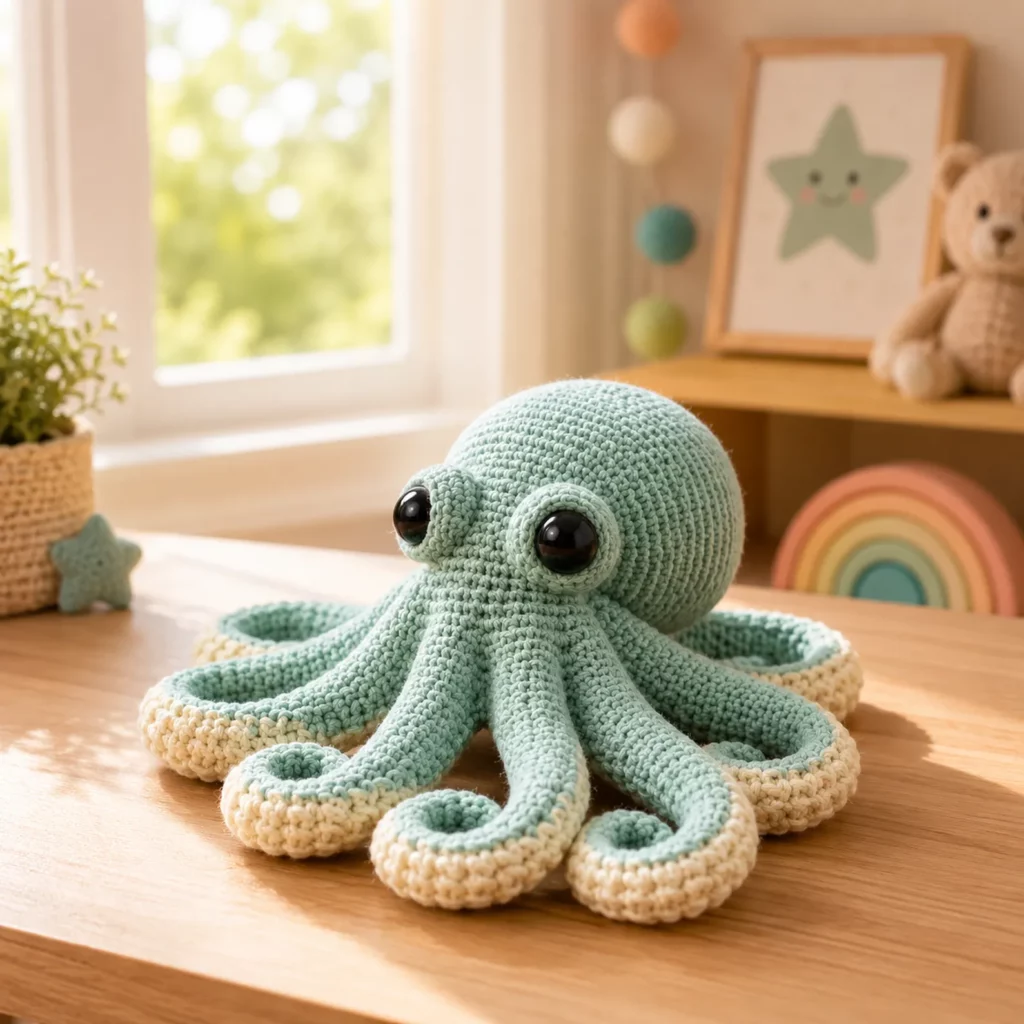
There’s a reason octopus amigurumi is a forever favorite in the crochet world: it’s cute, cuddly, and surprisingly simple to construct. With one round head, a few curly tentacles, and expressive eyes, you can create a plush that looks polished without needing complicated shaping or advanced techniques. It’s also a brilliant project when you want something that works up quickly, uses a small yarn palette, and makes an unforgettable gift.
Explore more beginner amigurumi crochet patterns in our pattern library.
This crochet pattern walks you through a classic octopus design with a smooth rounded head, sweet “chubby” tentacles that curl at the ends, and a soft two-tone look that highlights the tentacle tips. The body shape is friendly and modern—perfect for nurseries, sea-themed gifts, desk décor, or your next crochet market table.
You’ll find a full crochet tutorial-style guide below: materials, stitch explanations, step-by-step instructions, helpful fitting notes, and plenty of customization ideas so you can make your octopus look exactly the way you want.
Detailed Description of the Crochet Pattern#
This octopus amigurumi is built around three main parts:
A rounded head and mantle
The top is a clean dome that transitions into a slightly elongated “mantle” shape. The head is smooth and firm, which helps the toy keep its shape and makes the eyes sit nicely.
Large, expressive eyes
The eyes are set on the sides of the head, giving the octopus a cute, curious personality. You can use safety eyes for a glossy look or embroider eyes for a baby-safe option.
Curly tentacles with contrasting edging
The tentacles are thick and plush, with a gentle curl that forms naturally from the way the edges are worked. A contrasting border color makes the tentacle tips stand out and adds a professional finish without complex colorwork.
Overall, this crochet pattern is designed to be approachable. Most of the “wow factor” comes from neat stitching, clean finishing, and the tentacle shaping technique.
Skill Level Explanation#
This is an easy crochet pattern for beginners, with a few confidence-building details.
Great for you if you can
- Crochet in continuous rounds
- Single crochet with consistent tension
- Increase and decrease evenly
- Count stitches and rounds with a stitch marker
- Sew a few parts together
You’ll practice
- Making smooth amigurumi shaping with invisible decreases
- Placing eyes symmetrically
- Creating curl through simple stitch choices
- Stuffing and shaping for a polished plush look
If you’ve made a basic amigurumi ball before, this octopus will feel very doable.
Materials Needed#
Yarn
Choose yarn that feels soft and shows stitches clearly.
Recommended yarn types
- Cotton or cotton-blend for crisp stitch definition
- Acrylic for softness and easy washing
- Velvet/chenille for extra plush texture (count carefully because stitches are less visible)
Suggested yarn weight
- DK or worsted weight for a classic sized octopus
- Plush super bulky for a big cuddle version
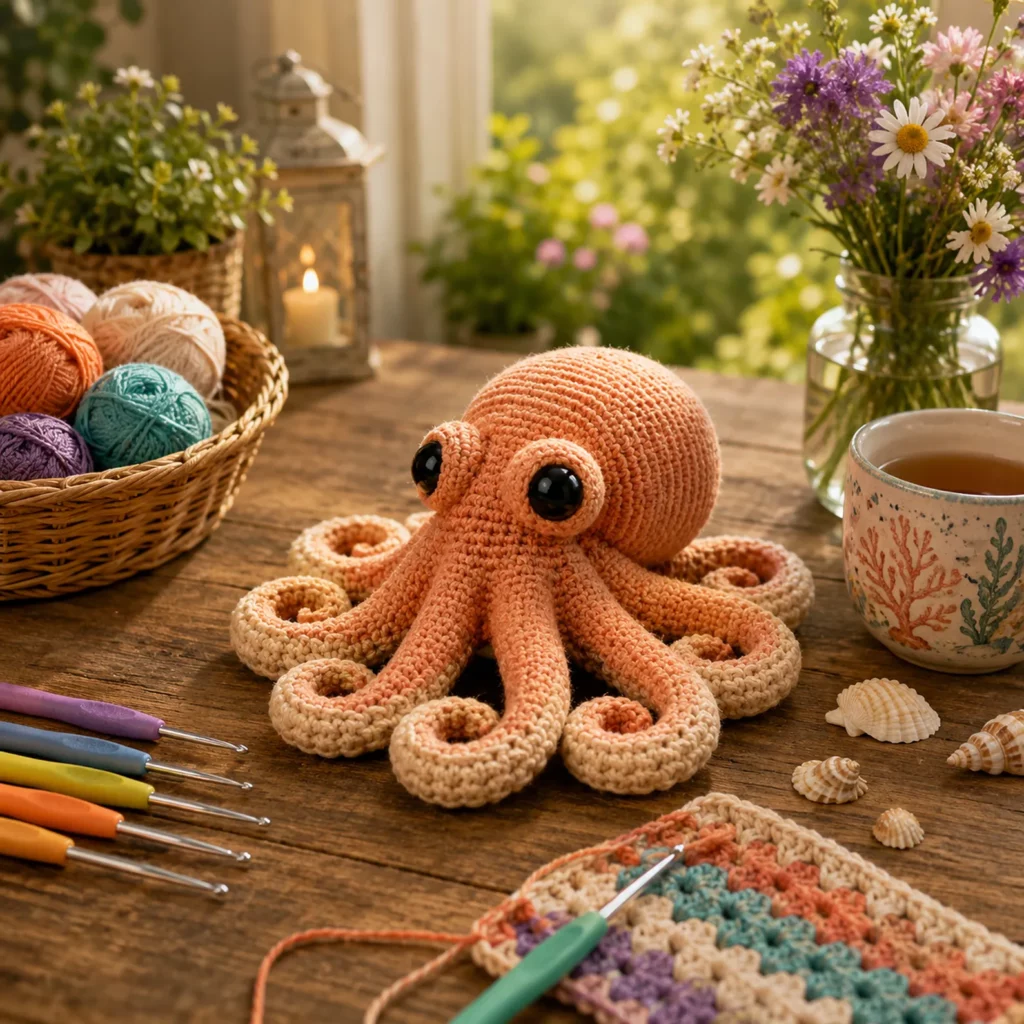
Colors
- Main body color: coral, peach, pink, or any ocean-inspired shade
- Contrast color: cream, ivory, or light sand for the tentacle edge
Yarn tips for the best results
- For a clean look, keep both colors in the same yarn brand/weight
- If your tentacles feel floppy, use cotton or go down a hook size
- If you want extra structure, avoid very stretchy yarn
Hook
Use a smaller hook than the yarn label suggests so stuffing doesn’t show through.
- DK: 2.75 mm to 3.25 mm
- Worsted: 3.25 mm to 4.0 mm
- Plush: 5.0 mm to 7.0 mm depending on yarn thickness
Notions
- Stitch marker
- Tapestry needle
- Scissors
- Fiberfill stuffing
- Safety eyes (10 mm to 18 mm depending on size) or embroidery floss
- Optional: a small amount of black yarn for mouth details
Safety note
For babies and toddlers, embroider eyes and skip any hard plastic parts.
Stitches & Techniques Explained#
US terms
Abbreviations
- MR: magic ring
- sc: single crochet
- inc: increase (2 sc in same stitch)
- dec: decrease (sc 2 stitches together)
- sl st: slip stitch
- ch: chain
- st(s): stitch(es)
- BLO: back loop only
Invisible decrease
Use invisible decreases for a smoother head: insert hook through the front loop of the next stitch, then the front loop of the next stitch, yarn over, pull through, yarn over, pull through.
How tentacle curling works
A tentacle curls when one side has more stitches than the other. The easiest way is to crochet a flat strip or tube and add extra stitches along one edge. That added “length” forces the piece to curl naturally.
Clean color changes
Switch colors on the final yarn over of the last stitch before the new color. Pull the new color snug to keep edges clean.
Step-by-Step Instructions#
This crochet tutorial uses a classic amigurumi structure: head first, then tentacles, then assembly.
Notes before you start
- Work in continuous rounds unless stated
- Use a stitch marker to mark the first stitch of each round
- Stuff as you go for smoother shaping
Head and body
Use the main body color.
Round 1
6 sc in MR (6)
Round 2
inc around (12)
Round 3
(sc, inc) around (18)
Round 4
(2 sc, inc) around (24)
Round 5
(3 sc, inc) around (30)
Round 6
(4 sc, inc) around (36)
Round 7
(5 sc, inc) around (42)
Rounds 8 to 12
sc around (42)
Eye placement
Place eyes between rounds 10 and 11, spaced about 8 to 10 stitches apart. Adjust spacing based on the expression you want: closer together looks extra cute; farther apart looks more “surprised.”
Begin shaping down into the mantle
Round 13
(5 sc, dec) around (36)
Round 14
sc around (36)
Round 15
(4 sc, dec) around (30)
Round 16
sc around (30)
Round 17
(3 sc, dec) around (24)
Rounds 18 to 20
sc around (24)
Start stuffing
Stuff firmly in the dome area first, then keep the mantle slightly softer so it still feels cuddly.
Round 21
(2 sc, dec) around (18)
Round 22
sc around (18)
Stop here if you plan to attach tentacles to an open base. Do not close the body yet. You’ll attach tentacles to the open round.
Tentacles
Make eight tentacles. You can crochet them individually and sew on, or crochet them around the base. For beginners, individual tentacles are easiest to control.
Option A: Individual curly tentacles (recommended)
Use main body color for the tentacle core.
Tentacle core
- Ch 26 to 34 (shorter chain = shorter tentacle)
- Sc in second ch from hook and across (25 to 33 sc)
Now create the curl edge with contrast color
Attach contrast color to the first stitch on one long side of the strip. Work 2 to 3 stitches in each stitch along the edge to create a curl.
A simple curl formula
- Work 2 sc in each stitch across for a gentle curl
- Work 3 sc in each stitch across for a dramatic curl
Fasten off leaving a long tail for sewing.
Repeat until you have eight tentacles.
Option B: Tube tentacles with curled edging
If you prefer thicker tentacles, make a small tube first:
- Start with 6 sc in MR
- Work sc around for 12 to 18 rounds
- Flatten and add a contrast edging around the perimeter with increases to create curl
This method takes longer but gives a plush tentacle.
Tentacle attachment ring
You’ll attach the tentacles evenly around the open base of the body. This creates the “octopus skirt” look.
Arrange tentacles
Lay the body down and position tentacles like a clock: one at each quarter point, then fill in between until spacing looks even.
Sew tentacles in place
Using the long tails, stitch each tentacle securely to the body’s open base. Sew through multiple stitches so tentacles won’t pull loose.
After all tentacles are attached, close the base
Stuff a bit more if needed, then close the remaining opening with a decrease round.
Closing round
- (sc, dec) around to tighten, then dec around as needed to close
Fasten off and weave in ends.
Optional small mouth detail
A tiny embroidered smile makes the face extra sweet.
- Use black yarn or embroidery floss
- Stitch a small curved line centered under the eyes
Keep it minimal so the plush stays cute and modern.
Common Mistakes and How to Avoid Them#
Stuffing shows through
- Use a smaller hook
- Tighten your single crochet tension
- Don’t overstuff the last few rounds (it stretches stitches)
Head looks lumpy
- Stuff in small amounts and shape with your hands often
- Use invisible decreases for smoother shaping
- Make sure increases are evenly spaced
Tentacles don’t curl
- Increase the number of stitches along the edging (try 3 stitches per stitch)
- Use a softer yarn that encourages curl
- Make sure you’re adding extra stitches on one edge only
Octopus won’t sit nicely
- Spread tentacles evenly and flatten their base when sewing
- Add a little extra stuffing to the bottom of the body so it doesn’t collapse
- Consider lightly stuffing the tentacle bases if they fold under too much
Eyes look uneven
- Mark the eye positions with pins before inserting
- Count stitches between eye points
- Check from the front and top view before locking safety eyes
Expert Tips for Better Results#
- Place the eyes slightly lower on the head for an extra cute expression
- Use a tiny amount of blush on the cheeks for a soft look (display only)
- Make tentacles in two lengths for a natural “flow” effect
- Add a small internal “felt circle” inside the base before closing for extra stability (display only)
- Weave ends through stuffing and out the other side before trimming so knots don’t pop out
Variations and Customization Ideas#
- Baby octopus: shorter tentacles, smaller eyes, pastel colors
- Giant cuddle octopus: plush yarn, larger hook, bigger safety eyes
- Rainbow tentacles: each tentacle a different color with matching edging
- Sea theme set: make matching fish, starfish, and jellyfish
- Keychain mini: sport yarn, small hook, embroidered eyes
- Kawaii style: add blush cheeks and a tiny tongue stitch
Benefits of This Crochet Project#
- A fast, satisfying crochet pattern with big visual payoff
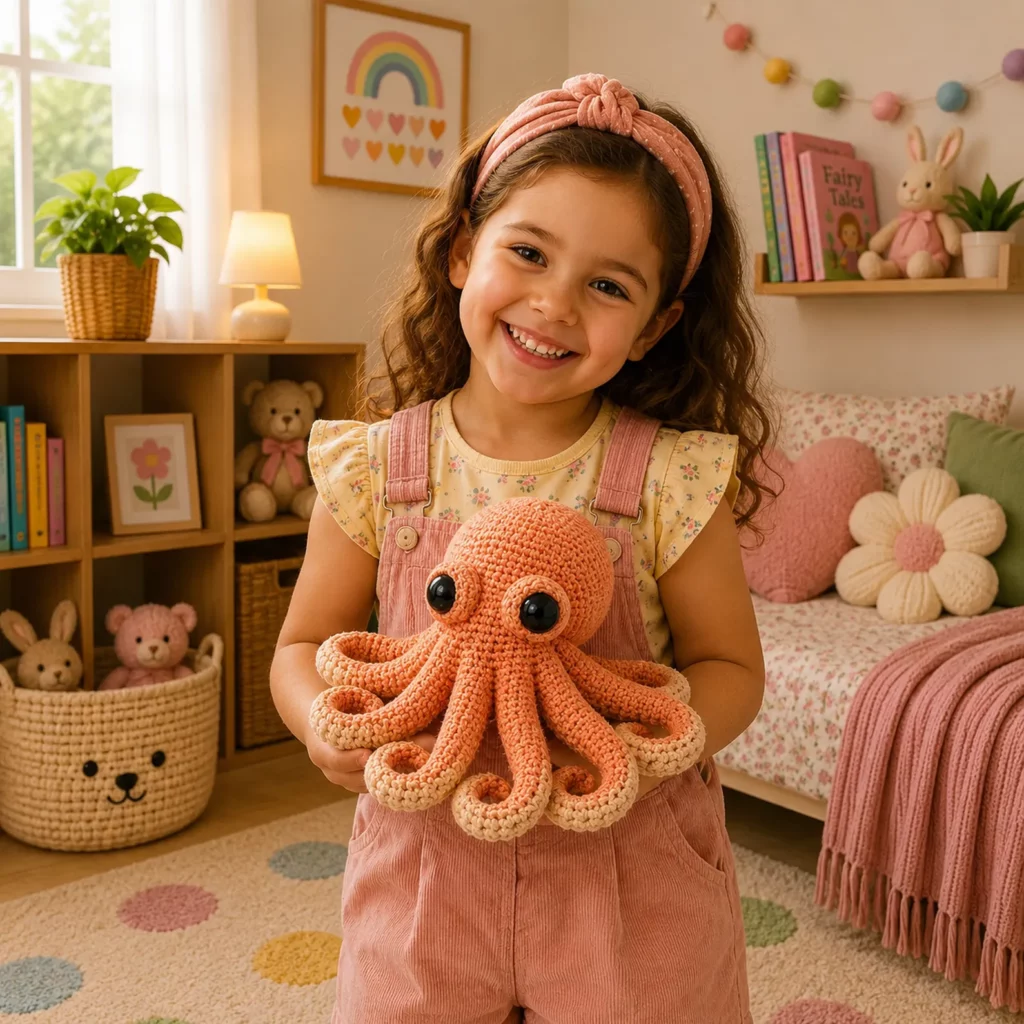
- Perfect for gifts, nurseries, and ocean-themed décor
- Great stash-buster for leftover yarn colors
- Beginner-friendly construction with optional advanced details
- Teaches useful amigurumi skills: shaping, eye placement, curling techniques
- Easy to repeat and customize into many colorways
Internal Linking Suggestions#
You may also like
- Easy crochet pattern for a jellyfish amigurumi
- Free crochet pattern for a whale plush
- Crochet tutorial for invisible decrease
- Crochet for beginners guide to stuffing and shaping
- DIY crochet sea creature patterns roundup
FAQ Section#
What yarn is best for an octopus amigurumi
Cotton or a smooth acrylic works best for stitch definition. Plush yarn makes it extra cuddly but requires careful counting.
Is this crochet pattern beginner-friendly
Yes. It uses mostly single crochet and simple shaping. The tentacles look fancy, but the curl comes from an easy edging technique.
Can I make it baby-safe
Yes. Embroider the eyes and mouth, and sew tentacles extra securely. Avoid any hard plastic parts.
How do I make the tentacles curl more
Add more stitches along the edging. Using 3 stitches per stitch on the edge usually creates a dramatic curl.
How do I resize the octopus
Change yarn weight and hook size. Thicker yarn makes a larger octopus; thinner yarn makes a smaller one. Keep stitches tight to avoid gaps.
Do I have to use two colors
No. A single color octopus is still adorable. The contrast edging simply adds extra definition and a finished look.
Conclusion#
This octopus amigurumi crochet pattern is the perfect combination of simple construction and irresistible charm. The smooth rounded head, big expressive eyes, and curly tentacles create a plush that looks polished—even if you’re still learning. It’s a fun DIY crochet project you can make again and again in different colors, sizes, and styles, and it’s always a crowd-pleaser as a handmade gift.
If you want, tell me whether you’re using DK, worsted, or plush yarn, and I’ll suggest the best hook size and safety-eye size so your octopus comes out perfectly proportioned.


