


Introduction#
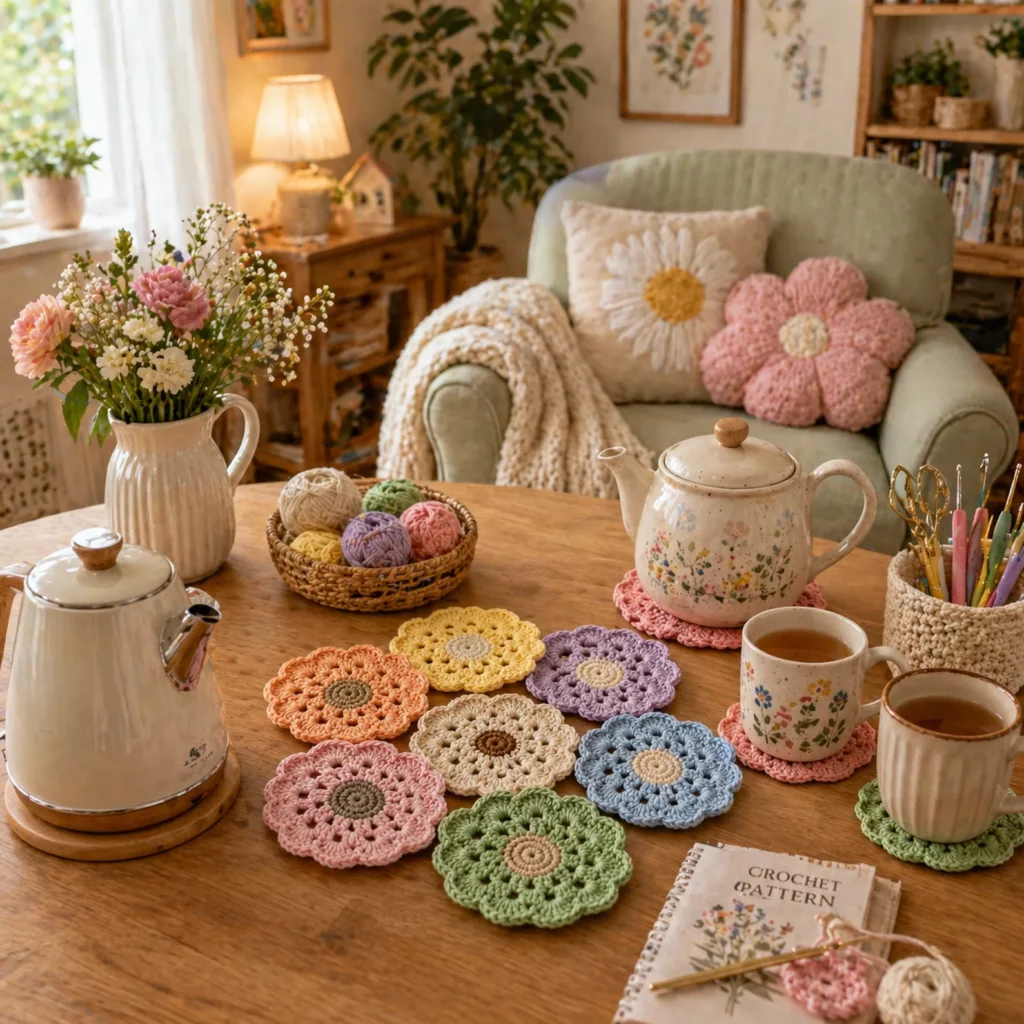
A good coaster does two jobs: it protects your table from heat and condensation, and it makes your space feel put-together. A flower crochet coaster does a third job too—it makes people smile. These soft, petal-shaped coasters are the kind of “small project with big impact” that’s perfect for gifting, selling, or simply upgrading your daily coffee routine.
Explore more beginner home decor crochet patterns in our pattern library.
The best part is how approachable they are. This crochet pattern uses a simple round center, a petal round that creates depth and texture, and a final scalloped edge that gives the coaster its flower shape. You can crochet one in an evening, then suddenly you have a set in your favorite colors. They’re also ideal for stash-busting: swap colors for the center, petals, and border to create endless combinations (pastels, neutrals, bold brights, seasonal palettes—you name it).
This post is written like a true crochet tutorial (not just a quick stitch list). You’ll learn how to keep your coaster flat, how to choose yarn that holds up to hot mugs, how to block or stiffen if needed, and how to adjust the size for different cups and glasses. It’s a free crochet pattern that’s genuinely useful—whether you’re a beginner or you just want an easy, satisfying DIY crochet project.
Detailed Description of the Crochet Pattern#
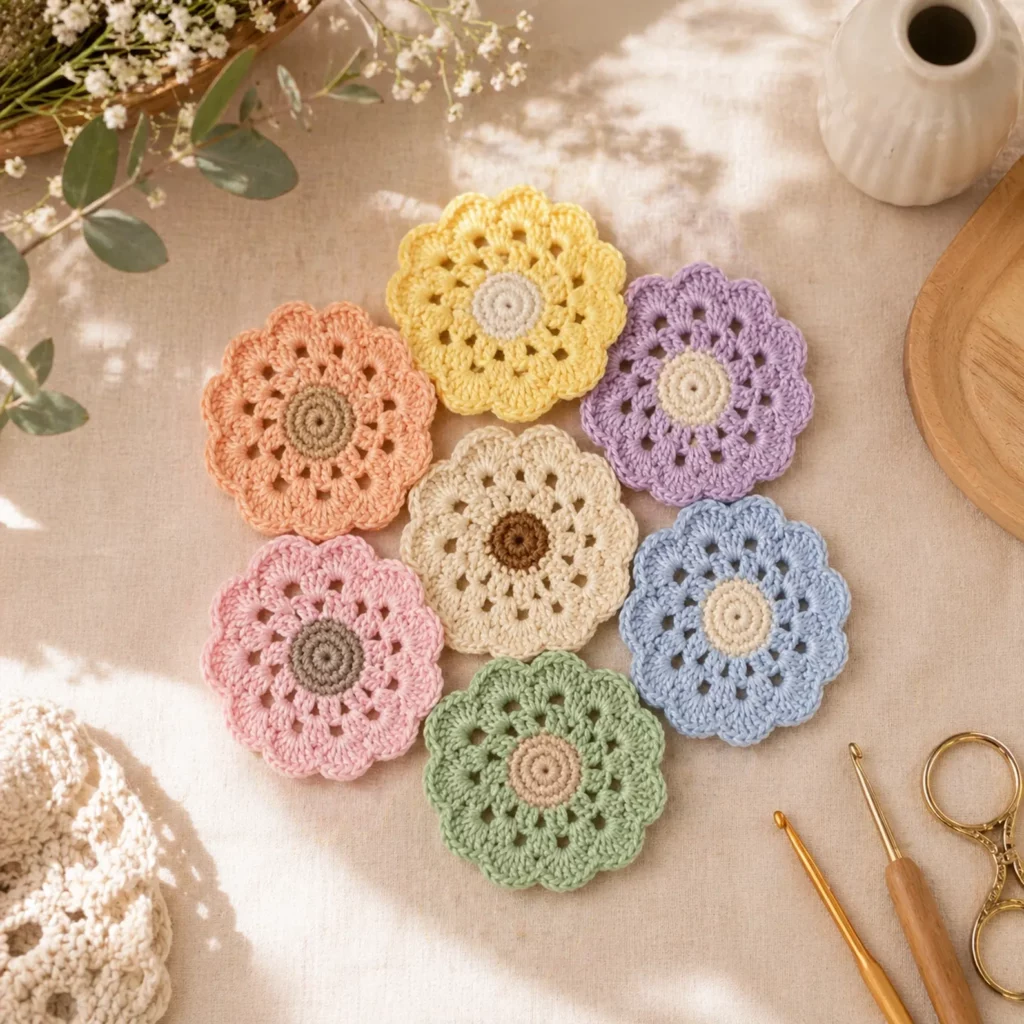
These coasters are round with a decorative floral outline. The finished look comes from three design elements:
- A tight center circle in a contrasting color (like a sunflower or daisy center)
- A textured petal round that adds dimension (puffs or clusters give that “cushiony” look)
- A scalloped border that defines the flower shape and helps the coaster sit neatly under a mug
They’re thick enough to protect surfaces, but still flexible and washable. Because the stitch pattern is repetitive, you can make matching sets quickly and keep a consistent look across colors.
Skill Level Explanation#
This is an easy crochet pattern with one optional “advanced-looking” stitch (puffs or clusters) that is still beginner-friendly once you see it.
You’ll use:
- Magic ring (or an alternative start)
- Single crochet and double crochet
- Chains and slip stitches
- Puff stitch or cluster stitch (explained below)
- Working in rounds
- Simple tension control to keep the coaster flat
If you’re brand new, don’t worry—these coasters are excellent practice because they’re small, forgiving, and easy to redo if something feels off.
Materials Needed#
Yarn
For coasters, the most important thing is heat resistance and washability.
Best yarn choices:
- 100% cotton yarn (recommended): durable, heat-friendly, absorbs moisture
- Cotton blend (cotton/linen, cotton/bamboo): softer drape, still functional
What to avoid:
- Acrylic can soften with heat and doesn’t absorb moisture as well. It’s fine for decorative coasters, but cotton performs better for daily use.
Recommended weight:
- Worsted weight (#4) cotton for sturdy coasters
- DK (#3) cotton for a lighter, slightly smaller coaster
Color ideas:
- Center: tan/brown/yellow (sunflower vibe)
- Petals: cream, blush, pastel, or bold brights
- Edge: match petals or add a subtle contrast
Hook
- Worsted cotton: 4.0–5.0 mm
- DK cotton: 3.0–4.0 mm
Tip: If your coaster turns out wavy, go down a hook size. If it curls, go up a hook size.
Notions
- Scissors
- Yarn needle
- Stitch marker (optional but helpful)
- Blocking board/pins (optional)
- Optional: fabric stiffener (only if you want very firm coasters)
Stitches & Techniques Explained#
Abbreviations (US terms)
- MR = magic ring
- ch = chain
- sl st = slip stitch
- sc = single crochet
- hdc = half double crochet
- dc = double crochet
- puff = puff stitch
- sp = space
- rep = repeat
Puff stitch (beginner-friendly version)
A puff stitch adds thickness and makes petals look plush.
How to make a puff (common version):
- Yarn over, insert hook into stitch/space, pull up a loop (3 loops on hook).
- Yarn over, insert hook into same spot, pull up a loop (5 loops).
- Yarn over, insert hook again, pull up a loop (7 loops).
- Yarn over and pull through all loops.
- ch 1 to secure (this helps the puff “pop”).
If you prefer simpler petals, you can use shells instead (explained in variations).
Keeping coasters flat
Coasters should lie flat on the table. If yours start to wave:
- reduce stitches in the last round
- use a smaller hook
- tighten tension slightly
If yours cup upward: - add a few extra stitches or chains in the last round
- use a slightly larger hook
Step-by-Step Instructions#
This free crochet pattern makes one flower coaster about mug-size in worsted cotton. Make four for a set, or keep going until you’ve made enough for guests.
Color planning
- Color A: center
- Color B: petals
- Color C: edge (optional—can match Color B)
Center Circle
With Color A:
Round 1: MR, ch 1, 8 sc into ring. Join with sl st to first sc. (8)
Round 2: ch 1, 2 sc in each stitch around. Join. (16)
Optional for a slightly larger coaster:
Round 3 (optional): ch 1, (sc, inc) rep around. Join. (24)
If you want the coaster closer to the photo’s “sunflower center” look, keep the center small and let the petals do the sizing.
Petal Foundation Round
Switch to Color B.
If you ended with 16 stitches:
Next round: ch 1, sc in next st, ch 2, sk next st rep around. Join.
You’ll create chain spaces that petals will be worked into.
If you ended with 24 stitches:
Next round: ch 1, sc in next st, ch 2, sk next st rep around. Join.
(You’ll have more spaces, meaning more petals.)
Petal Round (Puff Petals)
Work into each ch-2 space:
In each space:
- (puff, ch 2, puff)
After each petal set, sl st or sc into the next sc anchor between spaces (depending on how you want it to sit). Join at the end.
This creates “double puff petals,” which look full and flower-like.
Tip: If your petals feel too tall, reduce the puff pulls (do 2 pulls instead of 3). If you want them puffier, keep the 3-pull puff and secure with ch 1.
Scalloped Edge Round
Switch to Color C (or stay with Color B).
You’ll work scallops around the outer edge to define the flower shape.
In each ch-2 space between petal sets:
- (sc, hdc, 3 dc, hdc, sc)
Then sl st into the stitch between spaces (or the base stitch of the next petal). Repeat around and join.
This scallop sequence gives a rounded, petal-like edge and helps the coaster look finished.
Fasten off and finish
- Fasten off, weave in ends securely.
- If your coaster needs flattening, lightly steam block cotton or wet block and pin flat.
Common Mistakes and How to Avoid Them#
My coaster is wavy or ruffled
- Too many stitches in the edge round. Try fewer dc in each scallop (use 2 dc instead of 3).
- Use a smaller hook for the last round.
My coaster cups upward
- Your tension may be too tight. Try a larger hook or add a chain between scallops.
- Make sure your center increases are correct; skipping increases can cause pulling.
My petals don’t look even
- Count your chain spaces and make sure you work the same petal set into each one.
- Puff stitches need consistent loop height—pull loops up to the same height each time.
The center hole is too open
- Pull the magic ring tight.
- If you don’t like MR, start with ch 4 and sl st to form a ring, then crochet into the ring.
The coaster feels too thin
- Use puff petals (they add thickness).
- Use worsted cotton instead of DK.
- Add a second plain round of sc before the scalloped edge.
Expert Tips for Better Results#
- Cotton is the upgrade: It absorbs moisture and holds shape beautifully.
- Make a matching set faster: crochet all centers first, then all petal rounds, then all edging rounds (assembly-line style).
- Give them a “boutique finish”: add a final round of crab stitch (reverse sc) in the same color as the edge.
- Keep them looking new: wash on gentle, reshape flat to dry.
- Make them gift-ready: tie 4 coasters with ribbon and add a little tag (“Handmade with love”).
Variations and Customization Ideas#
- Sunflower coaster: brown center, yellow petals, green edge.
- Daisy coaster: yellow center, white petals, green edge.
- Solid-color modern flower: same color for all rounds, use texture to define petals.
- Shell petals instead of puff petals: in each space work (5 dc) to form a shell. This is easier for beginners who don’t like puff stitches.
- Bigger coaster: add the optional Round 3 in the center, or add one extra round of sc before the scallop edge.
- Coaster + mug rug set: use the same flower motif but keep going with rounds to create a larger “mug mat.”
Benefits of This Crochet Project#
- Quick and satisfying (great for beginners)
- Protects surfaces from heat and moisture
- Washable and reusable (great everyday item)
- Excellent stash-buster project
- Easy to customize colors for seasons, holidays, and décor
- Perfect for gifts, craft fairs, and blog content with strong search intent
Internal Linking Suggestions#
If you’re building a crochet blog, link this pattern to:
- How to Crochet a Magic Ring for Beginners
- Puff Stitch Crochet Tutorial
- Best Cotton Yarn for Crochet Home Décor
- How to Block Crochet Motifs
- Easy Crochet Coaster Patterns
- DIY Crochet Gift Ideas You Can Finish Fast
FAQ Section#
What yarn is best for crochet coasters?
Cotton yarn is best because it’s absorbent, heat-friendly, and washable. Acrylic can work for decorative use but cotton performs better for real drinks.
How big should a crochet coaster be?
Most coasters are 4–5 inches wide. For larger mugs, aim closer to 5.5 inches.
Can beginners crochet this flower coaster pattern?
Yes. The pattern uses basic stitches, and the puff petals are optional (you can use shell stitches instead).
How do I make the coaster thicker?
Use puff stitches, use worsted cotton, and consider adding an extra round of single crochet before the edge.
Why is my coaster wavy?
Usually too many stitches in the outer round. Reduce the number of dc in each scallop, tighten your stitch count, or use a smaller hook.
Can I sell coasters made from this free crochet pattern?
Generally yes for finished handmade items. If you publish your own post, keep your text and photos original for unique, AdSense-friendly content.
Conclusion#
These flower crochet coasters are the perfect mix of cute and useful: they’re fast to make, easy to customize, and they instantly brighten up a table or nightstand. Once you make one, you’ll want a whole set—especially because swapping colors creates a completely different look without changing the crochet pattern.
If you want, tell me what yarn weight you’re using (DK or worsted) and the coaster size you want (standard or oversized mug), and I’ll adjust the stitch counts so your flowers come out perfectly flat and the exact diameter you need.


