Introduction#
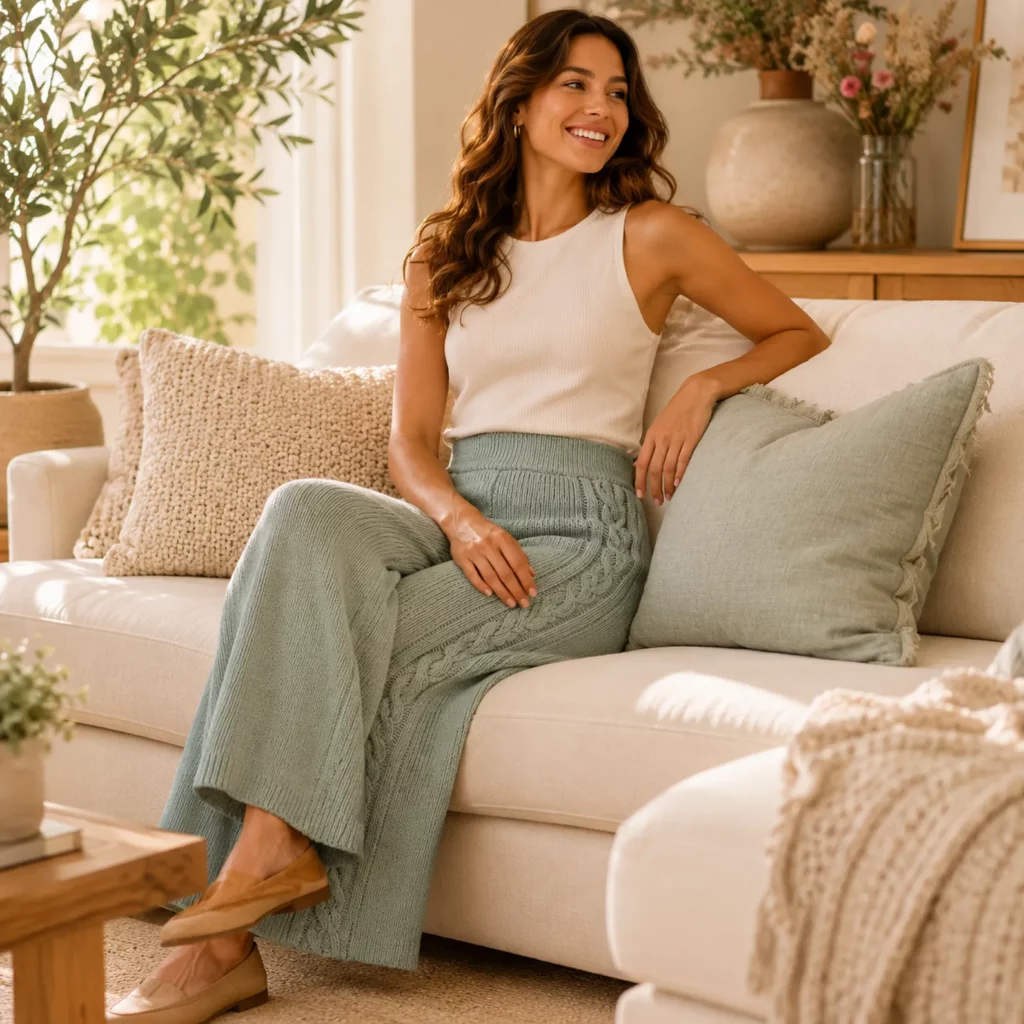
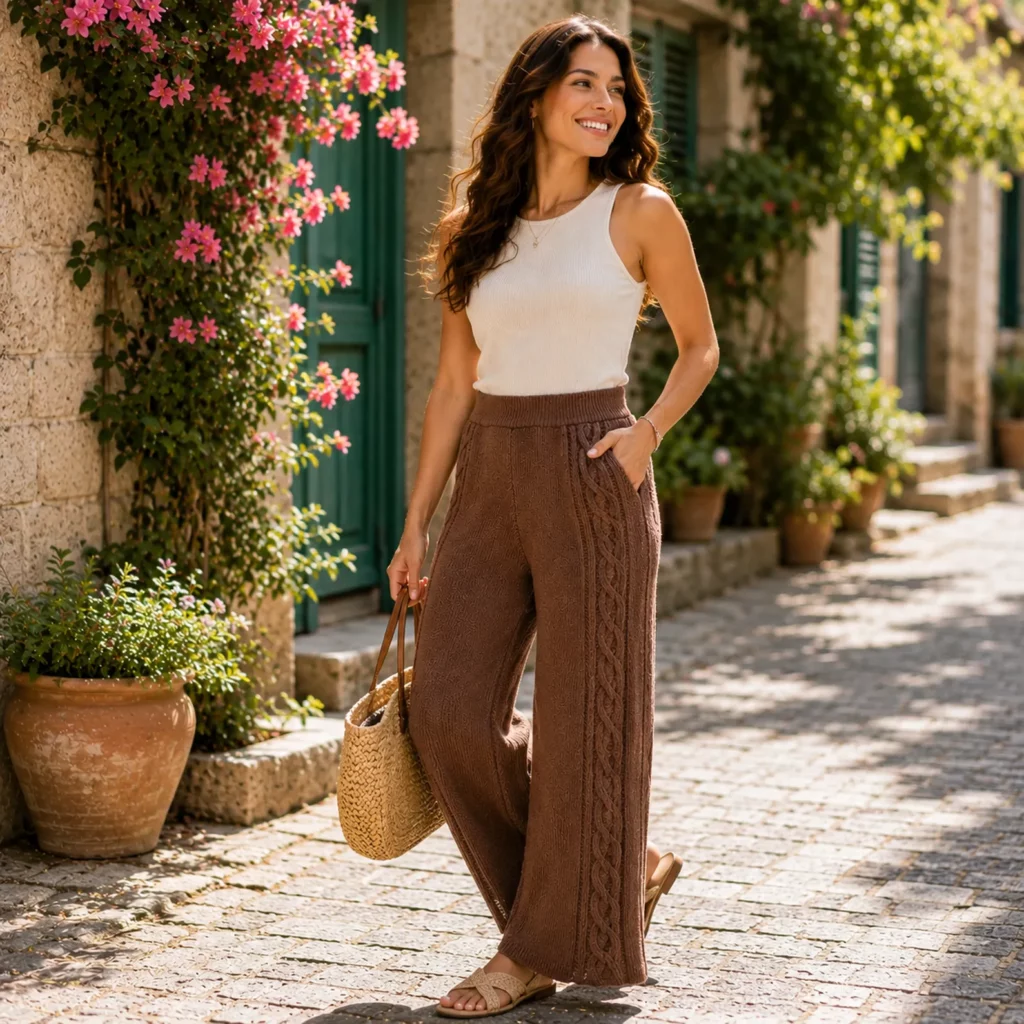
If you’ve ever wished your crochet wardrobe had that “tailored but comfy” vibe, wide leg pants are the answer. They’re relaxed, flattering, and surprisingly wearable—especially when you crochet them with a structured stitch that looks polished instead of slouchy. Add a high waist and a clean cable detail down the sides, and you’ve got a handmade piece that looks designer-level while still feeling like loungewear.
Explore more intermediate tops crochet patterns in our pattern library.
This crochet pattern is designed to help you create high-waisted wide leg pants with a smooth knit-like texture and a raised cable stripe running down the outer legs. The fabric is dense enough for real wear, the waistband is stable (with an elastic option), and the legs have that elegant drape that makes wide leg pants so flattering. You’ll also find instructions for optional pockets—because once you add pockets to crochet pants, you’ll never want to go back.
Everything below is written as a crochet tutorial you can follow in a made-to-measure way. That means you don’t need a size chart to succeed: you’ll use your measurements and your gauge to create the perfect fit.

Detailed Description of the Crochet Pattern#
These pants are built around three core design elements:
A firm, comfortable high waistband
The waistband is worked in ribbing for stretch and recovery, then joined to form a ring. You’ll crochet the pants body from that ring downward. You can also add elastic inside the waistband for extra support—highly recommended if you want the waist to stay exactly where you put it.
A smooth “knit-look” body fabric
The main pant fabric is worked in a stitch pattern that looks neat and slightly textured, similar to knit stockinette from a distance. This is important because crochet pants can look bulky if the stitch is too open or too bumpy. A dense half double crochet variation gives structure while still being comfortable.
Side cable panels
Each leg features a vertical cable panel placed along the outer seam line. This cable is created with post stitches (front post and back post) and simple crossings. It adds a clean fashion detail without complicated colorwork. The cable panel also visually elongates the leg—perfect for wide leg silhouettes.
Optional features you can add
- Side pockets worked as simple rectangles and stitched into the hip area
- Extra-wide leg flare by increasing gradually from knee to hem
- Full length, ankle length, or cropped length
- A drawstring channel at the waist for adjustable fit
Skill Level Explanation#
This crochet pattern is best for advanced beginners to intermediate crocheters.
You’ll be comfortable if you can
- Crochet in the round (or join rounds neatly)
- Work basic increases and decreases
- Maintain consistent tension for a wearable fabric
- Use stitch markers to track important points
- Sew or seam cleanly
You’ll learn or practice
- Crochet cables using post stitches
- Creating a stable waistband that doesn’t stretch out
- Splitting for two legs and shaping the crotch area
- Adjusting fit with made-to-measure checkpoints
If you’ve made a crochet skirt, basic sweater, or any fitted wearable before, you’re ready for these pants.
Materials Needed#
Yarn
For pants, the yarn choice matters more than almost anything else. You want good drape, durability, and minimal fuzz.
Best fibers for wearable pants
- Cotton blends (cotton + acrylic or cotton + bamboo) for structure with softness
- Bamboo/cotton for extra drape and comfort
- Merino blend for softness (choose a low-pilling blend if possible)
Recommended yarn weight
- DK for a lighter, more drapey pant
- Worsted/light worsted for a thicker, more structured pant
Approximate yardage
This varies a lot by size, length, and yarn weight, but as a general guide:
- DK: 1200–2200 yards
- Worsted: 900–1800 yards
Practical yarn tip
If you’re between sizes or want full length with wide legs, buy extra. Crochet pants always use more yardage than expected.
Hook
Choose a hook that makes a dense but flexible fabric.
- DK yarn: 3.5 mm to 4.5 mm
- Worsted/light worsted: 4.5 mm to 5.5 mm
Notions
- Measuring tape
- Stitch markers (at least 6)
- Tapestry needle
- Scissors
- Elastic for waistband (optional but recommended)
- Safety pins (for inserting elastic)
- Optional: pocket lining fabric for extra stability
Stitches & Techniques Explained#
US terms
Abbreviations
- ch chain
- sl st slip stitch
- sc single crochet
- hdc half double crochet
- dc double crochet
- fpdc front post double crochet
- bpdc back post double crochet
- st stitch
- inc increase
- dec decrease
Knit-look body stitch options
Choose one of these for the main fabric:
- Hdc in the third loop (gives a smooth, slightly ribbed knit effect)
- Hdc in back loop only (more ribbed, very stretchy)
- Extended single crochet (dense and drapey)
Cable basics with post stitches
Cables are created by working around the posts of stitches instead of into the top loops. The “cross” happens when you skip post stitches and then work them out of order. It sounds tricky, but once you do a few repeats, it becomes very rhythmic.
Waistband recovery
Crochet waistbands can stretch over time. Elastic solves that. Even a thin elastic makes a huge difference in how the pants wear.
Step-by-Step Instructions#
This section is written as a made-to-measure crochet tutorial so you can adapt it to any size.
Measurements to take
- Waist circumference (where you want the pants to sit)
- High hip (around upper hip bones)
- Full hip (widest point)
- Rise (waist to crotch, front and back if possible)
- Inseam (crotch to desired hem)
- Outseam (waist to hem)
- Thigh circumference (widest thigh)
- Knee circumference (optional)
- Hem width preference (how wide you want the leg opening)
Gauge swatch
Make a 12 cm x 12 cm swatch in your main body stitch. Measure stitches and rows per 10 cm. This is essential for good fit.
Fit note
For pants, aim for a fabric that is dense and not see-through. If your swatch feels too open, go down a hook size.
Waistband
Work the waistband as a ribbed strip, then join.
Ribbing method
- Ch enough to reach your desired waistband height (typically 6–10 cm)
- Work sc in back loop only across
- Ch 1, turn, sc BLO across
Repeat until the strip length fits your waist with slight negative ease (2–5 cm smaller than waist measurement).
Join
- Sew or slip stitch the short ends together to form a ring
- Turn the ring so the ribbing runs vertically
Optional elastic
Cut elastic to your waist measurement minus 2–4 cm (depending on stretch). Insert later after the waistband is fully attached to the pants body.
Upper pants body
Attach yarn to the waistband and work evenly around the ring.
Set-up round
- Work one round of sc or hdc evenly around the waistband edge
- Place markers for side seams: half the stitches is front, half is back; mark the two sides
Hip shaping
Over the next few rounds, increase evenly until the pants circumference matches your full hip measurement with a small amount of ease.
Increase method
- Add increases at the sides and/or back for a better fit
- Try on as you go: the upper section should sit comfortably without pulling
Work until you reach the rise
Continue working in your main stitch until the piece reaches your rise measurement (waist to crotch).
Split for legs
Now you’ll separate the tube into two leg tubes.
Mark divisions
- Use stitch markers to mark the center front and center back
- Divide stitches into two equal sections for each leg (adjust slightly if you want more room in the back)
Create the split
- Work across the first leg stitches, then join to the beginning of that leg to form a round
- Repeat for the second leg
You now have two separate leg tubes.
Crotch reinforcement (recommended)
To prevent strain at the join, add a small gusset or reinforce with extra rows.
Simple gusset method
- Crochet a small rectangle in the main stitch (about 5–8 cm wide depending on size)
- Sew it into the crotch area between legs
This adds comfort and durability.
Leg shaping and length
Work each leg downward in rounds.
Thigh section
- Work straight for a few rounds until it clears the widest thigh
- If you need more room, add a few increases spaced evenly
Knee to hem shaping
For wide leg pants, you usually want minimal shaping until the knee, then gentle widening.
Flare method
- Add small increases every few rounds from knee down
- Keep increases even so the leg stays symmetrical
Length
Work until you reach your desired inseam length.
Side cable panel
The cable panel runs along the outer side of each leg. Place it at the side marker line.
Cable panel structure
- Reserve a fixed number of stitches for the cable panel (example: 8–12 stitches depending on yarn weight and how bold you want it)
- Work cable stitches in those reserved stitches each round
- Work main stitch on the rest of the round
Simple cable repeat idea
A clean beginner-friendly cable can be made with a “rope cable” look using fpdc/bpdc columns.
Basic cable panel setup
- Work a few rounds with alternating fpdc/bpdc columns to create raised ribs
- Every few rounds, cross two groups of fpdc stitches to create the cable twist
Cable tip
If you’re new to cables, start with a mock-cable look (just raised columns) and add twists once you’re comfortable. Even a simple raised panel gives the pants a designer feel.
Hem finish
Finish each leg with a neat edge.
Options
- One round of sc for a clean finish
- Ribbed hem (short sc BLO ribbing stitched around) for a more “knit” look
- Picot edge if you want a decorative finish (more fashion-forward)
Optional pockets
Pockets make these pants feel extra wearable.
Easy pocket method
- Crochet two rectangles in the main stitch
- Sew each rectangle to the inside front hip area, leaving the top open
- Reinforce the pocket opening with a round of sc
Pocket placement tip
Place pockets slightly toward the side seam so they sit naturally.
Common Mistakes and How to Avoid Them#
Waistband stretches out after wearing
- Add elastic inside the waistband
- Use tighter ribbing stitches
- Avoid overly stretchy yarn for the waistband
Fabric is see-through
- Use a smaller hook
- Choose a denser stitch (hdc third loop or extended sc)
- Consider lining shorts underneath if desired
Crotch area feels tight or pulls
- Add a gusset
- Add a few stitches to the back section before splitting legs
- Ensure your rise measurement is accurate
Legs twist or seams spiral
- Use a consistent join method if you join rounds
- Place stitch markers and check alignment every few rounds
- If working in continuous rounds, consider a turning join technique occasionally to reduce spiraling
Cable panel looks messy
- Keep tension slightly looser on post stitches
- Use stitch markers to outline the panel
- Practice the cable crossing on a small swatch first
Pants don’t drape well
- Choose a yarn with better drape (bamboo blend helps)
- Avoid overly thick yarn for very wide legs
- Block lightly after finishing
Expert Tips for Better Results#
- Block the pants lightly to settle the stitches and improve drape
- Steam blocking works well for cotton blends (test first)
- Add elastic even if the waistband feels fine at first—it prevents sagging over time
- If you want a smooth fit, add a few short rows at the back waist for extra rise
- Use a sewn seam at the inner leg for strength if you prefer sewing over crocheting joins
- Reinforce pocket openings with extra stitches or a slip stitch edge
Variations and Customization Ideas#
- Cropped wide leg pants for spring and summer
- Full-length palazzo style by adding more flare increases
- Minimal version without cables for a sleek modern look
- Double cable panels on both side and front for a bolder style
- Add a drawstring channel at the waist with a crocheted cord
- Add a matching crochet tank or cardigan for a full set
- Make them in neutral tones for an everyday capsule wardrobe piece
Benefits of This Crochet Project#
- A wearable crochet pattern that looks boutique and polished
- Comfortable fit with high waist support
- The cable detail adds style without complicated shaping
- Made-to-measure approach means better fit than guessing sizes
- Easy to customize length and leg width
- Great confidence builder for crochet wearables
Internal Linking Suggestions#
You may also like
- Crochet tutorial for post stitches and cable techniques
- Easy crochet pattern for a ribbed crop top
- Free crochet pattern for a matching cardigan
- Crochet for beginners guide to garment measuring
- DIY crochet waistband tips and elastic methods
- Crochet tutorial for adding pockets to wearables
FAQ Section#
Are crochet pants practical to wear
Yes, if you use the right yarn and stitch density. Choose a durable fiber and a dense stitch so the fabric holds shape and isn’t see-through.
What yarn is best for wide leg crochet pants
Cotton blends and bamboo blends are excellent. They provide structure, comfort, and drape. Avoid very fuzzy yarns that pill easily.
Do I need elastic in the waistband
It’s highly recommended. Elastic prevents stretching and keeps the pants secure, especially with heavier yarn.
How do I make sure the pants fit my hips
Use your gauge swatch and increase until the upper body matches your hip measurement with slight ease. Try on early and adjust before splitting the legs.
Can beginners crochet cables like this
Yes. Start with simple raised post-stitch columns, then add a basic twist once you feel confident. Swatching the cable first helps a lot.
How do I keep the pants from becoming too heavy
Use DK weight yarn, avoid overly thick stitch patterns, and keep the legs wide but not excessively long. Bamboo blends also help with lighter drape.
Conclusion#
These wide leg crochet pants combine comfort and style in the best way: a stable high waist, a clean knit-look fabric, and a bold cable panel that instantly elevates the design. This crochet pattern is wearable, customizable, and perfect for crocheters who want to create a statement piece that still works for everyday outfits.
If you tell me your yarn weight and your waist and hip measurements, I can give you a quick starting stitch estimate for the waistband and the hip increases so you can start your project with total confidence.