


Introduction#
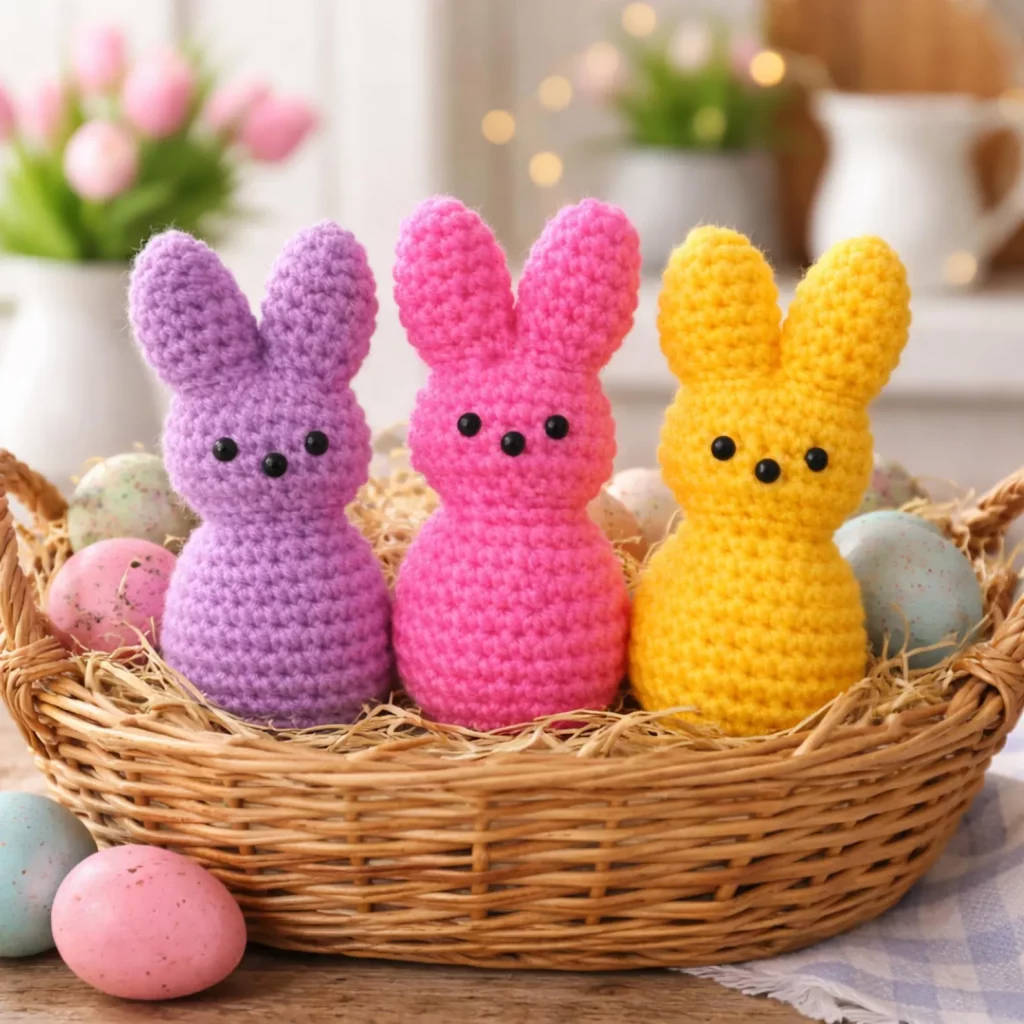
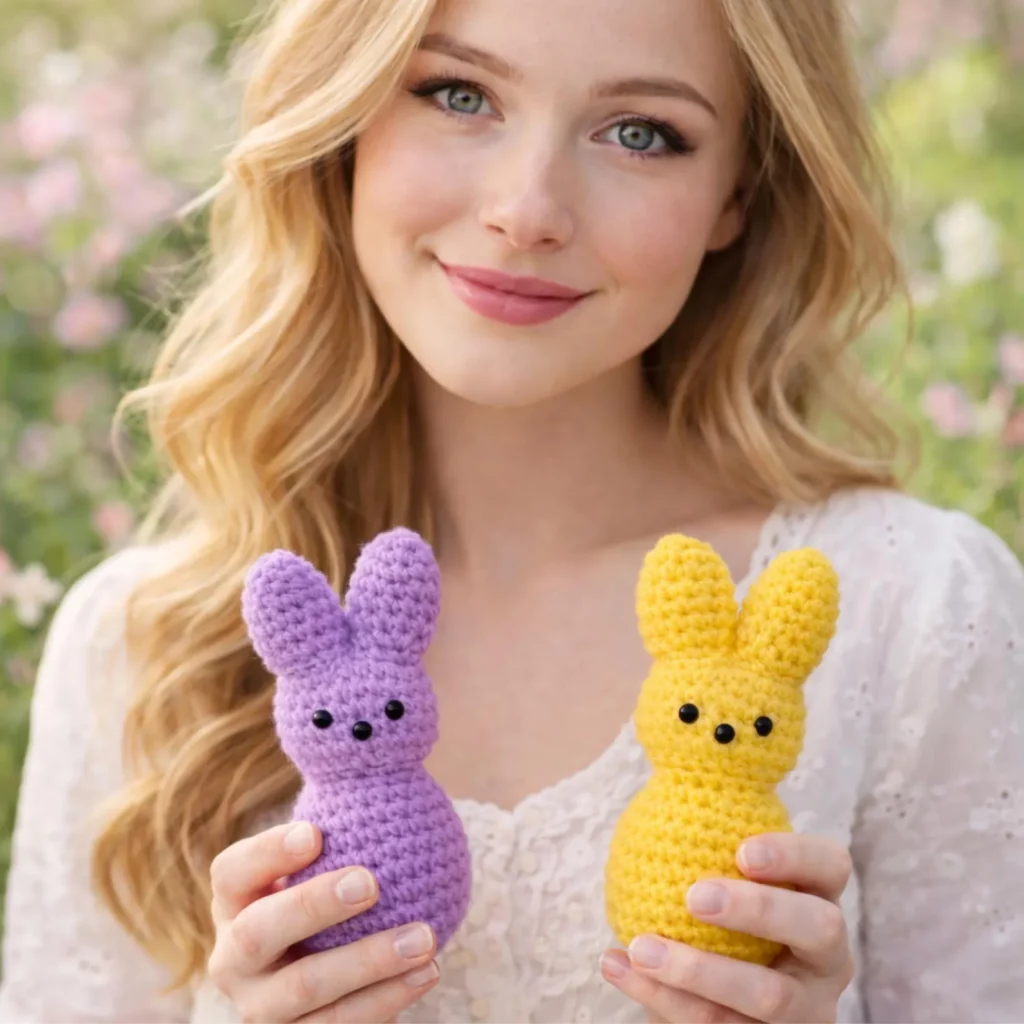
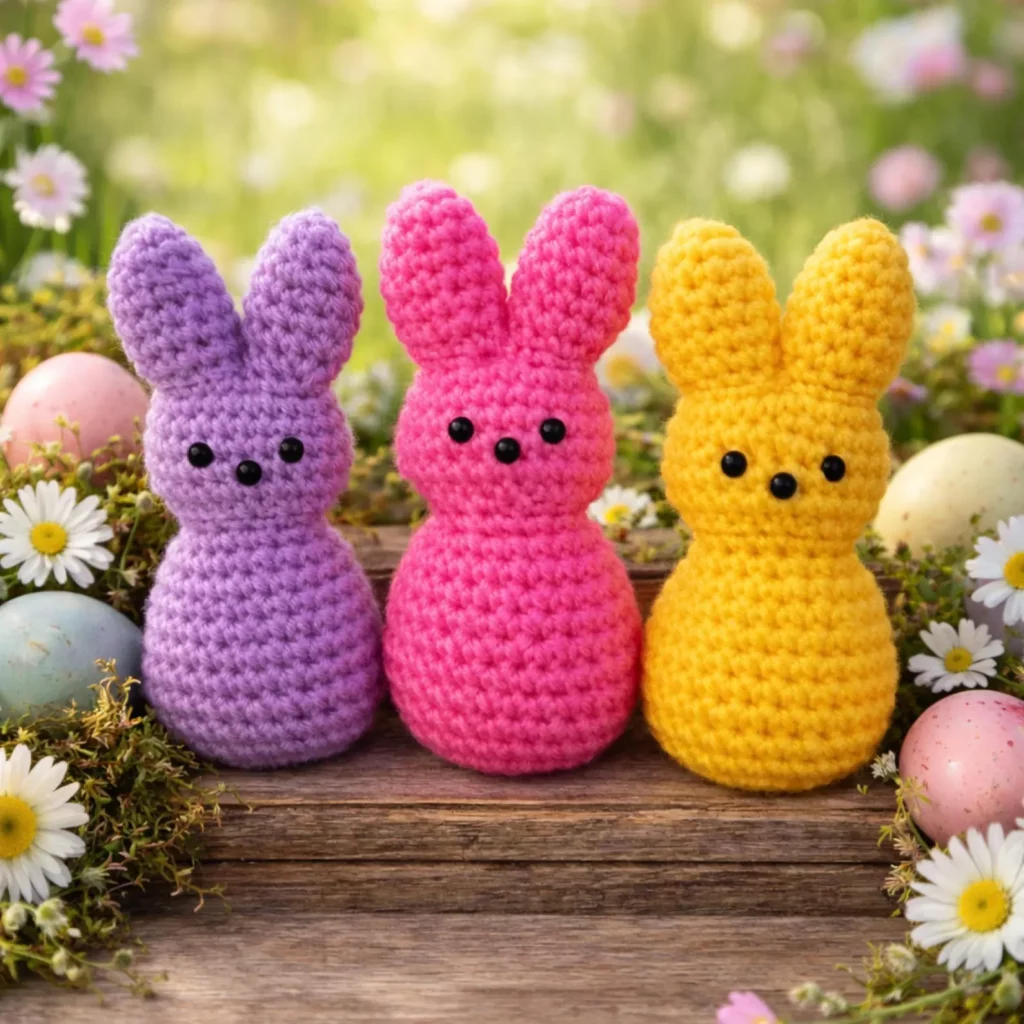
If you’re looking for a quick, adorable project that works up fast and looks amazing in a little “set,” these mini bunny amigurumi are exactly the kind of crochet pattern you’ll make again and again. They’re small, squishy, beginner-friendly, and perfect for spring baskets, desk decor, party favors, or craft fair items.
Explore more beginner amigurumi crochet patterns in our pattern library.
What makes these bunnies extra lovable is their simple silhouette: a rounded body that tapers slightly, a cute head with close-set features, and two tall ears that give them that classic bunny look. The design is also a great stash-buster because you can crochet a whole rainbow of bunnies with small leftover skeins.
Below you’ll get a full crochet tutorial style guide with materials, stitches, step-by-step instructions, and finishing tips—so your bunnies come out neat, symmetrical, and irresistibly cute.
Detailed Description of the Crochet Pattern#
These mini bunnies are made using classic amigurumi construction:
- One-piece body and head (worked from bottom to top for a clean, seamless look)
- Tall upright ears (simple tapered tubes)
- Minimal face with small safety eyes and a tiny nose (optional)
- Smooth single crochet fabric for a clean, modern finish
- Small size that’s perfect for gifting, keychains (with adjustments), or decor
Because the head and body are one piece, you don’t have to worry about a wobbly neck—one of the biggest beginner frustrations with amigurumi.
Skill Level Explanation#
This is an easy crochet pattern for beginners who know the basics.
You’ll practice:
- working in continuous rounds
- single crochet
- increasing and decreasing
- stuffing and shaping
- sewing small parts (ears)
If this is your first amigurumi, it’s a great place to start because the shapes are forgiving and the small size means you finish quickly.
Materials Needed#
Yarn
Worsted weight (#4) yarn is ideal for these mini bunnies because it gives good stitch definition and a sturdy plush.
- Any bright spring colors (purple, pink, yellow—so cute!)
- Optional: a small amount of black yarn for embroidery (nose/mouth)
Yarn options:
- Acrylic (easy care, affordable)
- Cotton or cotton blend (crisp stitches, great for small toys)
Hook
- 3.0–3.5 mm for worsted yarn (tight fabric for amigurumi)
Notions
- Stitch marker
- Yarn needle
- Scissors
- Fiberfill stuffing
- Safety eyes: 6–8 mm (depending on your bunny size)
- Optional: embroidery floss or felt for tiny facial details
Finished Size
With worsted yarn and a 3.25 mm hook, each bunny will be about 4–6 inches tall including ears (depending on tension).
Stitches & Techniques Explained#
Abbreviations (US terms)
- MR = magic ring
- sc = single crochet
- inc = increase (2 sc in the same stitch)
- dec = invisible decrease (sc2tog through front loops)
- sl st = slip stitch
- ( ) = repeat
- [ ] = stitch count
Helpful tips
- Use invisible decreases so the bunny looks smooth.
- Stuff in small pieces and shape as you go.
- Safety eyes should be inserted before the head closes.
Step-by-Step Instructions#
Notes: Work in continuous rounds unless stated. Use a stitch marker. Stuff firmly but don’t stretch stitches.
Body + Head (one piece, main color)
R1: MR, 6 sc [6]
R2: inc x6 [12]
R3: (sc, inc) x6 [18]
R4: (2 sc, inc) x6 [24]
R5: (3 sc, inc) x6 [30]
R6: (4 sc, inc) x6 [36]
R7–R10: sc around [36]
Now taper slightly for the “waist”:
R11: (4 sc, dec) x6 [30]
R12: sc around [30]
R13: (3 sc, dec) x6 [24]
Build the head area:
R14: (3 sc, inc) x6 [30]
R15: (4 sc, inc) x6 [36]
R16–R18: sc around [36]
Insert safety eyes between R16–R17, about 5–7 stitches apart.
Start closing:
R19: (4 sc, dec) x6 [30]
Stuff firmly, especially the head and base.
R20: (3 sc, dec) x6 [24]
R21: (2 sc, dec) x6 [18]
R22: (sc, dec) x6 [12]
R23: dec x6 [6]
Fasten off, weave in.
Ears (make 2, main color)
R1: MR, 6 sc [6]
R2: (sc, inc) x3 [9]
R3–R6: sc around [9]
R7: (2 sc, dec) x3 [6]
R8–R10: sc around [6]
Fasten off leaving a tail for sewing.
Lightly stuff the base only (optional). Leave the tips unstuffed so ears stay soft.
Optional Nose/Mouth (embroidery)
With black yarn or floss:
- stitch a tiny triangle or small “V” for a nose
- add a short line underneath for a simple mouth
Assembly
- Pin ears on top of the head, evenly spaced.
- Sew ears securely with small whip stitches.
- Check from the front to make sure the ears match height and angle.
- Add optional embroidery details last.
Common Mistakes and How to Avoid Them#
- Ears uneven: Pin both ears first, then sew one, then check again before sewing the second.
- Bunny won’t sit: Stuff the bottom more firmly and gently flatten the base.
- Eyes too high/low: Place eyes before the head decreases start so you have room to adjust.
- Gaps showing stuffing: Use a smaller hook or tighten tension.
- Lumpy stuffing: Add stuffing in tiny pieces and shape as you go.
Expert Tips for Better Results#
- Mark the front center of the face with a stitch marker to help place eyes symmetrically.
- If you want ears to stand taller, sew them slightly closer together at the base.
- For a smoother finish, sew ears through the outer loops only so stitches hide better.
- Add a tiny weighted pouch (poly pellets inside fabric) to the bottom if you want perfect standing decor bunnies.
- Make a set: bunnies look extra cute in groups of three or more (perfect for photos and gifts).
Variations and Customization Ideas#
- Add a tiny tail: MR, 6 sc; sew to the back.
- Make keychains: crochet slightly smaller and add a loop between the ears.
- Sleepy eyes: embroider small arcs instead of safety eyes.
- Two-tone bunnies: use a contrasting color for the belly or ear inner.
- Holiday versions: pastel for spring, red/green for winter, spooky colors for Halloween.
- Accessories: mini bow, tiny scarf, or flower crown.
Benefits of This Crochet Project#
- Quick and satisfying (great “one-sitting” project)
- Perfect stash buster
- Beginner-friendly with minimal sewing
- Great for gifts, baskets, party favors, and craft fairs
- Easy to customize colors and expressions
- Looks adorable in sets for photos
Internal Linking Suggestions#
If you’re building a crochet blog, link this pattern to:
- How to Crochet a Magic Ring
- Invisible Decrease for Amigurumi
- How to Attach Safety Eyes Securely
- Beginner Amigurumi Patterns
- Quick Crochet Gift Ideas
- How to Sew Amigurumi Parts Neatly
FAQ Section#
Is this a good crochet pattern for beginners?
Yes. The stitches are simple, and the one-piece head/body makes assembly much easier.
What yarn is best for mini amigurumi bunnies?
Worsted acrylic or cotton blends are ideal for clean stitches and good shape.
Can I make these without safety eyes?
Absolutely. Embroider eyes with black yarn for a soft, child-friendly option.
How do I make the bunny smaller or larger?
Change yarn weight and hook size. The stitch counts can stay the same for similar proportions.
How do I keep the bunny from tipping over?
Stuff the base firmly and flatten it gently. A small weighted pouch inside the bottom also helps.
Can I sell finished bunnies made from this free crochet pattern?
Yes—finished items are typically fine to sell, but if you publish this pattern on your blog, include your own photos and wording to keep it original.
Conclusion#
These mini bunny amigurumi are the kind of crochet pattern that’s perfect for building confidence: simple shapes, quick results, and endless color possibilities. Make one as a cute desk buddy—or make a whole rainbow set for spring gifts and decor.
If you tell me the yarn weight you’re using (DK, worsted, or plush) and whether you want them as toys or keychains, I can adjust the ear length, eye size, and stitch counts so your bunnies come out exactly the size and style you want.


