


Introduction#
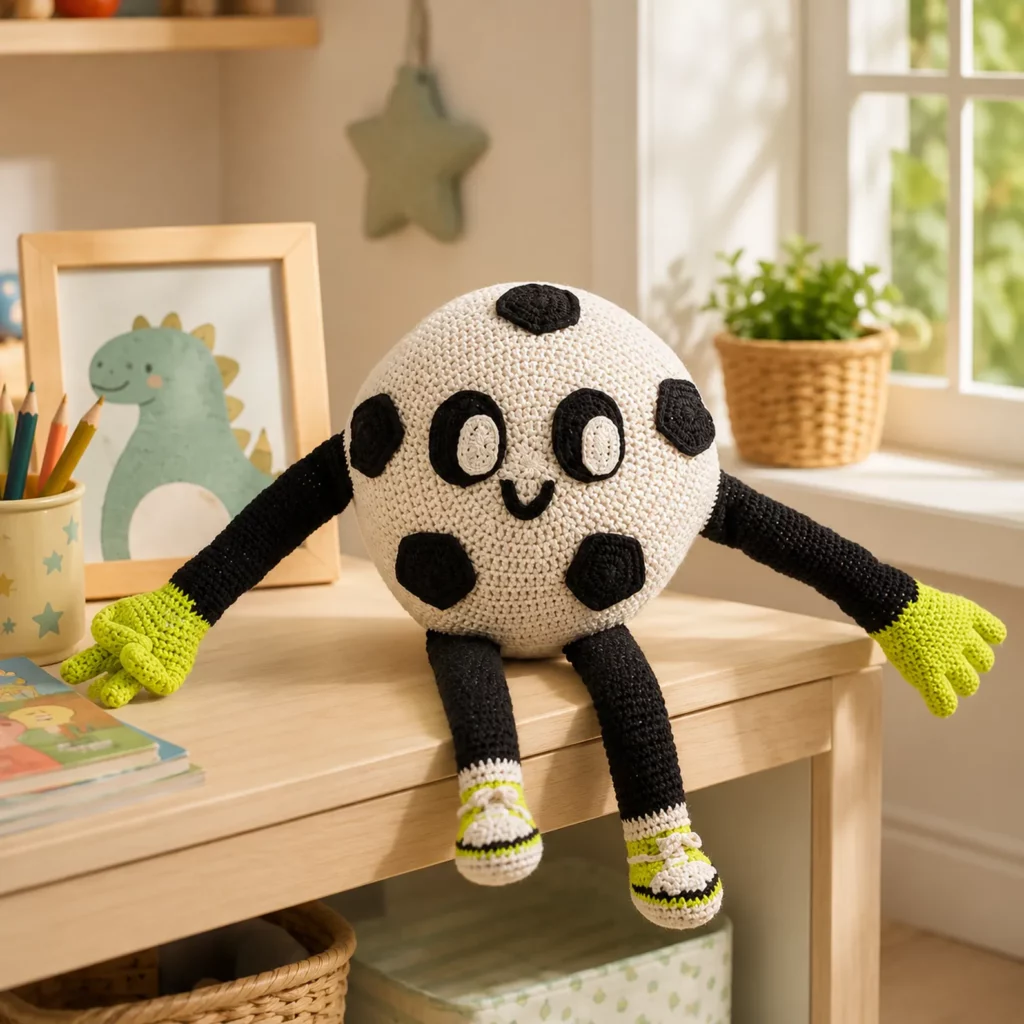
If you’re looking for a playful crochet project that combines the charm of amigurumi with the excitement of sports, this cute soccer ball plush is the perfect choice. Featuring a smiling face, classic soccer ball markings, long floppy limbs, and colorful hands and shoes, this character-inspired design transforms a simple ball into a lovable toy full of personality.
Explore more beginner amigurumi crochet patterns in our pattern library.
Amigurumi projects are among the most popular crochet creations because they allow makers to bring characters, animals, and objects to life using simple stitches and shaping techniques. This soccer ball plush is especially fun because it combines basic amigurumi construction with creative details that make the finished toy both decorative and interactive.
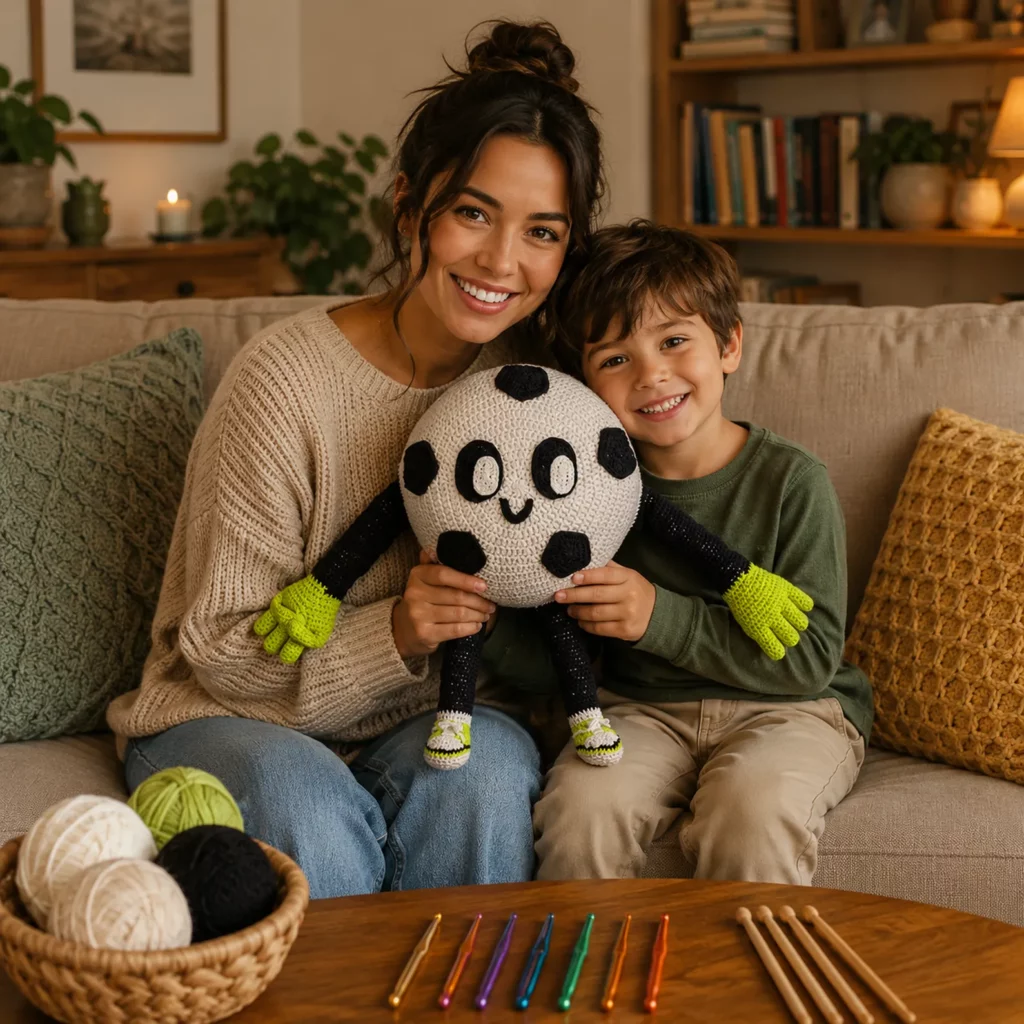
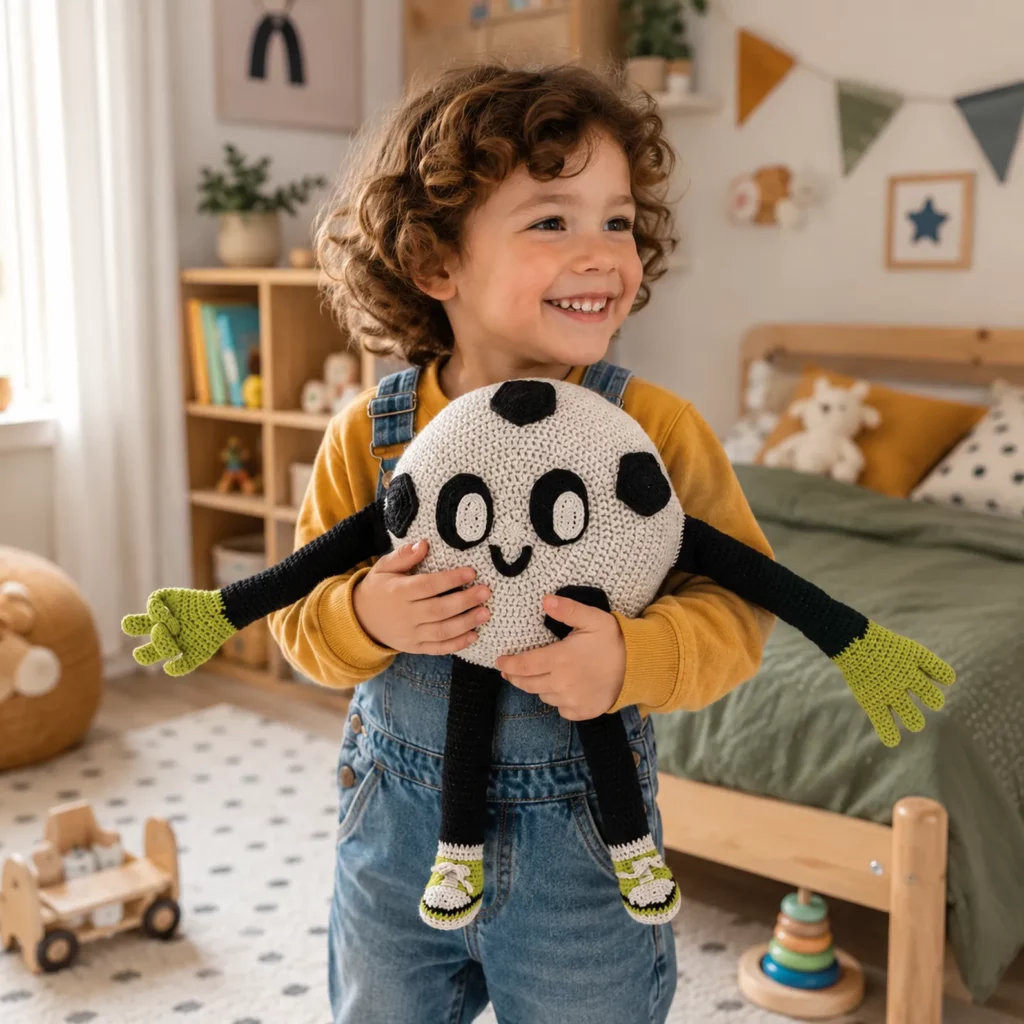
Whether you’re searching for a free crochet pattern, a beginner-friendly crochet tutorial, or a DIY crochet gift idea for a young soccer fan, this project offers a rewarding and enjoyable experience. The finished plush makes a fantastic birthday gift, nursery decoration, sports team mascot, or collectible handmade toy.
Detailed Description of the Crochet Pattern#
This crochet pattern creates a round soccer ball character with expressive facial features and long movable limbs.
The project includes:
- Large round soccer ball body
- Classic pentagon soccer markings
- Embroidered smiling face
- Long flexible arms
- Long flexible legs
- Detailed hands
- Decorative shoes
- Soft stuffed construction
The body forms the main focus of the design and resembles a traditional soccer ball with contrasting patches. Attached arms and legs give the character a playful appearance while allowing children to pose and carry the plush easily.
The facial details add personality and transform the sports-themed object into a cheerful amigurumi companion.
The finished toy is lightweight, cuddly, and suitable for display or gentle play.
Skill Level Explanation#
Skill Level: Confident Beginner to Intermediate
You should already know:
- Magic ring
- Single crochet
- Increase
- Decrease
- Slip stitch
- Basic amigurumi shaping
Skills you will practice include:
- Crocheting spheres
- Color changes
- Limb construction
- Assembly techniques
- Facial embroidery
- Shaping with stuffing
The pattern is repetitive and approachable, making it suitable for crocheters looking to expand their amigurumi skills.
Materials Needed#
Yarn
Use worsted-weight (#4) yarn.
Main Colors
- White or cream
- Black
Accent Colors
- Bright yellow
- Lime green
- Gray
Approximate yardage:
- White: 200–250 yards
- Black: 80–100 yards
- Accent colors: 20–30 yards each
Tips for Yarn Choice
- Cotton yarn creates crisp stitch definition.
- Acrylic yarn produces a softer plush.
- Cotton blends combine structure and softness.
- Use consistent yarn weights throughout the project.
Hook
Recommended hook sizes:
- 3.0 mm
- 3.5 mm
- 4.0 mm
Choose a hook slightly smaller than recommended for the yarn to prevent stuffing from showing.
Notions
- Stitch markers
- Yarn needle
- Scissors
- Fiberfill stuffing
- Black embroidery thread
- Safety eyes (optional)
Safety Note
If making the toy for babies or toddlers, embroider all facial features instead of using safety eyes.
Stitches & Techniques Explained#
Common Abbreviations
- MR = magic ring
- sc = single crochet
- inc = increase
- dec = decrease
- sl st = slip stitch
- ch = chain
- st = stitch
Magic Ring
The magic ring creates a tightly closed center and is commonly used for amigurumi projects.
Invisible Decrease
Invisible decreases help maintain smooth shaping and create a professional finish.
Color Changes
For clean transitions:
- Complete the stitch until the final yarn-over.
- Pull the new color through.
- Continue crocheting with the new color.
Embroidery Techniques
Simple embroidery stitches create facial features and decorative details.
Step-by-Step Instructions#
Finished Size
Adult-hand-sized plush
Approximate measurements:
- Body diameter: 8–10 inches
- Arm length: 10–12 inches
- Leg length: 8–10 inches
Notes Before You Start
- Work in continuous rounds.
- Use a stitch marker.
- Stuff firmly but evenly.
- Weave in ends securely.
Color Key
- A = White
- B = Black
- C = Lime Green
- D = Gray
Soccer Ball Body (Make 2 Panels)#
Front Panel
Round 1:
6 sc in MR [6]
Round 2:
Inc around [12]
Round 3:
(sc, inc) around [18]
Round 4:
(2 sc, inc) around [24]
Round 5:
(3 sc, inc) around [30]
Continue increasing evenly until reaching approximately 72–84 stitches.
Work several rounds evenly.
Back Panel
Repeat front panel.
Do not fasten off.
Joining the Panels
Place panels together.
Single crochet around the edge.
Leave an opening for stuffing.
Stuff firmly.
Close remaining opening.
Soccer Ball Patches#
Pentagon Patch (Make 6)
Using Color B:
Round 1:
5 sc in MR.
Round 2:
Increase evenly.
Continue shaping into a pentagon using strategic increases.
Fasten off leaving long tails.
Sew evenly around the body.
Eyes (Make 2)#
Using Color B:
Round 1:
6 sc in MR.
Round 2:
Inc around.
Round 3:
Sc around.
Fasten off.
Sew onto the face.
Eye Highlights
Using Color A:
Create smaller circles and sew inside the eyes.
Smile#
Using black embroidery thread:
- Embroider a curved smile beneath the eyes.
- Secure all ends inside the body.
Arms (Make 2)#
Using Color C:
Round 1:
6 sc in MR.
Round 2:
Inc around [12]
Rounds 3–5:
Sc around.
Switch to Color B.
Rounds 6–35:
Sc around.
Lightly stuff.
Fasten off with sewing tail.
Hands (Make 2)#
Create four short finger extensions using chains and single crochet.
Attach to arm ends.
Alternative Hand Option
Use simple mitten-shaped hands for faster construction.
Legs (Make 2)#
Using Color D:
Round 1:
6 sc in MR.
Round 2:
Inc around.
Round 3:
Sc around.
Continue increasing to create shoe shape.
Switch to Color B.
Work long tubular rounds.
Stuff lightly.
Fasten off.
Shoes#
Using Colors C and D:
Create sneaker-inspired details by embroidering:
- Soles
- Laces
- Toe sections
Attach securely to leg bottoms.
Assembly#
- Position facial features before sewing.
- Attach arms at body sides.
- Attach legs evenly at the bottom.
- Secure all parts firmly.
- Adjust stuffing as needed.
Common Mistakes and How to Avoid Them#
Uneven Ball Shape
Overstuffing one side may distort the sphere.
Solution:
Add stuffing gradually and distribute evenly.
Visible Seams
Loose stitches may expose stuffing.
Solution:
Use a smaller hook and maintain firm tension.
Crooked Facial Features
Misaligned eyes affect the expression.
Solution:
Pin pieces in place before sewing.
Weak Limb Attachments
Heavy limbs can loosen over time.
Solution:
Sew through attachment points multiple times.
Uneven Patches
Improper placement may disrupt the soccer ball appearance.
Solution:
Arrange patches before final sewing.
Expert Tips for Better Results#
- Use stitch markers throughout the project.
- Sew all pieces with matching yarn.
- Embroider facial features before final assembly when possible.
- Stuff limbs lightly for flexibility.
- Use invisible decreases for smoother shaping.
- Pin all parts before sewing permanently.
- Shape the ball by hand while stuffing.
Variations and Customization Ideas#
Team Colors Version
Use your favorite team’s colors for shoes and gloves.
Mini Keychain Version
Use DK-weight yarn and a smaller hook.
Goalkeeper Character
Add oversized gloves and a jersey.
Mascot Version
Embroider a team name on the body.
Baby-Safe Version
Replace all plastic components with embroidery.
Benefits of This Crochet Project#
- Excellent amigurumi practice
- Great gift for soccer fans
- Builds shaping skills
- Encourages creativity
- Customizable colors and details
- Suitable for display or play
- Uses basic crochet techniques
- Creates a memorable handmade toy
Internal Linking Suggestions#
- Beginner Amigurumi Crochet Pattern
- How to Crochet a Perfect Sphere
- Magic Ring Tutorial
- Crochet Teddy Bear Pattern
- Best Yarn for Amigurumi
- Crochet Character Design Guide
- Free Toy Crochet Patterns
- DIY Crochet Gifts for Kids
FAQ#
Is this crochet pattern suitable for beginners?
Yes. Confident beginners familiar with basic amigurumi techniques can complete this project successfully.
What yarn works best?
Cotton and cotton-blend yarns provide excellent stitch definition, while acrylic offers extra softness.
Can I make the toy larger?
Yes. Use thicker yarn and a larger hook to increase the finished size.
Are safety eyes required?
No. Embroidered eyes are a safe and attractive alternative.
How much stuffing should I use?
Stuff firmly enough to maintain shape without stretching the stitches.
Can I customize the colors?
Absolutely. The hands, shoes, and accessories can be adapted to any color scheme.
Is this a good gift for children?
Yes. It makes an excellent handmade gift for sports enthusiasts and young soccer fans.
Conclusion#
This cute soccer ball amigurumi crochet pattern is a fun and creative project that combines classic sports themes with the charm of handmade plush toys. The round body, cheerful face, and playful limbs give the character plenty of personality, while the straightforward construction makes it accessible to a wide range of crocheters.
Whether you’re looking for a free crochet pattern, an engaging crochet tutorial, or a unique DIY crochet gift idea, this soccer-themed plush is sure to bring smiles. Its customizable design allows you to personalize colors, facial expressions, and accessories, making every finished toy unique.
Gather your yarn, prepare your hook, and enjoy creating a lovable soccer ball character that will delight both children and adults alike.


