


Introduction#
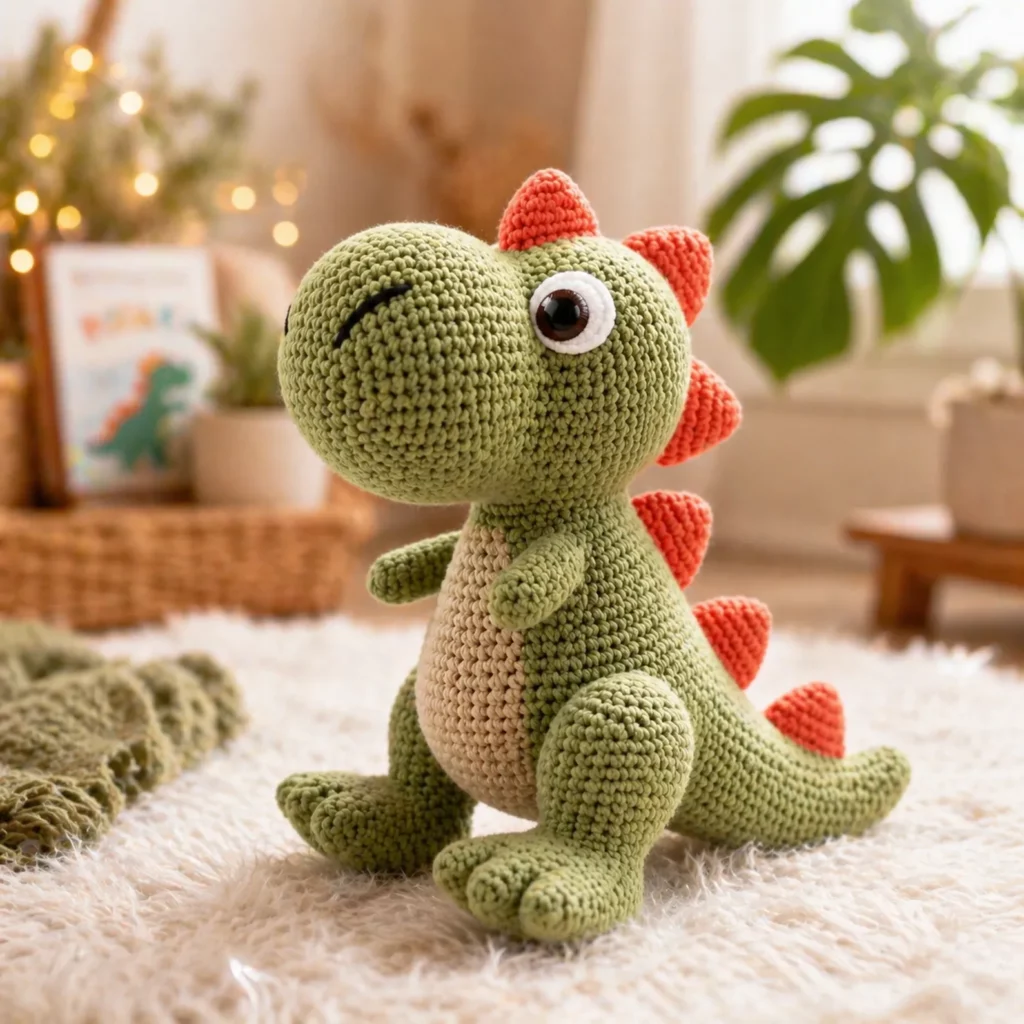
If you want a crochet project that’s guaranteed to make people smile, a cute dinosaur amigurumi is hard to beat. Dinosaurs have that perfect mix of “roar” and “aww”—and when you crochet one in soft colors with a rounded snout, big feet, and friendly spikes, it becomes the kind of handmade plush that gets hugged, displayed, and gifted again and again.
Explore more beginner amigurumi crochet patterns in our pattern library.
This crochet pattern is designed to be both adorable and practical. The body is sturdy enough to stand (or at least sit confidently), the belly panel adds a fun contrast without complicated colorwork, and the spikes give it instant dinosaur personality. Best of all, the stitches are simple: mostly single crochet in the round, increases, decreases, and easy assembly. That makes this an ideal crochet tutorial style project for anyone who wants a free crochet pattern that’s actually doable—even if you’re still building confidence with amigurumi.
You’ll find everything below: materials, stitch explanations, step-by-step instructions, common mistake fixes, pro tips, customization ideas, and a helpful FAQ.
Detailed Description of the Crochet Pattern#
This amigurumi dinosaur has a charming, chunky silhouette and clean shaping that looks great in both smooth yarn and plush yarn. Here’s what you’ll be making:
- A large rounded head with a slightly protruding snout (gives that friendly “cartoon dino” look)
- A compact body that’s slightly pear-shaped for stability
- Two small arms that sit forward for a cute pose
- Two chunky legs with big feet (great for standing/sitting balance)
- A contrasting belly panel (simple to attach—no tricky mid-round color changes)
- Back spikes from the top of the head down the back and tail (the signature detail)
- A curved tail that helps with balance and silhouette
This pattern is written so you can easily scale the dinosaur up or down by changing yarn weight and hook size, or by adding a few extra rounds in the body and tail.
Skill Level Explanation#
This is an easy-to-intermediate crochet pattern.
You’ll want to know (or learn while making it):
- Single crochet in continuous rounds
- Increases and invisible decreases
- Counting stitches and using stitch markers
- Sewing parts together neatly
- Optional: embroidery for a mouth line or extra details
The dinosaur is beginner-friendly because each part is a simple shape. The “intermediate” part is mostly assembly—placing spikes evenly and attaching limbs symmetrically. Pinning first makes that easy.
Materials Needed#
Yarn
Choose yarn based on the look you want:
Best options
- Worsted weight (#4) acrylic or cotton blend (clean stitch definition, sturdy)
- DK weight (#3) (slightly smaller dinosaur, smooth finish)
- Plush/chenille (#6) (extra cuddly, bigger dino; stitches are harder to see)
Suggested colors
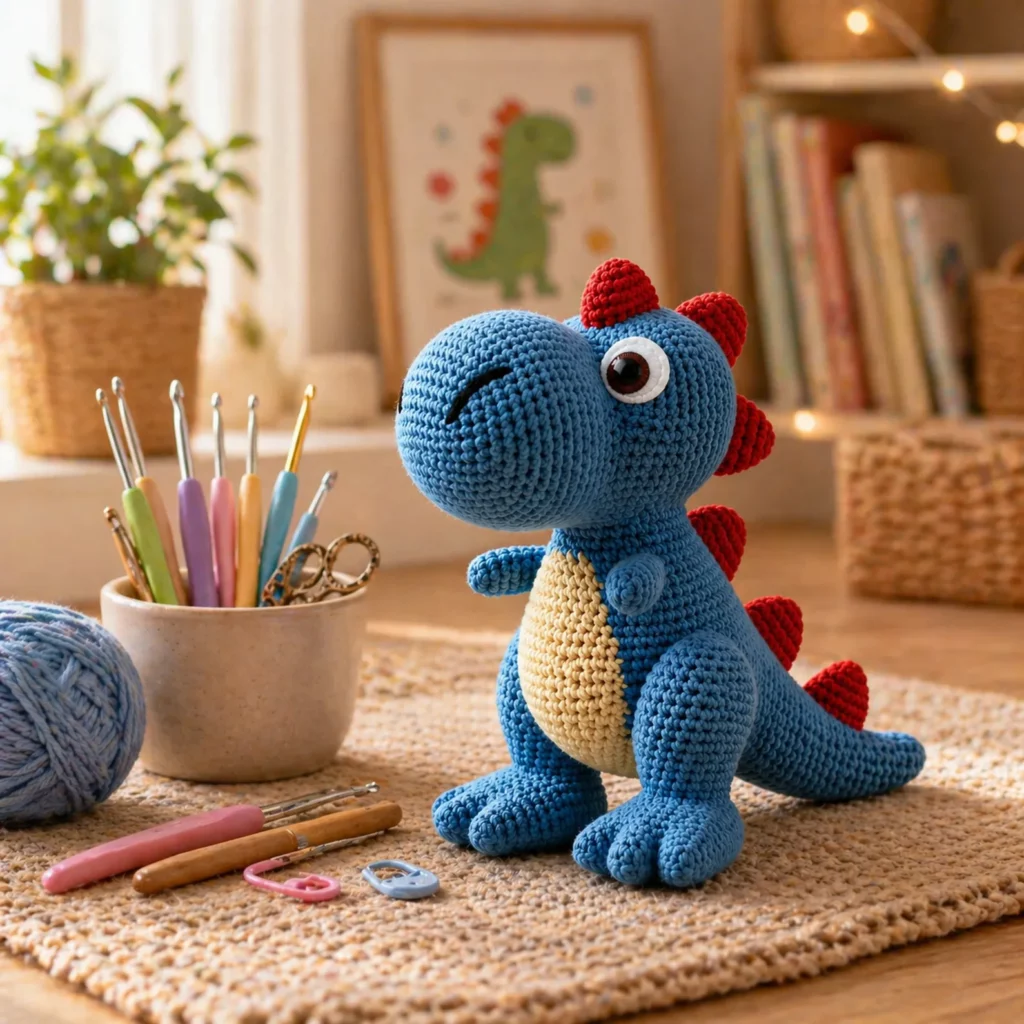
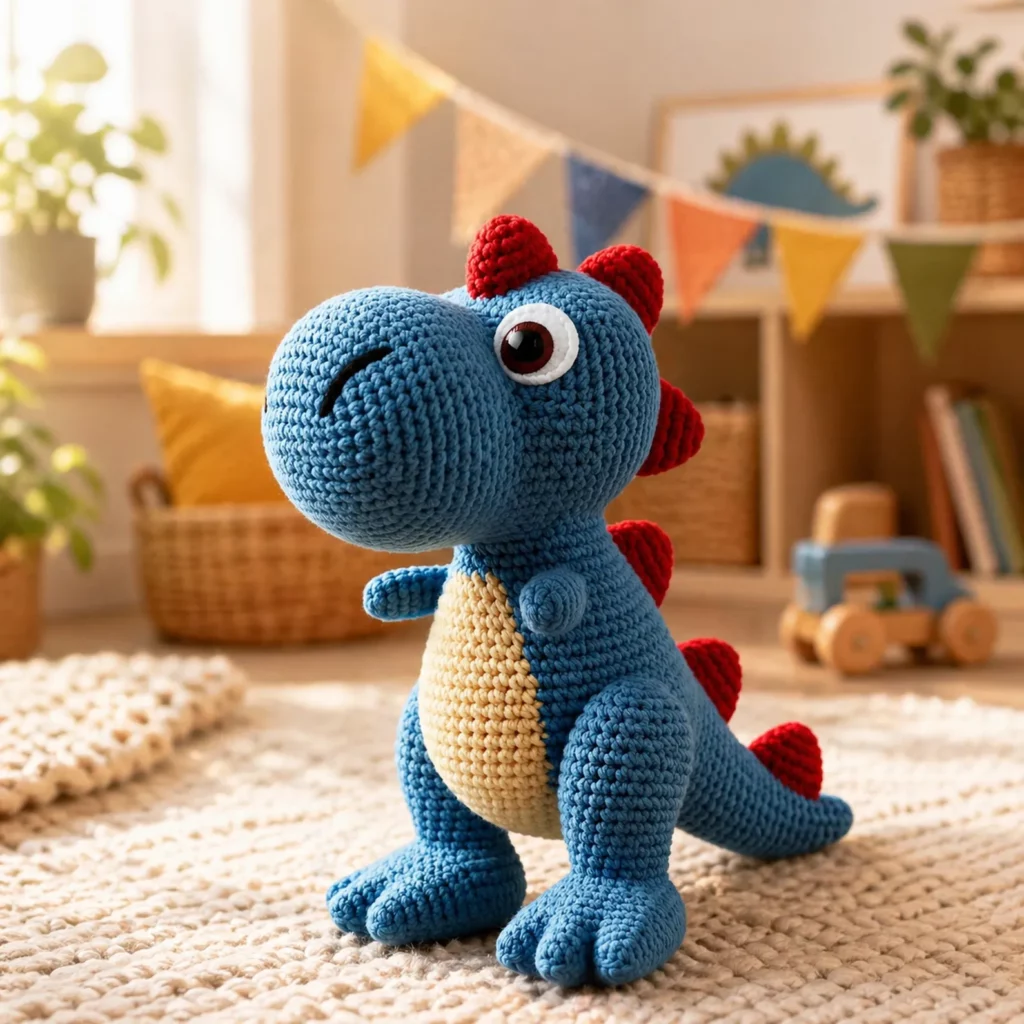
- Main body: blue (or green, teal, purple—dinosaurs look cute in everything)
- Belly: cream/beige
- Spikes: red (or orange, yellow, rainbow)
- Eyes: safety eyes or embroidery thread
Hook
Use a hook size that gives tight stitches (so stuffing doesn’t show):
- Worsted (#4): 3.0–3.5 mm for amigurumi-tight fabric
- DK (#3): 2.5–3.0 mm
- Plush (#6): 5.5–7.0 mm (plus stitch markers!)
Notions
- Fiberfill stuffing
- Stitch marker
- Yarn needle
- Scissors
- Pins or clips for assembly
- Optional: safety eyes (10–14 mm for worsted; larger for plush)
- Optional: felt circles for eye whites
- Optional: poly pellets in a fabric pouch (for extra stability)
Stitches & Techniques Explained#
Abbreviations (US terms)
- MR = magic ring
- sc = single crochet
- inc = increase (2 sc in same stitch)
- dec = invisible decrease (sc2tog through front loops)
- sl st = slip stitch
- ch = chain
- ( ) = repeat
- = stitch count
Techniques worth learning here
Invisible decrease
Makes the dinosaur look smoother (especially on head and body).
Stuffing strategy
Stuff the feet and lower body firmly first, then the upper body slightly softer. This helps the dinosaur sit/stand nicely.
Belly panel method
Instead of changing colors mid-round, you crochet an oval panel and sew it on. It looks clean and keeps the pattern beginner-friendly.
Pin-first assembly
Pin spikes and limbs before sewing anything permanently. Step back and check symmetry from the front.
Step-by-Step Instructions#
Notes:
- Work in continuous rounds unless stated.
- Use a stitch marker for the first stitch of each round.
- Stuff as you go.
Head (main color)
R1: MR, 6 sc [6]
R2: inc x6 [12]
R3: (sc, inc) x6 [18]
R4: (2 sc, inc) x6 [24]
R5: (3 sc, inc) x6 [30]
R6: (4 sc, inc) x6 [36]
R7: (5 sc, inc) x6 [42]
R8: (6 sc, inc) x6 [48]
R9–R13: sc around [48]
Eye placement
Place eyes between R11–R12, about 10–12 stitches apart.
Tip: Wider spacing looks friendly; closer spacing looks “baby dino.”
Start closing:
R14: (6 sc, dec) x6 [42]
R15: (5 sc, dec) x6 [36]
R16: (4 sc, dec) x6 [30]
Stuff firmly and shape.
R17: (3 sc, dec) x6 [24]
R18: (2 sc, dec) x6 [18]
R19: (sc, dec) x6 [12]
R20: dec x6 [6]
Fasten off, weave in.
Body (main color)
R1: MR, 6 sc [6]
R2: inc x6 [12]
R3: (sc, inc) x6 [18]
R4: (2 sc, inc) x6 [24]
R5: (3 sc, inc) x6 [30]
R6: (4 sc, inc) x6 [36]
R7: (5 sc, inc) x6 [42]
R8–R12: sc around [42]
Taper slightly for a cute chubby shape:
R13: (5 sc, dec) x6 [36]
R14–R15: sc around [36]
Stuff firmly at the bottom.
Close toward the neck:
R16: (4 sc, dec) x6 [30]
R17: (3 sc, dec) x6 [24]
Fasten off leaving a long tail for attaching head.
Arms (make 2, main color)
R1: MR, 6 sc [6]
R2: (sc, inc) x3 [9]
R3–R6: sc around [9]
R7: (sc, dec) x3 [6]
R8–R9: sc around [6]
Lightly stuff (optional). Flatten and close. Leave tail.
Legs/Feet (make 2, main color)
These chunky feet give the dinosaur that cute “stomp” look.
R1: MR, 6 sc [6]
R2: inc x6 [12]
R3: (sc, inc) x6 [18]
R4: (2 sc, inc) x6 [24]
R5–R7: sc around [24]
Stuff firmly.
Shape into a leg:
R8: (2 sc, dec) x6 [18]
R9–R11: sc around [18]
Stuff more as needed. Flatten top and close. Leave tail.
Tail (main color)
R1: MR, 6 sc [6]
R2: (sc, inc) x3 [9]
R3: sc around [9]
R4: (2 sc, inc) x3 [12]
R5–R10: sc around [12]
Taper:
R11: (2 sc, dec) x3 [9]
R12–R14: sc around [9]
Lightly stuff (more at base). Flatten and close. Leave tail.
Belly Panel (contrast color)
A simple oval panel you sew onto the body front.
Ch 10.
Round 1: sc in 2nd ch from hook, sc across to last ch, 3 sc in last ch. Continue on underside: sc across, 2 sc in last ch. Join.
Round 2: sc around, adding increases at the two curved ends so it stays flat.
Round 3 (optional): repeat Round 2 for a larger belly.
Fasten off with a long tail. Pin centered on the body front and sew neatly.
Spikes (make 6–10, spike color)
Make as many as you want depending on dinosaur size. Smaller spikes near the head, larger in the middle, then smaller toward the tail looks best.
Small spike:
MR, 4 sc [4]
Round 2: (sc, inc) x2 [6]
Round 3: sc around [6]
Fasten off, leave tail.
Medium spike:
MR, 6 sc [6]
Round 2: inc x6 [12]
Round 3: sc around [12]
Round 4: (sc, dec) x4 [8]
Fasten off, lightly stuff, leave tail.
Sew spikes from top of head down the back to tail. Pin first to keep spacing even.
Optional mouth line (embroidery)
With black yarn/floss, stitch a small curved smile or tiny mouth line under the snout area.
Assembly#
- Attach belly panel first (easier while body is separate).
- Attach head to body securely; reinforce with an extra pass of stitching.
- Attach legs low and slightly forward so the dinosaur sits/stands.
- Attach arms slightly below head join, angled forward.
- Attach tail at the lower back; angle slightly downward for balance.
- Attach spikes last, pinning them first in a straight line.
Common Mistakes and How to Avoid Them#
- Dino won’t stand/sit nicely: Stuff feet and base firmly, and place legs wider apart. Add a small weight pouch if needed.
- Spikes look crooked: Pin all spikes before sewing any. Use the same spacing between each.
- Belly panel puckers: Don’t sew too tight; use small, even stitches and keep the panel flat.
- Eyes look uneven: Mark eye placement with pins first; don’t lock safety eyes until you’re sure.
- Lumpy shaping: Stuff in small tufts and shape with your hands as you close rounds.
Expert Tips for Better Results#
- Use a slightly smaller hook than you think you need for a tighter, cleaner amigurumi fabric.
- Weave ends deep inside pieces; plush toys get handled and ends can loosen.
- For extra cuteness, add white felt circles behind safety eyes for a “sparkle” look.
- If using plush yarn, place stitch markers every 10–12 stitches to avoid losing count.
- Keep spikes lightly stuffed so they keep their shape but don’t feel hard.
Variations and Customization Ideas#
- Rainbow spikes: Use leftover yarn scraps for a colorful back.
- Sleepy dino: Embroider closed eyes instead of safety eyes.
- Mini dinosaur: Use DK yarn and a smaller hook; keep stitch counts the same.
- Jumbo dinosaur: Use plush yarn (#6) and add extra even rounds to body and tail.
- Add claws: Embroider tiny toe lines on feet with a lighter color.
- Different dinosaurs: Make spikes more triangular for stegosaurus vibes, or add a tiny horn for a triceratops-inspired look.
Benefits of This Crochet Project#
- Beginner-friendly shapes with a high “wow” result
- Great gift project for kids, babies, and dinosaur lovers
- Easy to customize colors and size
- A perfect stash-buster for spike colors and belly accents
- Teaches core amigurumi skills (shaping, stuffing, assembly)
- Makes AdSense-friendly, high-value blog content that readers actually use
Internal Linking Suggestions#
For a crochet blog, link this post to:
- Magic Ring Tutorial
- Invisible Decrease for Amigurumi
- How to Crochet with Plush Yarn
- How to Attach Safety Eyes Securely
- How to Stuff Amigurumi Without Lumps
- Beginner Amigurumi Patterns for Gifts
FAQ Section#
Is this dinosaur crochet pattern good for beginners?
Yes. The stitches are simple and the shapes are classic. The only “extra” is sewing spikes evenly, which is easy with pinning.
Can I make this free crochet pattern with plush yarn?
Absolutely. Plush yarn makes a bigger, squishier dinosaur. Use lots of stitch markers to help counting.
How do I make the dinosaur bigger or smaller?
Change yarn weight and hook size, or add extra even rounds to the body and head.
Do I need safety eyes?
No. Embroidered eyes work well, especially for baby-safe gifts.
How do I keep the belly panel flat?
Increase at the curved ends when crocheting the oval, and sew it on with gentle, even tension.
Can I sell finished dinosaurs made from this crochet pattern?
Finished handmade items are typically okay to sell. If you publish a version on your blog, keep your wording and photos original.
Conclusion#
A cute dinosaur amigurumi is one of the most fun crochet projects because it’s simple, customizable, and always gets a great reaction. Once you’ve made one, it’s easy to create a whole “dino family” in different sizes and colors—especially if you play with spike colors and belly accents.
If you tell me what yarn weight you’re using and how tall you want your dinosaur, I can adjust the number of body rounds, spike count, and eye size so your finished plush comes out perfectly proportioned.


