


Introduction#
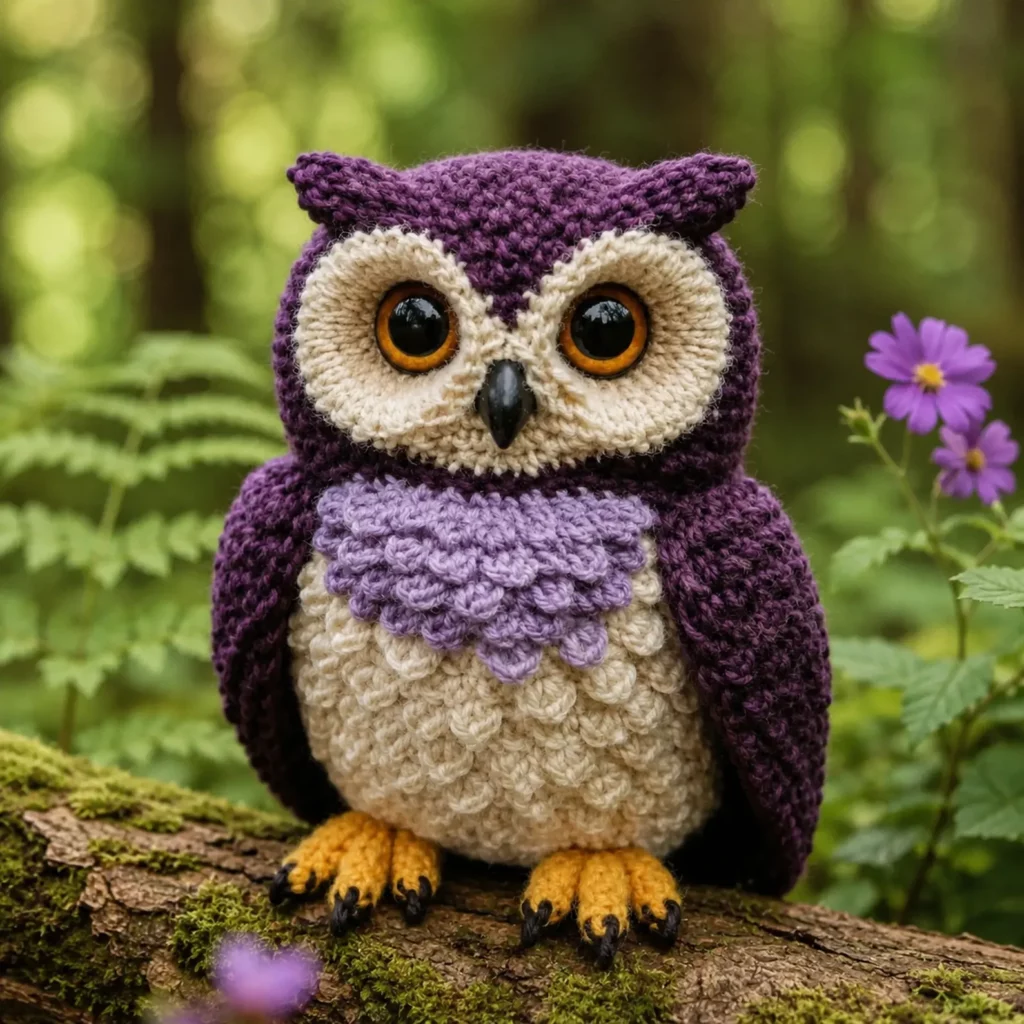
There’s something instantly captivating about an owl amigurumi. Maybe it’s the wide, watchful eyes. Maybe it’s the cozy, woodland vibe. Or maybe it’s the way a well-made crochet owl can look both cute and surprisingly realistic at the same time. This crochet pattern is all about that balance: an owl plush with bold, round eye patches, a small pointed beak, ear tufts that give it personality, and a gorgeous layered “feather” chest that looks far more complex than it actually is.
Explore more beginner amigurumi crochet patterns in our pattern library.
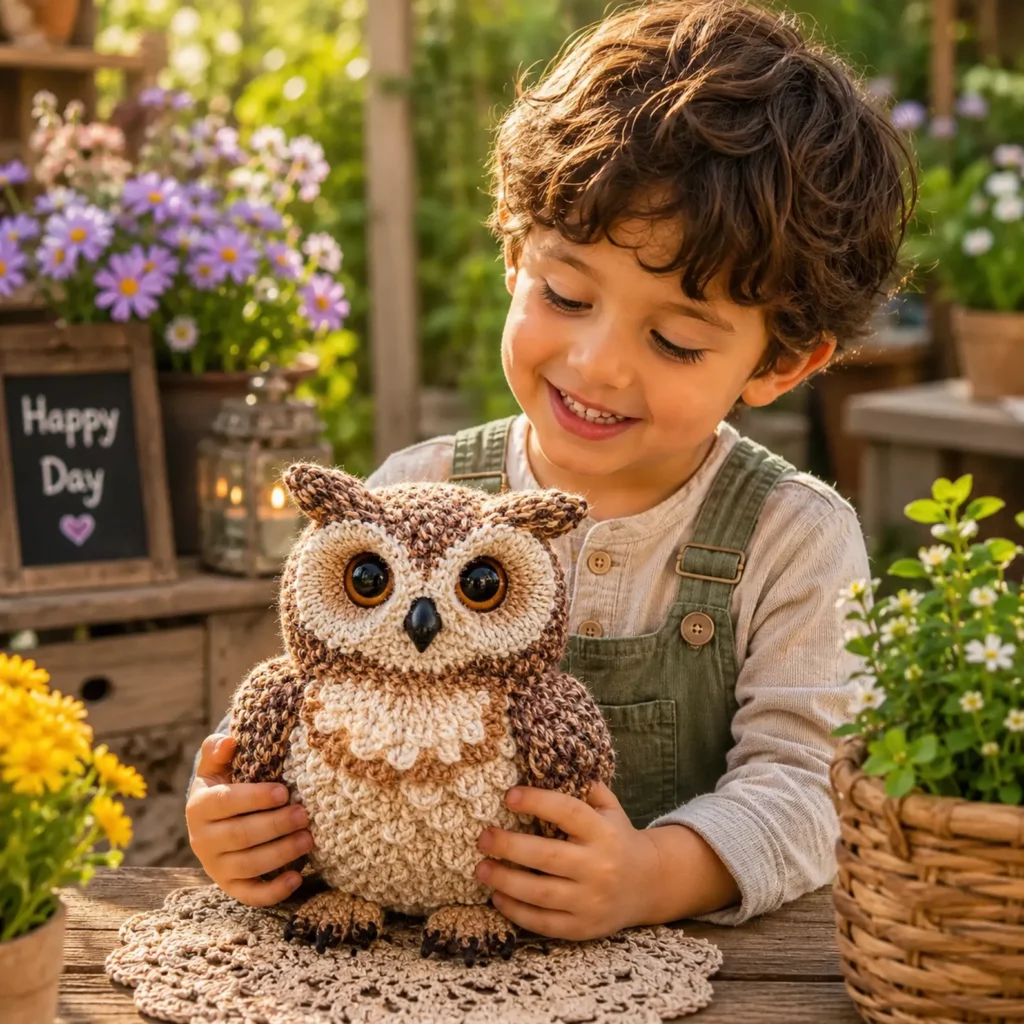
If you’ve been searching for a crochet pattern that feels like a true handmade keepsake, this owl is a perfect project. It’s beginner-friendly in stitches (mostly single crochet), but it teaches you finishing techniques that level up your work: neat color placement for the face, texture rows for the feathered belly, and shaping that makes the owl sit nicely and look polished from every angle. It also makes an amazing gift for nature lovers, nursery décor, fall décor, and anyone who loves woodland animals.
This crochet tutorial walks you through everything step by step, including ways to customize the owl into different species styles (barn owl, snowy owl, woodland owl) just by changing colors and a couple of details.
Detailed Description of the Crochet Pattern#
This amigurumi owl has a rounded body that sits upright, with a slightly flatter base for stability. The face features two large, light-colored eye discs that frame oversized eyes, plus a small dark beak centered between them. The body color blends from a darker owl “cap” on top into a lighter belly. The most striking detail is the feather chest, created with layered scallops or puff-like stitches that mimic real feathers.
Key features you’ll recreate
A sturdy round owl body with a sit-flat base
A two-tone color scheme (darker top, lighter belly)
Large eye patches that make the eyes pop
A small pointed beak (safety beak or crocheted/embroidered)
Ear tufts (little horn-like points) for a woodland owl look
Wings that wrap slightly around the body
Textured feather chest rows for a realistic finish
Optional embroidered claw tips for extra detail
How it’s made
Body is crocheted in the round, then stuffed and shaped
Eye patches, beak, wings, feet, and ear tufts are crocheted separately and sewn on
Feather chest texture is added either as a separate belly panel or directly onto the body front in rows
This modular approach keeps the pattern easy to follow and makes assembly more forgiving
Skill Level Explanation#
Skill level: Confident Beginner to Intermediate Beginner
You’ll be comfortable if you know
Magic ring
Single crochet (sc)
Increase (inc) and decrease (dec)
Working in continuous rounds
Basic sewing and assembly
You’ll also practice
Creating clean facial placement (eye patches and beak alignment)
Adding texture with scallops or layered stitches
Balancing a plush so it sits upright
Shaping with stuffing for a smooth, professional look
This is an easy crochet pattern in terms of stitches. The “advanced-looking” part comes from neat finishing and texture placement, not difficult techniques.
Materials Needed#
Yarn
For the most realistic owl look, use smooth yarn with strong stitch definition. Tweed or heathered yarn also looks beautiful for an owl body because it mimics natural feather shading.
Recommended yarn weight
Worsted (Category 4) for a medium plush
DK (Category 3) for a smaller, more delicate owl
Color suggestions (woodland owl palette)
A: Dark brown or brown tweed (head and wings)
B: Cream or light beige (face discs and belly base)
C: Warm tan or caramel (feather chest accents)
D: Black or dark brown (beak, claws, embroidery)
Optional: light gray or sand for subtle shading
Yarn tips
Cotton gives crisp stitches and sharp detail
Acrylic is softer and easier for plush feel
Tweed yarn hides small imperfections and looks very “owl-like”
Avoid fuzzy yarn for this project because facial details and feather texture look best with clear stitches
Hook
Use a smaller hook than the yarn label suggests for tight amigurumi fabric
Worsted: 3.0–4.0 mm
DK: 2.75–3.25 mm
Notions
Stitch marker
Tapestry needle
Scissors
Fiberfill stuffing
Safety eyes (12–18 mm depending on size)
Optional safety beak or crochet/embroider beak
Optional blush or soft shading for warmth
Optional: felt circles behind safety eyes for extra security
Safety note
If making for babies or toddlers, embroider eyes and beak instead of using plastic pieces.
Stitches & Techniques Explained#
Abbreviations
MR = magic ring
sc = single crochet
inc = increase (2 sc in one stitch)
dec = invisible decrease
sl st = slip stitch
ch = chain
hdc = half double crochet
dc = double crochet
BLO = back loop only
FLO = front loop only
( ) repeat
[ ] stitch count
Invisible decrease
Insert hook into front loop of next stitch, then front loop of following stitch, yarn over and pull through, yarn over and pull through two.
Feather texture options
Option A: Scallop feathers (beginner-friendly, clean look)
You crochet small shells or scallops in rows on a belly panel, then sew it on.
Option B: Puff/scale feathers (more texture)
You make puff clusters or crocodile/scale-like stitches on the belly panel.
This pattern uses scallop feathers because they look realistic and stay manageable for beginners.
Clean facial placement
The owl’s “expression” depends on symmetry. Pin eye patches and beak first, then sew in place.

Step-by-Step Instructions#
Finished size
With worsted yarn and a 3.5 mm hook: about 8–11 inches (20–28 cm) tall depending on stuffing and eye size.
Notes before you begin
Work in continuous rounds unless stated
Use a stitch marker
Stuff gradually and shape as you go
Pin all parts before sewing for best symmetry
Color Key
A dark body
B cream belly/face
C tan feather accents
D black details
Body (A and B)
Start with A (dark body) for the top of the owl.
Round 1: 6 sc in MR [6]
Round 2: inc around [12]
Round 3: (sc, inc) around [18]
Round 4: (2 sc, inc) around [24]
Round 5: (3 sc, inc) around [30]
Round 6: (4 sc, inc) around [36]
Round 7: (5 sc, inc) around [42]
Round 8: (6 sc, inc) around [48]
Rounds 9–12: sc around [48]
Switch to B (cream) for the lower belly area (optional)
If you want a clear two-tone body, switch now.
If you prefer a fully dark owl with a separate belly panel, keep A and skip this color change.
Rounds 13–18: sc around [48]
Shape toward the base
Round 19: (6 sc, dec) around [42]
Round 20: sc around [42]
Round 21: (5 sc, dec) around [36]
Round 22: sc around [36]
Round 23: (4 sc, dec) around [30]
Round 24: sc around [30]
Start stuffing firmly, especially at the bottom so it sits.
Close bottom
Round 25: (3 sc, dec) around [24]
Round 26: (2 sc, dec) around [18]
Round 27: (sc, dec) around [12]
Round 28: dec around [6]
Fasten off and close.
Base shaping tip
Before fully closing, flatten the bottom slightly by pushing stuffing outward and pressing the base into a gentle “sit” shape.
Eye Patches (Make 2, B)
These large eye discs are what make the owl look realistic.
Round 1: 6 sc in MR [6]
Round 2: inc around [12]
Round 3: (sc, inc) around [18]
Round 4: (2 sc, inc) around [24]
Round 5: sc around [24]
Fasten off leaving a long tail.
If you want a thicker eye rim look
Add one more round of sc around (optional).
Eyes
Use large safety eyes for that classic owl stare.
Suggested sizes
Worsted owl: 14–18 mm
DK owl: 12–14 mm
Insert eyes through the eye patches first, then position both patches on the owl face before locking the backs. This gives the cleanest placement and makes sure the eyes are even.
Placement guide
Center the eye patches on the front upper half of the body
Keep them close enough that the beak can sit between them
Pin both patches, step back, and check symmetry before final attachment
Beak (D)
Option A: Crochet beak (simple and safe)
Round 1: 4 sc in MR [4]
Round 2: (sc, inc) around [6]
Round 3: sc around [6]
Fasten off with a tail, lightly stuff or leave flat. Sew between eyes.
Option B: Embroidered beak
Stitch a small vertical triangle shape in black or dark gray thread.
Ear Tufts (Make 2, A)
These give the owl the “tufted” woodland look.
Round 1: 4 sc in MR [4]
Round 2: sc around [4]
Round 3: (sc, inc) around [6]
Round 4: sc around [6]
Fasten off with tail. Do not stuff. Flatten slightly and sew to the top corners of the head area.
Wings (Make 2, A)
Wings should be slightly curved and long enough to cover the owl’s sides.
Round 1: 6 sc in MR [6]
Round 2: inc around [12]
Round 3: (sc, inc) around [18]
Rounds 4–8: sc around [18]
Round 9: (4 sc, dec) around [15]
Rounds 10–12: sc around [15]
Fasten off with a tail. Lightly stuff at the top only (optional) or keep flat.
Sew wings to the sides, slightly forward so they frame the belly and give a perched look.
Feet (Make 2, C or A)
Small feet help the owl look grounded.
Round 1: 6 sc in MR [6]
Round 2: (sc, inc) around [9]
Round 3: sc around [9]
Fasten off with tail. Lightly stuff or leave flat. Sew to the front bottom.
Claw tips (optional)
Embroider small black claw stitches on the front edge of each foot.
Feather Chest Panel (B + C)
This is the signature look: layered scallops.
Belly base panel (B)
Ch 16
Row 1: sc in 2nd ch and across (15), ch 1, turn
Row 2: sc across (15), ch 1, turn
Row 3: sc2tog, sc 11, sc2tog (13), ch 1, turn
Row 4: sc across (13), ch 1, turn
Row 5: sc2tog, sc 9, sc2tog (11), ch 1, turn
Row 6: sc across (11)
Now add scallop “feathers” (C)
Attach C at the bottom edge of the panel
Work shells across the rows
Shell row: (sl st, skip 1, 5 dc in next, skip 1) repeat
At the end of the row, turn and work the next shell row slightly above, overlapping like feathers.
Feather layering tip
Make 3–5 feather rows, each one slightly shorter than the one below. This creates the tapered feather chest shape.
Sew the feather panel to the owl front, centered below the eye patches, with the feathers pointing downward.
Assembly Order (recommended)
Attach eye patches and set eyes
Attach beak
Attach feather chest panel
Attach wings
Attach feet
Attach ear tufts
Add any final embroidery (claws, shading, small highlights)
This order helps you keep the face centered and prevents sewing wings over the belly area.
Common Mistakes and How to Avoid Them#
Eye patches look uneven
Pin both patches first
Count stitches between them
Check symmetry from a distance before sewing
Owl won’t sit upright
Stuff the base more firmly
Flatten the bottom slightly while stuffing
Move feet a little forward to act like a “kickstand”
Feather panel curls or waves
Use consistent tension
Block the panel lightly before sewing
Use fewer shells if the fabric becomes too ruffled
Wings look droopy
Keep wings mostly flat instead of heavily stuffed
Sew along a longer edge so they’re anchored firmly
Stitches show stuffing
Use a smaller hook
Tighten tension
Avoid overstuffing, especially near decreases
Expert Tips for Better Results#
Use tweed yarn for the head and wings if you want a truly realistic owl look without complicated colorwork
For a softer expression, place the eye patches slightly lower and closer together
Add a tiny stitch “ridge” above each eye patch (surface slip stitches) to mimic brow feathers
If you want a barn owl vibe, use a lighter face and a heart-shaped facial placement (eye patches closer + lighter beak area)
For a more dramatic feather chest, add one extra feather row in a darker tan shade
Variations and Customization Ideas#
Snowy owl
Use white body, pale gray feather panel, black beak, and tiny gray speckles.
Barn owl
Use cream body, tan head cap, smaller ear tufts or none, and a more heart-shaped face patch.
Baby owl
Make the body rounder by adding one extra straight round before decreasing, and shorten the wings.
Keychain owl
Use DK yarn, reduce body rounds, skip feet, add a top loop.
Owl family set
Make three sizes by changing yarn weight and hook size, keeping the same pattern.
Benefits of This Crochet Project#
A crochet pattern with strong “wow factor” but beginner-friendly stitches
Perfect seasonal décor for fall and winter
Great gift for woodland nurseries, teachers, and nature lovers
Customizable to many owl species with simple color changes
Teaches clean facial placement and texture techniques
Looks collectible and display-worthy
Internal Linking Suggestions#
How to Crochet Invisible Decreases for Smooth Amigurumi
Beginner Guide to Sewing Amigurumi Parts Symmetrically
How to Add Texture to Crochet Animals
Best Yarn for Amigurumi: Cotton vs Acrylic
Easy Crochet Woodland Animals Collection
FAQ Section#
Is this crochet owl pattern beginner-friendly?
Yes. The main body uses simple single crochet shaping. The detailed look comes from add-on pieces like eye patches and the feather panel.
What yarn is best for a realistic owl?
Smooth cotton or acrylic works great, and tweed yarn adds natural feather-like shading without extra colorwork.
How do I make the owl sit upright?
Stuff the bottom firmly and flatten it slightly. Position the feet forward enough to help balance the body.
Can I make it without safety eyes?
Yes. You can embroider eyes with black yarn and add brown or gold rings for a realistic owl gaze.
How do I get the feather chest texture?
Use overlapping scallop rows on a belly panel, then sew it on. This creates a layered feather look with simple stitches.
How do I change the size?
Change yarn weight and hook size. DK makes a smaller owl, bulky makes a bigger owl, while the same stitch counts keep proportions consistent.
Conclusion#
This owl amigurumi crochet pattern is a perfect mix of cute and realistic. The big eyes, small beak, ear tufts, and layered feather chest create a woodland plush that looks polished, gift-worthy, and truly special—without requiring complicated stitches. If you take your time with symmetry and add the feather panel carefully, your finished owl will look like a collectible piece.
If you tell me your yarn weight and hook size, I can recommend the best eye size and exactly where to place the eye patches for the cutest, most realistic owl expression.


