


Introduction#
If you’re searching for a crochet pattern that is both adorable and satisfying to make, this charming pony design is the perfect choice. Many crocheters struggle to find a project that balances simplicity with visual appeal—something that looks impressive but doesn’t feel overwhelming to create.
Explore more beginner amigurumi crochet patterns in our pattern library.
This delightful crochet pony solves that problem beautifully. With its soft texture, expressive features, and whimsical details like a flowing mane and decorative accents, it’s a project that feels rewarding from start to finish. Whether you’re exploring crochet for beginners or looking for a relaxing DIY crochet project, this guide will walk you through every step in a clear, approachable way.
Detailed Description of the Crochet Pattern#
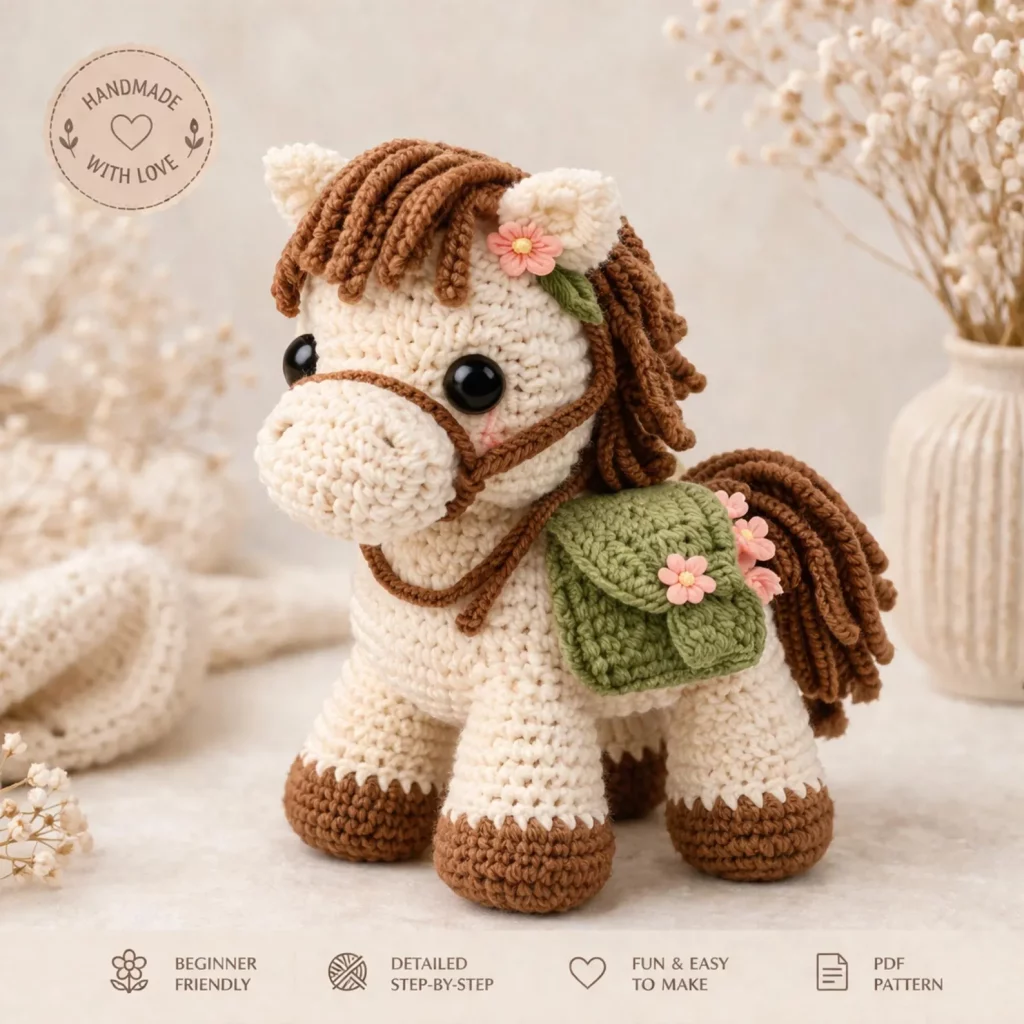
This crochet pattern creates a small amigurumi-style pony with a soft, rounded body and charming handcrafted details. The design features:
- A sturdy, slightly oval body for stability
- Four short, cylindrical legs
- A rounded snout and expressive head
- A textured mane and tail made from looped or chain strands
- Decorative elements like a tiny flower and a saddle-style accessory
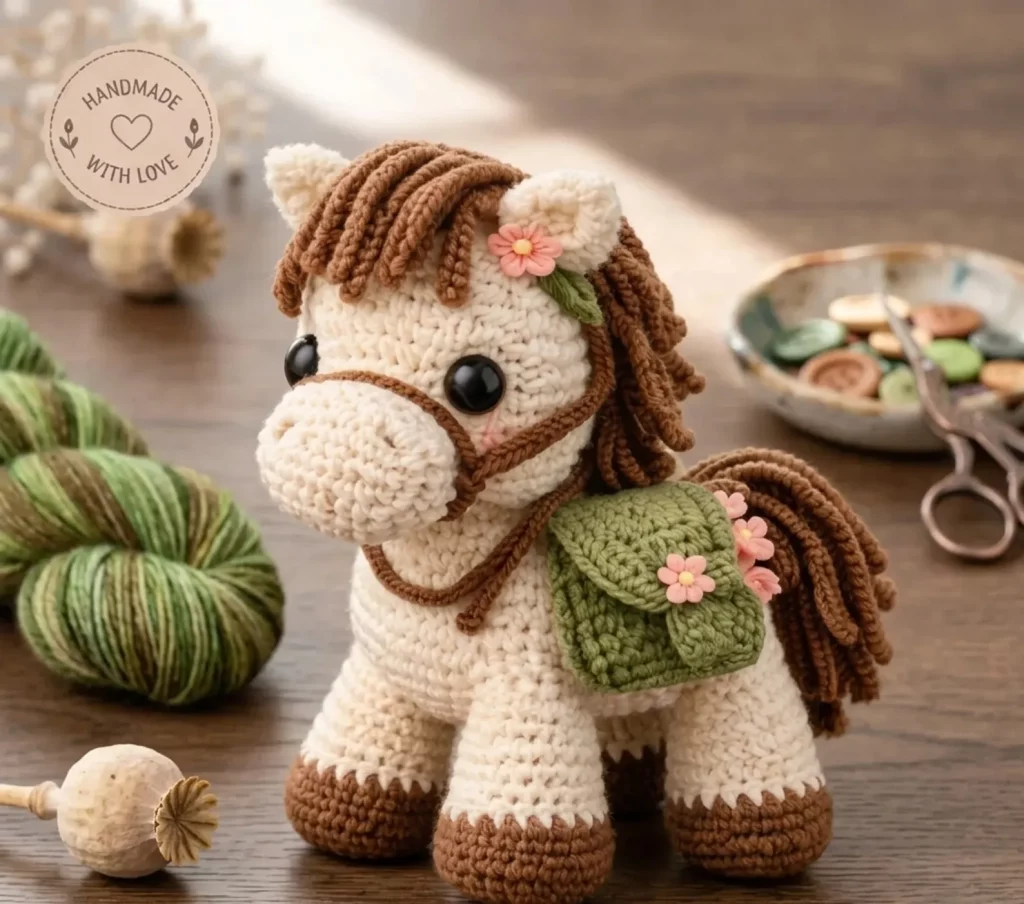
The overall aesthetic is cozy and whimsical, making it perfect as a handmade gift, nursery decoration, or collectible toy. The use of neutral tones combined with soft pastel accents gives it a timeless, handmade feel.
The structure is built using classic amigurumi techniques—working in the round, shaping with increases and decreases, and assembling multiple pieces into a cohesive figure.
Skill Level Explanation#
This is an easy crochet pattern suitable for:
- Beginners who are comfortable with basic stitches
- Intermediate crocheters looking for a relaxing project
- Anyone interested in learning amigurumi techniques
While the pattern is beginner-friendly, it does include shaping and assembly, which makes it a great learning experience. If you’ve never made amigurumi before, this project is an excellent introduction.
Materials Needed#
To create this crochet pony, you’ll need:
Yarn
- Worsted weight (medium #4) yarn
- Main body color (cream or beige)
- Accent color (brown for hooves, mane, and tail)
- Optional colors (green for saddle, pink for flowers)
Tip: Choose soft acrylic or cotton yarn for durability and stitch definition.
Hook
- 3.0 mm – 4.0 mm crochet hook
- Use a smaller hook than usual to create tight stitches (important for amigurumi)
Additional Supplies
- Fiberfill stuffing
- Safety eyes (8–12 mm)
- Yarn needle
- Stitch markers
- Scissors
Stitches & Techniques Explained#
This crochet tutorial uses fundamental stitches:
- Magic Ring (MR): Creates a tight starting circle
- Single Crochet (sc): The primary stitch used throughout
- Increase (inc): Two single crochets in one stitch
- Decrease (dec): Combining two stitches into one
- Slip Stitch (sl st): For joining or finishing
- Chain (ch): Used for decorative elements
Special Techniques
- Amigurumi shaping: Gradual increases and decreases to form curves
- Loop stitching or chain strands: Used to create the pony’s mane and tail
- Assembly: Sewing parts together neatly
If you’re new to these, take your time—mastery comes quickly with practice.

Step-by-Step Instructions#
1. Head (Worked in the Round)
- Start with a magic ring
- Round 1: 6 sc into ring
- Round 2: inc in each stitch (12)
- Round 3: (sc, inc) repeat (18)
- Continue increasing until desired width (approx. 24–30 stitches)
- Work several rounds evenly
- Insert safety eyes
- Begin decreasing to close
Stuff firmly before closing.
2. Body
- Start with magic ring
- Gradually increase to create an oval shape
- Work even rounds for length
- Slightly taper toward the neck
Stuff as you go for even shaping.
3. Legs (Make 4)
- Start with brown yarn for hooves
- Magic ring with 6 sc
- Increase slightly for base
- Switch to body color
- Work straight rounds to desired height
Stuff lightly to maintain shape.
4. Snout
- Magic ring
- Increase to oval shape
- Work a few rounds evenly
- Sew onto front of head
5. Ears (Make 2)
- Small magic ring
- Work a few rounds
- Flatten slightly and sew onto head
6. Mane & Tail
- Cut multiple strands of yarn
- Attach along the head and back
- Knot or crochet into stitches
- Trim evenly or style for texture
7. Accessories (Optional)
- Crochet a small rectangular saddle
- Add tiny flowers using simple chain loops
- Sew securely onto the body
8. Assembly
- Attach head to body
- Sew legs evenly spaced
- Add ears and mane
- Secure all loose ends
Common Mistakes and How to Avoid Them#
1. Loose Stitches
- Use a smaller hook
- Maintain consistent tension
2. Uneven Stuffing
- Add stuffing gradually
- Avoid overfilling or lumps
3. Misplaced Features
- Position eyes and ears before sewing
- Use pins to test placement
4. Gaps Between Stitches
- Tighten tension
- Use appropriate yarn/hook combination
Expert Tips for Better Results#
- Use a stitch marker to track rounds
- Stuff firmly but evenly for a polished look
- Brush out yarn strands for a fluffier mane
- Add subtle embroidery for facial expression
- Choose high-quality yarn for a professional finish
Variations and Customization Ideas#
Make your crochet pony truly unique:
- Change colors for different breeds
- Add wings for a fantasy version
- Create a larger version using bulky yarn
- Personalize with initials or accessories
- Turn it into a keychain or ornament
Benefits of This Crochet Project#
- Beginner-friendly learning experience
- Great for gifting or selling
- Encourages creativity and customization
- Portable and relaxing project
- Helps build amigurumi skills
Internal Linking Suggestions#
You may also like:
- Easy crochet animal patterns
- Beginner amigurumi tutorials
- DIY crochet gifts for kids
- Crochet accessories and decorations
- Step-by-step crochet stitch guides
FAQ Section#
1. Is this crochet pattern suitable for beginners?
Yes! This is an easy crochet pattern that uses basic stitches and simple shaping techniques.
2. How long does it take to complete?
Depending on your skill level, it can take 4–8 hours to complete.
3. What type of yarn works best?
Worsted weight cotton or acrylic yarn is ideal for durability and stitch definition.
4. Can I make this without safety eyes?
Absolutely. You can embroider the eyes using black yarn for a safer, child-friendly option.
5. How do I make the mane look fuller?
Use more yarn strands and attach them closely together. You can also brush them out gently.
Conclusion#
This adorable crochet pony is more than just a cute project—it’s a rewarding creative experience that helps you grow your skills while producing something truly special. With this detailed crochet pattern and step-by-step crochet tutorial, you have everything you need to bring your own handmade pony to life.
Whether you’re diving into crochet for beginners or simply looking for a relaxing DIY crochet project, this pattern offers the perfect blend of simplicity and charm.
Now it’s your turn—grab your hook, choose your favorite yarn, and start creating your own lovable crochet companion today!


